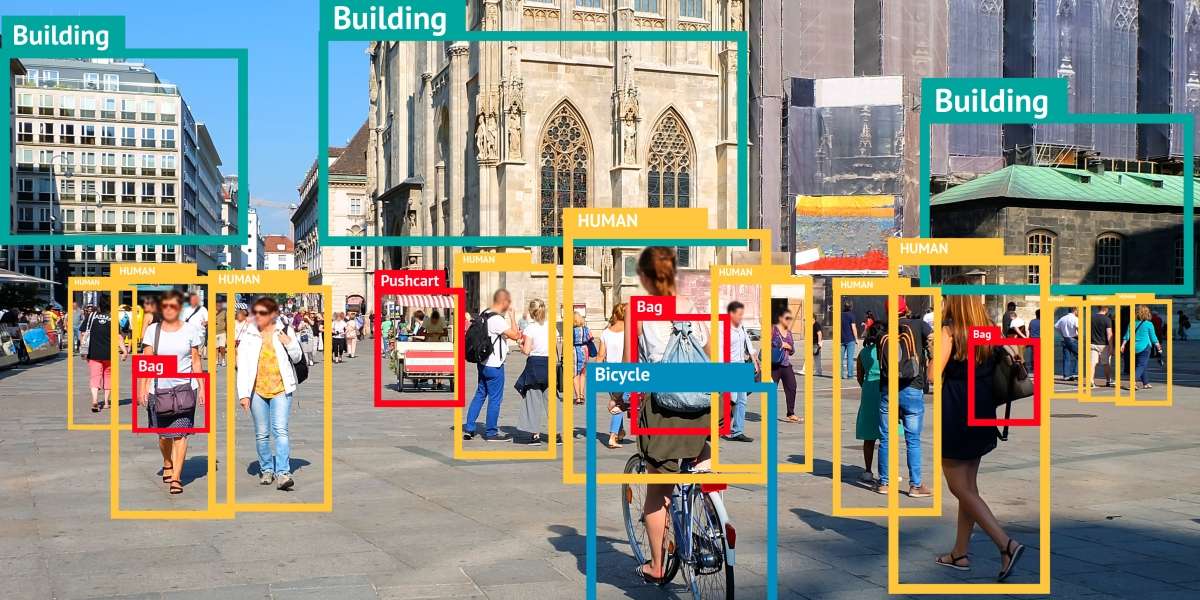
YOLO Tracking and Object Detection with Google Collab Integration to detect and track trainer and child in YouTube videos
 Debanjan Chakraborty
Overview
This project demonstrates how to perform object tracking and annotation using YOLO (You Only Look Once) on a video, leveraging Google Colab for efficient processing and Google Drive for saving outputs. The entire process involves downloading a video from YouTube, running YOLO object detection, generating bounding box annotations, and creating a final annotated video with labels such as "child" or "trainer". After processing, the video is saved to Google Drive, and intermediate files are cleaned up.
1. Project Files
Source Code
YOLO Tracking Script: Handles video downloading, YOLO inference, annotation of frames, and saving the final annotated video.
Test Video Output: A sample video processed with YOLO tracking, saved to Google Drive.
Requirements: Python packages such as
yt-dlp,ffmpeg,cv2, andtorch.
README.md: Explanation
This document describes the logic used to process a video, including how the YOLO object detection model is applied to detect objects in frames, annotate them with bounding boxes and labels, and save the output as a final video.
2. Requirements
Python 3.x
Google Colab environment
YOLOv8 model for object detection
Libraries:
yt-dlp,torch,OpenCV,ffmpeg,boxmot
3. Installation and Setup
To get started, clone the yolo_tracking repository and install the necessary Python dependencies.
!pip install --upgrade pip setuptools wheel
!git clone https://github.com/mikel-brostrom/yolo_tracking.git  # clone repo
!pip install -e .
!pip install yt-dlp boxmot

import torch
from IPython.display import Image, clear_output  # to display images
import os
import cv2
import re

clear_output()
print(f"Setup complete. Using torch {torch.__version__} ({torch.cuda.get_device_properties(0).name if torch.cuda.is_available() else 'CPU'})")
Once installed, we need to connect the Colab environment to Google Drive, where we’ll save the final output video.
The above snippet needs to be run twice, 1 time at start and then run the snippet below and then run the above snippet again:
%cd yolo_tracking
Then run the code to connect to the google drive
from google.colab import drive
drive.mount('/content/drive')
4. YOLO Inference and Video Processing
Step 1: Download and Convert Video
We first download a video from YouTube using yt-dlp and convert it to MP4 format using ffmpeg.
!yt-dlp "https://www.youtube.com/watch?v=rrLhFZG6iQY" --no-playlist -o video.mp4
!ffmpeg -i /content/yolo_tracking/video1.mp4.mkv video.mp4
Step 2: Run YOLO Tracking
We perform object tracking using the YOLOv8 model, which detects and tracks objects in the video. The results are saved as text files containing bounding box coordinates.
!python /content/yolo_tracking/tracking/track.py --yolo-model yolov8n.pt --reid-model osnet_x0_25_msmt17.pt --source /content/yolo_tracking/video1.mp4 --classes 0 --conf 0.4 --save-txt
5. Bounding Box Annotation Logic
Step 3: Processing Annotations
The bounding boxes from YOLO detection are processed, with each bounding box assigned either a "child" or "trainer" label based on its area. Larger boxes are labeled as "trainer", while smaller ones are labeled as "child".
def yolo_to_pixel(x_center, y_center, width, height, frame_width, frame_height):
    x1 = int((x_center - width / 2) * frame_width)
    y1 = int((y_center - height / 2) * frame_height)
    x2 = int((x_center + width / 2) * frame_width)
    y2 = int((x_center + height / 2) * frame_height)
    return x1, y1, x2, y2
Step 4: Annotating Video Frames
Each frame is annotated with bounding boxes and saved as an image. This allows us to visualize the results of the YOLO tracking in each frame.
def process_video_and_annotate(video_path, updated_labels_folder, annotated_frames_folder, output_video_path):
    for frame_num in range(1, total_frames + 1):
        cap.set(cv2.CAP_PROP_POS_FRAMES, frame_num - 1)
        ret, frame = cap.read()
        # Apply bounding box annotations
        for bbox in bboxes:
            x1, y1, x2, y2 = yolo_to_pixel(...)
            cv2.rectangle(frame, (x1, y1), (x2, y2), color, 2)
            cv2.putText(frame, f'{label} {int(obj_id)}', (x1, y1 - 10), cv2.FONT_HERSHEY_SIMPLEX, 0.6, color, 2)
        cv2.imwrite(output_frame_path, frame)
6. Saving Output to Google Drive
The processed video is saved to Google Drive for easy access.
output_drive_path = "/content/drive/MyDrive/tracked_videos/updated_video.mp4"
!cp {output_video_path} {output_drive_path}
print(f"Video saved to {output_drive_path}")
7. Cleanup
To keep the Colab environment clean, intermediate files are deleted after processing. This includes removing temporary files, directories, and processed frames.
def cleanup_intermediate_files():
    shutil.rmtree(labels_dir, ignore_errors=True)
    shutil.rmtree(annotated_frames_folder, ignore_errors=True)
    shutil.rmtree(updated_labels_folder, ignore_errors=True)
cleanup_intermediate_files()
8. Reproducing the Results
To reproduce the results of this project, follow these steps:
Install dependencies as outlined in the setup section.
Run YOLO inference on a video of your choice. Use any YouTube video URL and pass it to
yt-dlp.Process the annotations using the logic described to classify bounding boxes based on their size.
Save the final annotated video to your Google Drive.
Clean up intermediate files to maintain a clean environment.
By following these steps, you will be able to recreate the entire process of tracking and annotating objects in a video using YOLO. This pipeline can be adapted to various object detection and tracking tasks.
9.Limitations:
The people detected must be fully in the frame.
the people detected must be at the same distance from the camera to capture the relative size of their body.
The code can be done in multithreading to fasten the process of detection
The process of file naming and annotated file retrieval process is very sensitive to mishap, which can be possibly improved
10.Results
Subscribe to my newsletter
Read articles from Debanjan Chakraborty directly inside your inbox. Subscribe to the newsletter, and don't miss out.
Written by
