How to Write a Great README File for Your GitHub Project
 Ayşe Demirel
Table of contents

I believe there isn’t a developer out there without a GitHub account. Or at least it’s almost impossible not to be on platforms like GitHub/GitLab in your company. Adding a Readme file to our public or private repositories is also part of the job’s nature.
If you’re asking, “What is a Readme?”: README is a text file that introduces and explains a project. It contains the necessary information to understand what the project is about. It’s a file formatted in Markdown.
I’ve had a GitHub account since my early years of coding. On this account, I’ve created a total of 63 private and public projects. Recently, I noticed that none of the Readme pages are the way I want them to be (some don’t even have one, others don’t describe the project properly, and most are not written from a professional perspective), and all of them are different from each other.
So, I declared a personal “GitHub Readme Campaign.” As part of this campaign, I will both refactor my previous projects and update their Readme files.
First Step
The first step I took for the Readme files was to create a format by combining my criteria with industry standards. While creating this format, I reviewed existing Readme templates on GitHub and customized my template by making adjustments to the one that has the most stars and is also my favorite.
https://github.com/othneildrew/Best-README-Template
For various badges, I benefited from these repos:
https://github.com/Naereen/badges
https://github.com/Ileriayo/markdown-badges
If I wanted to create my badge, I used the badge creation area from this link:
My README Format
The link to my README format:
https://github.com/aysedemirel/README-Template
I customized the general template with my touches and created my Readme format. The final details are as follows:
- Language Badge: While publishing my projects, I generally create content in English, but most of my followers are Turkish. So, I thought adding language options with two badges would make it easier for my followers.

- General Project Information: This section provides a brief line about the number of contributors, fork count, star count, open issue count, license used, and a badge for my LinkedIn profile.

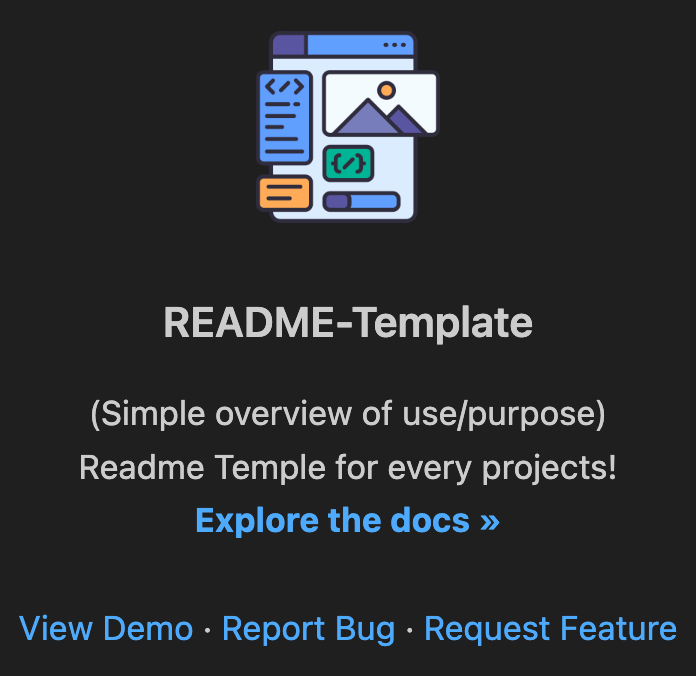
- Short Project Description: To add some visual perspective (for just fun) to each project, I include an icon, a brief project description at the start, a link to the project documentation (I’m thinking of creating a wiki for some projects), a link to the live demo if there is one (thanks to GitHub Pages), and links for requesting bugs or new features (in my opinion, contributing doesn’t necessarily mean developing a new feature, requesting a new feature or reporting a bug is also a contribution).

Table of Contents: As with any documentation, I link the headers before diving into the main content :) Creating a Readme template is a step towards taking my GitHub page more seriously (Actually I’ve always taken it seriously, but I was more focused on content over documentation and adding projects related to technologies I’ve just learned. In my new phase, I plan to produce projects in areas where I’m an expert). That’s why my Readmes will have a bit more of a technical documentation feel.
About The Project: This is where I provide a detailed explanation of the project’s purpose and what it does. If there are any screenshots, I add them here to show the expected result without needing to run the project.
Built With: This section lists the programming languages and technologies used in the project. While GitHub has a “Languages” section, my goal here is to also list major libraries and frameworks (for example, if Java is used, I want to see that Spring Boot is explicitly mentioned in the Readme).
Getting Started: This section explains how to set up the project. Subsections include 👇
Prerequisites: A list of databases, libraries, operating systems, etc., used by the software. You will find how and where to download these here.
Installation: Once all prerequisites are ready, this section explains how to install and make the software fully operational.
Executing Program: This part explains how to run the software.
5. Usage: Detailed explanations about the software will be provided here. When necessary, I’ll use UML models such as class diagrams, use-case diagrams, package diagrams, and sequence diagrams. If the software is a library, you’ll find code examples showing how to use the library in this part.
6. Roadmap: This section lists milestones within the project, marking off completed ones. In general, I plan to open all tasks as issues so those who want to contribute can check the issues.
7. Contributing: This is the section explaining how you can contribute.
8. Top Contributors: Contributors are invaluable :)
9. Contact: This section contains my contact channels for any questions or collaboration requests.
10. Acknowledgments: No project comes out of thin air. I heavily rely on certain projects or documents. This section serves as a reference area where I give credit to the sources I’ve used.
With this study, I’ve created the template for documenting my GitHub projects. Now it’s time to refactor all of them and create their documentation. I will continue to share my experiences here during this process. See you in future posts, bug-free days ahead! :)
Subscribe to my newsletter
Read articles from Ayşe Demirel directly inside your inbox. Subscribe to the newsletter, and don't miss out.
Written by
