Movie-App
 Ashish Prabhakar
🎥Movie Searching App💻
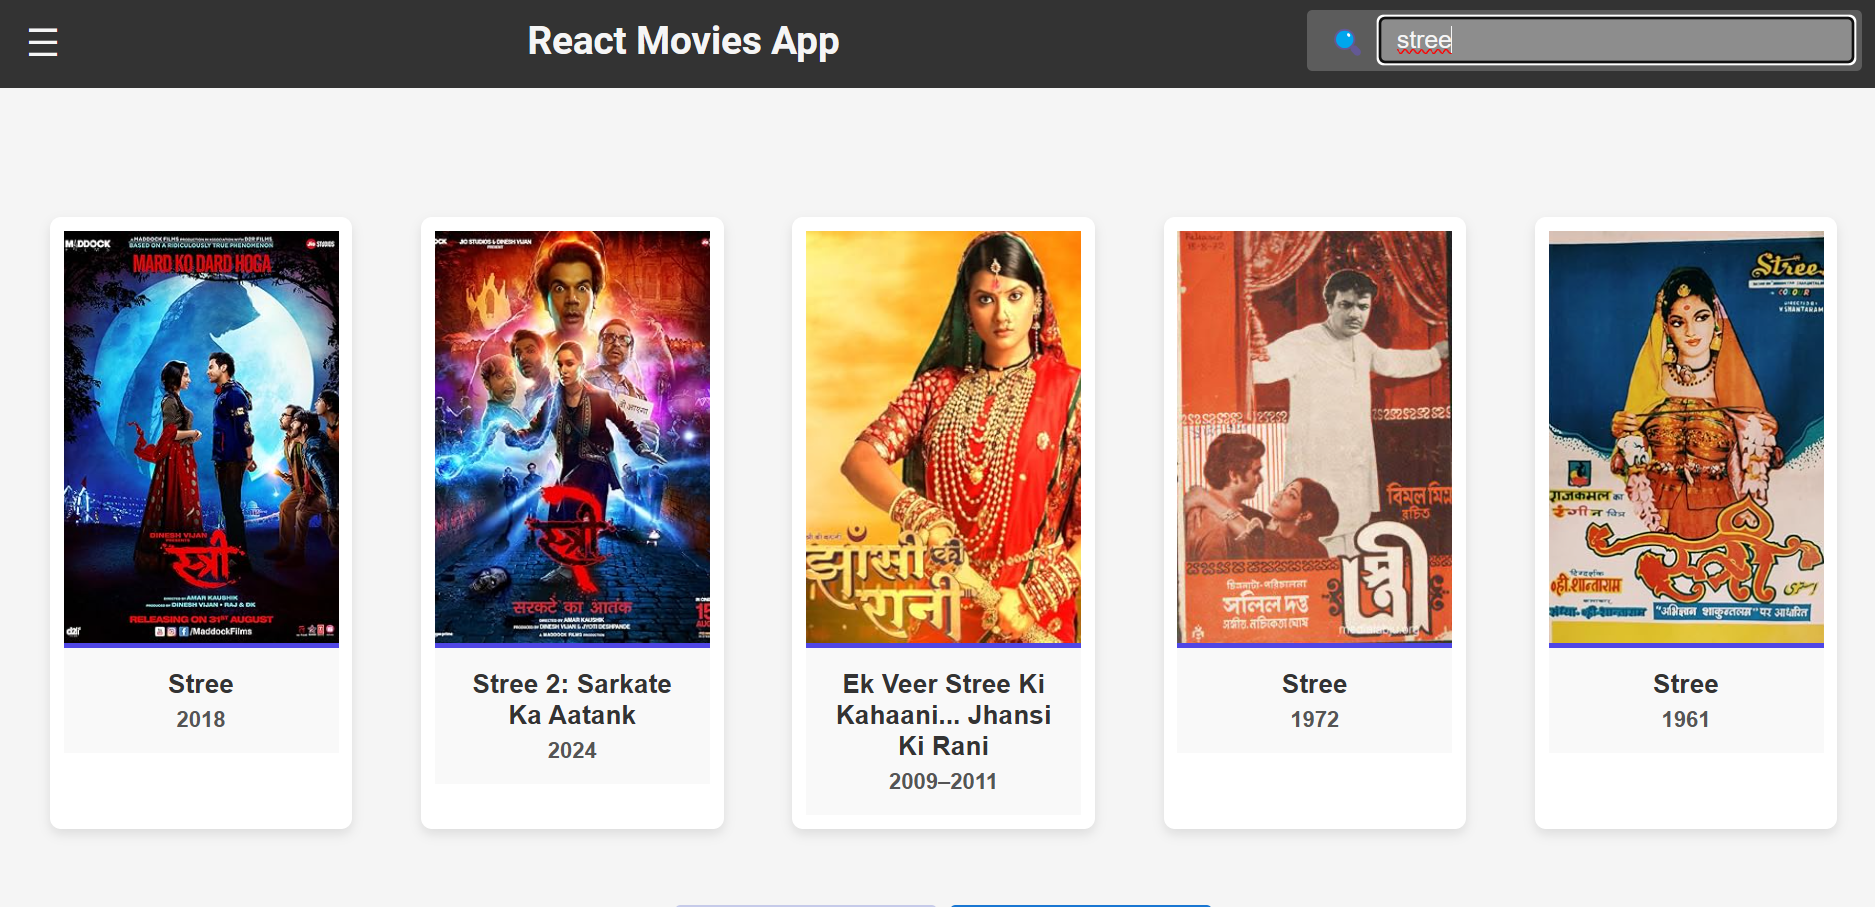
📸React is a powerful and flexible library for building dynamic web applications, and creating a movie search app is a great project to hone your React skills. In this article, we’ll walk through the steps to build a simple movie search app using React, where users can input a movie title, search for details, and see results displayed dynamically.
Table of Contents
Project Setup
Fetching Movie Data
Building the Components
Styling the App
Enhancing Functionality
Conclusion
1. Project Setup
To get started with the movie search app, we’ll need to set up our React project.
Create your project
Start by creating a new Vite project if you don’t have one set up already. The most common approach is to use Create Vite.
 npm create vite@latest movie-search-app
 cd my-project
Install Tailwind CSS
Install
tailwindcssand its peer dependencies, then generate yourtailwind.config.jsandpostcss.config.jsfiles.npm install -D tailwindcss postcss autoprefixer npx tailwindcss init -pConfigure your template paths
Add the paths to all of your template files in your
tailwind.config.jsfile.
/** @type {import('tailwindcss').Config} */
export default {
  content: [
    "./index.html",
    "./src/**/*.{js,ts,jsx,tsx}",
  ],
  theme: {
    extend: {},
  },
  plugins: [],
}
Add the Tailwind directives to your CSS
@tailwind base;
@tailwind components;
@tailwind utilities;
Start your build process
Run your build process with npm run dev.
> npm run dev
Start using Tailwind in your project
function App() {
  return (
    <h1 className="text-3xl font-bold underline">
      Ashish Prabhakar
    </h1>
  )
}
To create a project using Vite and Tailwind CSS, here's the typical folder structure you will have after setting things up
my-vite-tailwind-project/
│
├── node_modules/           # Auto-generated folder containing project dependencies
│
├── public/                 # Public static assets (e.g., images, fonts)
│   └── favicon.ico         # Default Vite favicon
│
├── src/                    # Main source files for your project
│   ├── assets/             # Static files like images, fonts, etc.
│   ├── components/         # Your React/Vue components
│   ├── App.jsx             # Main React/Vue component
│   ├── index.css           # Tailwind CSS styles and custom styles
│   └── main.jsx            # Main JavaScript entry file
│
├── .gitignore              # Ignored files for Git version control
├── index.html              # Main HTML file, references bundled JS/CSS
├── package.json            # Project metadata and dependencies
├── postcss.config.cjs       # Configuration for PostCSS (used by Tailwind)
├── tailwind.config.cjs      # Tailwind CSS configuration file
├── vite.config.js          # Vite configuration file
└── yarn.lock / package-lock.json  # Lock file for dependencies (yarn or npm)
Step 2: Install Axios
We’ll use axios to fetch data from an API. Install it by running:
npm install axios
. Fetching Movie Data
To display movie details, we need to get data from an external API. For this example, we’ll use the OMDb API (Open Movie Database). You can sign up at OMDb API to get an API key.
const movies = fetch(`http://www.omdbapi.com/?apikey=${API_KEY}&s=${s}`)
<div className="App">
        <Header />
        {isLoading && <Loader />}
        <Movies />
  </div>
/* General styling for the App */
*{
  margin: 0;
  padding: 0;
}

.App {
    display: flex;
    flex-direction: column;
    min-height: 100vh;
    font-family: 'Arial', sans-serif;
    background-color: #f4f4f4;
  }

  /* Header styling */
  .Header {
    width: 100%;
    background-color: #1976d2;
    padding: 10px 0;
    box-shadow: 0 2px 4px rgba(0, 0, 0, 0.1);
  }


  .Loader {
    display: flex;
    justify-content: center;
    align-items: center;
    height: 100vh;
  }


  .Movies {
    padding: 20px;
    flex: 1;
  }

  .movies-container {
    display: flex;
    flex-wrap: wrap;
    gap: 20px;
    justify-content: center;
  }


  .movie-card {
    background-color: #ffffff;
    border-radius: 8px;
    box-shadow: 0 4px 8px rgba(0, 0, 0, 0.1);
    overflow: hidden;
    width: 200px;
    margin: 10px;
    transition: transform 0.3s ease, box-shadow 0.3s ease;
    text-align: center;
    flex: 1 0 200px; /* Ensures responsiveness */
  }


  .movie-card:hover {
    transform: translateY(-5px);
    box-shadow: 0 8px 16px rgba(0, 0, 0, 0.2);
  }


  @media (max-width: 768px) {
    .movies-container {
      gap: 15px;
    }

    .movie-card {
      width: 150px;
    }
  }

  @media (max-width: 480px) {
    .movies-container {
      gap: 10px;
    }

    .movie-card {
      width: 100px;
    }
  }
import React from "react";
import './Movie.css';

export default function Movie(props) {
  return (
    <div className="movie-card">
      <img src={props.movie.Poster} alt={props.movie.Title} className="movie-poster" />
      <div className="movie-info">
        <h2 className="movie-title">{props.movie.Title}</h2>
        <h3 className="movie-year">{props.movie.Year}</h3>
      </div>
    </div>
  );
}
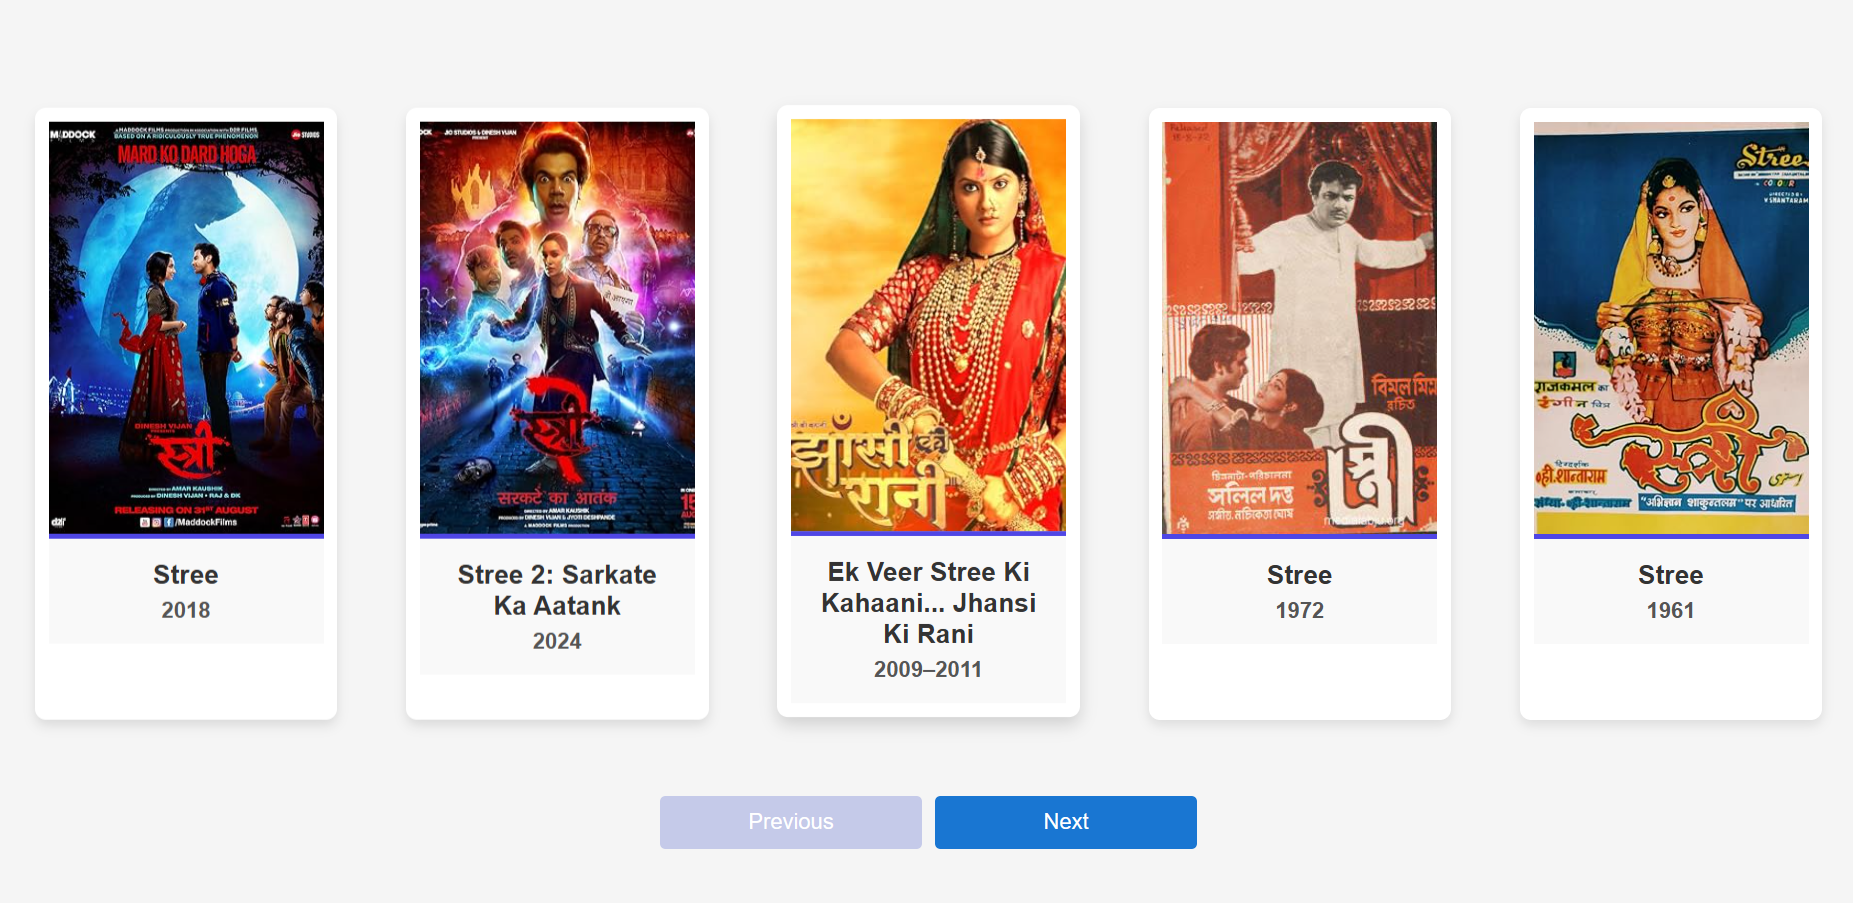
We Have Two Button Next and Previous button .
  const handleNext = () => {
    if ((currentPage + 1) * moviesPerPage < movies.length) {
      setCurrentPage(currentPage + 1);
    }
  };

  const handlePrevious = () => {
    if (currentPage > 0) {
      setCurrentPage(currentPage - 1);
    }
  };
          <div className="navigation-buttons">
            <button className="nav-button" onClick={handlePrevious} disabled={currentPage === 0}>
              Previous
            </button>
            <button className="nav-button" onClick={handleNext} disabled={(currentPage + 1) * moviesPerPage >= movies.length}>
              Next
            </button>
          </div>

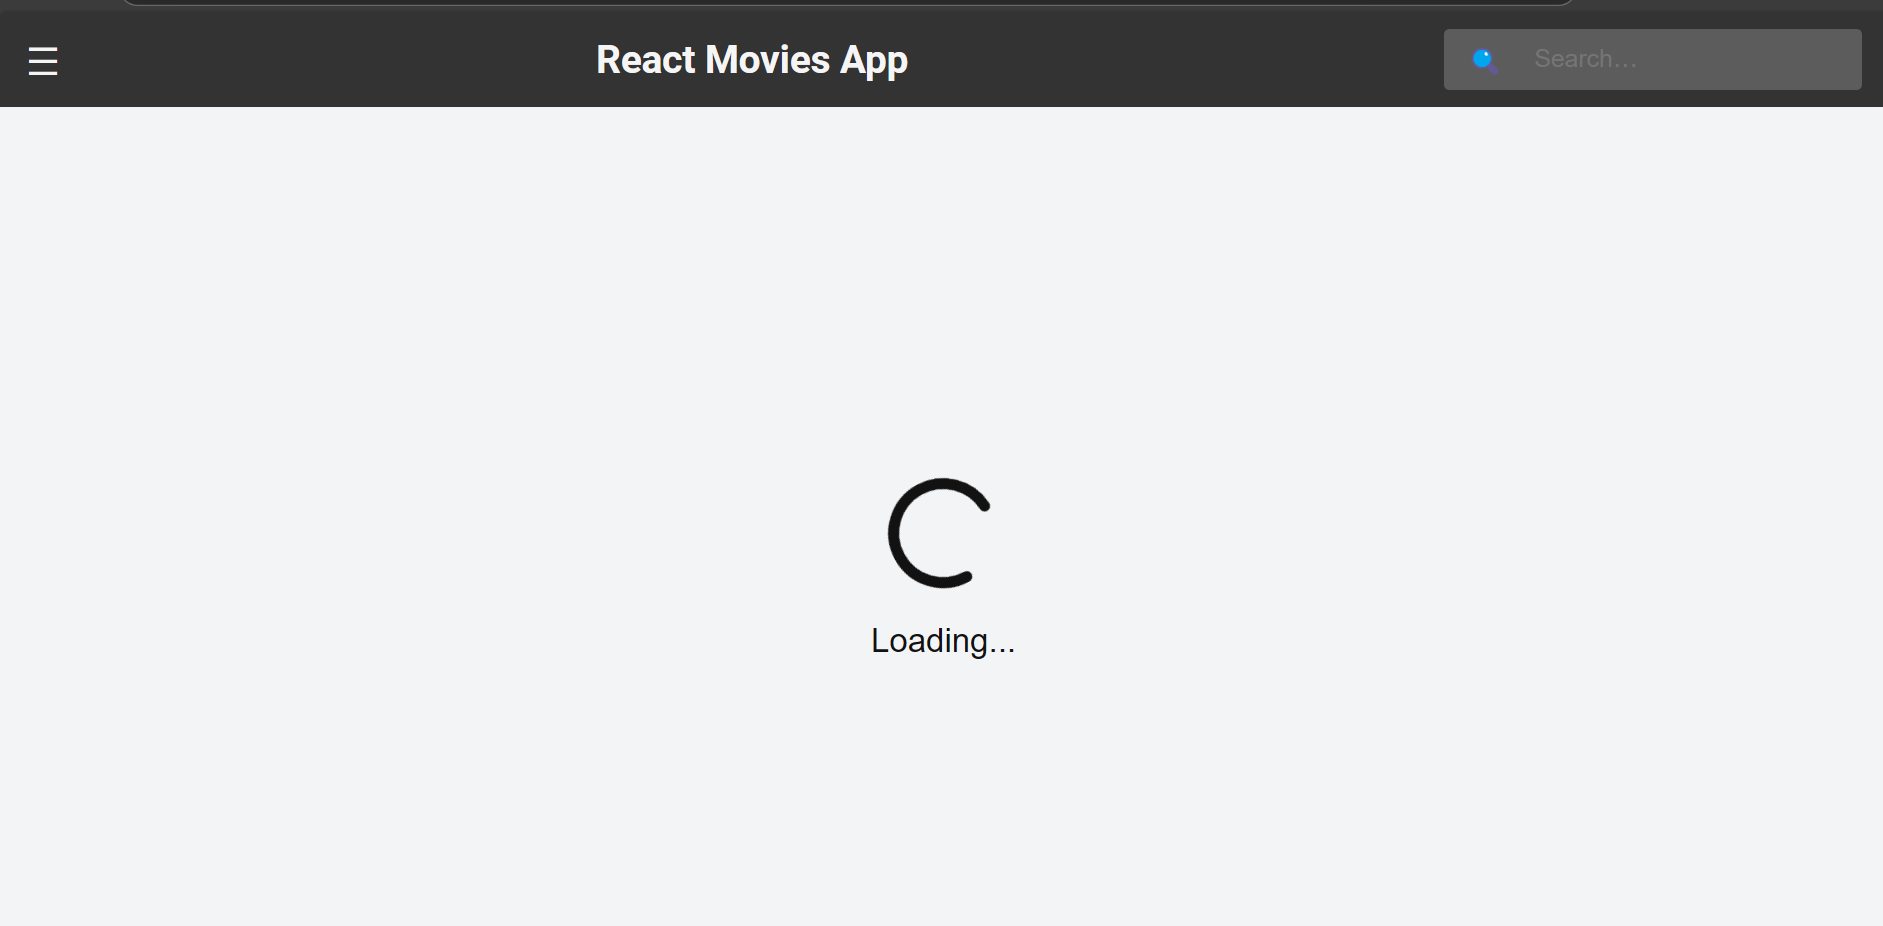
Loader Look Like that :
import React from "react";
import './loader.css'

export default function Loading() {
  return (
    <div className="loading-container">
      <div className="spinner">
        <svg
          xmlns="http://www.w3.org/2000/svg"
          viewBox="0 0 100 100"
          fill="none"
          stroke="#121212"
          className="spinner-svg"
        >
          <circle
            cx="50"
            cy="50"
            r="45"
            strokeWidth="10"
            strokeLinecap="round"
            strokeDasharray="283"
            strokeDashoffset="75"
          />
        </svg>
      </div>
      <div className="loading-text">Loading...</div>
    </div>
  );
}

Functionality:
Loading Indicators: Display a loading spinner while the movies are being fetched.
Error Handling: Show an error message if no movies are found or if the API request fails.
Pagination: If the API supports it, allow users to navigate through multiple pages of movie results.

Conclusion
Building a movie search app in React is a great way to practice component-based development, API calls, and state management. With the ability to enhance functionality and styling further, you can turn this into a fully functional movie database application.
Subscribe to my newsletter
Read articles from Ashish Prabhakar directly inside your inbox. Subscribe to the newsletter, and don't miss out.
Written by

Ashish Prabhakar
Ashish Prabhakar
Heyy!! I am Ashish Prabhakar Final Year Student on Bachelor of Computer Application with a passionate Full Stack Developer with a strong focus on building scalable and efficient web applications. My expertise lies in the MERN stack (MongoDB, Express.js, React.js, Node.js), Open to new opportunities in software development and eager to contribute to innovative projects on Full Stack Development