Understanding API Authentication: Key Insights and Learnings
 Arkadipta Kundu
Over the past couple of days, I’ve been learning about API authentication . After experimenting with several methods and creating a micro project, I thought it’d be a great idea to share my learnings. In this post, we’ll cover:
Why API authentication is important.
The different types of API authentication (Basic, API Key, and Token-based).
How to implement these authentication methods in a simple web app using Axios.
So , let’s get started !
Why is API Authentication Important?
In most cases, we don’t want our private API to be open to just anyone. Authentication helps ensure that only authorized users or clients can access our API. Additionally, authentication helps in limiting the number of requests, keeping track of users, and protecting sensitive data.
But what about APIs that don’t require authentication? You can still secure them to some degree by using rate limiting, which limits the number of requests a user or IP can make within a certain time frame. This is useful when you’re serving static data or don’t need heavy protection.
Now, let’s dive into the three main types of API authentication: Basic Authentication, API Key Authorization, and Token-based Authentication.
1. Basic Authentication
Basic authentication involves sending a username and password encoded in Base64 with each API request. While simple to implement, it’s not very secure since the credentials are passed with every request.
How I Implemented Basic Authentication
I used the Secrets API for this example. First, I registered a user by sending a POST request with the following data:
{
  "username": "arka",
  "password": "221855"
}
After successfully registering, I logged in using Postman to send the username and password in the request headers:
GET <https://secrets-api.appbrewery.com/all?page=1>
This returns a list of secrets stored by the user.
Here’s how I implemented basic authentication in my Node.js app using Axios:
// Basic authentication route
app.get("/basicAuth", async (req, res) => {
  try {
    const result = await axios.get(API_URL + "/all?page=2", {
      auth: {
        username: myUsername,
        password: myPassword,
      },
    });
    res.render("index.ejs", { content: JSON.stringify(result.data) });
  } catch (error) {
    res.status(404).send(error.message);
  }
});
2. API Key Authorization
API Key Authorization allows access to an API by passing a key (generated for the user) with each request. This key is used to track the client making the request and can often be tied to rate-limiting or billing.
Difference Between Authentication and Authorization
A key distinction to remember:
Authentication: Verifying the identity of the user (e.g., logging in with credentials).
Authorization: Allowing the user or client to access a resource (e.g., using an API key to make requests).
With API Key Authorization, you typically get an API key like this:
GET <https://secrets-api.appbrewery.com/generate-api-key>
After receiving the API key, you can use it to make authorized requests:
GET <https://secrets-api.appbrewery.com/filter?score=5&apiKey=generated-api-key>
Here’s how I implemented API Key Authorization in my app:
// API key route
app.get("/apiKey", async (req, res) => {
  try {
    const result = await axios.get(API_URL + "/filter", {
      params: {
        score: 5,
        apiKey: myAPIKey,
      },
    });
    res.render("index.ejs", { content: JSON.stringify(result.data) });
  } catch (error) {
    res.status(404).send(error.message);
  }
});
3. Token-Based Authentication (OAuth)
Token-based authentication is more secure than the other methods. The user logs in using their credentials, and the API provider generates a token. This token is used for subsequent requests instead of passing the username and password every time.
This method is commonly used in OAuth, and the token is often valid for a limited time. This is especially useful when third-party apps need to interact with a user's data, like using Google Calendar from another app.
How I Implemented Token-Based Authentication
First, I registered and obtained the token:
POST <https://secrets-api.appbrewery.com/get-auth-token>
{
  "username": "jackbauer",
  "password": "IAmTheBest"
}
Once I received the token, I used it for future requests:
GET <https://secrets-api.appbrewery.com/secrets/1>
Here’s how I implemented token-based authentication in my app using Bearer Tokens:
// Bearer token route
const config = {
  headers: { Authorization: `Bearer ${myBearerToken}` },
};

app.get("/bearerToken", async (req, res) => {
  try {
    const result = await axios.get(API_URL + "/secrets/2", config);
    res.render("index.ejs", { content: JSON.stringify(result.data) });
  } catch (error) {
    res.status(404).send(error.message);
  }
});
Putting It All Together
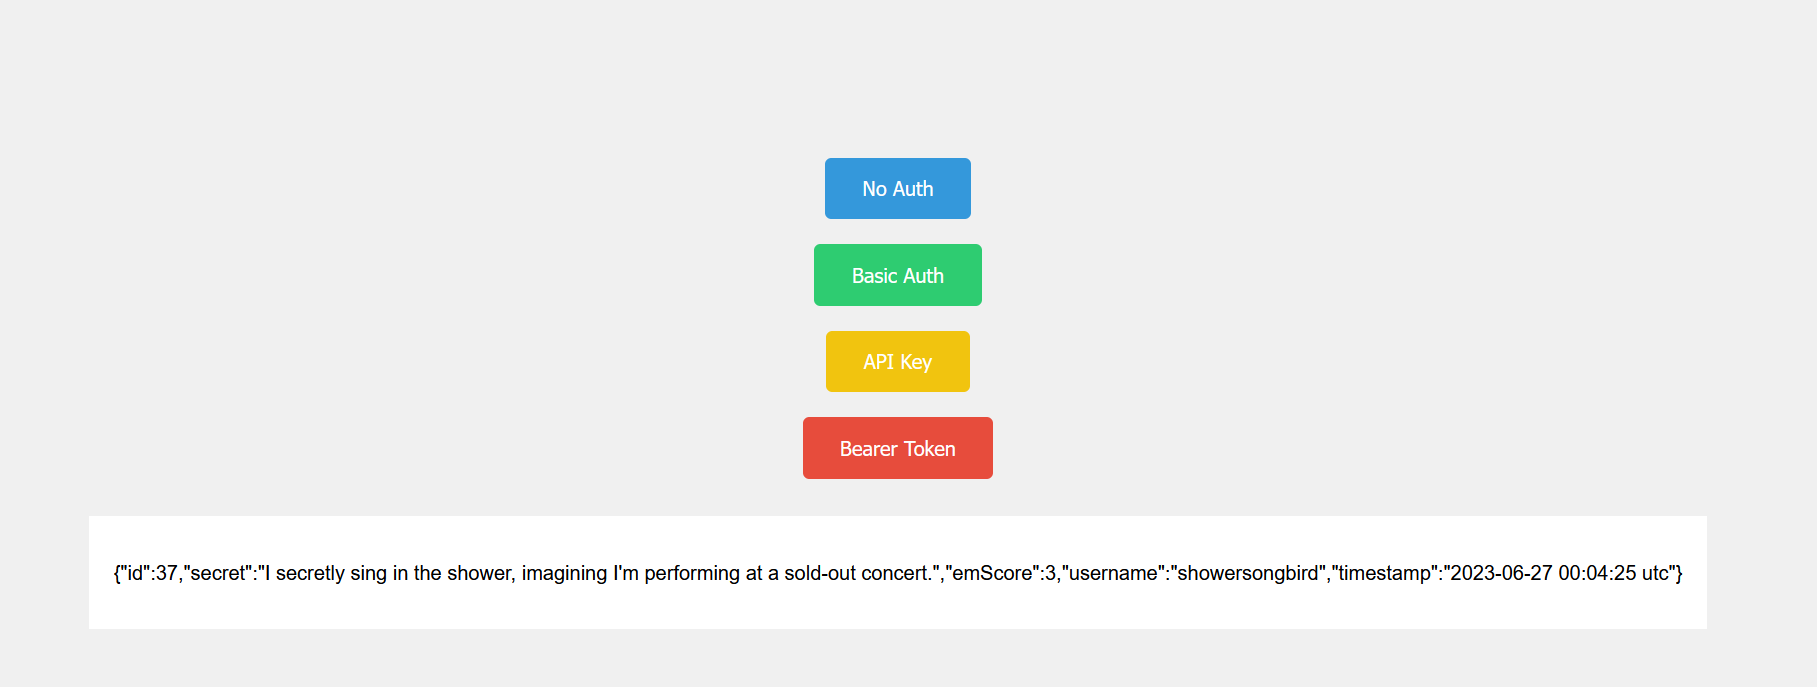
To wrap up my learnings, I created a small web app that implements all four types of API requests (no authentication, basic auth, API key, and token-based). The app features four buttons, each triggering a different type of request.
Here’s a sneak peek of how I set up the routes and buttons in the app:
// No authentication route
app.get("/noAuth", async (req, res) => {
  try {
    const result = await axios.get(API_URL + "/random");
    res.render("index.ejs", { content: JSON.stringify(result.data) });
  } catch (error) {
    res.status(404).send(error.message);
  }
});
//basic auth route
app.get("/basicAuth", async (req, res) => {
  try {
    const result = await axios.get(API_URL + "/all?page=2", {
      auth: {
        username: myUsername,
        password: myPassword,
      },
    });
    res.render("index.ejs", { content: JSON.stringify(result.data) });
  } catch (error) {
    res.status(404).send(error.message);
  }
});
//api key route
app.get("/apiKey", async (req, res) => {
  try {
    const result = await axios.get(API_URL + "/filter", {
      params: {
        score: 5,
        apiKey: myAPIKey,
      },
    });
    res.render("index.ejs", { content: JSON.stringify(result.data) });
  } catch (error) {
    res.status(404).send(error.message);
  }
});
//token route
const config = {
  headers: { Authorization: `Bearer ${myBearerToken}` },
};

app.get("/bearerToken", async (req, res) => {
  try {
    const result = await axios.get(API_URL + "/secrets/2", config);
    res.render("index.ejs", { content: JSON.stringify(result.data) });
  } catch (error) {
    res.status(404).send(error.message);
  }
});
You can find the full code for the app here: GitHub Repo.

This app demonstrates the importance of API authentication and how it can be implemented using Axios for handling requests in a Node.js environment.
Challenges I Faced
While working on this project, I encountered issues with sending requests via Axios, especially with basic authentication. After some digging, I found a helpful StackOverflow post that cleared up my confusion. If you run into similar issues, be sure to check it out!
Conclusion
Understanding API authentication is essential for protecting your API from misuse and limiting unauthorized access. By implementing basic authentication, API keys, and token-based authorization, you can safeguard your API and ensure it’s used responsibly.
Key Takeaways:
Basic Authentication is simple but not very secure.
API Key Authorization allows tracking of requests but can be shared easily.
Token-Based Authentication is the most secure and often used in OAuth systems.
I hope this post helped you understand the different types of API authentication! Feel free to drop any questions or feedback in the comments below. Happy coding! 😊
Subscribe to my newsletter
Read articles from Arkadipta Kundu directly inside your inbox. Subscribe to the newsletter, and don't miss out.
Written by

Arkadipta Kundu
Arkadipta Kundu
I’m a Computer Science undergrad from India with a passion for coding and building things that make an impact. Skilled in Java, Data Structures and Algorithms (DSA), and web development, I love diving into problem-solving challenges and constantly learning. Right now, I’m focused on sharpening my DSA skills and expanding my expertise in Java development.