Microsoft Power Apps
 MicPP
MicPP
Microsoft Power Apps is a service provided by Microsoft to build highly customized and secure applications that can be used inside organizations. We cannot publish these apps on the Play Store or App Store and they can be used only for internal purposes. These apps can be built in less time with less coding. Users can drag and drop elements/controls on the blank canvas to build a user interface. Therefore, they are called highly customized and rapidly build low code apps.
They can be integrated with Microsoft’s other services like Power BI, Power Automate, Power Virtual Agents/Copilot, SharePoint Online, Dynamics 365, Office 365, Azure, AI builder, and so on.
Power Apps applications can leverage the power of data connectors like SQL, Salesforce, Google Drive, SharePoint Online, Dynamics 365, Office 365, Excel, etc. It means, we can connect Power apps to these data sources and can interact with them. Eg: Input the data in Power apps and store it in SharePoint Online lists. When you insert any record in the list, it will reflect the changes in your Power Apps app.
Types of Power Apps
Canvas apps:
Create Canvas apps when,
There is a need to create a highly customized application.
You want to create a simple app.
You want to build an app from scratch with flexible design.
Model-driven apps:
Create Model-driven apps when,
There is a need to create a complex application.
You want a more secure app
You want to use Dataverse as your database.
There are complicated business processes.
Where you need a more structured approach with a focus on data models and business processes.
Power Pages: Create Power Pages when,
- You want to create low code business websites.
Environments:
Power apps have different environments where we can create our own apps and build our automation flows that can be integrated with Power apps. We can create a three screen app from SharePoint, Dataverse, and Excel in these environments. We can also create solutions in environments. We can create tables, flows, websites, chatbots, cards, choices, dataflows, AI hubs, catalog, and connections in these environments.
Types of Environments:
Default Environment: Used for general access in the whole organization where anyone can access it.
Sandbox Environment: Used for development and testing purposes.
Developer Environment: Used for personal learning and individual development of apps.
Production Environment: Used for deployment or releasing live apps
Trial Environment: Used for testing the newly added features or evaluation of some features.
Dataverse for Teams: Used for Teams specific low-code apps to be built in Microsoft Teams.
How to create an Environment?
Go to Power Apps: https://make.powerapps.com/
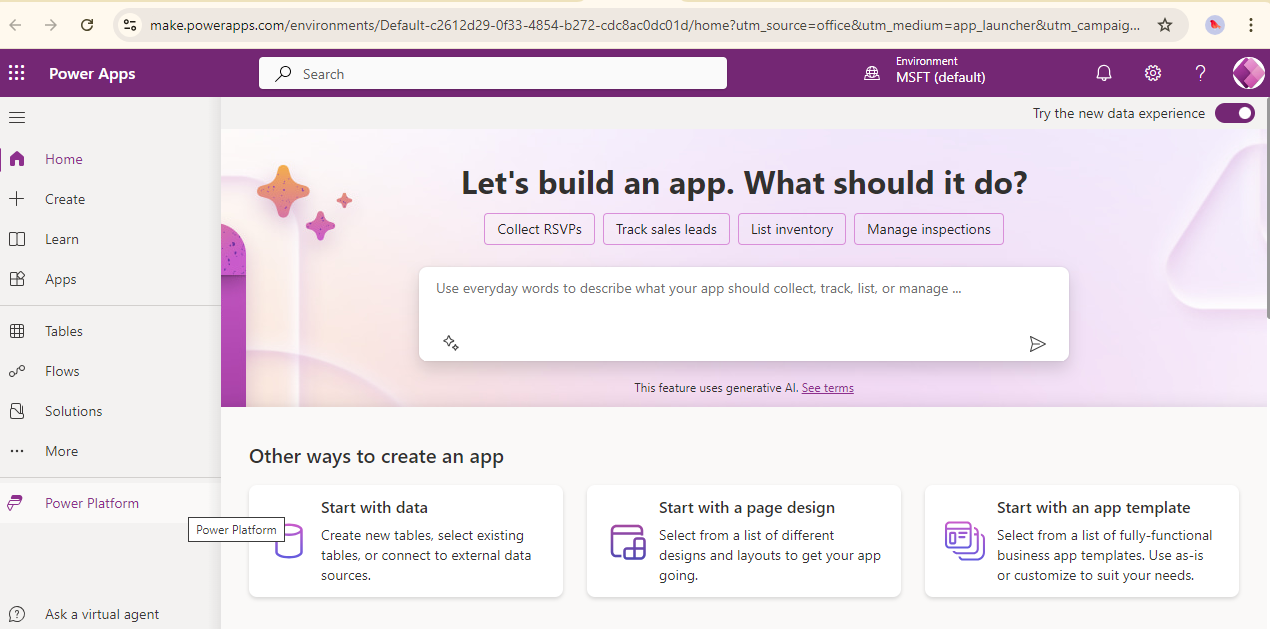
Click on: Power Platform on the left pane.

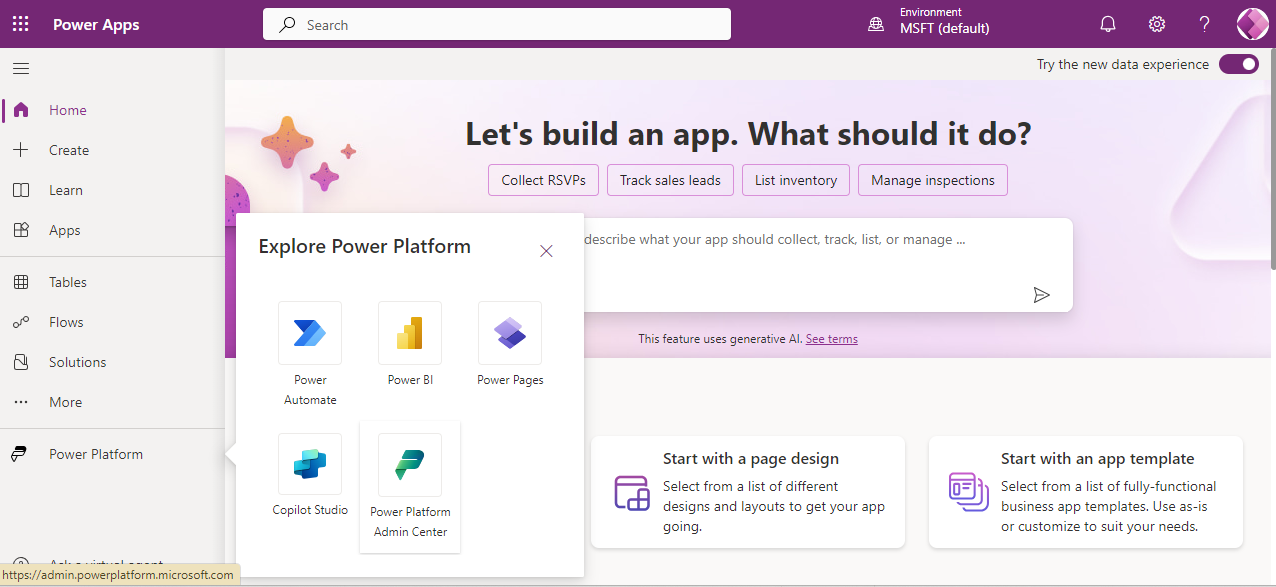
3. You’ll see the Explore Power Platform window where you should:
Click on: Power Platform Admin Center
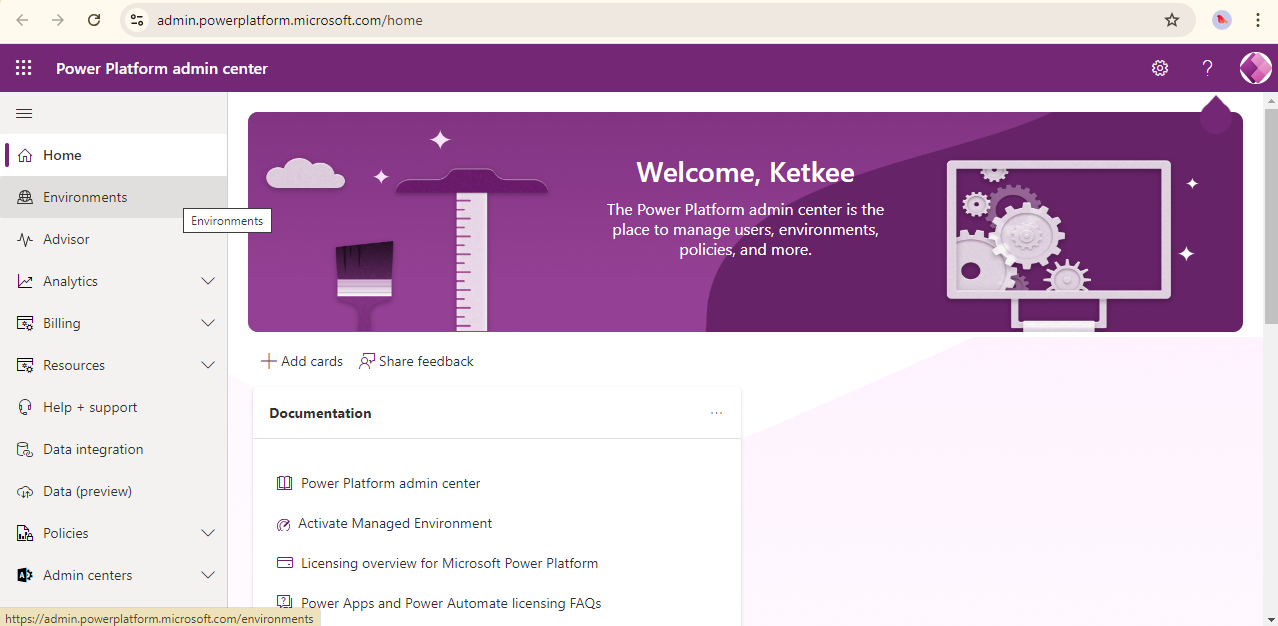
4. You’ll be directed to the screen given below:
Click on: Environments
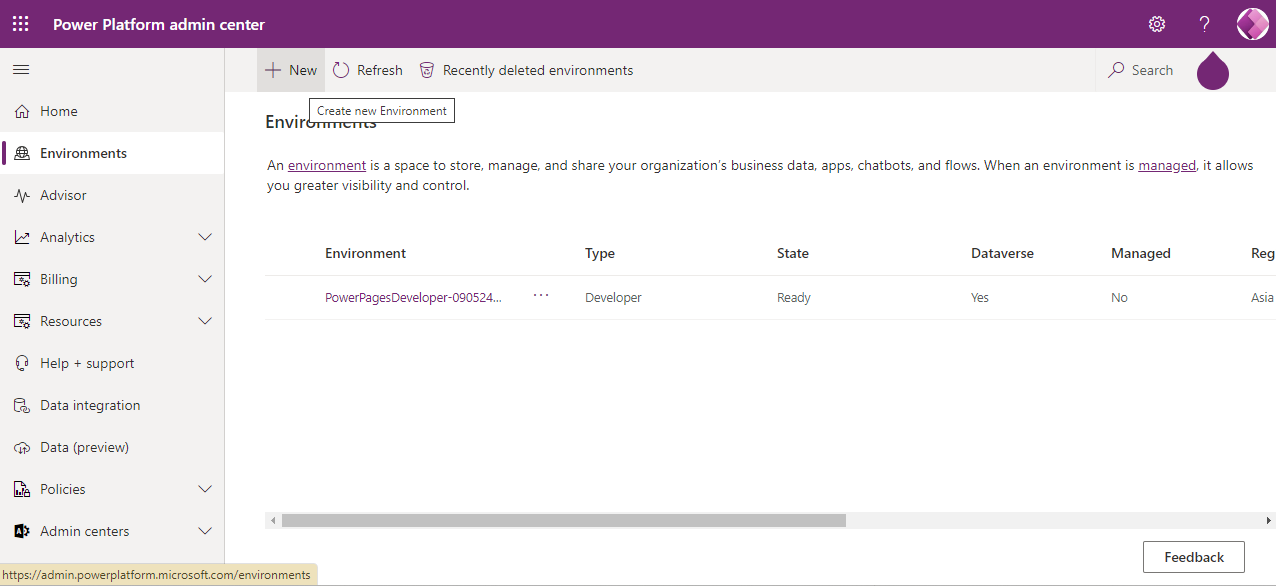
5. Click on: New
6. Write a name for your environment, choose a group if any, and choose a preferred region.
Then, click: Save.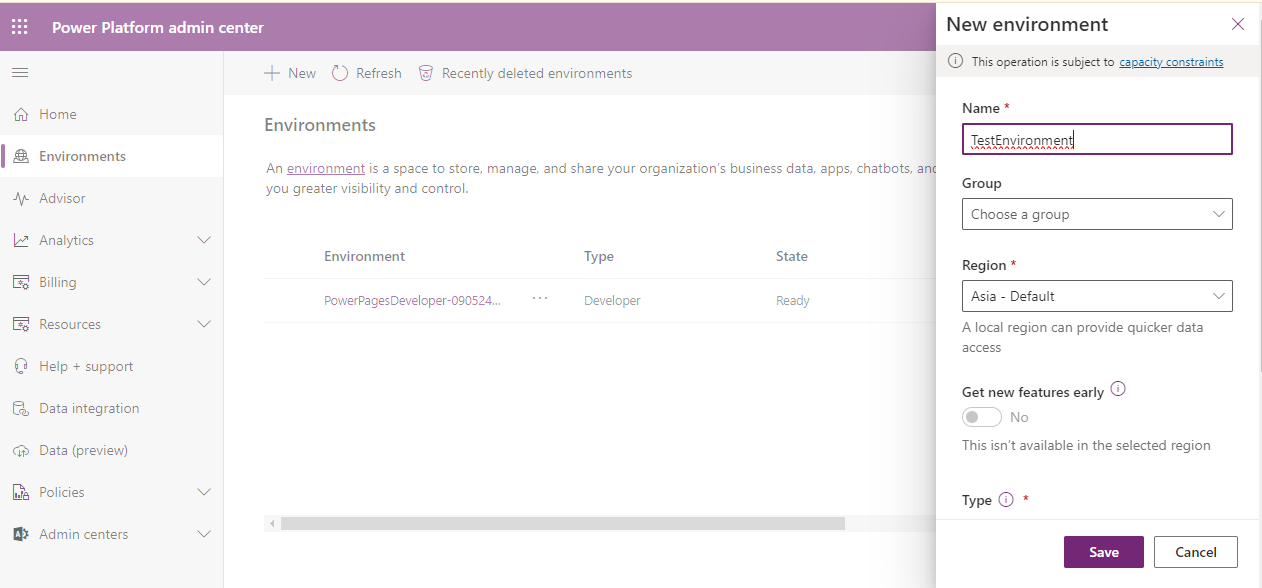
In this way, your environment to work is ready.
What are Solutions?
Solutions are containers used to transport apps and components from one environment to another. We can use Solutions to customize our existing apps. Solutions contain apps,flows,tables,web resources, etc. Solutions are the way to manage app life cycle in Power Apps and other Power Platform products, like Power BI, Automate and Virtual agents.
Types of Solutions
Unmanaged Solutions
Managed Solutions
Unmanaged Solutions: Unmanaged solutions are used while building and making changes to your app in a development environment. You can export them as either unmanaged or managed solutions. It's a good idea to save the exported, unmanaged version in your source control system. If you delete an unmanaged solution, only the solution container is removed, but the custom changes you made still remain and are part of the default solution.
Managed Solutions: Managed solutions are used in environments other than development, user acceptance testing (UAT), system integration testing (SIT), and production. They can be handled separately from other managed solutions in the same environment. As a best practice for Application Lifecycle Management (ALM), you should create a managed solution by exporting an unmanaged one and treat it as a final product for deployment.
How to create an unmanaged solution?
Go to Power Apps Home page:
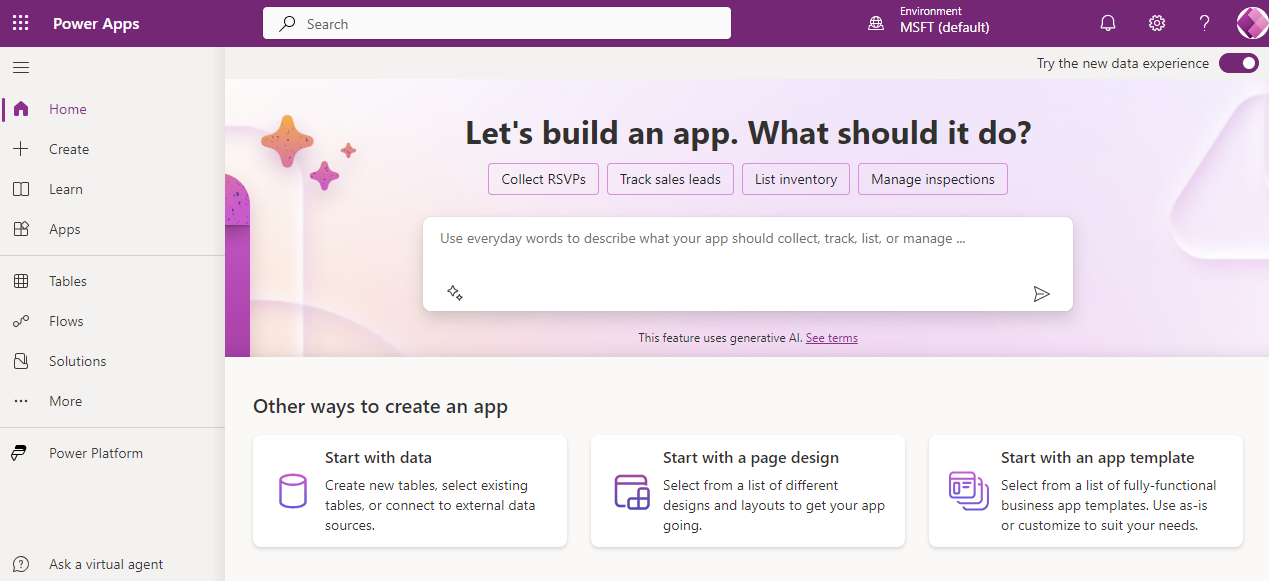
Click on: Solutions on the left pane.
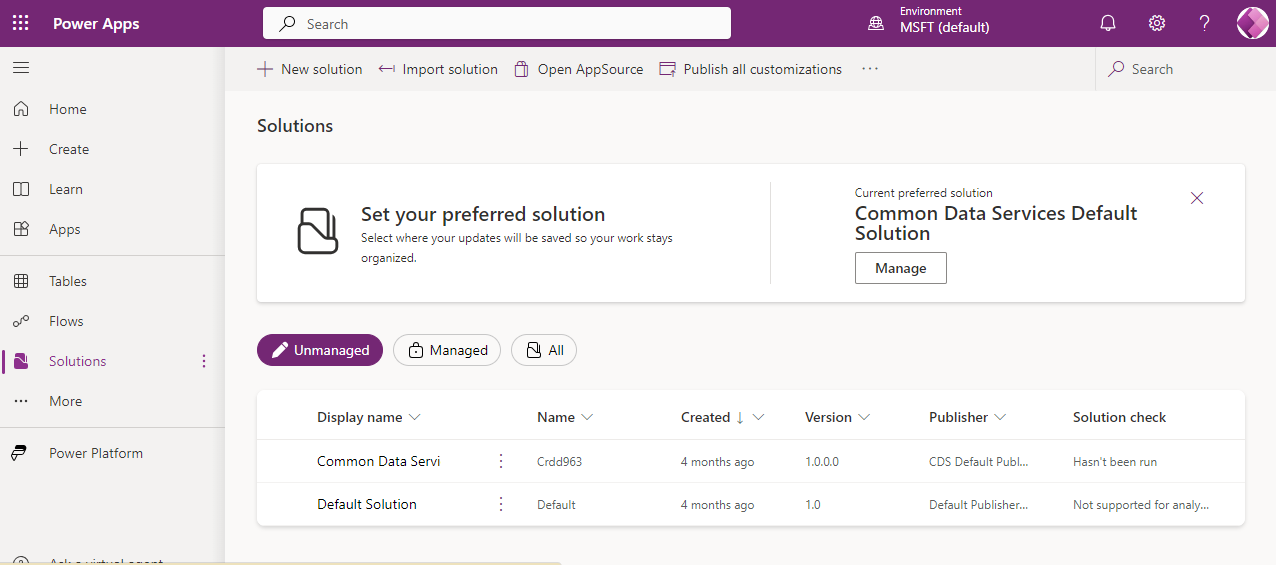
You’ll see managed solutions and unmanaged solutions. At the top and below the search bar, you’ll see New Solutions.
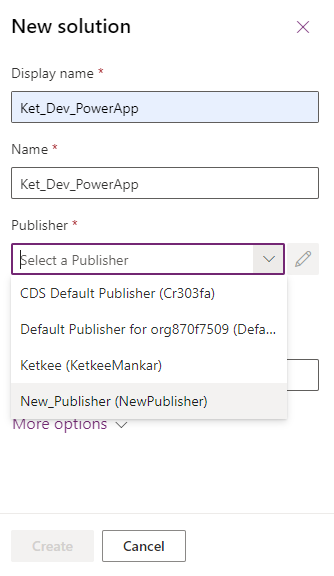
- Click on: New Solutions. Now, insert the relevant Display name and choose the appropriate Publisher. You can also create a new publisher if you want. Give the correct version number.
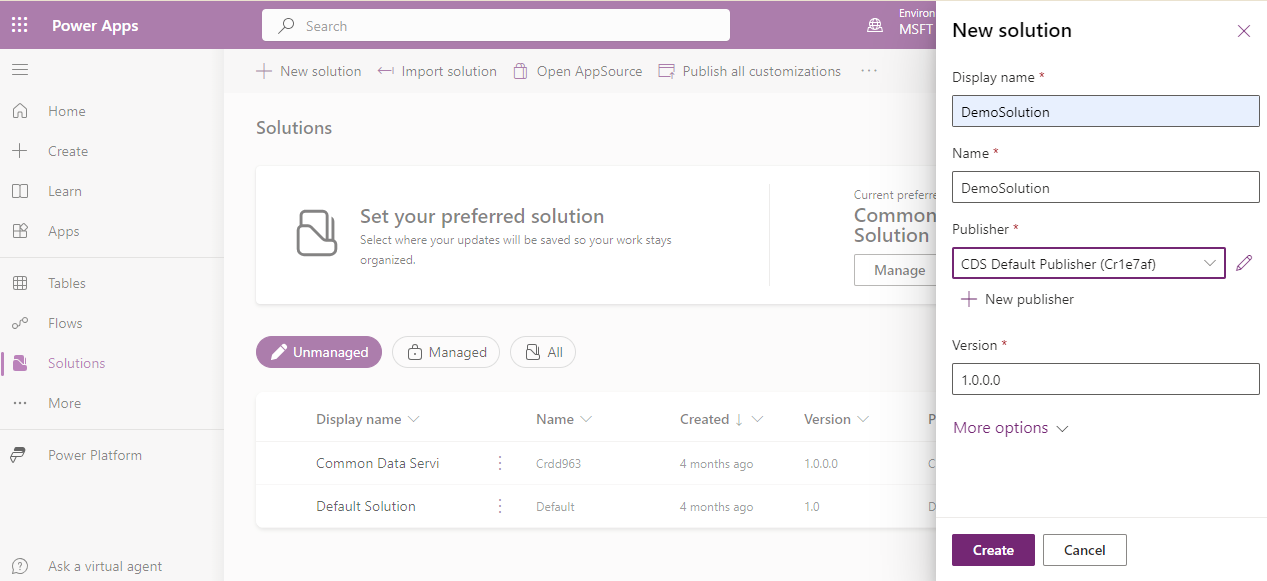
Click on: Create.
You’ll see the new environment created in the list.
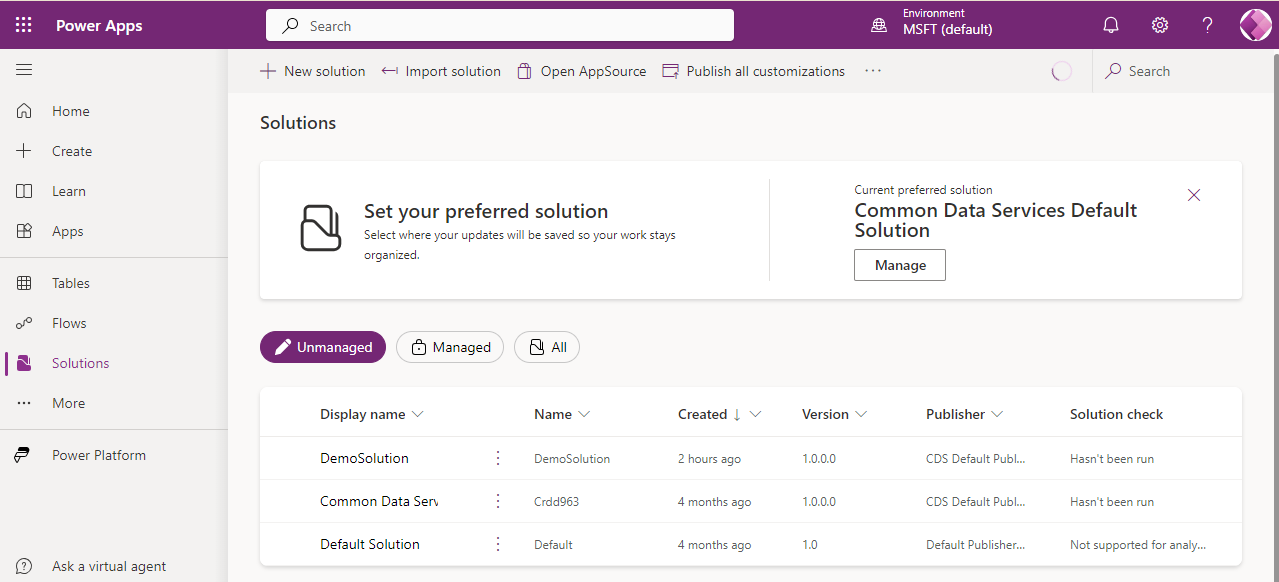
How to create a new publisher while creating a new environment?
Go to: New Solution in Solutions.
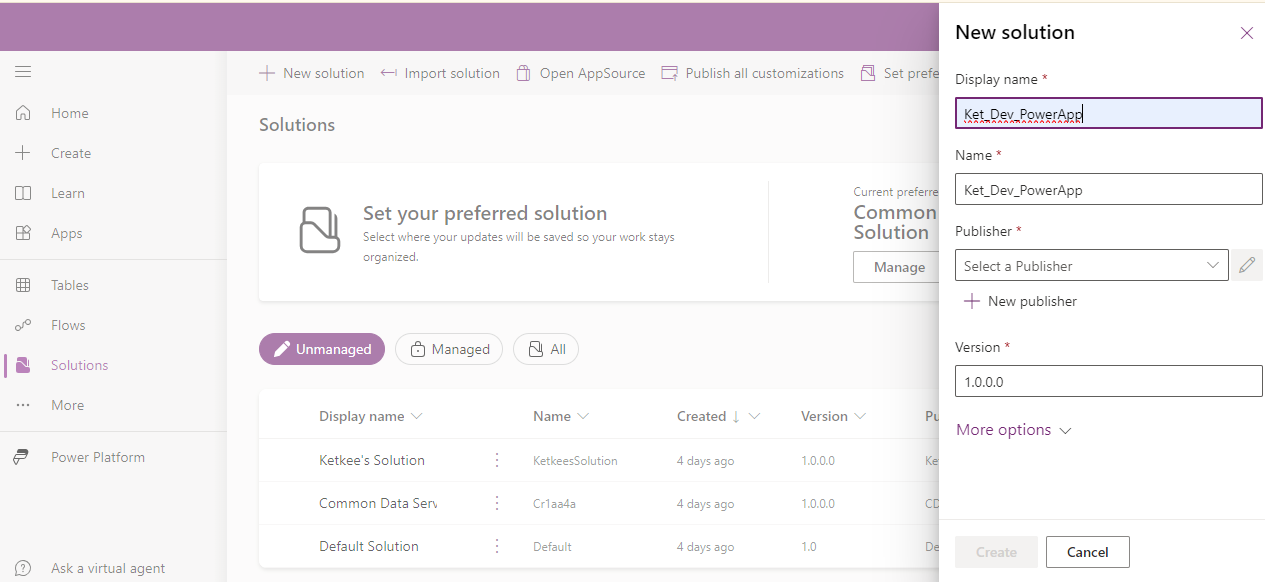
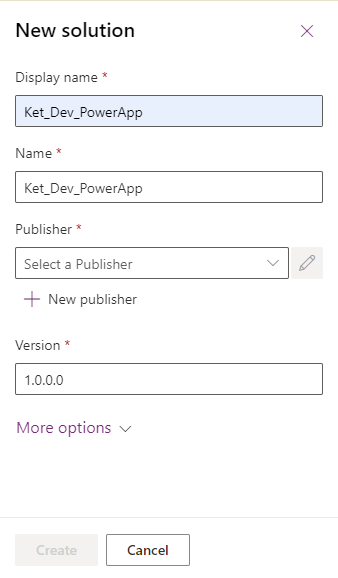
Click on: New Publisher
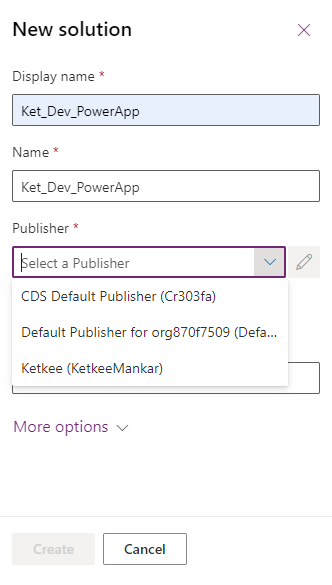
You can also select an existing publisher.
But here we are going to create a new one. As you click on New Publisher, you’ll see the below screen. Insert the appropriate Display name, Name, Description and Prefix.
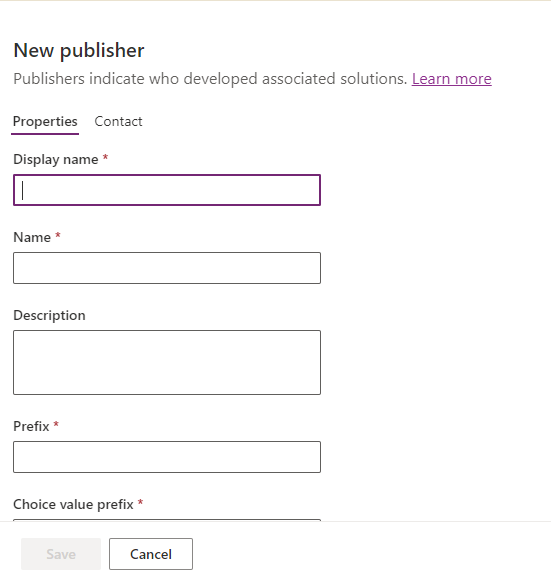
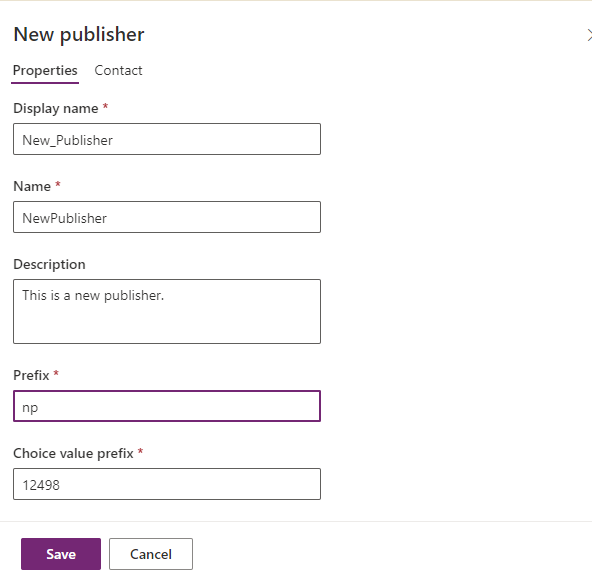
Click on: Save. Your new publisher is ready to use. You can select this publisher later whenever you want to create a new solution.
Before starting a new project in Power Apps:
Collect requirements from the client.
Analyze the requirements and decide whether it is needed to create a Canvas app, Model Driven App, or Power Pages site.
Decide which environment to use if, the client has not given the ready environment (Dev,Sandbox etc.) to you. Create a new environment.
Create a new solution in that environment.
Create a Canvas/Model driven app depending on the client’s need.
Name the app and select the type of app (Tablet or Mobile).
Define Settings.
How to define settings in Power App?
Go to Power App that you have created.
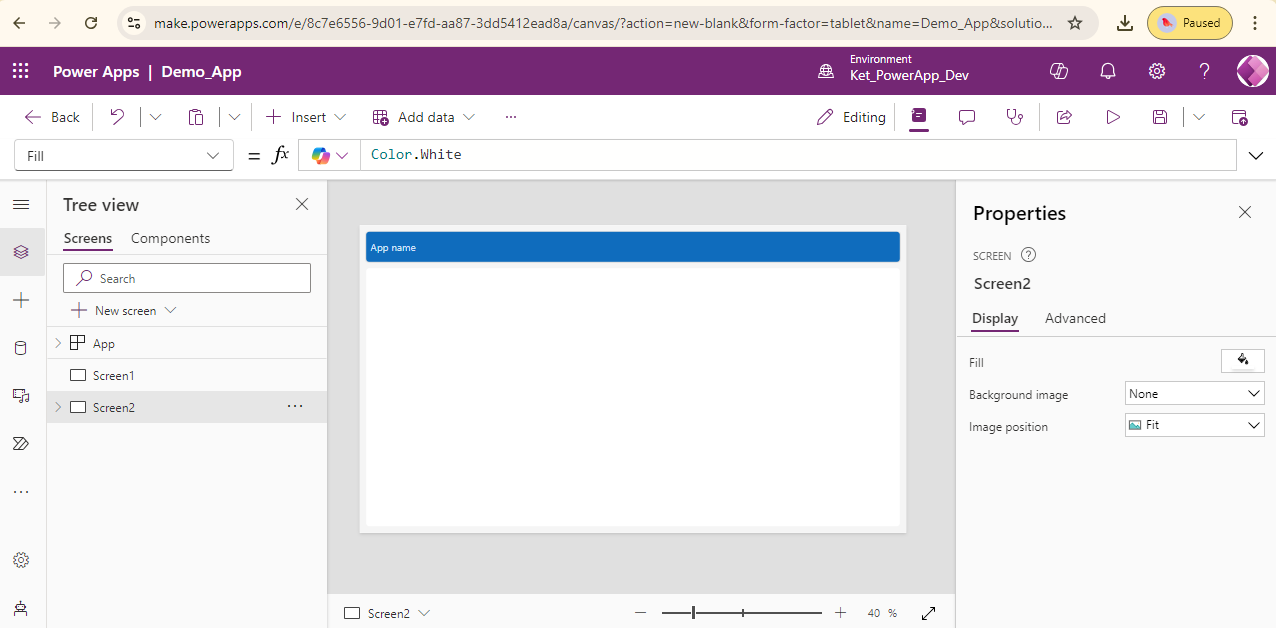
- Click on: three ellipses (…) besides Add data, and you will see a small box with some options to select from.
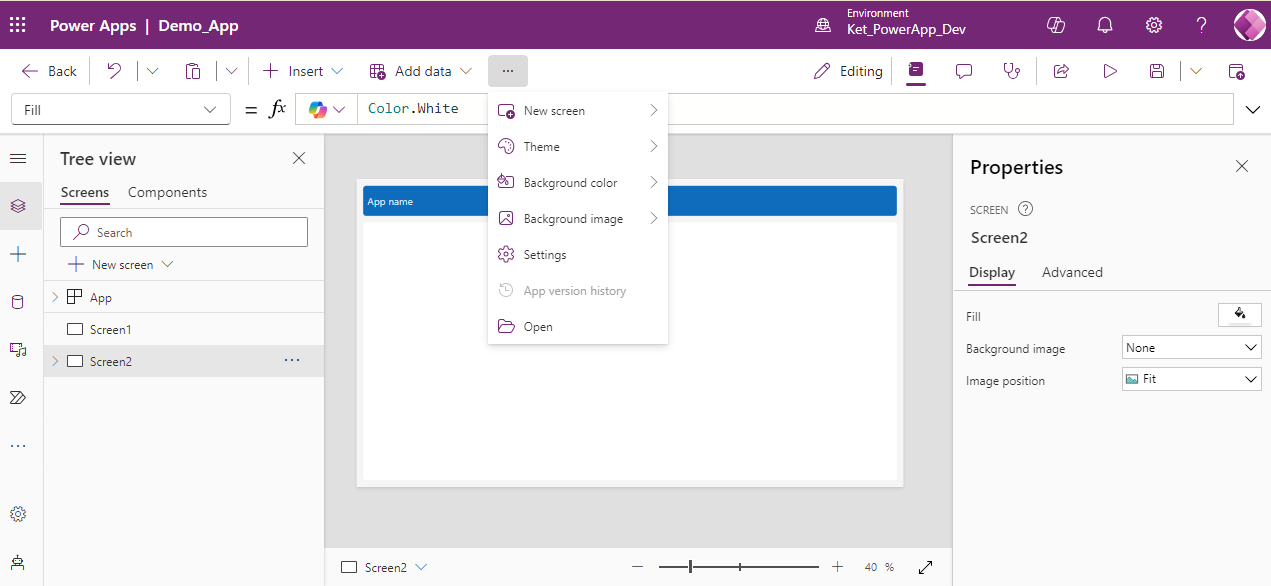
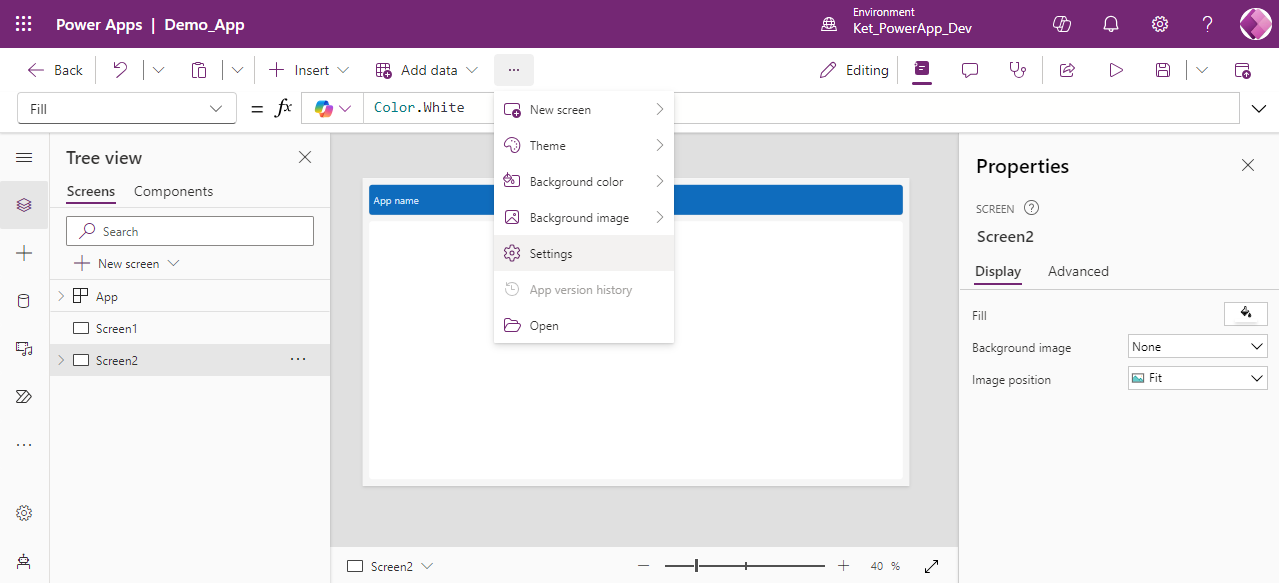
- Click on: Settings.
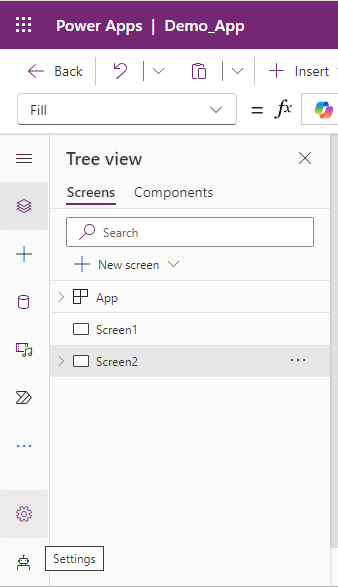
- Other option is to, Click on: gear symbol on the left pane.
- You’ll get to see the below screen:
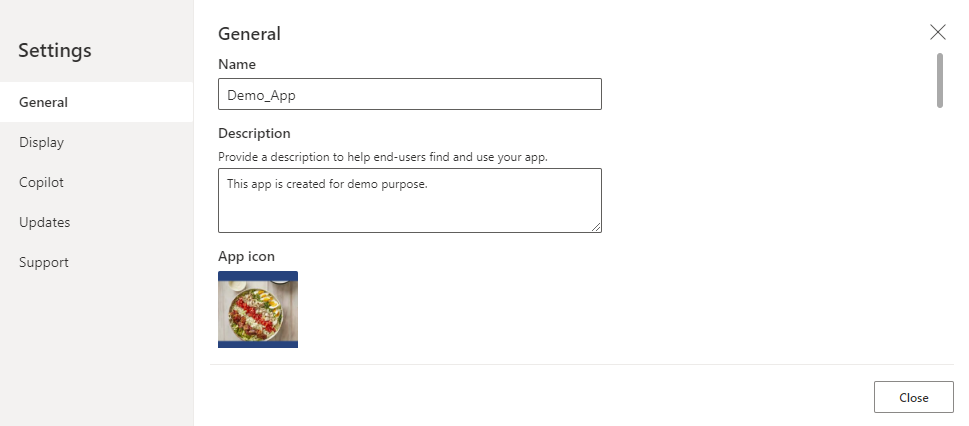
There are 5 different tabs of setting:
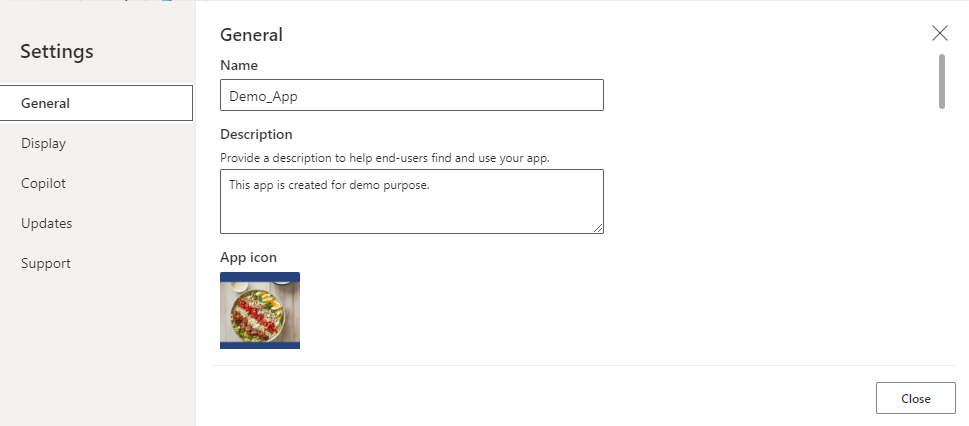
General
Display
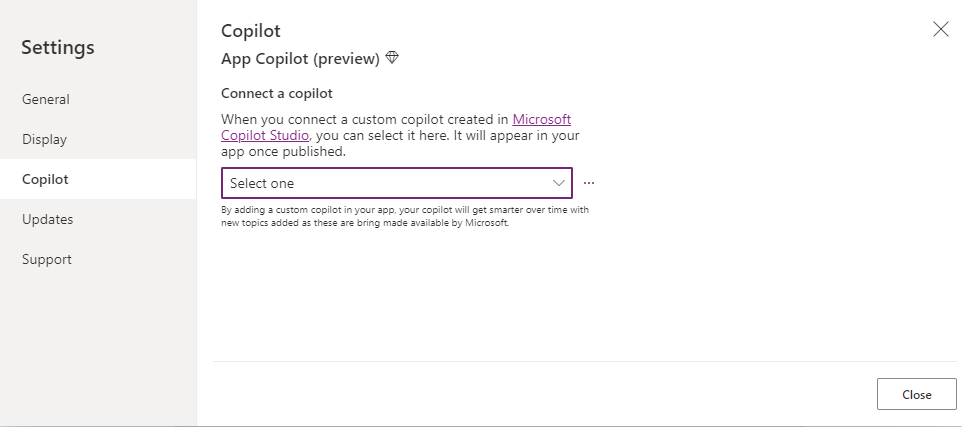
Copilot
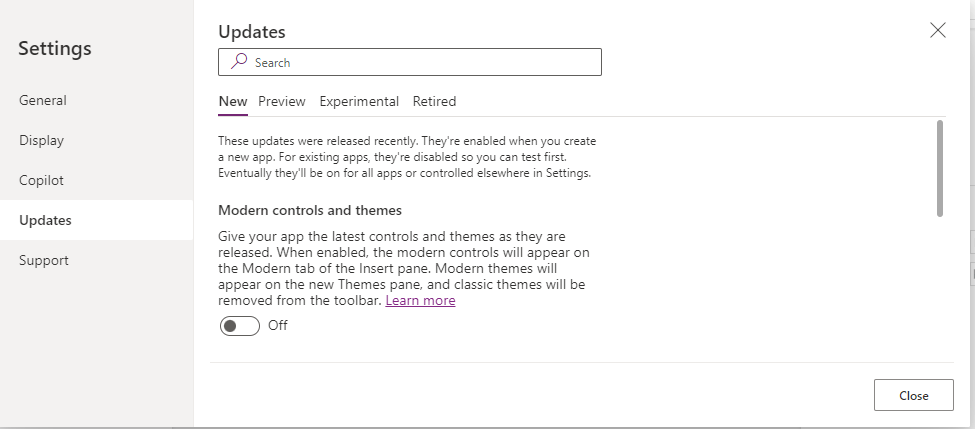
Updates
Support
General Settings include:
Name: To edit or change the name of the app.
Description: To write or modify the description of an app.
App icon: To set or change the app icon. You can add an image of 245×254 px from your computer with either .jpg, .png or .jpeg format.
Icon background fill: You can set the background fill of an icon.
Icon fill: You can set the icon’s fill.
Auto Save: Set it on, if you want to automatically save the changes in the app every two minutes.
Can be used Offline: Set it on, if you want to use an app offline without network connection.
Select offline profile: Offline profiles contain data that will be available offline.
Data row limit: You can set how many rows can be retrieved from the server. minimum limit is 500. We can extend it up to 2000 rows.
Debug Published App: This should be turned on for apps that are under development. This publishes debug information for the app. This should be turned off when the app goes into production.
Automatically create environment variables when adding data sources: If you set it on, it will create environment variables when we connect to data sources. It should be set to on.
Enable App: OnStart Property: Set it, on if you want to use an App: OnStart Property. A better alternative is to use an App.StartScreen to have better results.
Display Settings include:
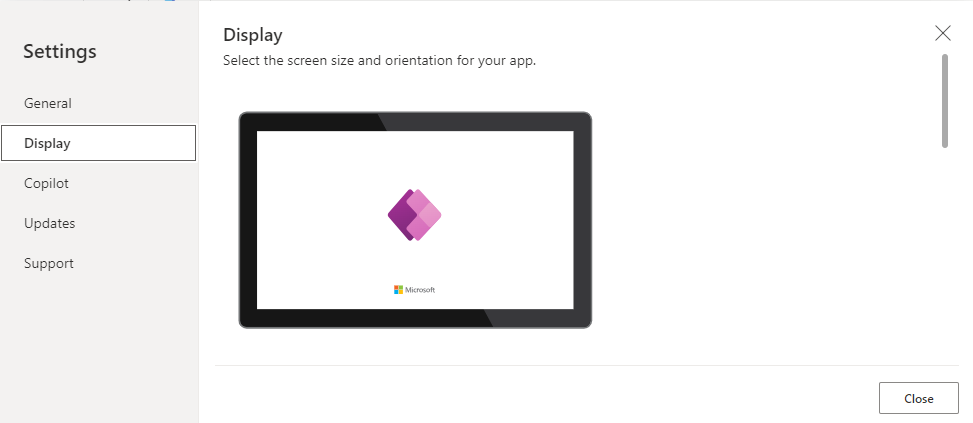
Orientation: Set it landscape or portrait based on your requirement.
Size: Set the size as per your requirement. Default is 16:9.
Scale to fit: Scales the app to fit in an available space. Turn it off if you are building a responsive app.
Lock aspect ratio: Turning it on maintains an aspect ratio between height and width in order to prevent distortion.
Lock orientation: Turning it on keeps the screen in its current orientation even when the device is rotated.
Show mobile device notifications area: Turning this, on will show the notifications on top of the screen. So you can see time and notifications on top.
Copilot Settings include:
Connect a copilot: when you want to connect a copilot, you can select it from here. It will be shown in your app as soon as you publish.
Update Settings: This includes: New, Preview, Experimental, and Retired tabs:
New: This includes new updates released recently.
Preview: This includes the features that are being made available to the users. You can test these settings and give your feedback to Microsoft so that they can change it depending upon your experience. Don’t use this if your app is in the Production phase.
Experimental: This includes the features that are under experimentation. Don’t use this if your app is in the Production phase.
Retired updates: These features are used for old legacy apps that are currently in maintenance state. Don’t use these features for new apps.
Support: This includes support and helpful links from Microsoft for developers.
Controls in Power Apps
There are different controls in Power Apps that we can insert while creating our app.
To insert a control in a Power App,
Go to Power Apps and open your app.
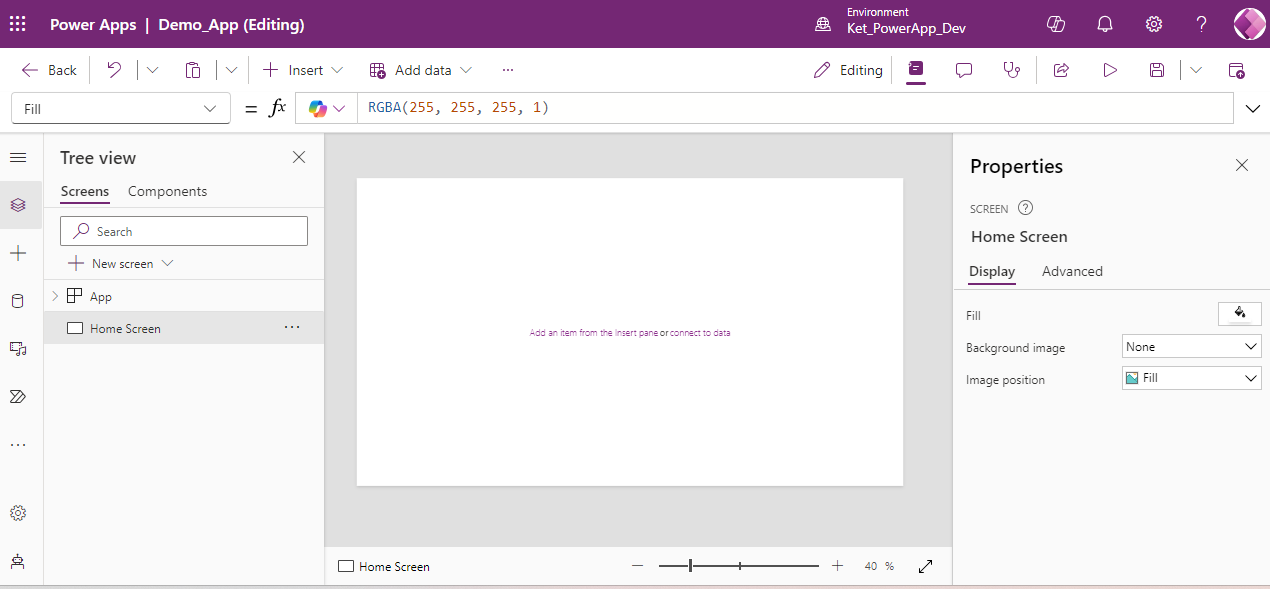
Click on: Insert
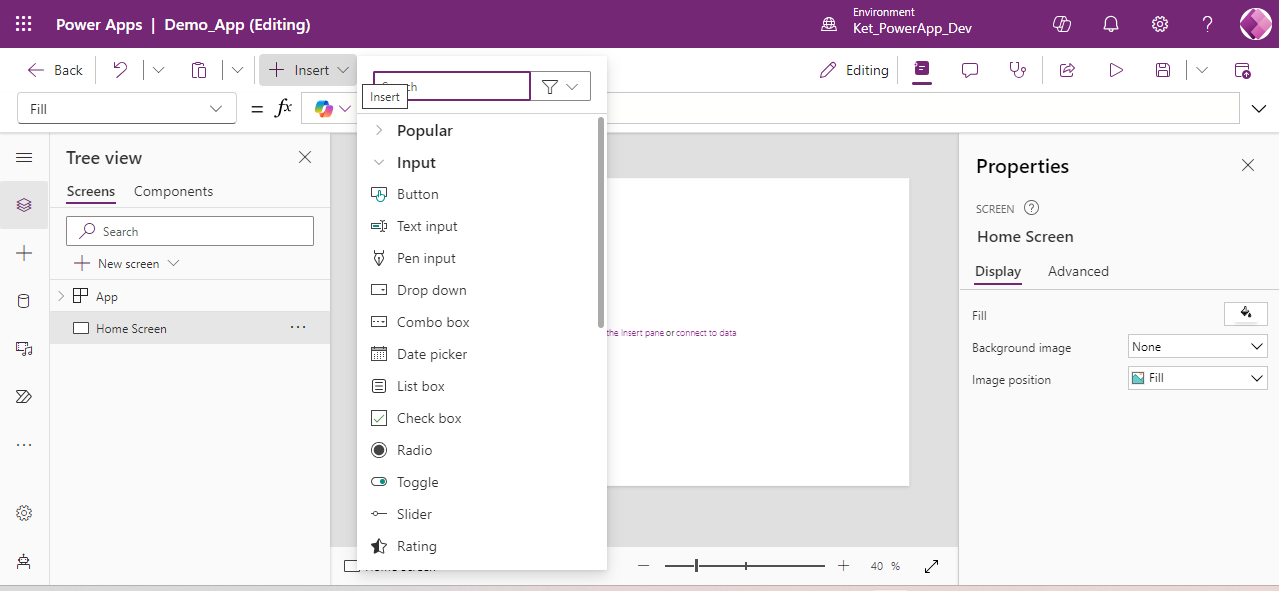
Under Input section, you’ll see different controls that we can use to build an app.
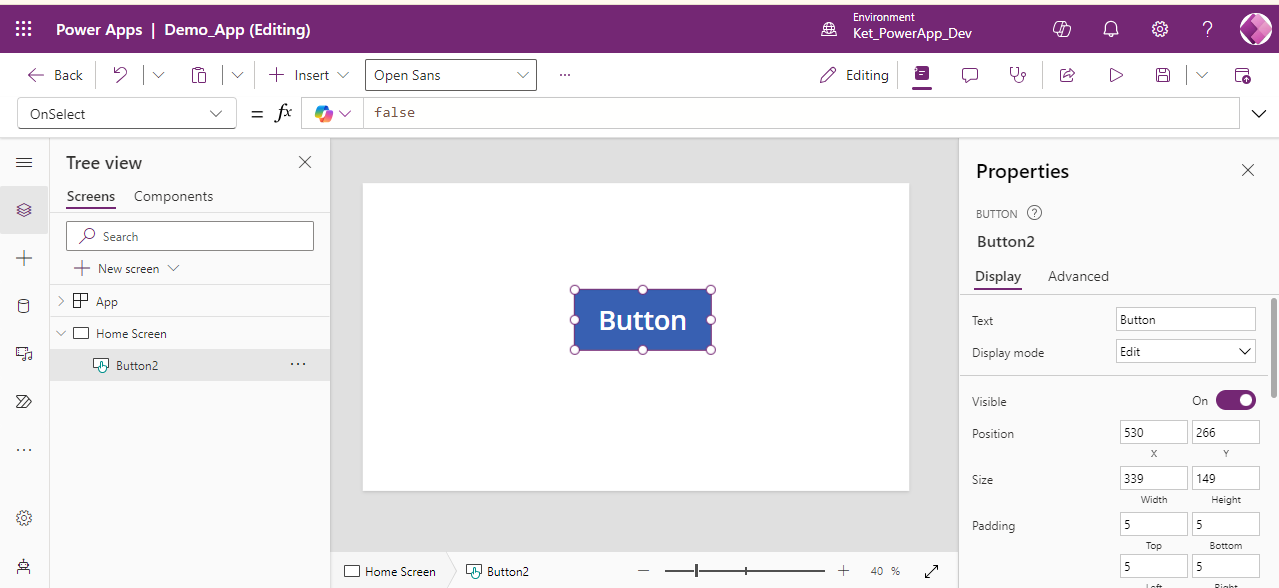
- Insert: Button
It allows to perform an action when we click/tap on it.
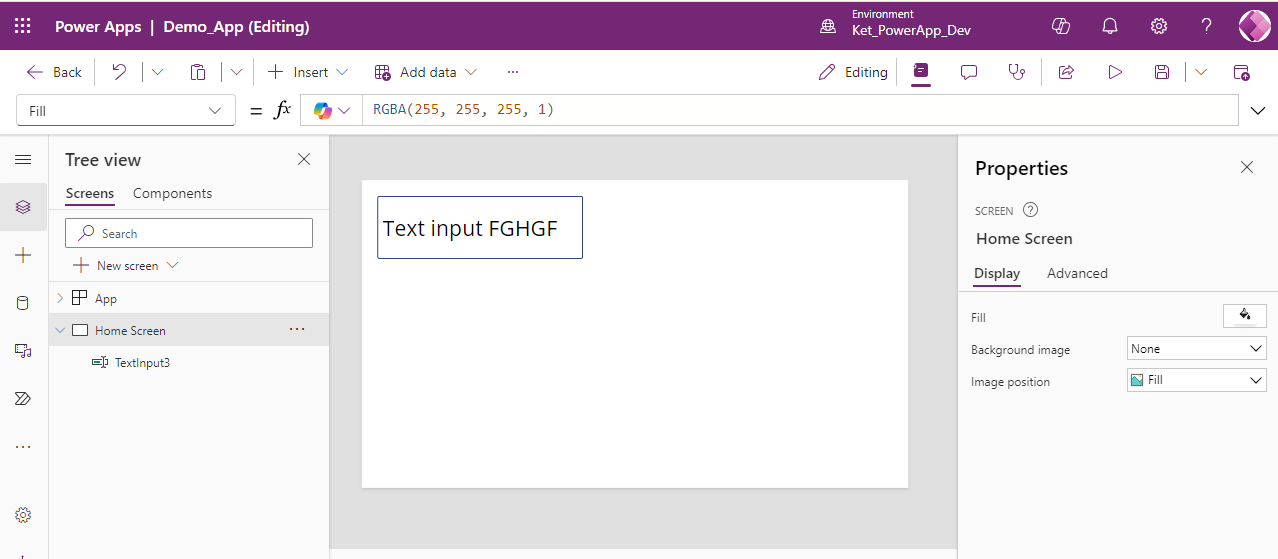
- Text Input: Allows us to input text, numbers, or any other data in the text box.
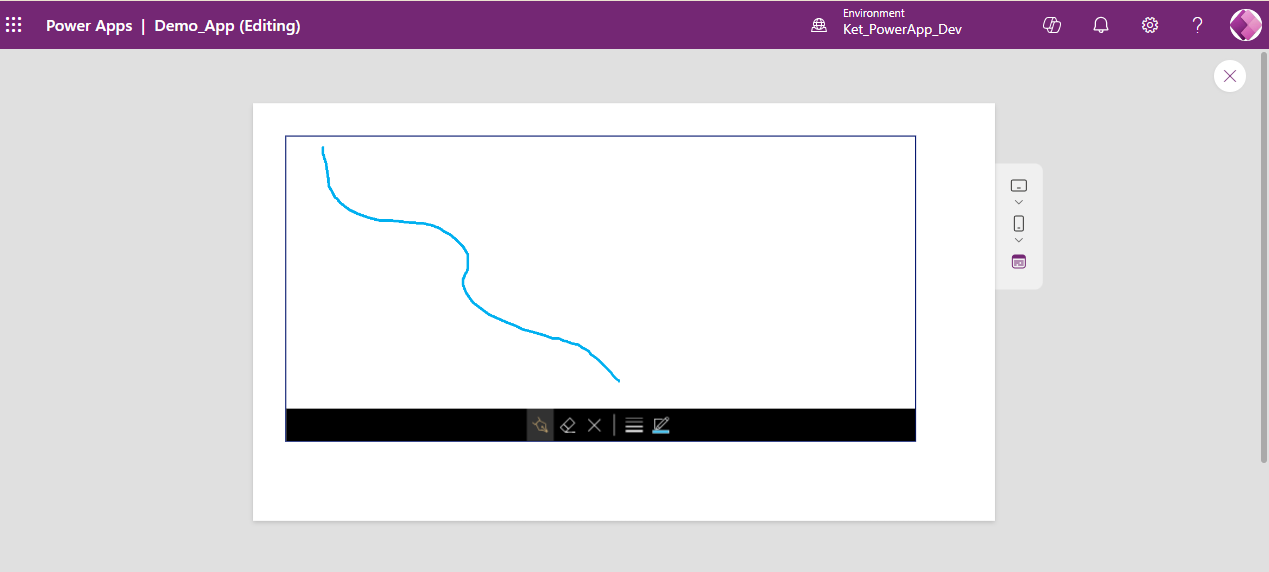
- Pen Input: Allows us to draw, delete, erase, choose color, select size of the line, and highlight areas of an image.
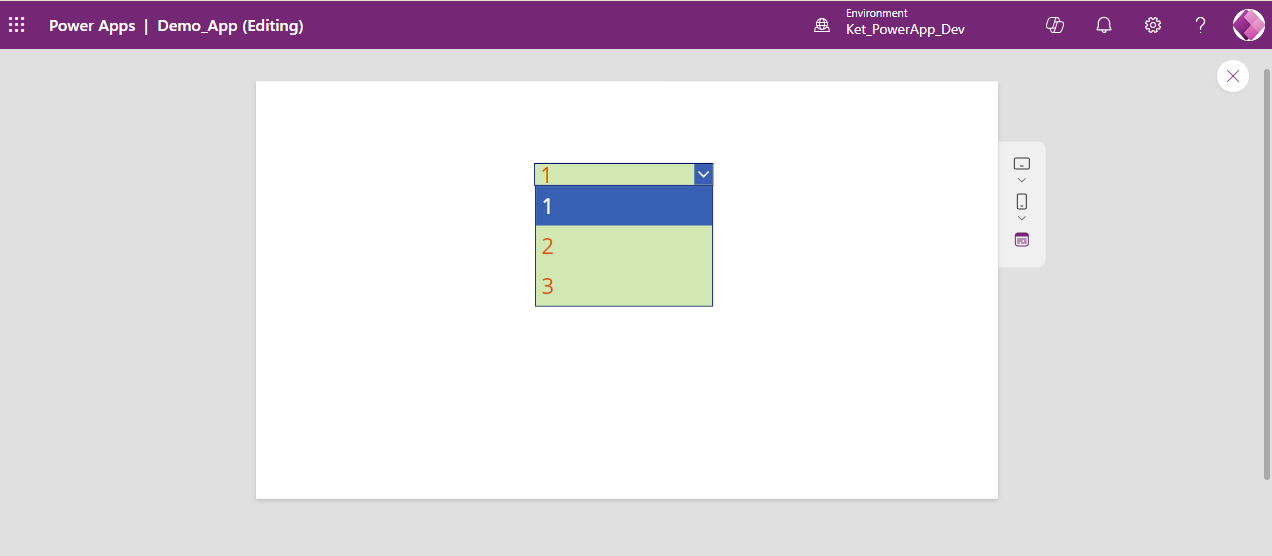
Dropdown: This control is used to select one item from several lists of options shown.
Combo box: This control is used to select multiple options from several options shown. We also have the facility to search from within a list of items.
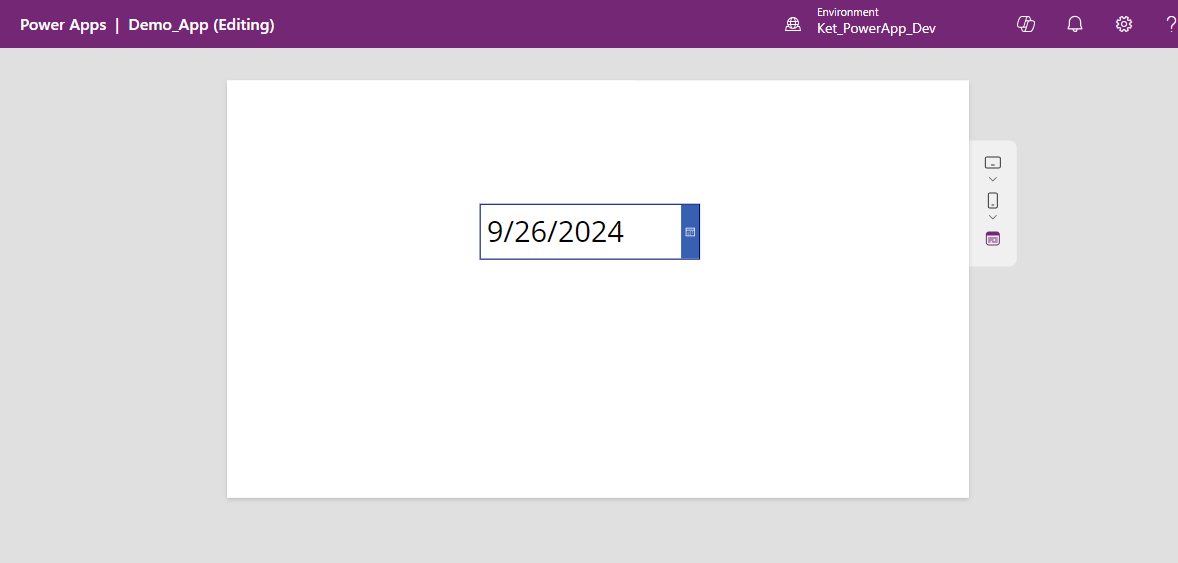
Date Picker: This control is used to pick a date from the calender. By default, it shows today’s date.
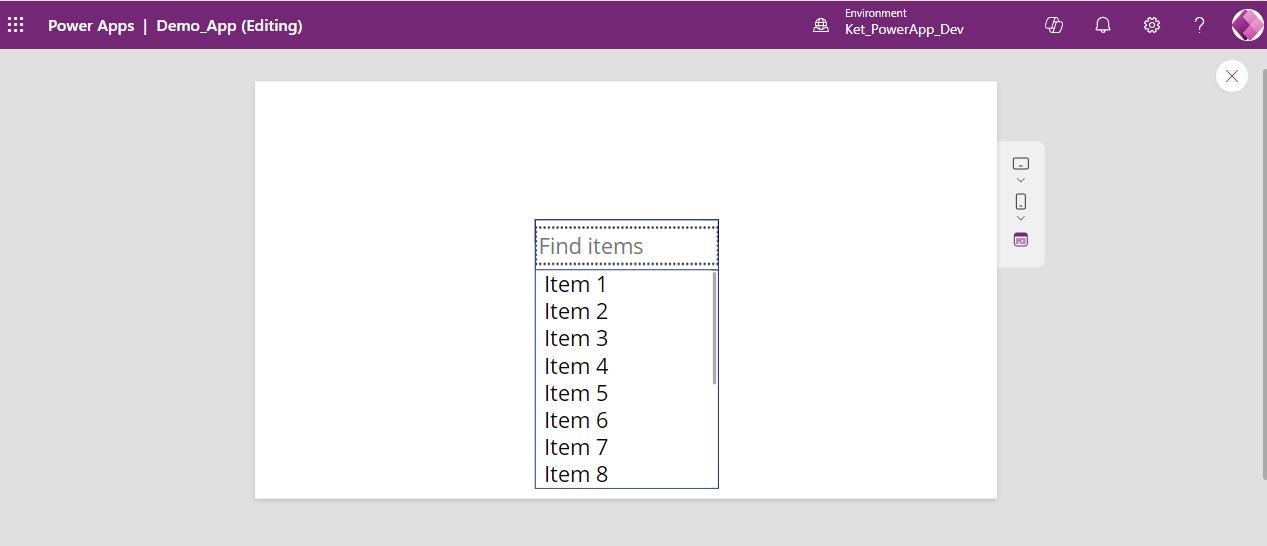
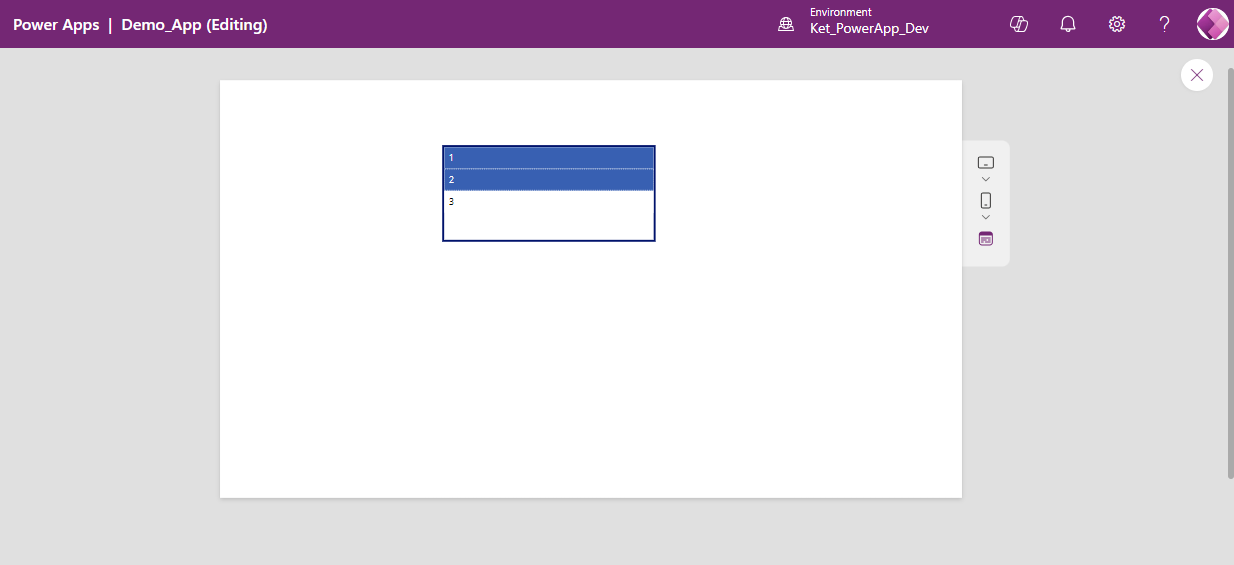
List Box: This control allows us to choose one or more items from the list. The representation of data is like a list.
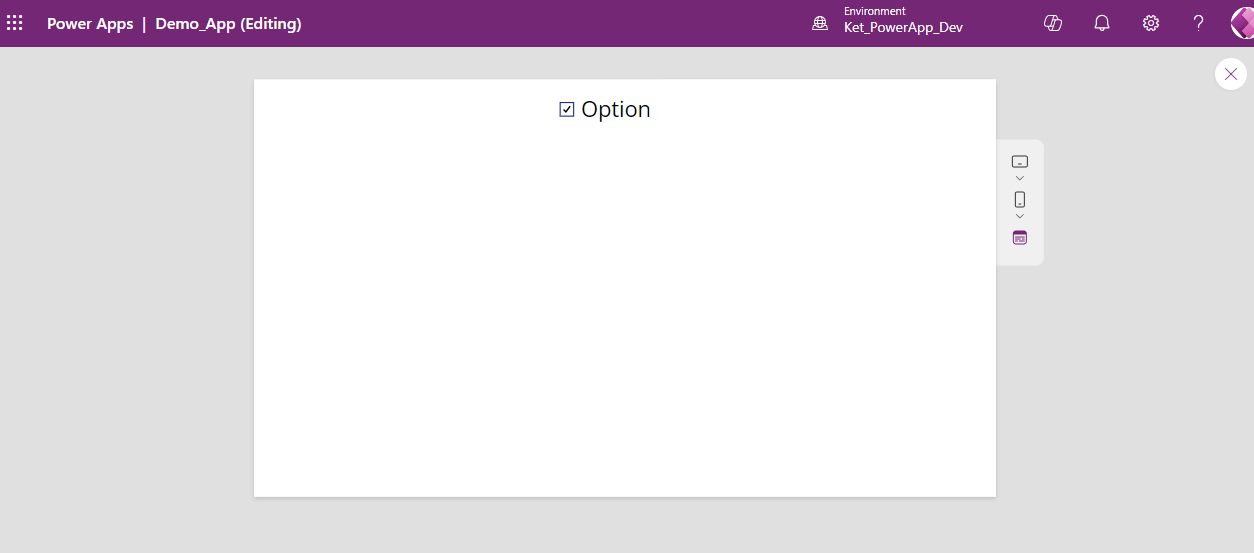
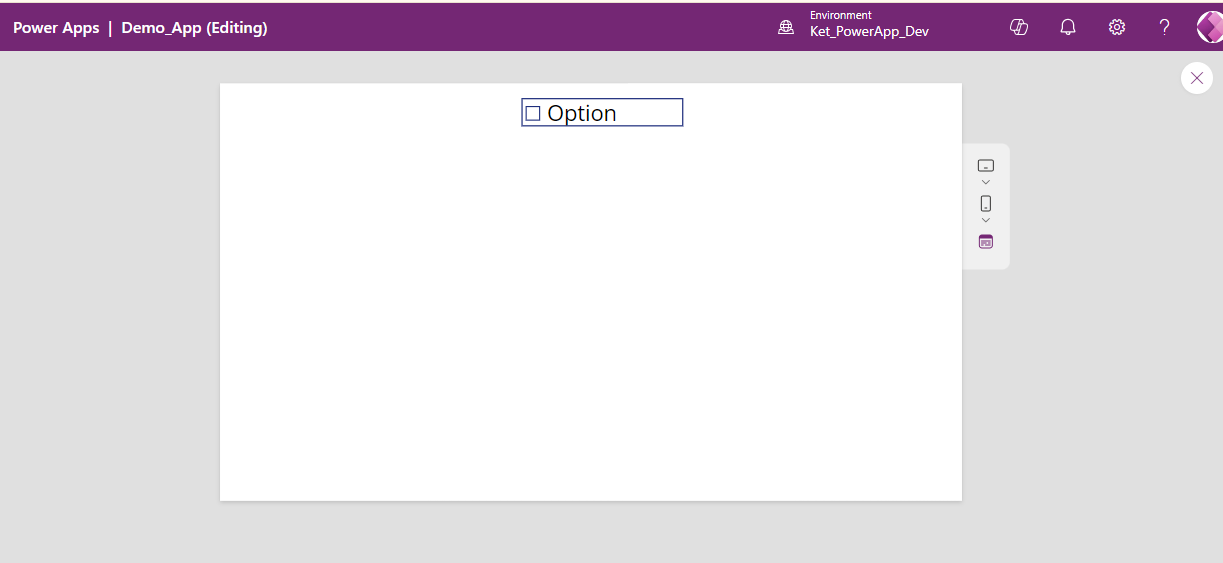
Check Box: This control allows us to set it to true or false by check/uncheck(selecting/clearing) an item.
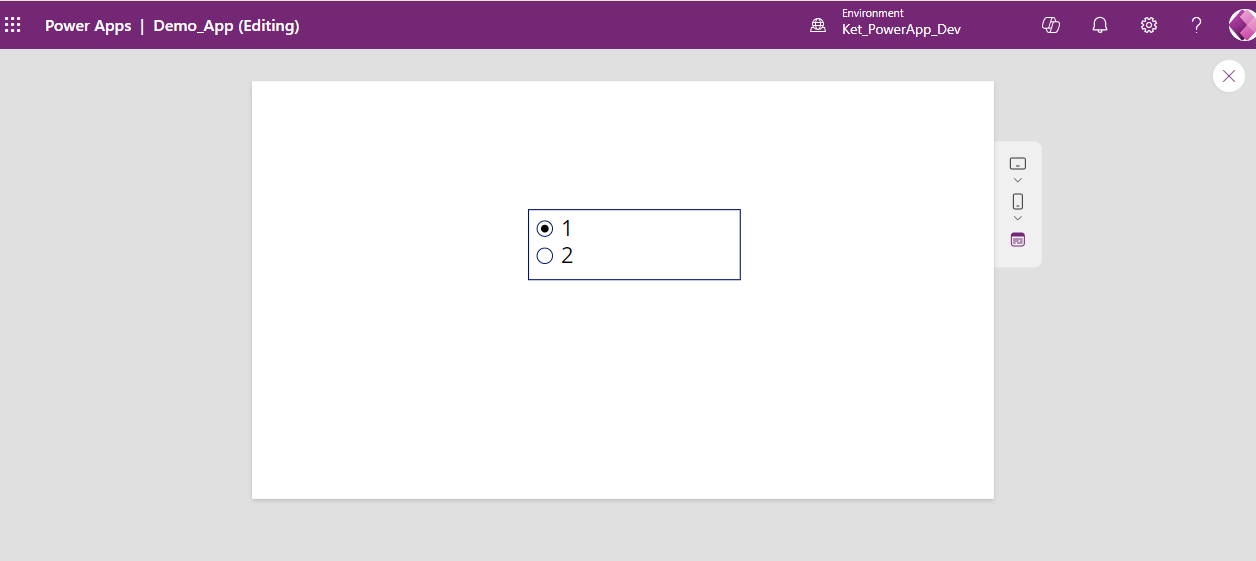
Radio: This control allows us to select/deselect an item from one or more sets of options.
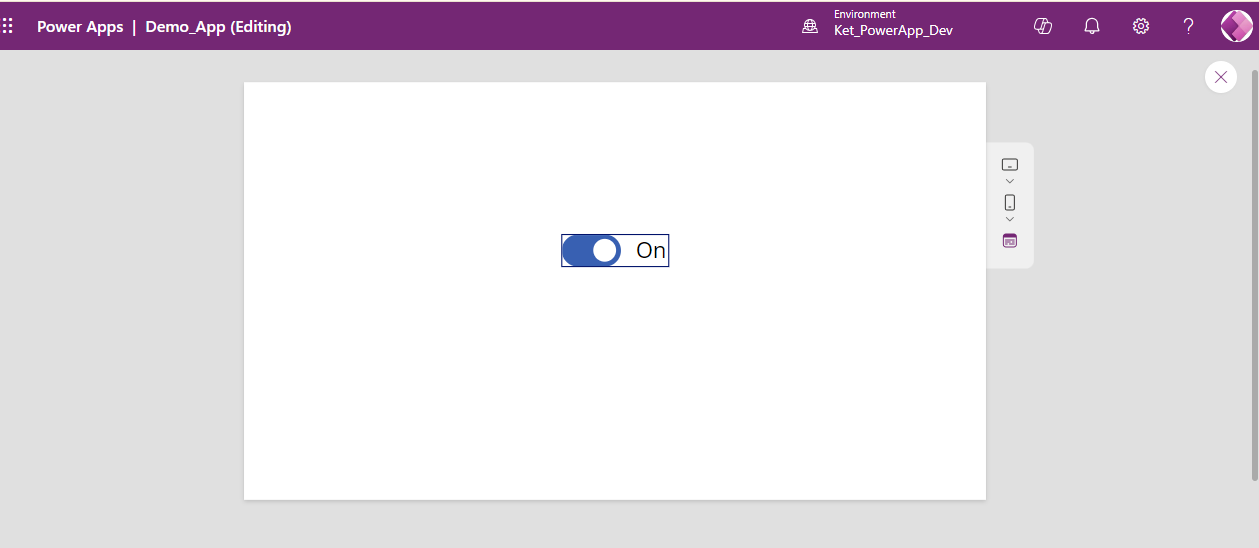
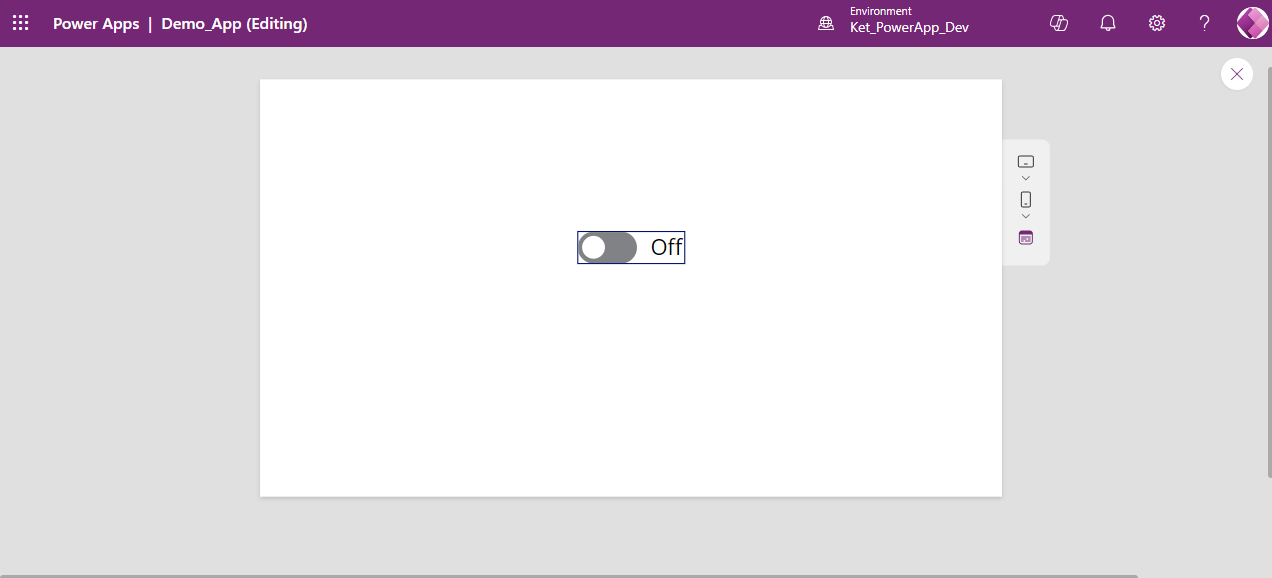
Toggle: This control allows us to show the status of an item On/Off.
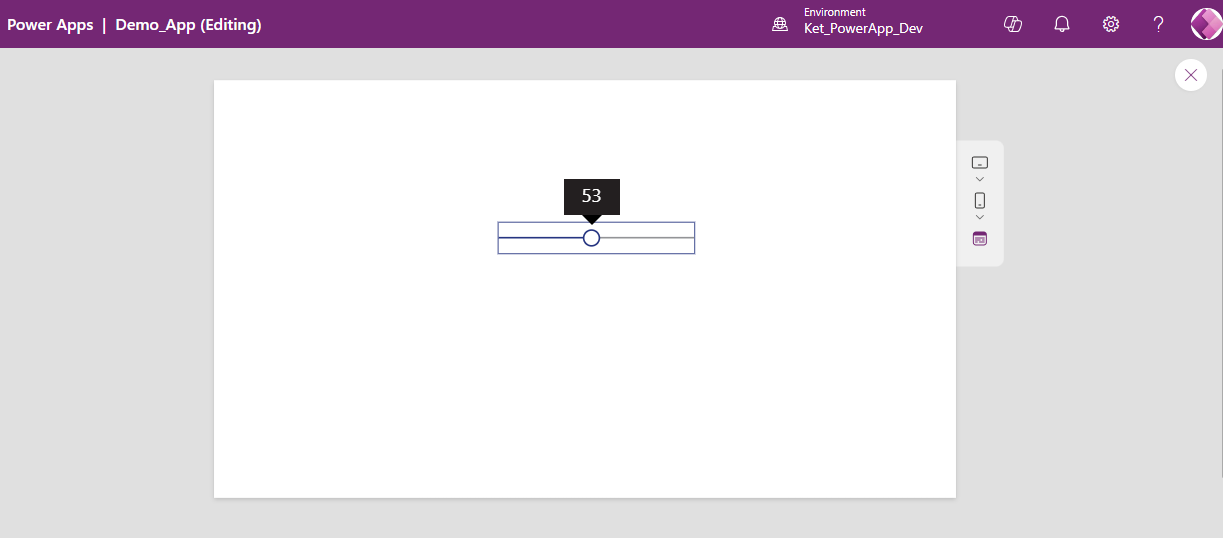
Slider: It allows users to adjust a value by moving a lever.
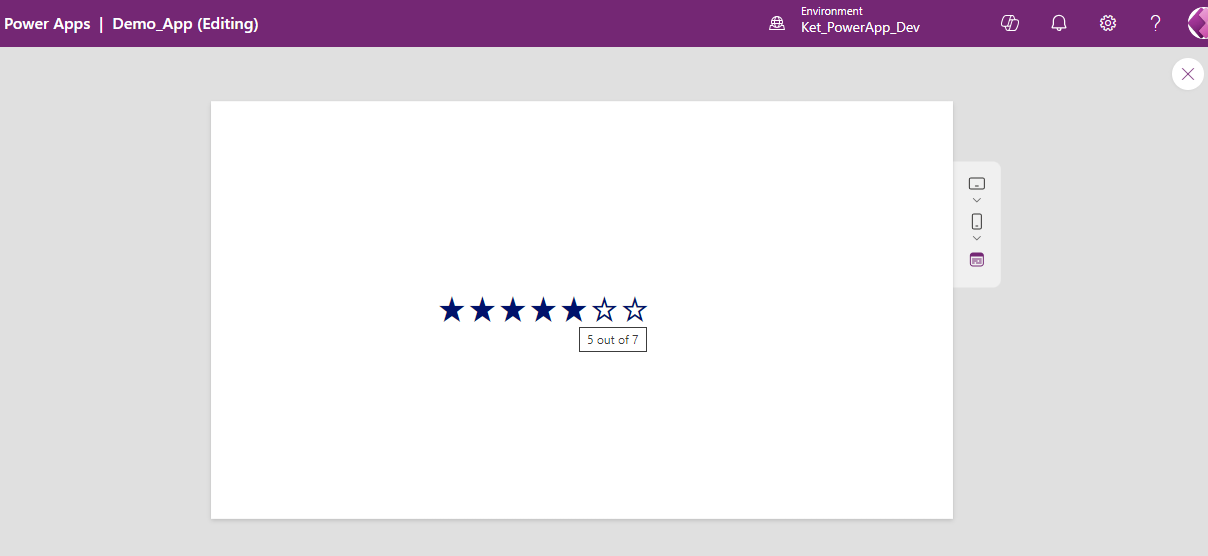
Rating: Allows to choose a star rating.
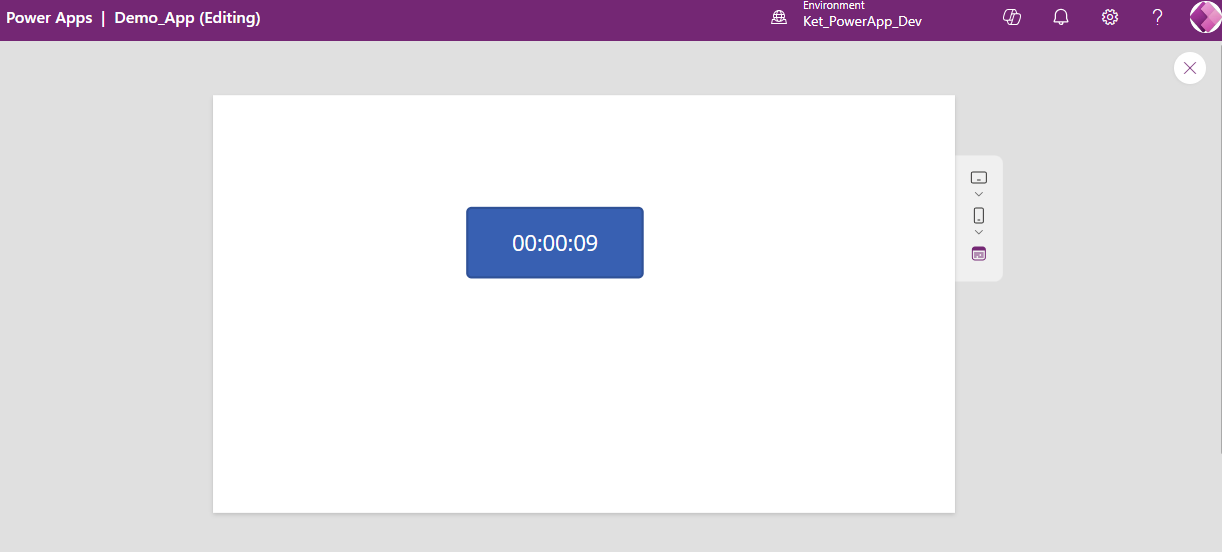
Timer: This shows how your app responds based on how much time has passed.
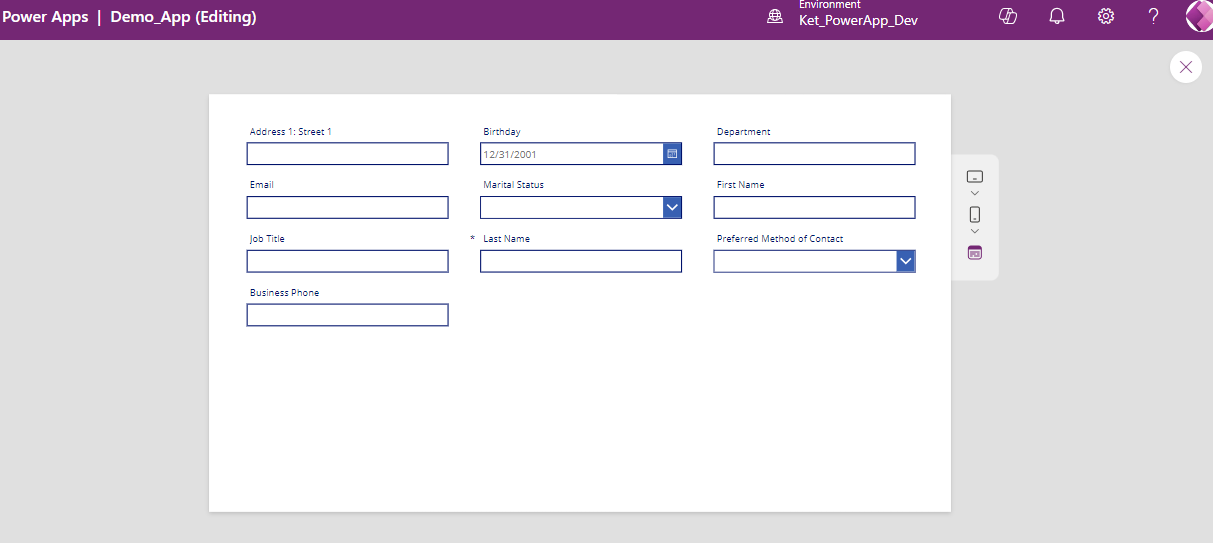
Edit Form: Permits users to edit existing fields and add new data to the data source.
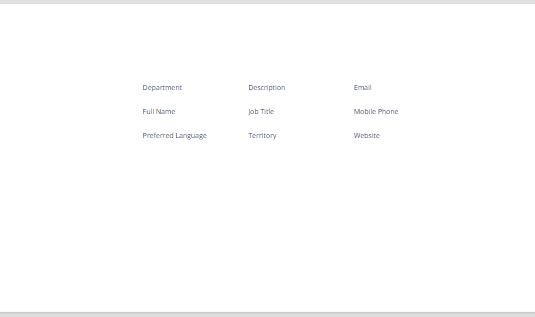
Display Form: Allows us to display the form contents.
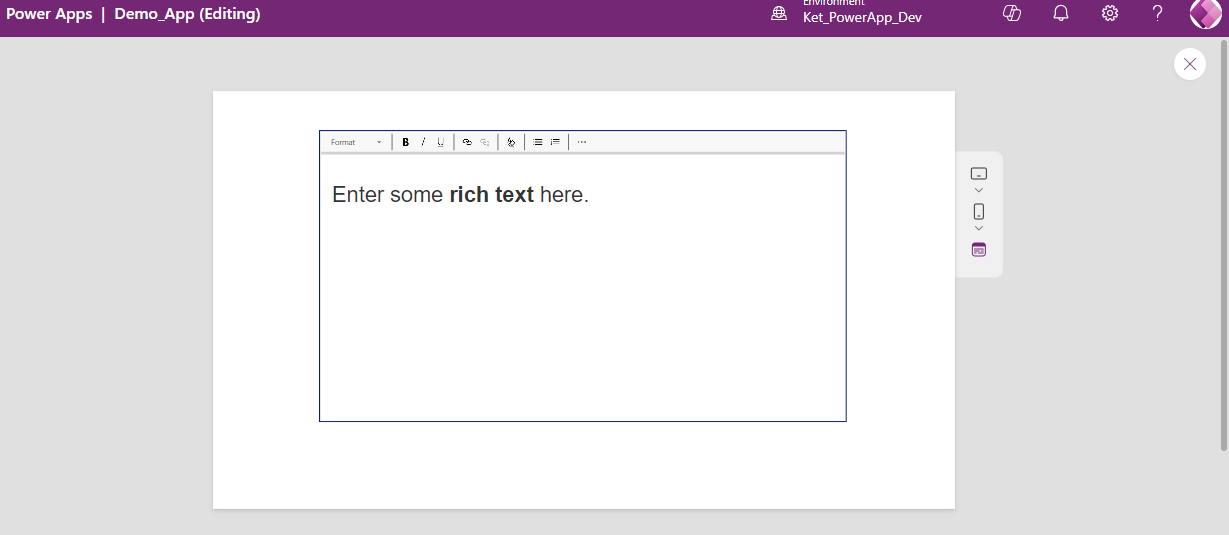
Rich Text Editor: It allows users to hold text, images, and other data in multiple lines.
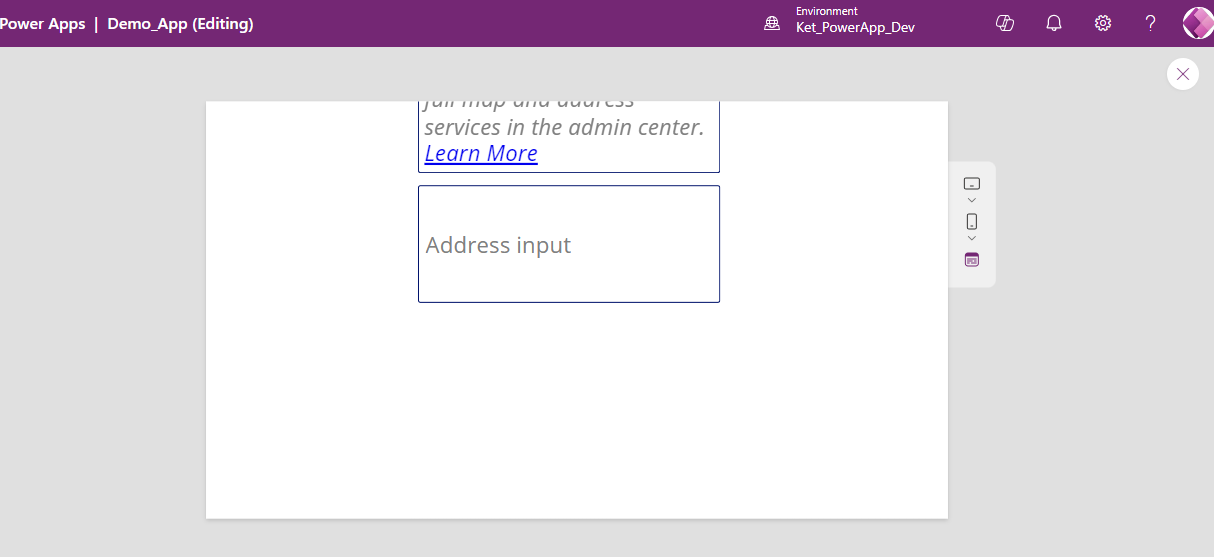
Address Input: It allows to input the address. It is supported by Azure Maps.
Subscribe to my newsletter
Read articles from MicPP directly inside your inbox. Subscribe to the newsletter, and don't miss out.
Written by
MicPP
MicPP
Hello everyone. I am a computer engineer who's passionate about Microsoft Power Platform low code/no code tools. I like to share my knowledge about this domain in simple language. So, here I am! Read and know about Microsoft Power Platform and SharePoint. I would like to know your thoughts and feedback through your comments. Thank you! Enjoy the journey of learning Power Platform.