Installing DNS Server on Ubuntu 22.04 with BIND
 Dinesh Kumar K
Domain Name System (DNS) is a critical service for the internet that translates human-friendly domain names (like www.example.com) into IP addresses (like 192.168.1.1) that computers use to communicate. In this guide, we’ll walk through setting up a DNS server on a Linux system using BIND (Berkeley Internet Name Domain), one of the most widely used DNS server software.
Step 1: Update System Packages
sudo apt update
Step 2: Install BIND
First, we need to install the BIND software package. This can be done using the default package manager of your Linux distribution.
sudo apt install bind9 bind9utils bind9-doc -y

Once installed, the BIND service will automatically start. You can check the status by running:
sudo systemctl status bind9

Step 3: Configure BIND9
Now, let’s configure BIND9 to act as a DNS server for your domain. We’ll be configuring it as a master DNS server for the domain example.com.
3.1. Define DNS Zone
Zones are used to define the DNS records for a particular domain. Start by editing the configuration file:
sudo nano /etc/bind/named.conf.local
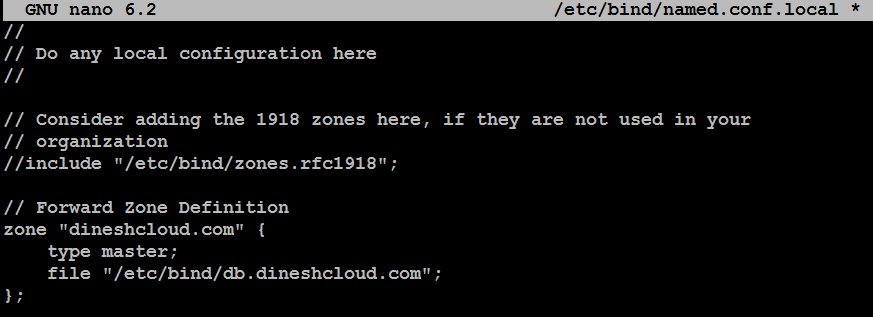
Add the following lines to define the zone for example.com:
// Forward Zone Definition
zone "example.com" {
    type master;
    file "/etc/bind/db.example.com";
};
3.2. Create Forward Zone File
Next, create the forward zone file where DNS records for your domain will be stored:
sudo cp /etc/bind/db.local /etc/bind/db.example.com

Open the zone file for editing:
sudo nano /etc/bind/db.example.com
sudo nano /etc/bind/db.dineshcloud.com
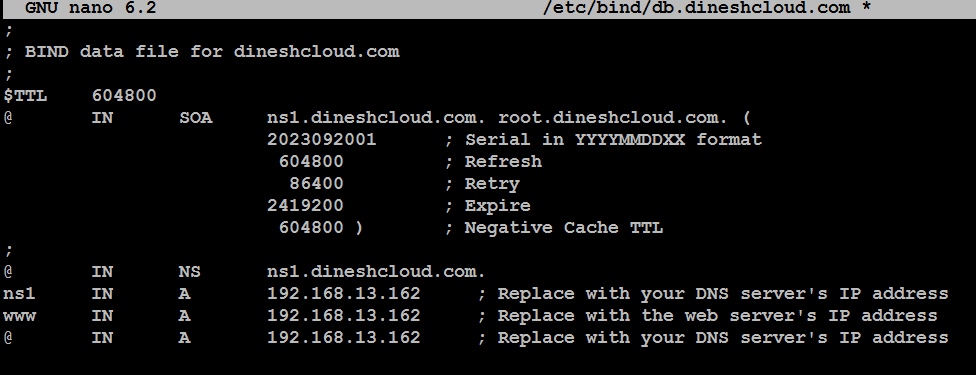
Replace the placeholder values with your own. Here’s an example:
;
; BIND data file for dineshcloud.com
;
$TTL    604800
@       IN      SOA     ns1.dineshcloud.com. root.dineshcloud.com. (
                        2023092001      ; Serial in YYYYMMDDXX format
                         604800         ; Refresh
                          86400         ; Retry
                        2419200         ; Expire
                         604800 )       ; Negative Cache TTL
;
@       IN      NS      ns1.dineshcloud.com.
ns1     IN      A       192.168.13.162     ; Replace with your DNS server's IP address
www     IN      A       192.168.13.162     ; Replace with the web server's IP address
@       IN      A       192.168.13.162     ; Replace with your DNS server's IP address
3.3. Reverse Zone Configuration (Optional)
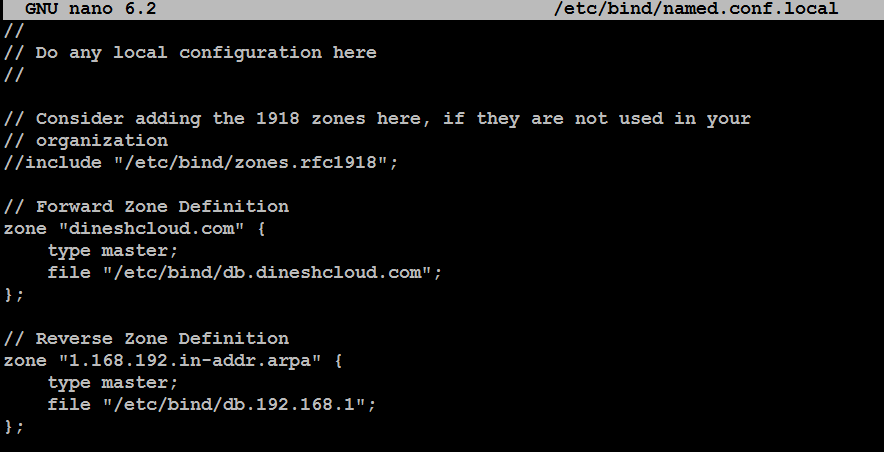
To enable reverse DNS lookup (mapping IP addresses to domain names), add a reverse zone to the named.conf.local file:
// Reverse Zone Definition
zone "1.168.192.in-addr.arpa" {
    type master;
    file "/etc/bind/db.192.168.1";
};
Now, create the reverse zone file:
sudo cp /etc/bind/db.127 /etc/bind/db.192.168.1

Open the zone file for editing:
sudo nano /etc/bind/db.192.168.1
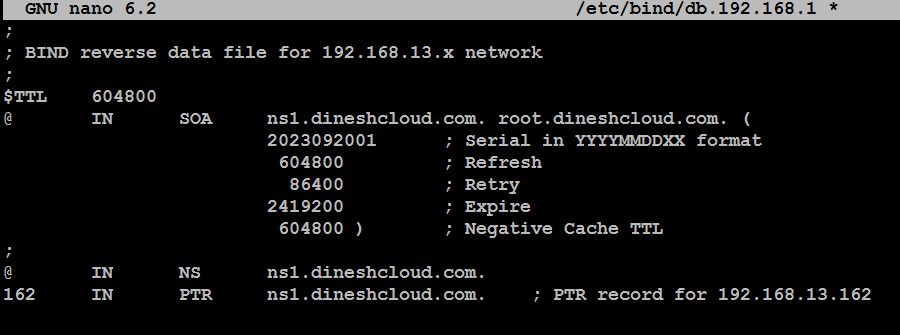
Edit the file as shown below:
;
; BIND reverse data file for 192.168.13.x network
;
$TTL    604800
@       IN      SOA     ns1.dineshcloud.com. root.dineshcloud.com. (
                        2023092001      ; Serial in YYYYMMDDXX format
                         604800         ; Refresh
                          86400         ; Retry
                        2419200         ; Expire
                         604800 )       ; Negative Cache TTL
;
@       IN      NS      ns1.dineshcloud.com.
162     IN      PTR     ns1.dineshcloud.com.    ; PTR record for 192.168.13.162
In this configuration, 10 IN PTR example.com. maps the IP address 192.168.1.10 back to example.com.
Step 4: Check Configuration
To verify that your configuration files are correct, run the following command:
sudo named-checkconf
sudo named-checkzone example.com /etc/bind/db.example.com
sudo named-checkzone 1.168.192.in-addr.arpa /etc/bind/db.192.168.1

If there are no errors, you can restart BIND9:
sudo systemctl restart bind9
Step 5: Configure DNS Clients
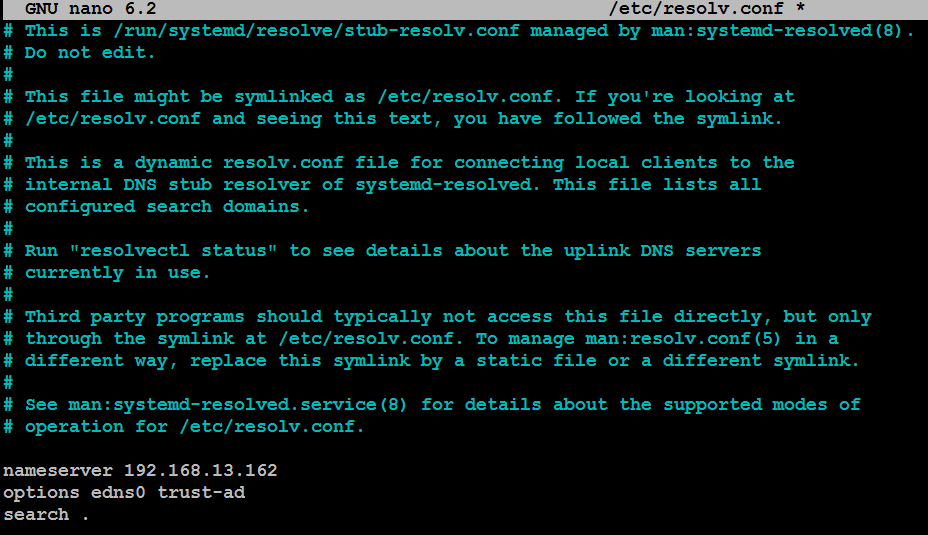
For your Ubuntu server to resolve domain names using your DNS server, update the /etc/resolv.conf file with your DNS server’s IP:
sudo nano /etc/resolv.conf
Add the following line:
nameserver 192.168.13.162
After making any changes, restart or reload the BIND service to apply them:
sudo systemctl restart bind9
Step 6: Test DNS Server
To ensure your DNS server is functioning correctly, you can use the dig command:
dig example.com
This should return the A record for example.com, as defined in your zone file.
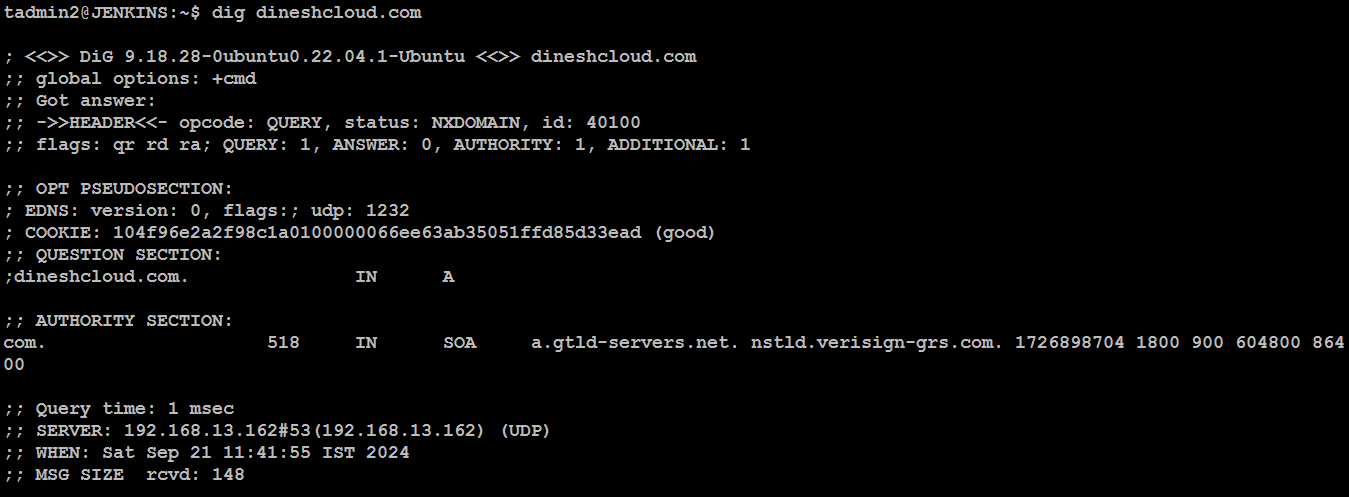
Use the nslookup command to query your DNS server directly
nslookup dineshcloud.com

ping dineshcloud.com

Conclusion
Congratulations! You have successfully set up a DNS server on Ubuntu using BIND9. This basic configuration will allow you to manage DNS records for your domain and serve them to clients. For more advanced features like DNSSEC or caching, BIND9 offers extensive documentation to explore further.
Subscribe to my newsletter
Read articles from Dinesh Kumar K directly inside your inbox. Subscribe to the newsletter, and don't miss out.
Written by

Dinesh Kumar K
Dinesh Kumar K
Hi there! I'm Dinesh, a passionate Cloud and DevOps enthusiast. I love to dive into the latest new technologies and sharing my journey through blog.