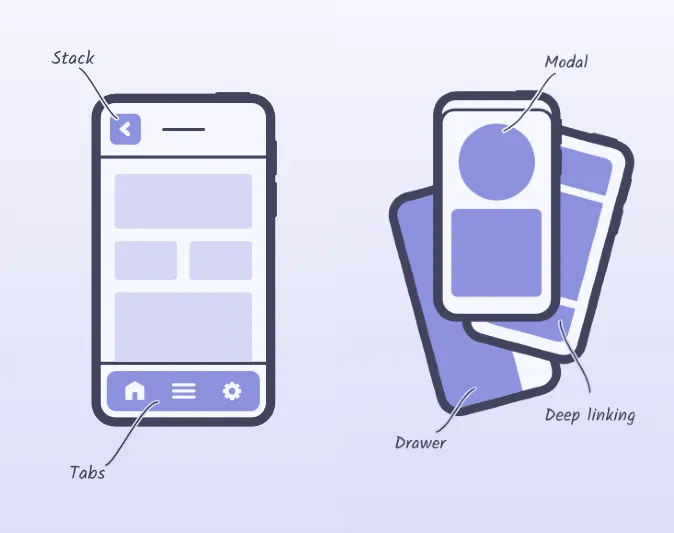
Simplifying React Native App Navigation with Expo Router: Slot vs Stack.Screen
 Prakash Das
When developing mobile applications with React Native, managing navigation between screens is a crucial part of the user experience. While React Native provides basic navigation tools, Expo Router offers a streamlined way to manage routing, significantly reducing the amount of boilerplate code and improving maintainability. In this post, we'll explore two important concepts in Expo Router: Slot and Stack.Screen, and how they simplify navigation in React Native apps.
Step 1: Setting Up the Expo Project
First, let's set up an Expo project using the latest version of expo-router. Here's how you can initialize a new project:
npx create-expo-app@latest
npx expo install expo-router react-native-safe-area-context react-native-screens expo-linking expo-constants expo-status-bar
Next, make sure the entry point in your package.json is set correctly:
"main": "expo-router/entry",
In app.json, ensure the scheme is set to handle deep linking for opening specific screens directly from URLs or other apps:
{
  "expo": {
    "scheme": "aora",
    "name": "Aora",
    "slug": "aora"
  }
}
Deep linking allows your app to be opened on a specific screen from external sources like a web page, email, or another app.
Run the app using the following command to clear the cache:
npx expo start -c
This ensures the app is clean and free of any old cached bundles.
Step 2: Basic Layout with Expo Router
To begin, let's create a simple layout for your app in app/_layout.tsx:
import { StyleSheet, Text, View } from 'react-native';
import { StatusBar } from 'expo-status-bar';

export default function App() {
  return (
    <View style={styles.container}>
      <Text>Aora! hey!</Text>
      <StatusBar style="auto" />
    </View>
  );
}

const styles = StyleSheet.create({
  container: {
    flex: 1,
    backgroundColor: '#fff',
    alignItems: 'center',
    justifyContent: 'center',
  },
});
You can copy this code into app/index.jsx to define the main content of your app.
Step 3: Simplifying Navigation with Slot
By default, managing layouts in React Native can lead to repetitive code. The Slot component from expo-router eliminates this by dynamically rendering different components or screens based on the route, without manually specifying each one. Here’s how you can refactor your layout using Slot:
import { Slot } from 'expo-router';

const RootLayout = () => {
  return <Slot />;
};

export default RootLayout;
By using Slot, you avoid hardcoding each screen in your layout. Instead, Expo Router will automatically handle navigation based on your app's structure, significantly reducing code complexity. This is especially helpful when dealing with nested routes or screens.
Step 4: Introducing Stack for Better User Experience
While Slot simplifies routing, it lacks built-in navigation controls, such as a back button. For apps that require more control over navigation transitions, the Stack component from Expo Router is the solution.
Here’s an updated version of the layout using Stack and Stack.Screen:
import { Stack } from 'expo-router';

const RootLayout = () => {
  return (
    <Stack>
      <Stack.Screen name="index" options={{ headerShown: false }} />
    </Stack>
  );
};

export default RootLayout;
With Stack.Screen, you not only load the correct component but also provide built-in navigation controls like a back button, which enhances the user experience. The user can navigate between pages (e.g., from Home to Profile) and easily return to the previous screen using this control.
Slot vs. Stack.Screen
Slot:
Simplifies routing by dynamically loading the appropriate component for each route.
However, it lacks built-in navigation UI, like a back button, so users can't easily return to the previous screen when navigating between pages.
Stack.Screen:
Offers more control over navigation by providing a stack-based layout.
Includes features like automatic transitions and a back button, making it easier for users to move between screens smoothly.
Conclusion
Choosing between Slot and Stack.Screen depends on the specific needs of your app. If simplicity and reduced code are your priorities, Slot is a great option. However, if your app requires a more sophisticated user experience with navigation controls, Stack.Screen is the way to go.
By leveraging these two tools from Expo Router, you can build more efficient, maintainable, and user-friendly React Native apps. The flexibility to mix and match these components allows you to handle both simple and complex navigation scenarios with ease.
Stay tuned for more updates on how you can streamline your React Native development process! Happy coding!
Subscribe to my newsletter
Read articles from Prakash Das directly inside your inbox. Subscribe to the newsletter, and don't miss out.
Written by

Prakash Das
Prakash Das
Software Engineer, focused on building and designing accessible, human-centered products and digital experiences