Deploying a MEAN Stack on AWS EC2 with Self-Hosted MongoDB: A Step-by-Step Guide
 Engr. Animashaun Fisayo Michael
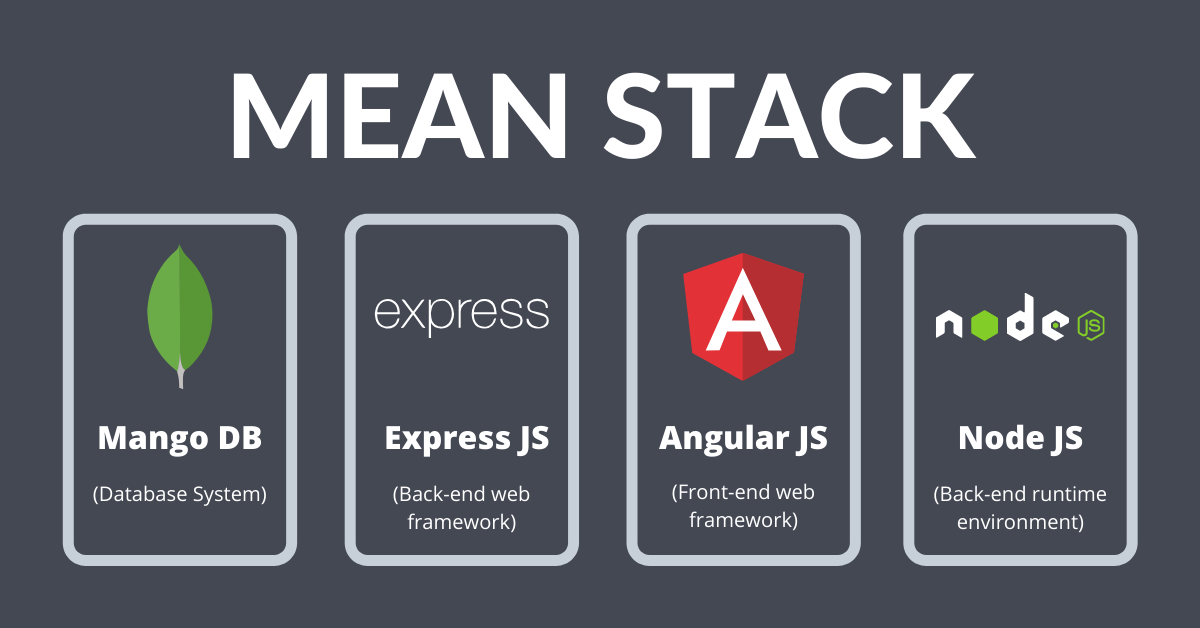
When it comes to modern web application development, the MEAN stack (MongoDB, Express.js, Angular, and Node.js) is a powerful and efficient technology stack. Hosting your MEAN application on AWS EC2 with a self-hosted MongoDB instance can be a rewarding learning experience, especially if you want to take full control over your infrastructure and improve your DevOps skills.
In this guide, I’ll walk you through the complete process of deploying a MEAN stack on an AWS EC2 instance, covering MongoDB installation, security configurations, using PM2 for process management, and setting up Nginx as a reverse proxy.
Introduction
Deploying a MEAN stack application to AWS allows you to build highly scalable and reliable applications with complete control over the environment. AWS EC2 offers flexibility in terms of server configuration, and hosting MongoDB on the same instance ensures you have a dedicated environment for your full-stack application.
This guide will show you how I successfully set up and deployed my MEAN stack application with a self-hosted MongoDB instance on AWS EC2. Let’s get started!
Prerequisites
Before we begin, ensure you have the following in place:
An AWS account with an active EC2 instance running Ubuntu
A basic understanding of Linux commands
A MEAN stack application ready for deployment
Knowledge of AWS security groups (to manage firewall settings)
Note: If you need help setting up an AWS EC2 instance, check out my previous video on setting up MERN stack on EC2.
Also, ensure the necessary ports (5000 for the backend and 27017 for MongoDB) are open in your EC2 security group for seamless communication between services.
Setting Up AWS EC2
Launch a new EC2 instance running Ubuntu.
Configure the security group to allow HTTP (port 80), and SSH (port 22), and add custom rules for MongoDB (port 27017) and your backend (port 5000).
Tip: If you have trouble connecting via SSH, ensure your .pem key has the right permissions using these commands:
sudo xattr -c <key-pair.pem>
sudo chmod 400 <key-pair.pem>
Installing MongoDB
MongoDB is the core database for your MEAN stack. Follow these steps to install and configure MongoDB:
Import MongoDB's public GPG key:
curl -fsSL https://www.mongodb.org/static/pgp/server-7.0.asc | sudo gpg -o /usr/share/keyrings/mongodb-server-7.0.gpg --dearmorCreate a MongoDB source list file:
echo "deb [ arch=amd64,arm64 signed-by=/usr/share/keyrings/mongodb-server-7.0.gpg ] https://repo.mongodb.org/apt/ubuntu jammy/mongodb-org/7.0 multiverse" | sudo tee /etc/apt/sources.list.d/mongodb-org-7.0.listInstall MongoDB:
 sudo apt-get update
 sudo apt-get install -y mongodb-org
Start and enable MongoDB to start on boot:
 sudo systemctl start mongod
 sudo systemctl enable mongod
Check MongoDB’s status:
sudo systemctl status mongodConfiguring MongoDB
To secure your MongoDB instance for production, it’s important to enable authentication and create a dedicated user for your application.
Open the MongoDB configuration file:
sudo nano /etc/mongod.confChange the
bindIpsetting to allow remote access (optional):net: bindIp: 0.0.0.0Enable authentication:
 security:
    authorization: enabled
Restart MongoDB to apply changes:
sudo systemctl restart mongodCreate a MongoDB user:
mongosh --authenticationDatabase "admin" -u "root" -pCreate a user for your specific database:
 use sample_book_register_app
 db.createUser({
    user: "bookRegisterUser",
    pwd: "Password.1",
    roles: [{ role: "readWrite", db: "sample_book_register_app" }]
 })
Note: Be sure to replace Password.1 with a strong password.
Installing Node.js and PM2
Node.js is the runtime for your backend, and PM2 ensures that your application stays running in production.
Install Node.js:
 curl -fsSL https://deb.nodesource.com/setup_20.x | sudo bash -
 sudo apt-get install -y nodejs
Verify installation:
 node -v
 npm -v
Install PM2 globally:
sudo npm install -g pm2Setting Up Nginx as a Reverse Proxy
Nginx will act as a reverse proxy, directing incoming traffic to your Node.js application running on port 5000.
Install Nginx:
 sudo apt update
 sudo apt install nginx -y
Create a new Nginx configuration:
sudo nano /etc/nginx/sites-available/sample_book_register_appAdd the following configuration:
 server {
    listen 80;
    server_name _;
    location / {
       proxy_pass http://localhost:5000;
       proxy_http_version 1.1;
       proxy_set_header Upgrade $http_upgrade;
       proxy_set_header Connection 'Upgrade';
       proxy_set_header Host $host;
       proxy_cache_bypass $http_upgrade;
    }
 }
Activate the configuration and restart Nginx:
 sudo ln -s /etc/nginx/sites-available/sample_book_register_app /etc/nginx/sites-enabled/
 sudo unlink /etc/nginx/sites-enabled/default
 sudo nginx -t
 sudo systemctl restart nginx
Deploying the MEAN Stack Application
Clone your project repository:
git clone https://github.com/fmanimashaun/sample-book-register-app.gitInstall and build the frontend:
 cd sample-book-register-app/client
 sudo npm i && sudo npm run build
Set up the backend:
 cd ../backend
 sudo npm i
Configure environment variables by creating a
.envfile in the backend directory:sudo nano .envExample content:
 PORT=5000
 DB=mongodb://bookRegisterUser:Password.1@localhost:27017/sample_book_register_app?authSource=sample_book_register_app
 NODE_ENV=production
Start the backend with PM2:
pm2 start index.js --name mean-appNote: make sure you are inside the backend folder before running the pm2 command
Kept the app running and ensured it restarted automatically after crashes or system reboots:
 pm2 startup
 sudo env PATH=$PATH:/usr/bin /usr/lib/node_modules/pm2/bin/pm2 startup systemd -u <linux user> --hp /home/<linux user>
 pm2 save
Final Reflections
Deploying a MEAN stack application on AWS EC2 with a self-hosted MongoDB is a rewarding experience. Along the way, I learned a lot about server management, security configurations, and application scalability. While the process can seem overwhelming at first, breaking it down into manageable steps makes it much easier to handle.
Additional Resources
MongoDB Documentation: Official MongoDB Documentation
Node.js Documentation: Official Node.js Documentation
Nginx Reverse Proxy Guide: Nginx Reverse Proxy Guide
PM2 Process Manager: PM2 Documentation
AWS EC2 Documentation: Amazon EC2 Documentation
Feel free to check out my YouTube channel for more tutorials like this and stay tuned for upcoming content on web development and cloud deployment!
Subscribe to my newsletter
Read articles from Engr. Animashaun Fisayo Michael directly inside your inbox. Subscribe to the newsletter, and don't miss out.
Written by

Engr. Animashaun Fisayo Michael
Engr. Animashaun Fisayo Michael
Frontend Developer | Javascript programmer | Registered Mechanical Engineer (MNSE, COREN) | Facilities Management Technologies Developer