Quick Setup Guide to FLUX for High-Quality AI Image Generation
 Taehyeong Lee
Introduction to FLUX
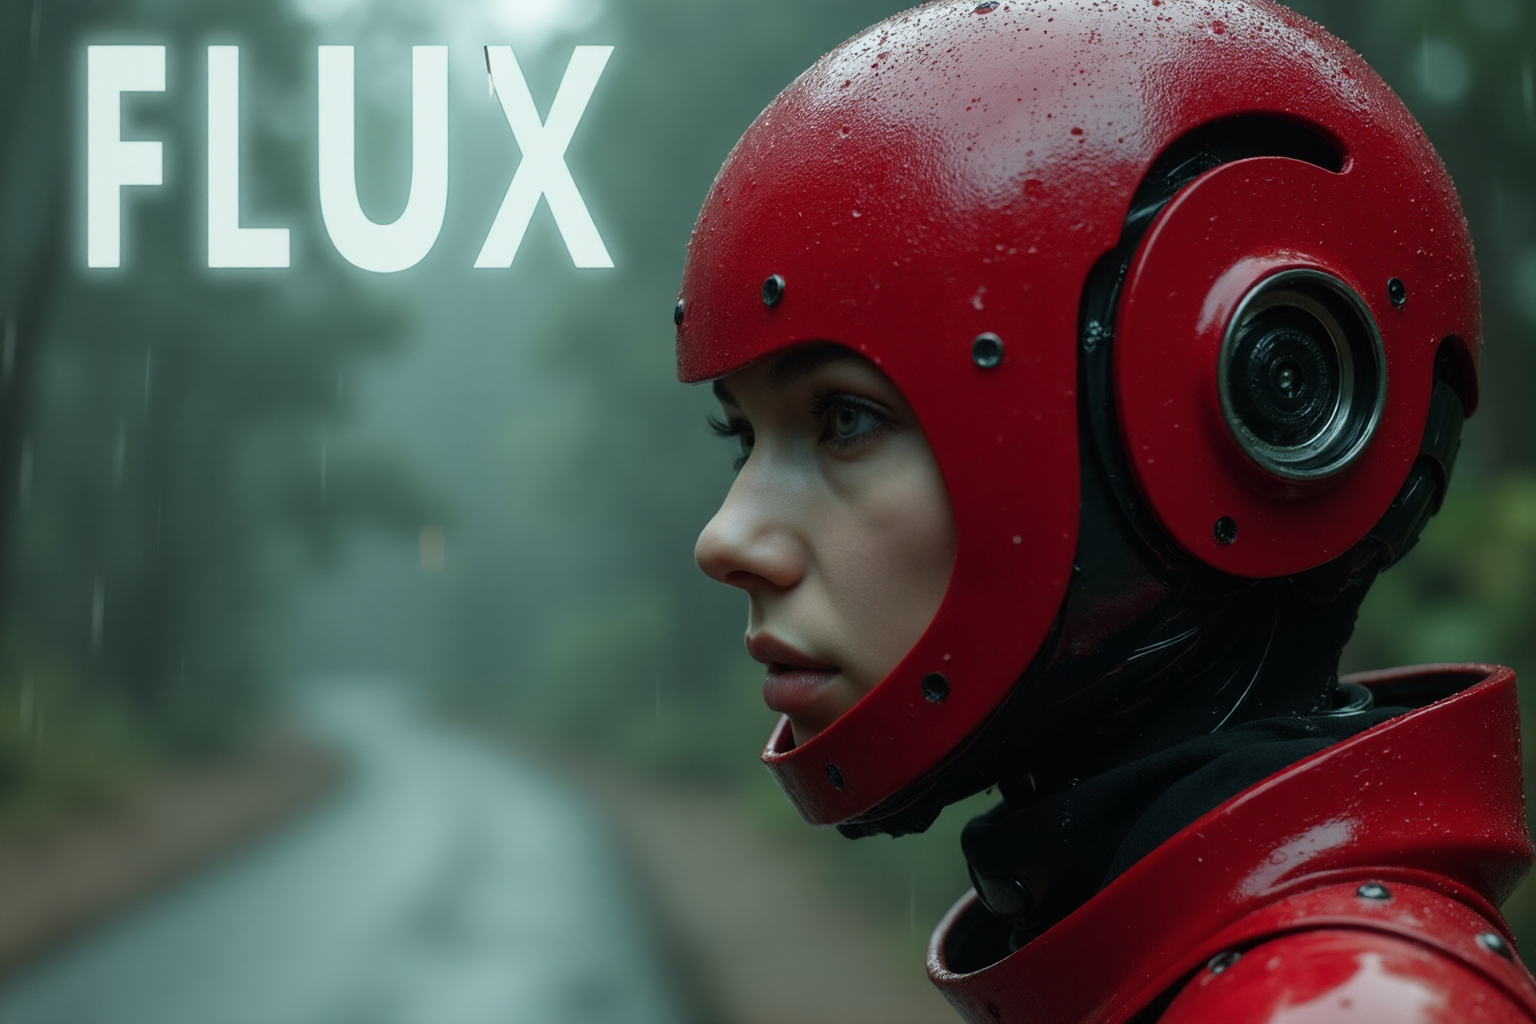
FLUXis a new text2img model family released in August 2024. The developer,Black Forest Labs, was founded by former members of Stability AI, known for Stable Diffusion. They are a group of experts with extensive know-how in the field of generative imaging. What made FLUX famous is the quality of the generated images. According to their self-published benchmarking results, it outperformed Midjourney-V6.0 and SD3-Ultra, and the community response has been extremely positive. [Related Link]This post summarizes how to create high-quality generative images in a local environment, especially with VRAM sizes below 10GB, using the open-source model
FLUX.1 [dev].
Requirements
Machine:
Windows 11+ GPU with VRAM 6GB MINPackage Manager:
Stability MatrixPackage:
Stable Diffusion WebUI ForgeModel:
FLUX.1 [dev](bnb-nf4-v2 Version)VAE:
ae.safetensorsText Encoder:
ViT-L-14-TEXT-detail-improved-hiT-GmP-TE-only-HF.safetensors,t5xxl_fp16.safetensorsUpscaler:
4xFFHQDAT.pth
Installing Stability Matrix
- Download and install the appropriate file for your operating system from this link.
Installing Stable Diffusion WebUI Forge
- Run
Stability Matrixand installStable Diffusion WebUI Forgefollowing these steps:
Launch Stability Matrix
→ [Packages]
→ [Add Package]
→ [Stable Diffusion WebUI Forge]
→ [Install]
Installing FLUX.1 [dev] Model
FLUX.1 [dev]is an open-source model free for non-commercial use, with generated results available for commercial use. The NF4 version is recommended, optimized for memory usage and execution speed, usable with a minimum of 6GB VRAM.Download the flux1-dev-bnb-nf4-v2.safetensors file from this link and save it in the Data/Models/StableDiffusion directory under your Stability Matrix installation directory.
Installing VAE
- Download the ae.safetensors file from this link and save it in the Data/Models/VAE directory under your Stability Matrix installation directory.
Installing Text Encoder
- Download the ViT-L-14-TEXT-detail-improved-hiT-GmP-TE-only-HF.safetensors file from this link and save it in the Data/Models/CLIP directory under your Stability Matrix installation directory.
Installing Upscaler
- Download the 4xFFHQDAT.pth file from this link and save it in the Data/Models/ESRGAN directory under your Stability Matrix installation directory.
Running Stable Diffusion WebUI Forge
- All preparations for image generation are complete. Launch
Stable Diffusion WebUI Forgefollowing these steps:
Launch Stability Matrix
→ [Packages]
→ [Stable Diffusion WebUI Forge]
→ [Launch]
- Once the web interface launches in your browser, apply the following settings for optimal image generation:
Stable Diffusion WebUI Forge web interface
→ UI: [flux]
→ Checkpoint: [flux1-dev-bnb-nf4-v2.safetensors]
→ VAE / Text Encoder: [ae.safetensors], [ViT-L-14-TEXT-detail-improved-hiT-GmP-TE-only-HF.safetensor], [t5xxl_fp16.safetensors]
→ Diffusion in Low Bits: [Automatic (fp16 LoRA)]
→ Sampling method: [[Forge] Flux Realistic]
→ Schedule type: [Beta]
→ Sampling steps: 20
→ Hires. fix: [Check]
→ Upscaler: [4xFFHQDAT]
→ Denosising strength: 0.35
→ Width: 512
→ Height: 512
→ Distilled CFG Scale: 2
→ CFG Scale: 1
→ PerturbedAttentionGuidance Integrated: Check [Enabled] → Scale: 3
- Now, enter the following example prompt and click the Generate button to create an image:
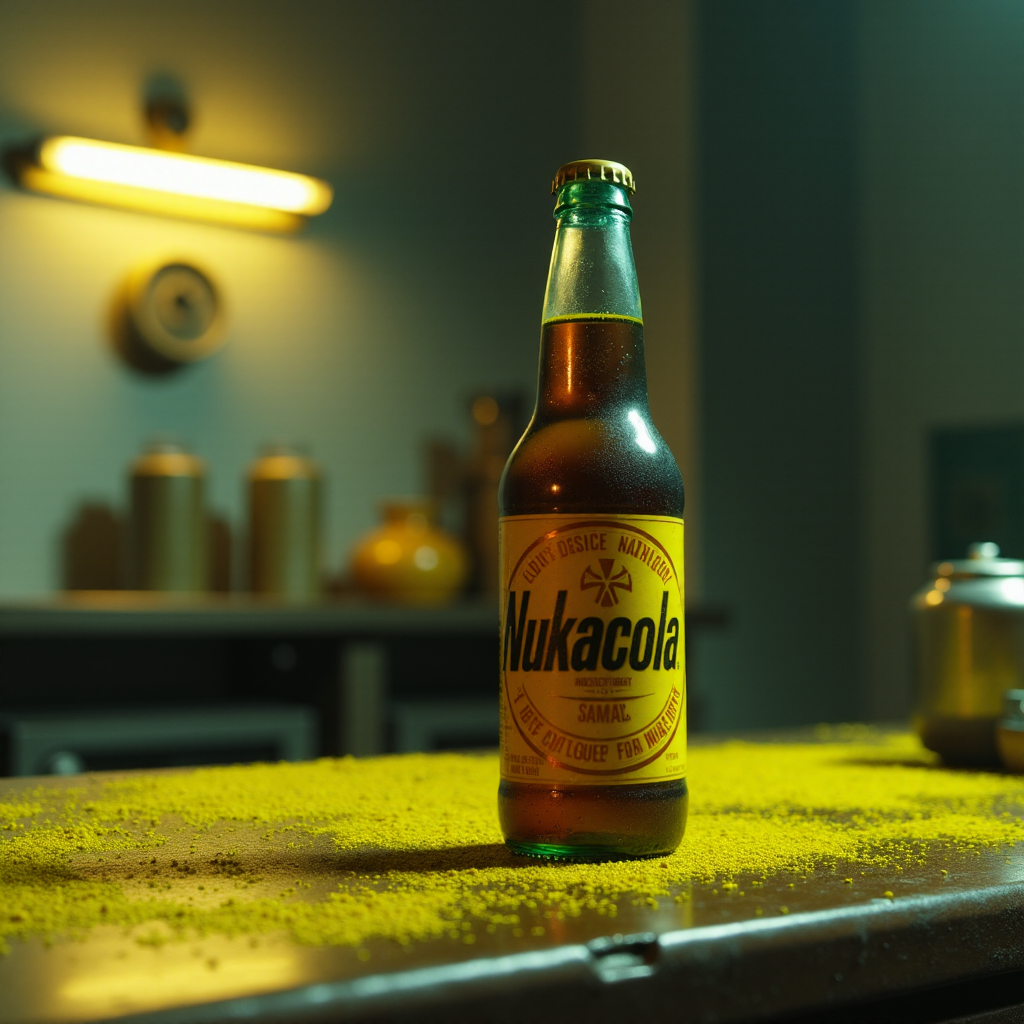
nukacola on the table, "nukacola", fallout, closed shot, nuclear radioactive color, realistic

Impressions of Using FLUX
- With the above settings, I tested dozens of images using an RTX 3080 10GB. I used up to three LoRAs, and it took around 1 minute and 45 seconds for a 512x768 resolution image. The quality of the output at 512x512 or 512x768 resolutions is excellent, almost indistinguishable from real photographs. However, FLUX's true potential is unleashed at resolutions of 768x768 and above. It showcases a different level of detail, but at 768x1152 resolution, it takes about an hour to generate an image, making the process quite slow and requiring considerable patience.
Converting Output Images to 3D Assets
- Converting 2D images generated by FLUX into 3D can be useful for various purposes such as game development and 3D printing. While the industry is still in its early stages, the Chinese company Tripo is currently leading the field. Using their paid model
Tripo AI v2.0, you can easily convert 2D images created with FLUX into 3D assets. The generated 3D assets can be saved as GLB files, which can then be viewed using the 3D Viewer on Windows 11. [Site Link]
Reference Links
Subscribe to my newsletter
Read articles from Taehyeong Lee directly inside your inbox. Subscribe to the newsletter, and don't miss out.
Written by
