Spring Boot to make CRUD operations: Challenges, Solutions, and Growth 🚀 PART-2
 Wasif Mujahid
🧑💻 I'm Wasif Mujahid, a software developer with 8+ years of expertise in Android native app development. I've built innovative, high-performing mobile solutions that enhance user experiences and drive business growth.
If you already done with the spring boot application then you are the tight place otherwise you can checkout Part-1 in which i explained everything from scratch to build the spring boot application.
So lets start with the next steps
1. Install PostgreSQL
If you haven’t installed PostgreSQL yet, install it using the following methods based on your operating system, im using macOS:
brew update
brew install postgresql
brew services start postgresql
I tried brew update command but facing some issues:
zsh: command not found: brew
means Homebrew is not installed so first we need to install it then can continue to install PostgreSql.
It seems that the brew command is not recognized on your system. This likely means that Homebrew is not installed. Homebrew is a popular package manager for macOS and Linux.
To install Homebrew, follow these steps:
Open a terminal on your system.
Run the following command to install Homebrew:
/bin/bash -c "$(curl -fsSL https://raw.githubusercontent.com/Homebrew/install/HEAD/install.sh)"
This will download and install Homebrew on your system.
Follow the on-screen instructions. During the installation, it may prompt you to install some prerequisites such as Xcode Command Line Tools. Just follow the steps to complete the installation.
Add Homebrew to your PATH (if it isn’t automatically added). You can do this by adding the following line to your
.zshrcor.bash_profilefile:
echo 'eval "$(/opt/homebrew/bin/brew shellenv)"' >> ~/.zshrc
source ~/.zshrc
- Verify installation: After installation, verify it by running:
brew --version
If this solution didn’t work for you then there is one more alternative which is given below:
Alternative Solution
Here’s how to set up Homebrew and PostgreSQL for your Spring Boot application on macOS:
1. Install Xcode Command Line Tools
To install the Xcode Command Line Tools (which are required for Homebrew), run this command:
xcode-select --install
A dialog will pop up asking if you want to install the Command Line Tools. Confirm, and the installation should start.
Once completed, verify the installation with:
xcode-select -p
- This should return a path like
/Library/Developer/CommandLineTools.
2. Install Homebrew
Once the Command Line Tools are installed, you can install Homebrew:
- Run this command in your terminal:
/bin/bash -c "$(curl -fsSL https://raw.githubusercontent.com/Homebrew/install/HEAD/install.sh)"
Follow the on-screen instructions to complete the installation.
After Homebrew is installed, you can check if it’s working by running
brew --version
If still not showing the brew version then you need to set the PATH by using following command
 (echo; echo 'eval "$(/opt/homebrew/bin/brew shellenv)"') >> /Users/waxif/.zprofile
    eval "$(/opt/homebrew/bin/brew shellenv)"
🏆 Successfully installed HomeBrew 🏆

Now we can continue to install PostgreSql.
3. Install PostgreSQL with Homebrew
Once Homebrew is installed, use it to install PostgreSQL:
- Run the following command:
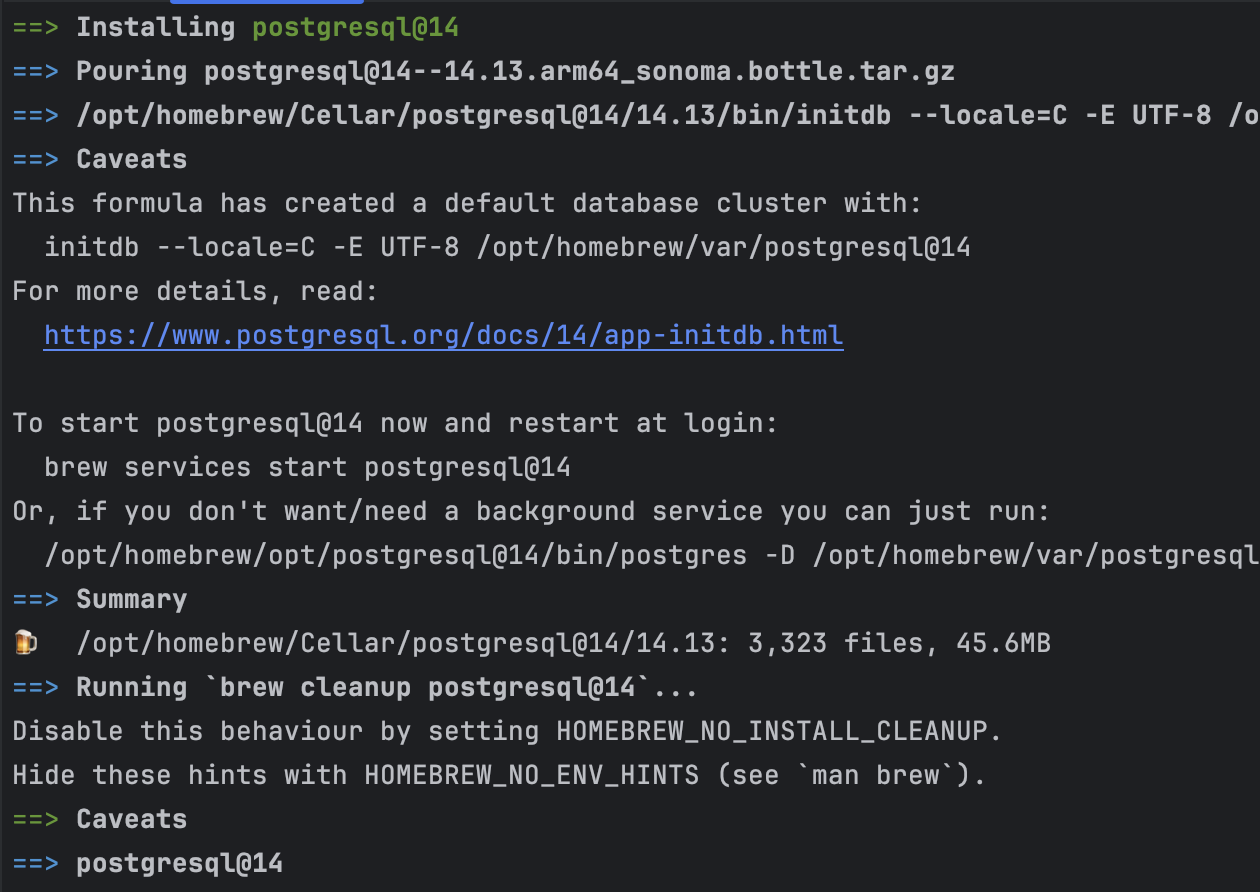
brew install postgresql
🚀 Successfully Installed 🚀

- Start the PostgreSQL service:
brew services start postgresql
- Verify that PostgreSQL is running by checking its status:
brew services list
The service is started and showing in the list:

4. Configure PostgreSQL
After PostgreSQL is installed and running:
- Switch to the default
postgresuser:
psql postgres
- Create a new database for your Spring Boot application:
CREATE DATABASE your_database_name;
The db is created successfully ✅

- Create a new user:
CREATE USER your_username WITH PASSWORD 'your_password';
- Grant all privileges on the database to the user:
GRANT ALL PRIVILEGES ON DATABASE your_database_name TO your_username;
Use PostgreSQL in IntelliJ IDEA
Add PostgreSQL as a dependency in your
pom.xml(for Maven) orbuild.gradle(for Gradle) for your Spring Boot project.Configure your
application.propertiesorapplication.ymlto connect to the PostgreSQL database:
spring.datasource.url=jdbc:postgresql://localhost:5432/your_database_name
spring.datasource.username=your_username
spring.datasource.password=your_password
spring.jpa.hibernate.ddl-auto=update
👉 With this setup, you should be able to run PostgreSQL locally and connect it to your Spring Boot application via IntelliJ IDEA.
🔥 The Database is connected successfully and trying to fetch users table data👇

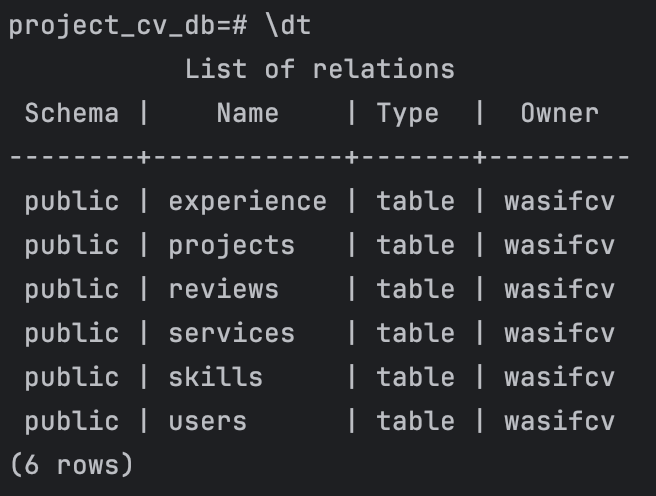
👉 List of all created Tables

To check if the spring boot application process is running or not you can use this command :
lsof -i :8080
The result will be like this

To Kill the process you can use this command by passing process id which mention above screenshot as PID:
kill -9 68159
🚀 We integrated PostgreSql with Spring Boot Application successfully. Next we’ll check the api’s using POSTMAN. 🧑🏻💻
You can get this project on Github Repo : https://github.com/wasif1/ProjectCv.git
If you want to checkout PART-1 then you can get it here.
Lets begin with PART-3.
Let’s connect and create something impactful! Reach out on LinkedIn, explore my work on GitHub. Thank you 😎
Subscribe to my newsletter
Read articles from Wasif Mujahid directly inside your inbox. Subscribe to the newsletter, and don't miss out.
Written by

Wasif Mujahid
Wasif Mujahid
𝗘𝘅𝗽𝗲𝗿𝗶𝗲𝗻𝗰𝗲𝗱 𝗔𝗻𝗱𝗿𝗼𝗶𝗱 𝗗𝗲𝘃𝗲𝗹𝗼𝗽𝗲𝗿 | 8+ Years in Mobile App Development Passionate about crafting high-performance Android apps that delight users and drive business success.