A Complete Guide to Testing in Flutter: Unit, Widget, and Integration Tests
 Ravi Patel

Testing is a crucial aspect of mobile app development that ensures your application functions as expected, delivers a great user experience, and minimizes the likelihood of bugs reaching production. Flutter, with its rich testing framework, provides several ways to test your apps, including unit tests, widget tests, and integration tests. In this blog, we will explore each type of testing in Flutter, explain why they’re important, and provide examples to help you get started.
Why Testing is Important
Quality Assurance: Testing verifies that your app’s features work as intended.
Early Bug Detection: Catching bugs early in the development cycle saves time and resources.
Code Stability: Ensures that new features or changes don’t break existing functionality.
Confidence in Refactoring: Testing allows you to confidently refactor code without fear of introducing new bugs.
Types of Tests in Flutter
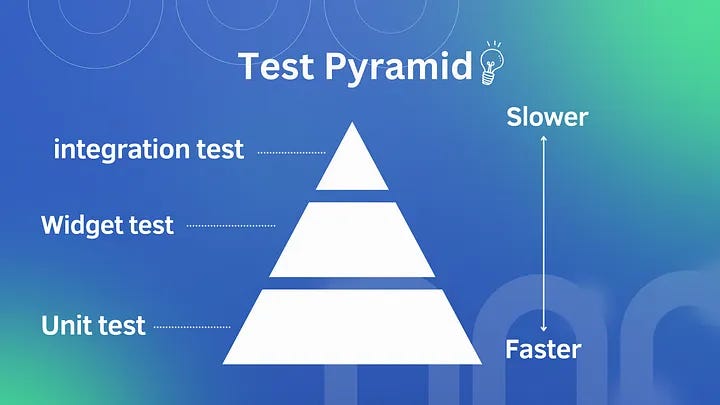
Flutter testing can be broadly divided into three categories:
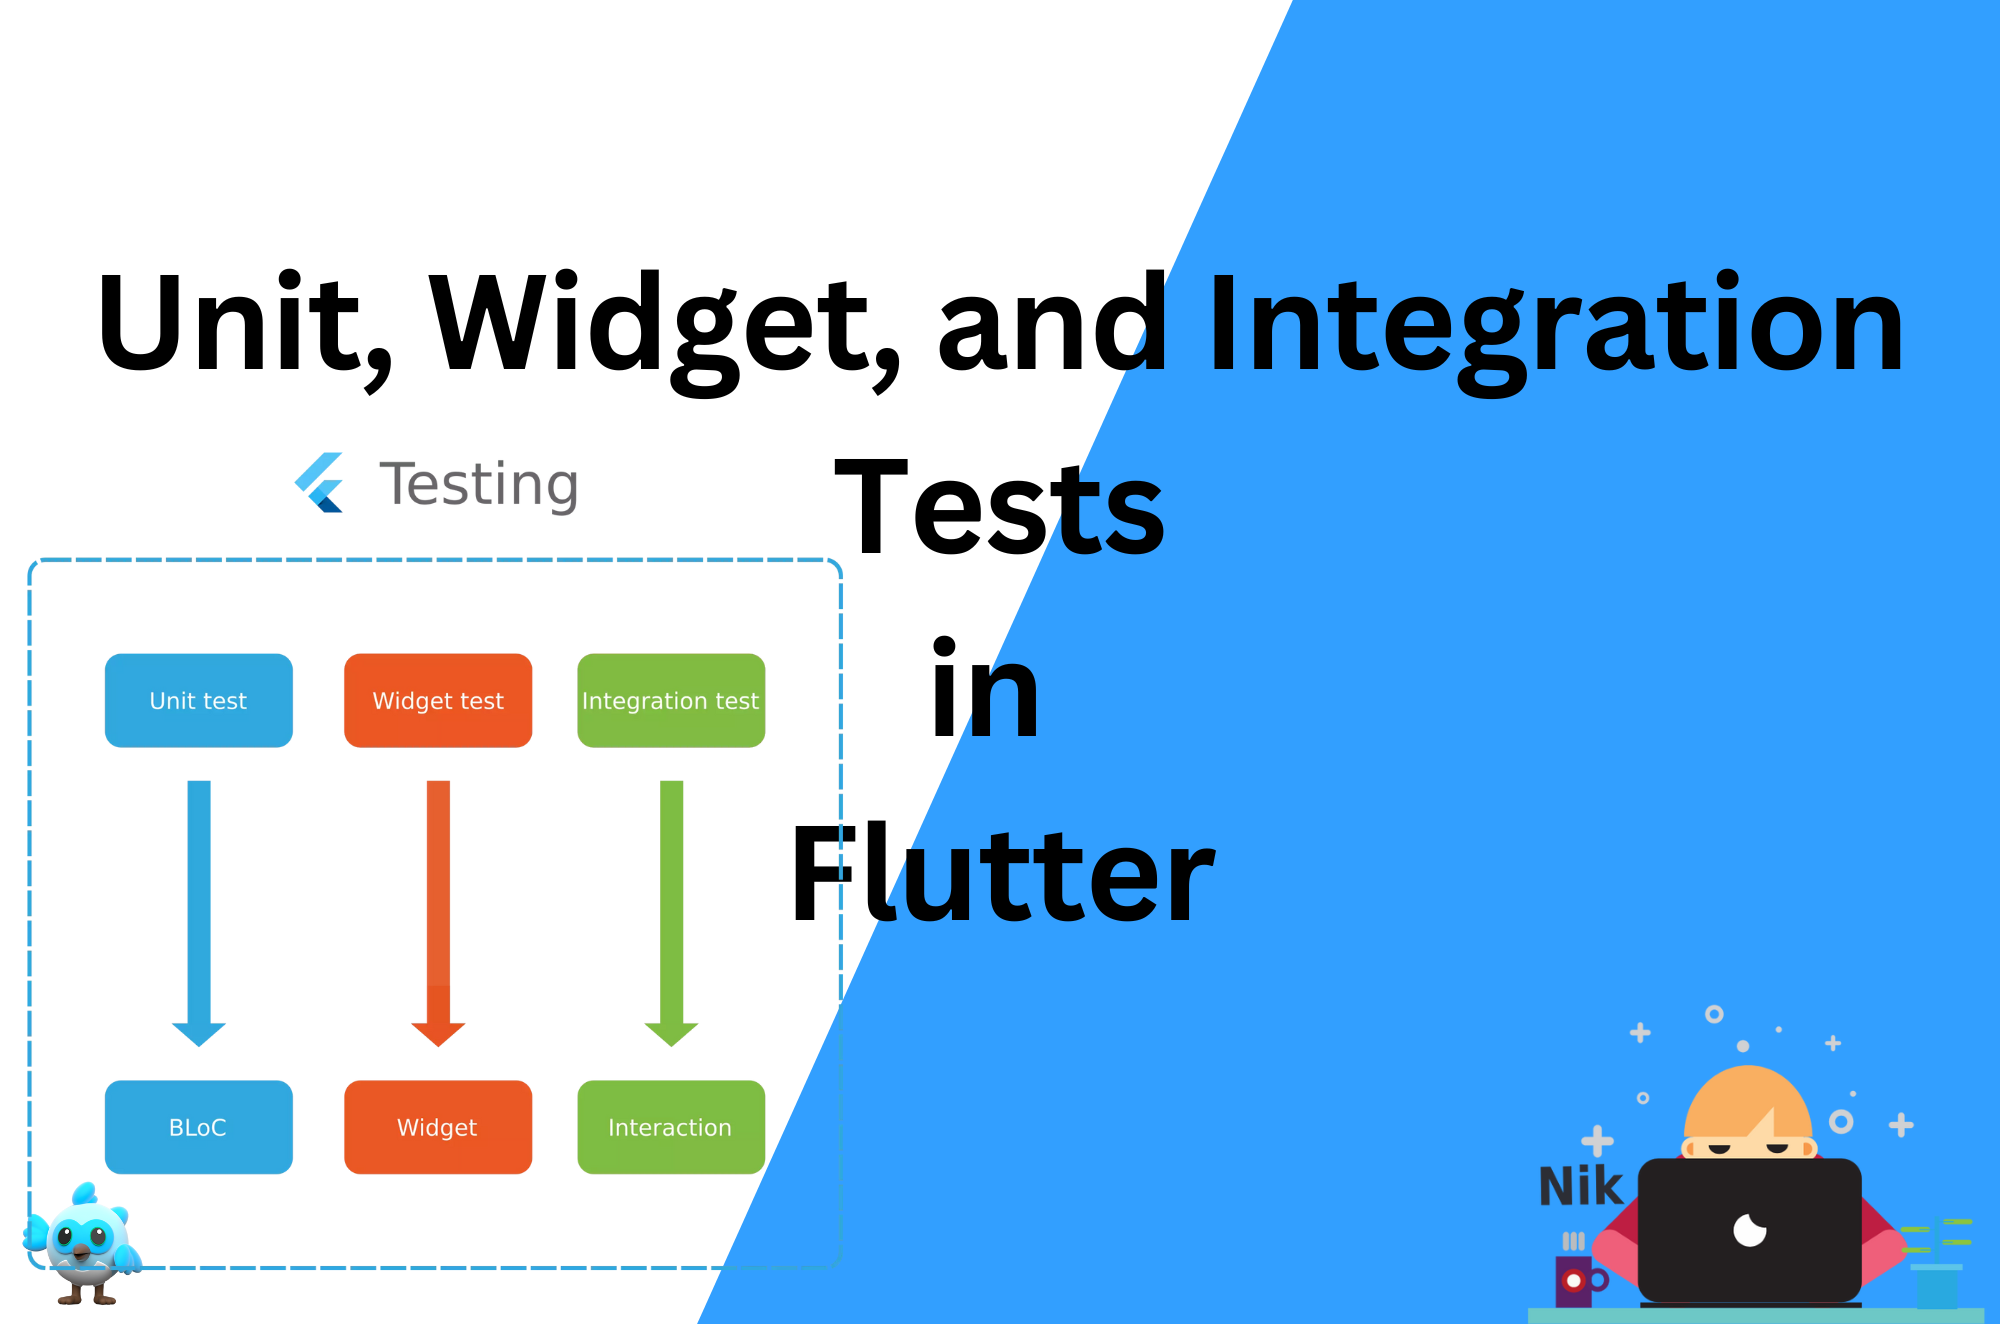
Unit Tests: Test the smallest piece of code, such as methods or functions, in isolation.
Widget Tests: Test individual widgets to verify their UI and functionality.
Integration Tests: Test the app as a whole by interacting with multiple components and simulating user behavior.

Let’s dive into each of these tests and how to implement them in Flutter.
1. Unit Testing in Flutter
Unit tests are used to test individual functions or methods to ensure they return the expected output based on different inputs. They are fast and focus on isolated pieces of business logic.
Setting Up Unit Tests
To create a unit test in Flutter, start by creating a test directory in your project’s root. Then, create a file for your unit test, such as my_unit_test.dart.
In pubspec.yaml, ensure the test dependency is added:
dev_dependencies:
  flutter_test:
    sdk: flutter
Writing a Unit Test
Let’s say you have a function that adds two numbers:
int add(int a, int b) {
  return a + b;
}da
To write a unit test for this function, use the test package:
import 'package:flutter_test/flutter_test.dart';
import 'package:my_app/my_functions.dart';

void main() {
  test('add two numbers', () {
    expect(add(2, 3), 5);
    expect(add(-1, 1), 0);
  });
}da
Run the test using the following command:
flutter test
This ensures that your add function behaves as expected in various scenarios.
2. Widget Testing in Flutter
Widget tests (or component tests) ensure that individual widgets behave as expected. These tests are more extensive than unit tests as they verify UI elements, their interactions, and how widgets react to state changes.
Why Widget Testing?
Verifies the UI structure and behavior.
Ensures widgets are displayed correctly and respond to user interactions.
Tests complex widget trees and user flows in isolation.
Writing a Widget Test
Let’s test a simple CounterWidget that increments a number each time a button is pressed.
class CounterWidget extends StatefulWidget {
  @override
  _CounterWidgetState createState() => _CounterWidgetState();
}

class _CounterWidgetState extends State<CounterWidget> {
  int _count = 0;

  @override
  Widget build(BuildContext context) {
    return Column(
      children: <Widget>[
        Text('Count: $_count'),
        ElevatedButton(
          onPressed: () {
            setState(() {
              _count++;
            });
          },
          child: Text('Increment'),
        ),
      ],
    );
  }
}
Here’s a test for this widget:
import 'package:flutter_test/flutter_test.dart';
import 'package:flutter/material.dart';
import 'package:my_app/counter_widget.dart';

void main() {
  testWidgets('Counter increments when button is pressed', (WidgetTester tester) async {
    // Build the widget
    await tester.pumpWidget(MaterialApp(home: CounterWidget()));

    // Verify initial count is 0
    expect(find.text('Count: 0'), findsOneWidget);

    // Tap the button and trigger the increment
    await tester.tap(find.byType(ElevatedButton));
    await tester.pump();

    // Verify the count has incremented to 1
    expect(find.text('Count: 1'), findsOneWidget);
  });
}
Explanation:
tester.pumpWidget: Renders the widget for testing.
find.text: Locates widgets with specific text.
tester.tap: Simulates a tap event.
tester.pump: Rebuilds the widget after a state change to update the UI.
Run this widget test using the same flutter test command to ensure your UI behaves as expected.
3. Integration Testing in Flutter
Integration tests are used to test the app as a whole by interacting with multiple widgets and verifying that they work together correctly. They simulate real user interactions and verify the overall behavior of the app.
Setting Up Integration Tests
To set up an integration test, create a test_driver directory in your project. Inside this directory, create two files: app.dart and app_test.dart.
In pubspec.yaml, ensure the integration_test dependency is added:
dev_dependencies:
  integration_test:
    sdk: flutter
Writing an Integration Test
Here’s how you would test a login flow:
import 'package:flutter_test/flutter_test.dart';
import 'package:integration_test/integration_test.dart';
import 'package:my_app/main.dart' as app;

void main() {
  IntegrationTestWidgetsFlutterBinding.ensureInitialized();

  testWidgets('Login flow test', (WidgetTester tester) async {
    // Start the app
    app.main();
    await tester.pumpAndSettle();

    // Enter username and password
    await tester.enterText(find.byKey(Key('usernameField')), 'testUser');
    await tester.enterText(find.byKey(Key('passwordField')), 'password123');

    // Tap the login button
    await tester.tap(find.byKey(Key('loginButton')));
    await tester.pumpAndSettle();

    // Verify user is logged in
    expect(find.text('Welcome, testUser'), findsOneWidget);
  });
}
Explanation:
IntegrationTestWidgetsFlutterBinding.ensureInitialized(): Initializes the test environment.
app.main(): Launches the app.
tester.enterText: Simulates text entry into input fields.
tester.tap: Simulates a button tap.
tester.pumpAndSettle: Waits for all animations and async tasks to complete.
You can run integration tests using:
flutter test integration_test/app_test.dart
Best Practices for Testing in Flutter
Test coverage: Aim for high coverage but prioritize critical functionality and edge cases.
Test-driven development (TDD): Write tests before writing actual code to ensure you are only implementing necessary features.
Mocking dependencies: Use the mockito package to mock dependencies during unit and widget tests.
Continuous integration (CI): Integrate testing into your CI pipeline to catch bugs early in the development process.
Conclusion
Testing is an integral part of Flutter app development, ensuring that your app functions correctly and reliably. By using unit tests for isolated logic, widget tests for UI components, and integration tests for complete user flows, you can confidently build and maintain high-quality Flutter applications.
Start implementing these tests in your Flutter projects to improve your app’s reliability and performance, and ensure your users have the best experience possible.
Happy testing!
Subscribe to my newsletter
Read articles from Ravi Patel directly inside your inbox. Subscribe to the newsletter, and don't miss out.
Written by

Ravi Patel
Ravi Patel
"📱 Passionate Flutter Developer with 6+ years of experience, dedicated to crafting exceptional mobile applications. 🚀 Adept at turning ideas into polished, user-friendly experiences using Flutter's magic. 🎨 Design enthusiast who believes in the power of aesthetics and functionality. 🛠️ Expertise in translating complex requirements into clean, efficient code. 🌟 Committed to staying updated with the latest trends and continuously pushing boundaries. Let's create something extraordinary together!"