Using Any Terraform Provider in Pulumi: A Guide with Netlify provider
 Alexandre Nedelec
Pulumi recently announced a new feature that lets developers reuse any Terraform or OpenTofu provider within a Pulumi program. In this article, we will explore this feature through a case study with Netlify.
What are “Providers” for IaC tools?
Let’s first talk about what a provider is in the context of an infrastructure as code solution.
A provider is a plugin enabling an IaC tool to interact with infrastructure services (cloud providers, SaaS providers, or any other API). Specifically, a provider defines the resources and operations available on an infrastructure service and how to communicate with its API.
There are already many providers in the Terraform/OpenTofu ecosystem. Since a provider is just an abstraction over an API, a Terraform provider can be leveraged by other IaC tools. Instead of creating new providers for each infrastructure service, some IaC tools have found ways to generate their own providers from Terraform providers, allowing them to use the same resource model:
Crossplane has a code generator framework called Upjet to generate Crossplane providers from Terraform providers
Pulumi can bridge Terraform provider thanks to Pulumi Terraform Bridge
That does not mean Pulumi or Crossplane use Terraform in their engines; they only use its providers to interact with some APIs. Apart from that, Pulumi and Crossplane have their ways of working, managing the state, and so on.
About Pulumi Providers
Not all Pulumi providers are generated from Terraform providers. Some are “native providers” (like Azure Native, AWS Native, or Kubernetes providers) and offer significant benefits. For example, the Azure Native provider is always up-to-date and has 100% API coverage. Therefore, using it instead of the Classic one bridged from the Terraform AzureRM provider is recommended.
Nevertheless, many providers in the Pulumi registry are providers bridged from Terraform providers. Some are maintained by Pulumi, some by vendors, and others by the community. Pulumi has created a boilerplate repository to help people build a new Pulumi provider that wraps an existing Terraform provider. However, there is still some maintenance work required, so not all Terraform providers are bridged and published in the Pulumi registry.
That's why Pulumi introduced support for generating full Pulumi SDKs locally for any Terraform provider. This not only solves the problem of missing Pulumi providers in the registry but also allows you to generate Pulumi SDKs for Terraform providers that are internal to your company.
That's it for the explanations. Now, let's see this new capability in action!
Generate a Local Pulumi Package from the Netlify Terraform Provider
My blog is hosted on Netlify, and like many others, I manage it using the Netlify website. However, I realized it would be useful to have the infrastructure code to manage it as well. Even though my website is simple and doesn't require much, there are some site configurations and environment variables that would be better versioned in a code repository.
Unfortunately, there is currently no Netlify provider for Pulumi, but there is one for Terraform. Let's generate a local Pulumi SDK from it.
First, I can create a small Pulumi project in TypeScript (other languages would work too).
pulumi new typescript
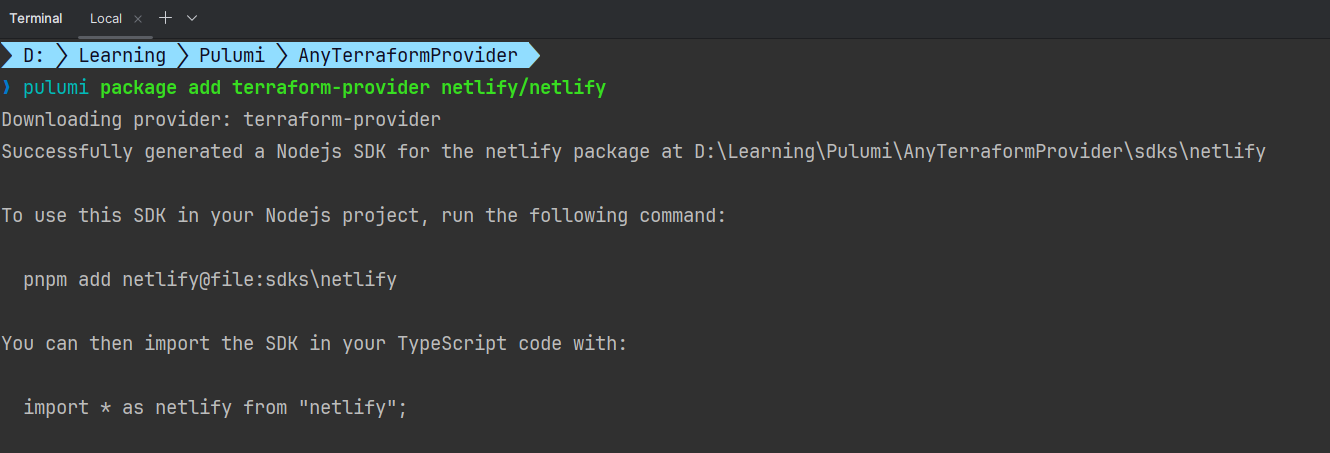
Then, we can use the pulumi package add command to generate a TypeScript SDK from the Terraform Netlify provider.
pulumi package add terraform-provider netlify/netlify

You can see that a ./sdks/netlify folder has been created that contains the Pulumi TypeScript SDK for the Netlify provider.

We can then reference the dependency to this local package using the following command:
pnpm add netlify@file:sdks\netlify
Now, we can start creating the infrastructure code using the Netlify provider.
Using the Netlify Provider
To use the Netlify provider, we need to provide the following configuration:
A personal access token to authenticate with the Netlify API.
The default team slug, which in our case is the team containing my blog website (note that this is not mandatory; we can also specify the team slug for each resource in the code that needs it).
We can set this configuration using the following commands:
pulumi config set netlify:token --secret xxxxxx
pulumi config set netlify:defaultTeamSlug mynetlifyteam
However, instead of doing this, I will use a Pulumi ESC environment that I created with all the settings and secrets I need for my blog. This way, I can simply import this blog/prod environment into my configuration:
pulumi config env add blog/prod
My stack configuration file Pulumi.dev.yaml becomes short and simple:
environment:
  - blog/prod
Pulumi.dev.yaml file is perfectly fine, you don’t have to use Pulumi ESC like I did. I just wanted to mention it here because that’s what I used and because I have been a big fan of Pulumi ESC since I discovered it. However, please be advised that Pulumi ESC is not free of charge (except for individuals, with some limitations).Since it’s a locally bridged provider, Pulumi does not have documentation for it on its registry yet (though it’s in Pulumi’s roadmap to host static documentation for most used providers). So we can rely on the documentation on the HashiCorp Terraform Registry (for some reason, the documentation is not available on the OpenTofu registry website). But, to be honest we don’t really need it because we have access to the SDK code with the documentation in it, and can rely on auto-completion to help us write the code. That’s the beauty of using programming languages for Infrastructure as Code.
The Netlify provider does not allow you to create a site; it only lets you retrieve existing sites and modify their configuration, domain, DNS, and environment variables. So, we can start by retrieving my blog site:
import * as netlify from "netlify";

const blog = netlify.getSiteOutput({
  name: "myawesomeblog"
})

export const customDomain = blog.customDomain
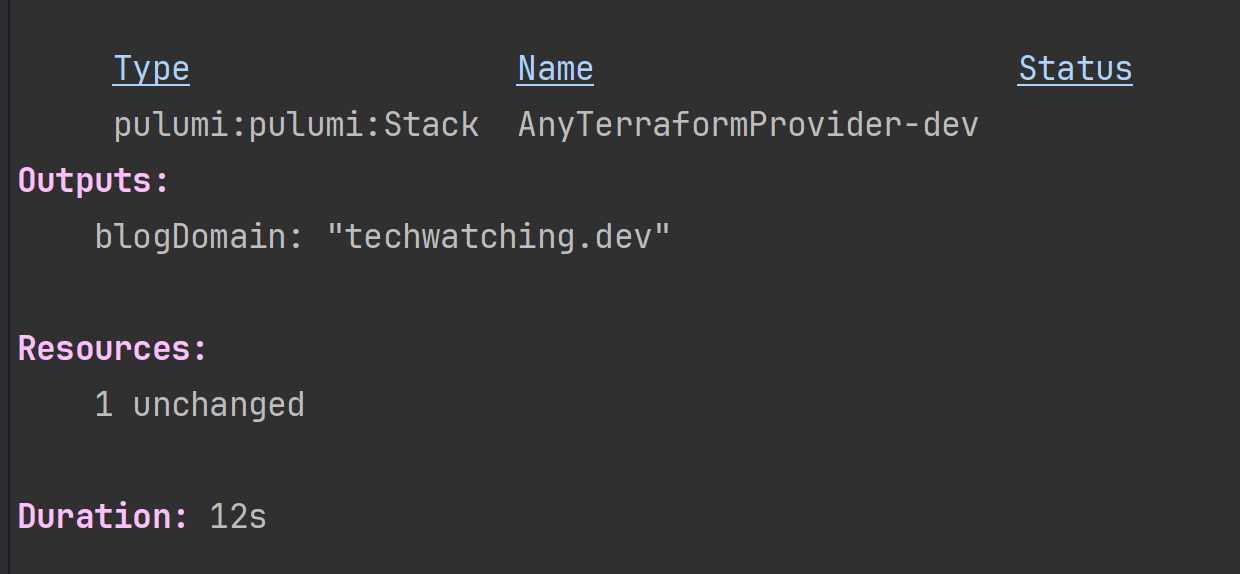
I added the customDomain output just to make sure the program was working correctly.

My blog is a Nuxt application that uses the Nuxt UI Pro component library. For Netlify to be able to build the application, I have to set in Netlify the environment variable NUXT_UI_PRO_LICENSE with my license key. So, let’s do that.
My license key is already in my configuration (stored as a secret in my ESC blog/prod environment), so I can retrieve it like this:
const config = new Config()
const nuxtUIKey = config.requireSecret("nuxt.UIProLicenseKey")
Creating the environment variable is pretty straightforward:
new netlify.EnvironmentVariable("nuxtUIKeyEnvVar", {
  siteId: blog.id,
  key: "NUXT_UI_PRO_LICENSE",
  values: [{
    value: nuxtUIKey,
    context: "all"
  }]
})
Because I used the requireSecret method on the config, Pulumi will treat the nuxtUIKey as a secret and encrypt it automatically in the state.
additionalSecretOutputs option set to [“values”] (when declaring the environment variable) to ensure Pulumi encrypts this property on the resource. I don’t need to do it here because Pulumi automatically detect that nuxtUIKey is a secret.
Of course, I can configure many other things for my Netlify site, but I think this is enough to show Pulumi's support for using any Terraform provider.
Summary
By allowing developers to generate local Pulumi SDKs from any Terraform provider, Pulumi addresses the issue of missing providers in its registry and enables the use of internal company-specific providers as well.
In this article, we have seen a practical application of this feature with a real-world example using the Netlify provider. It was impressive to see how easy it has become to use a Terraform provider from a Pulumi program. While most commonly used providers were already available, this feature opens up exciting possibilities for niche services or internal tools.
You can get more information about this feature on the Pulumi Terraform Bridge repository. Don’t hesitate to experiment with it on your projects.
Subscribe to my newsletter
Read articles from Alexandre Nedelec directly inside your inbox. Subscribe to the newsletter, and don't miss out.
Written by

Alexandre Nedelec
Alexandre Nedelec
I am a software developer living in Bordeaux. I am a .NET and Azure enthusiast, primarly coding in C# but I like to discover other languages and technologies too.