Create a VM from a Snapshot
 Gauri Agrawal
Create a VM instance and make sure to Allow HTTP and HTTPS traffic
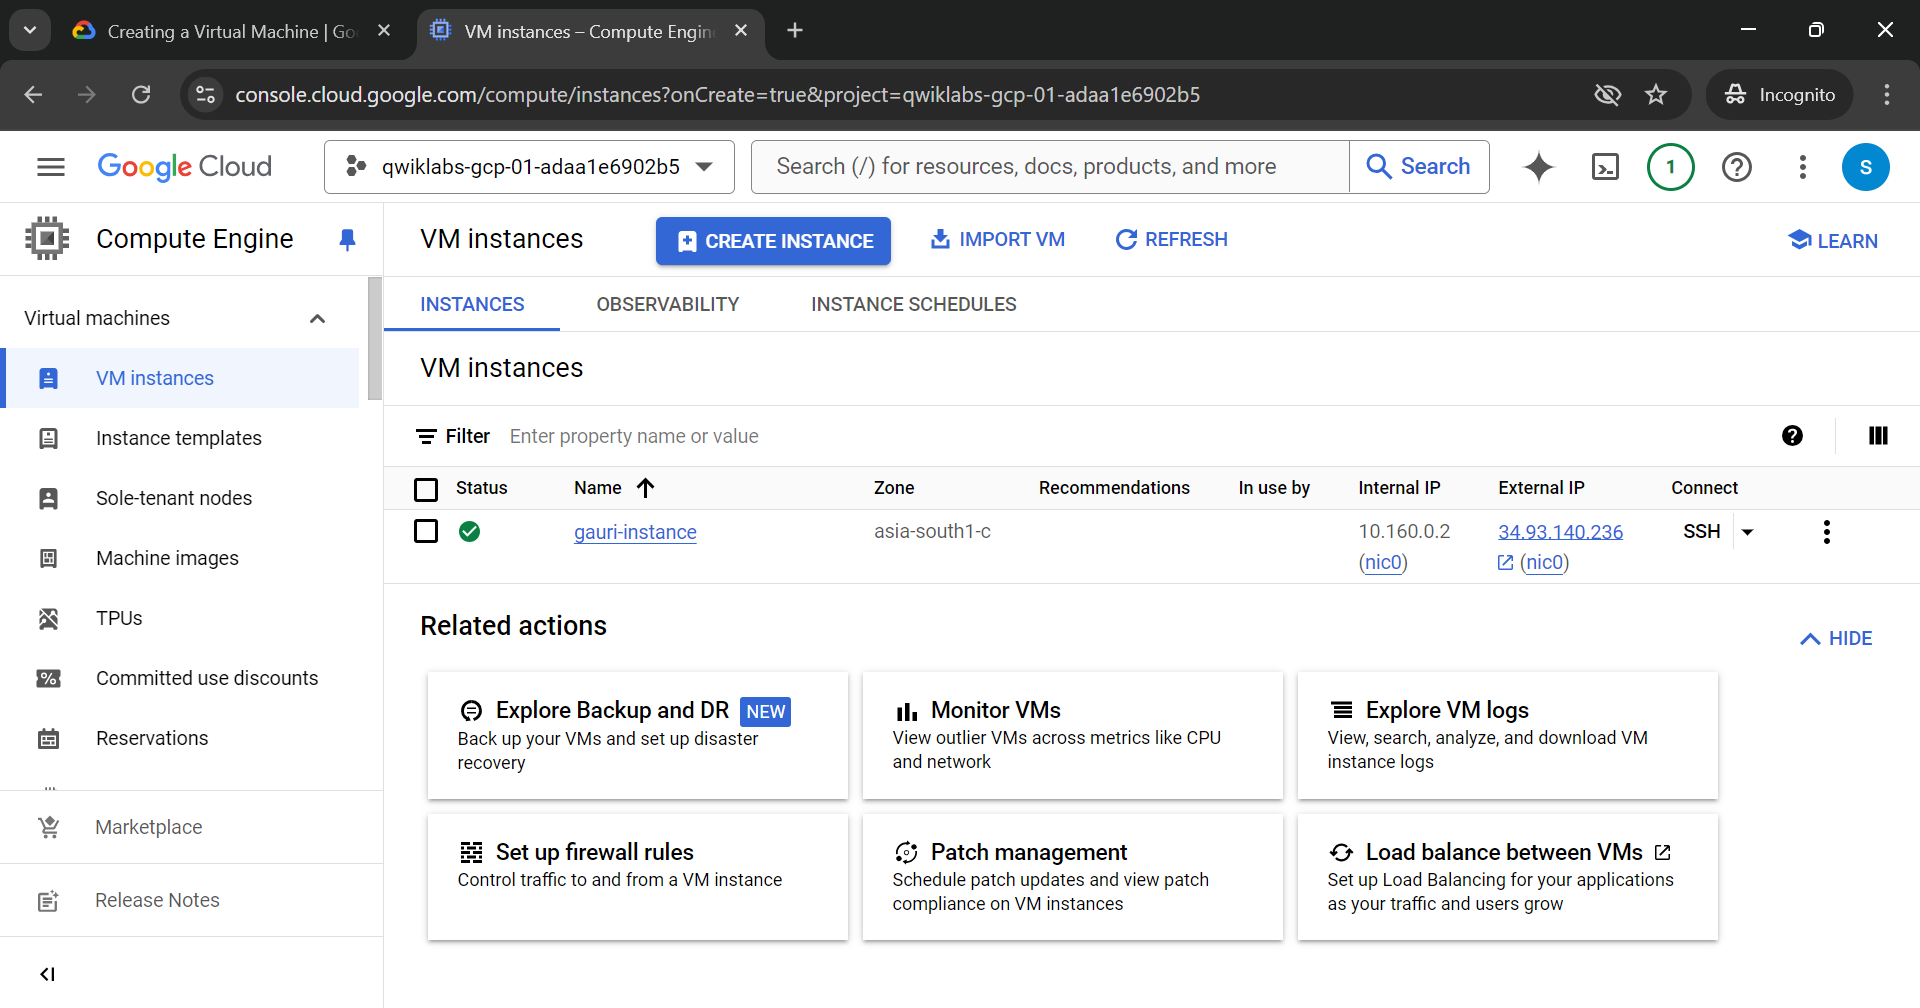
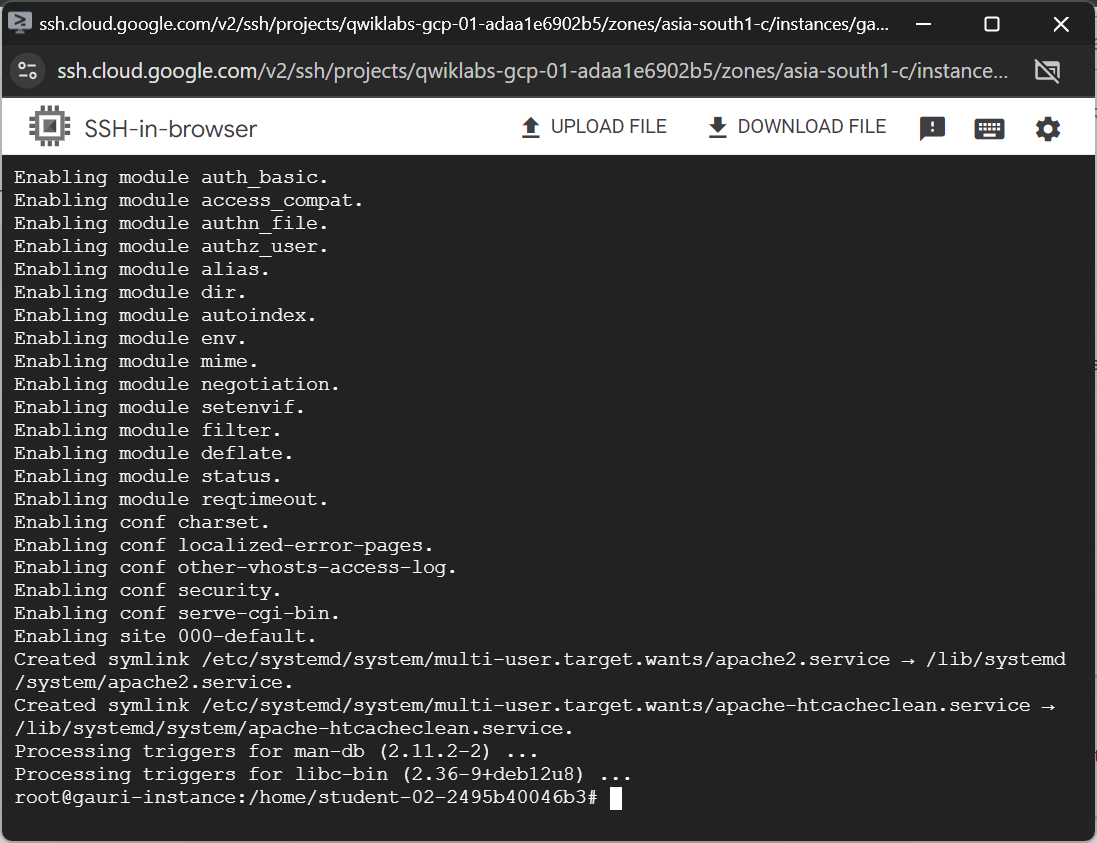
Now, SSH into it and install apache and commands for that are listed below
sudo su
apt update
apt -y install apache2
apache is installed
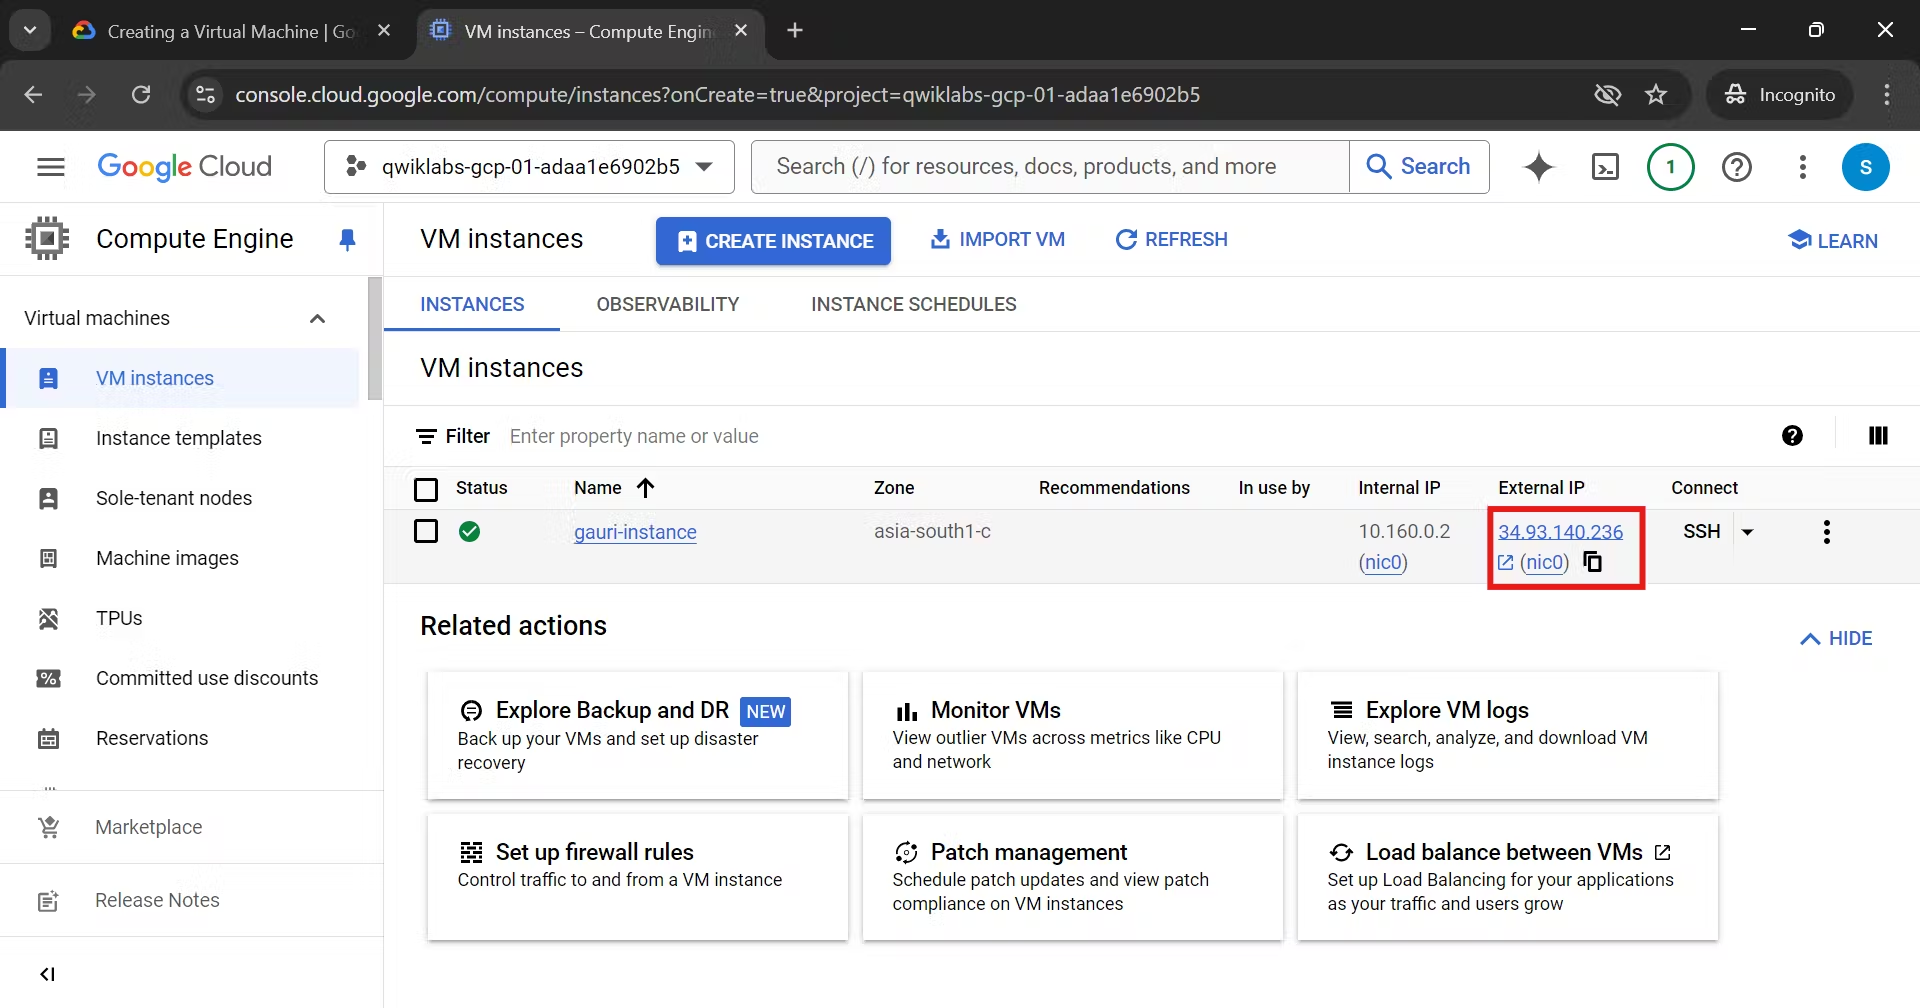
Close this SSH, and copy your External IP and paste it into the browser
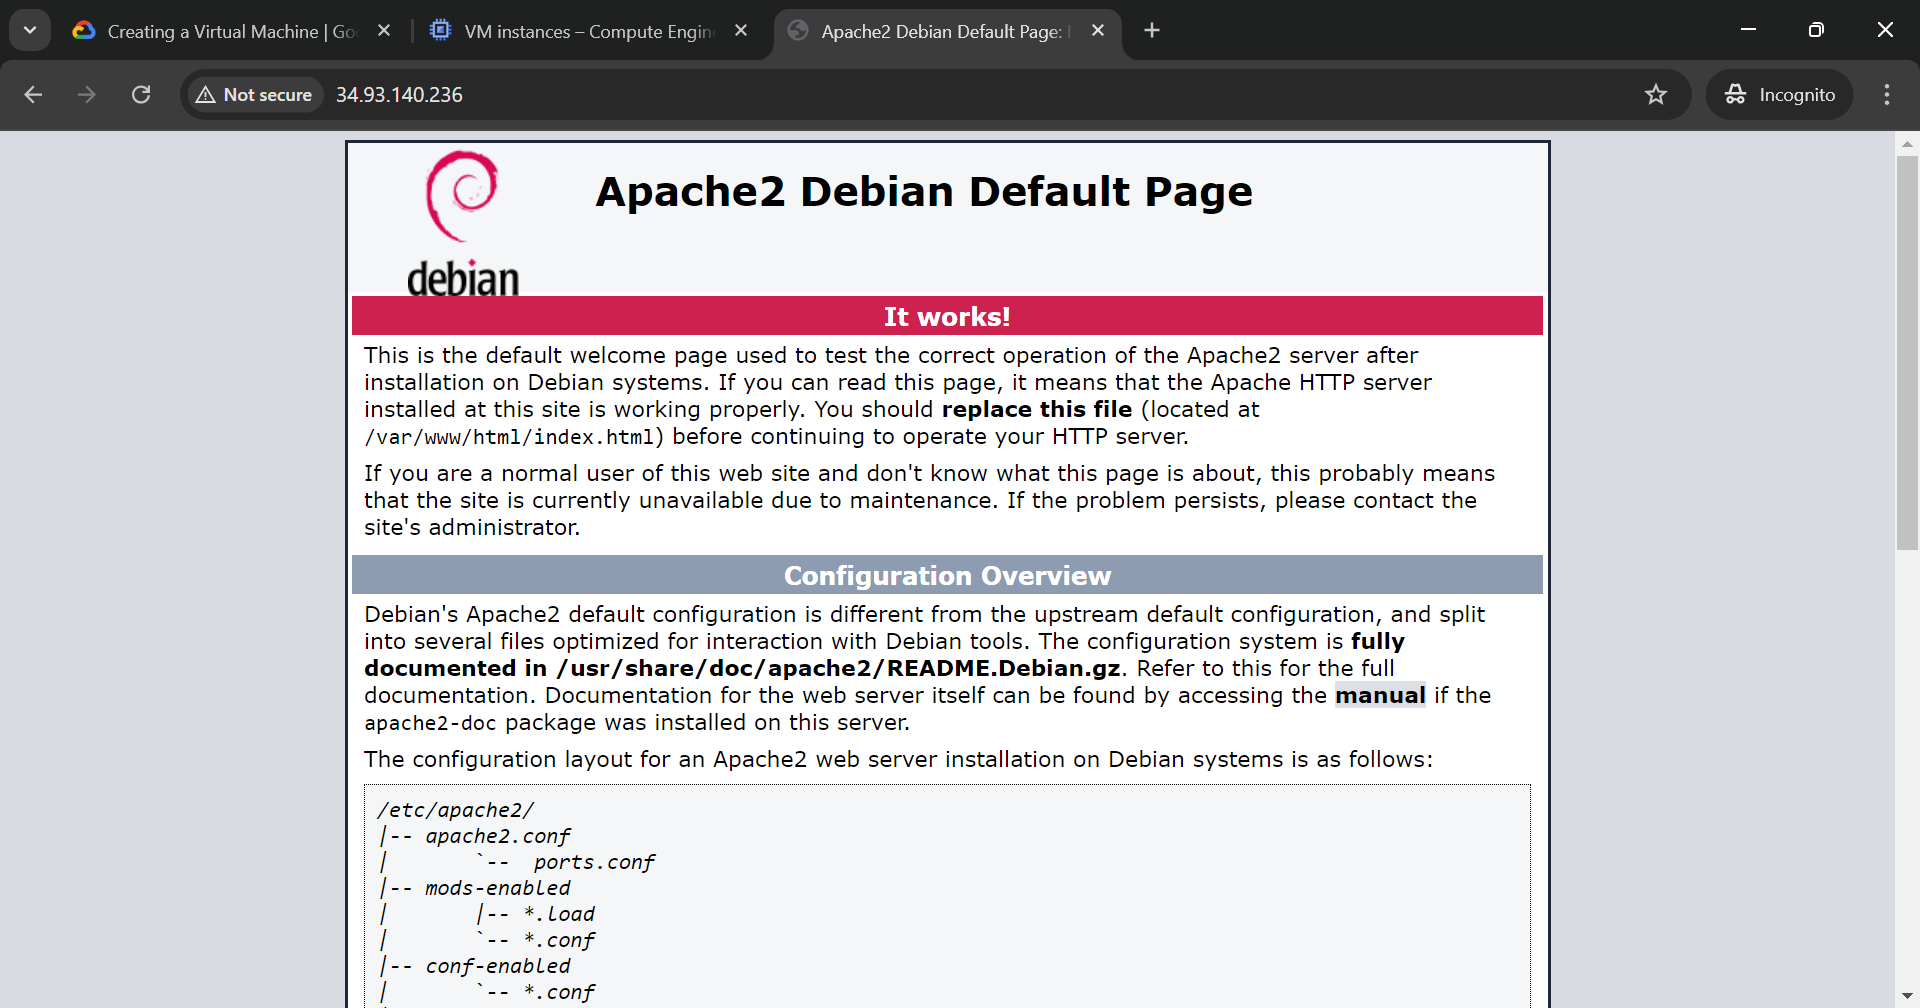
You will be able to see apache2 page that means your apache is successfully installed
Close this page
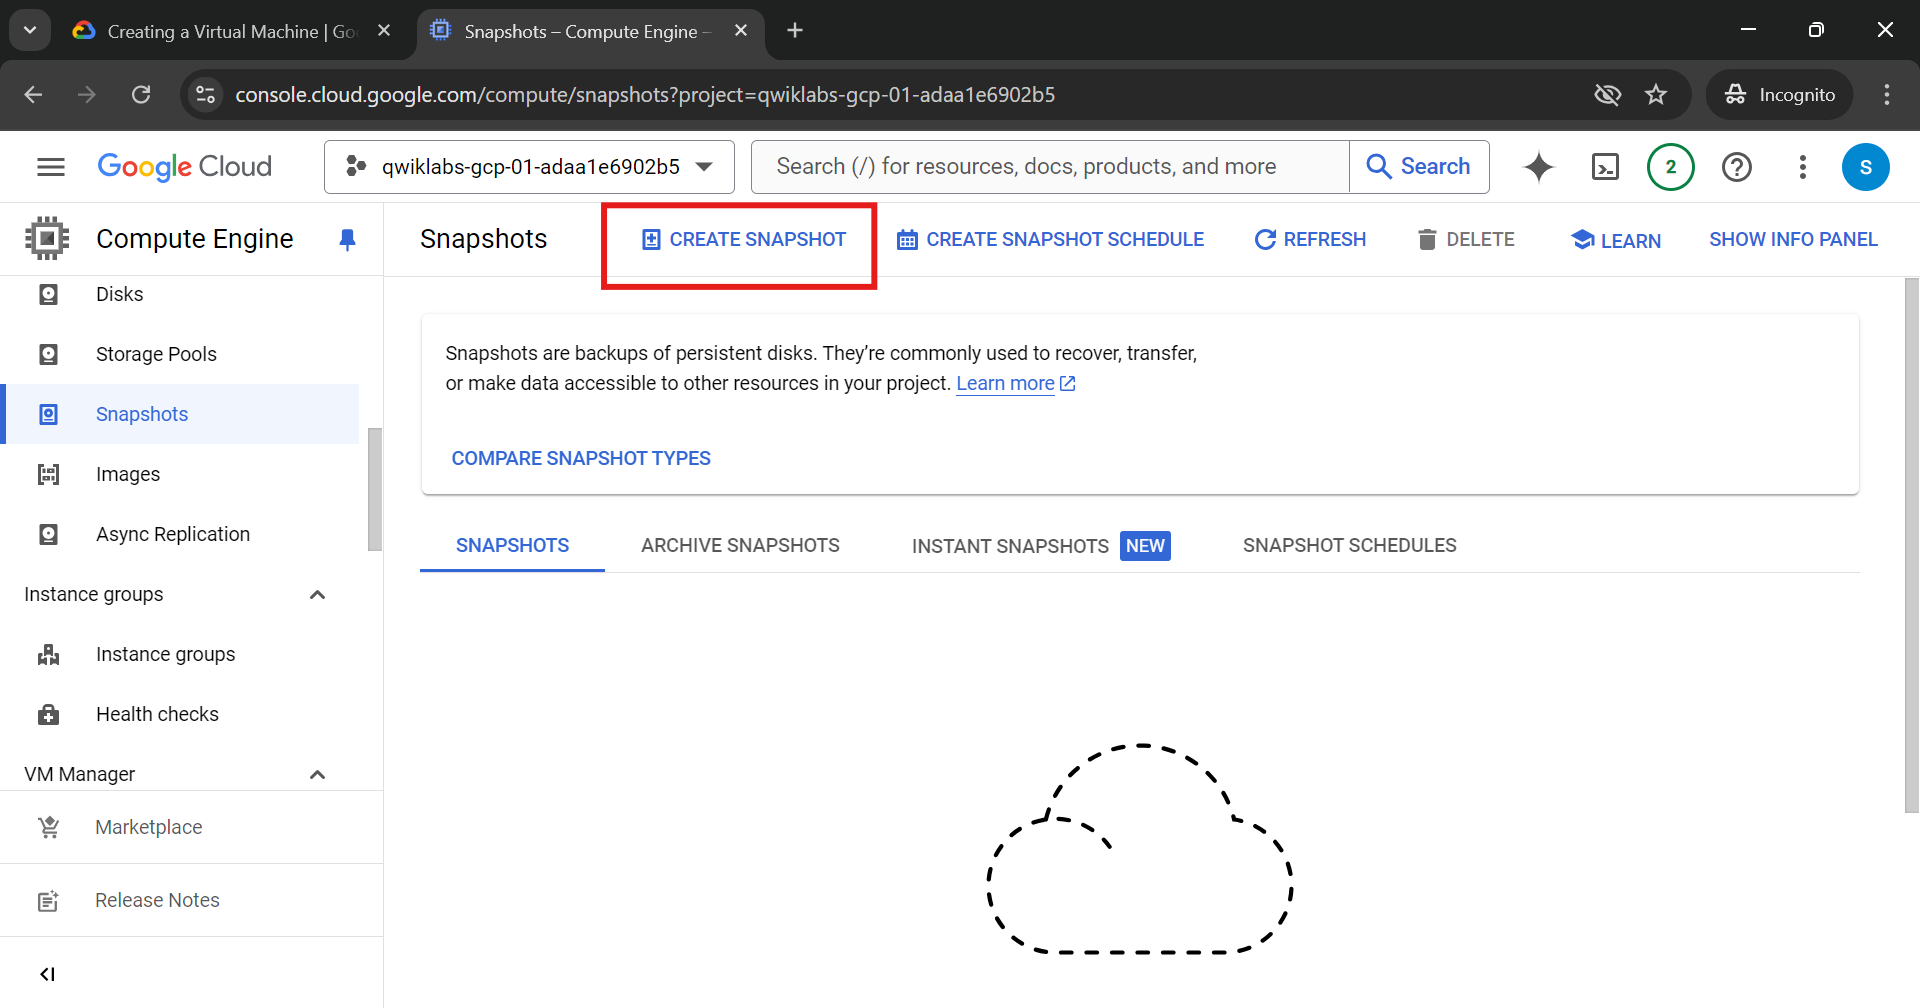
After that, from the left hand-side pannel, under Storage select Snapshots
Click on Create Snapshot
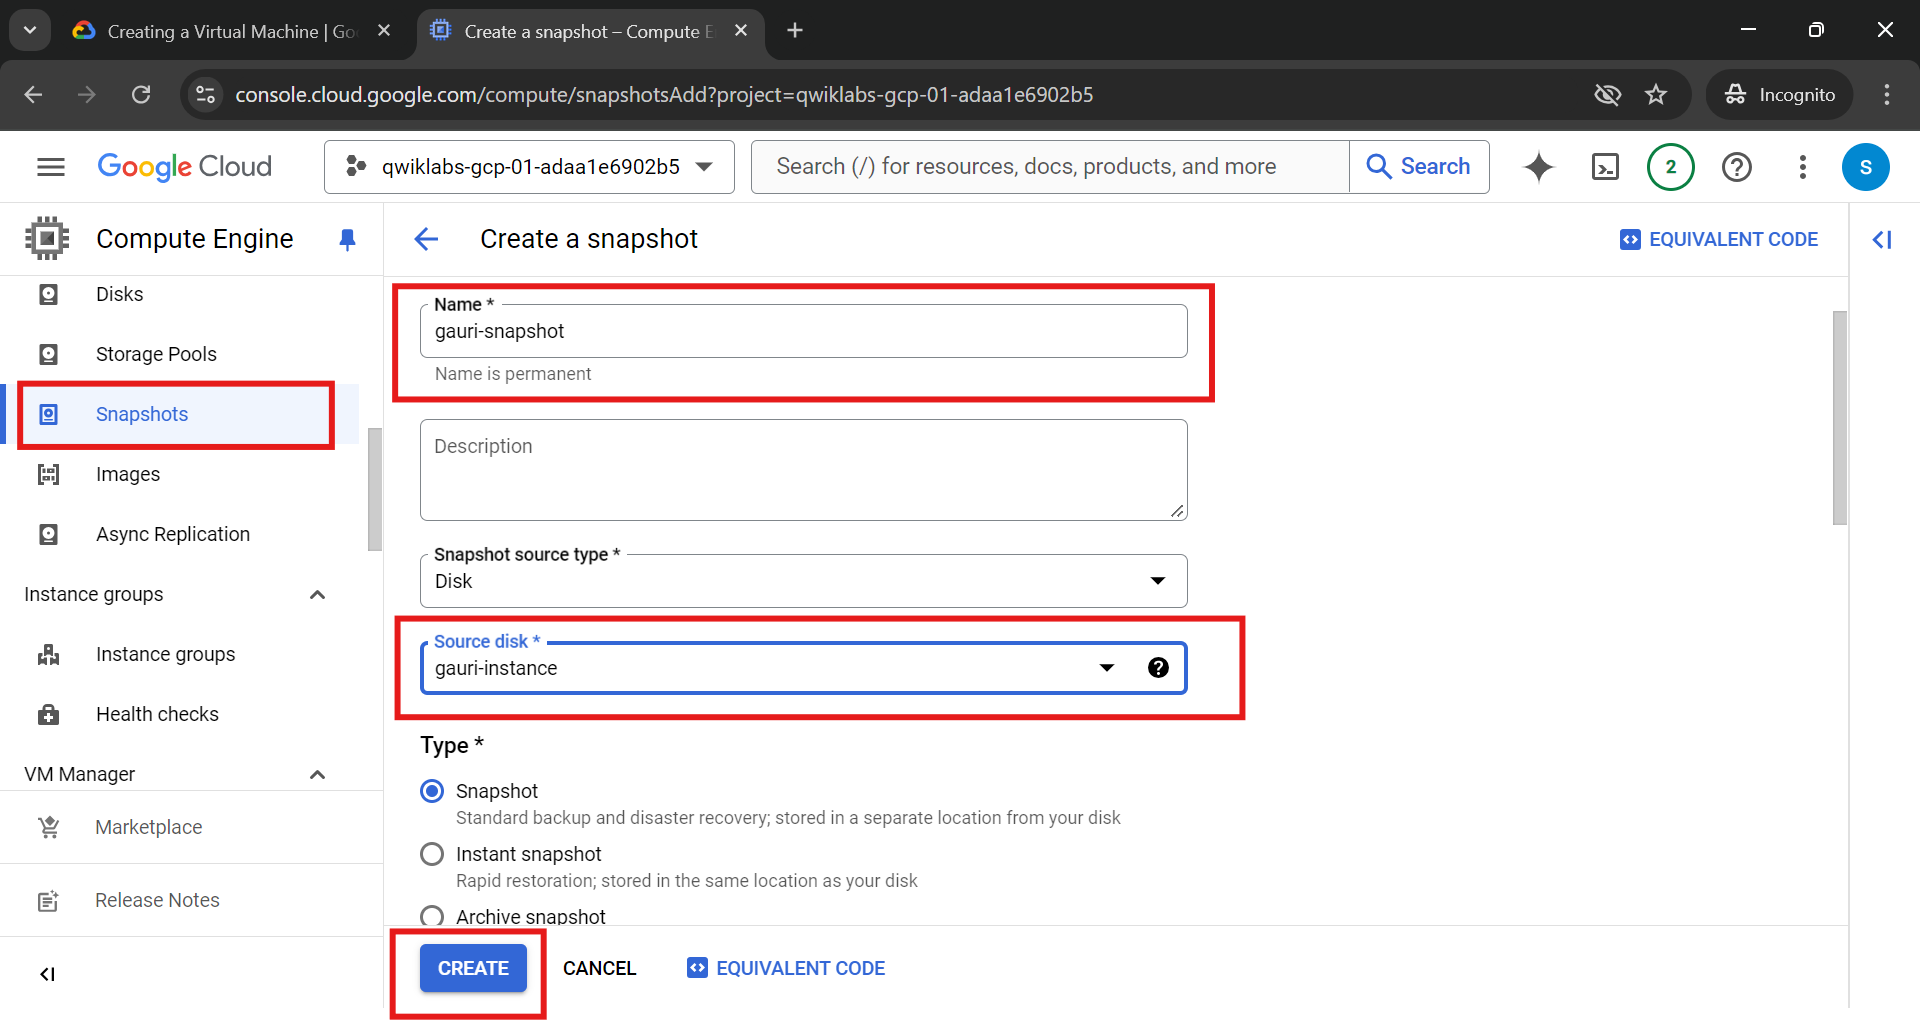
Name your snapshot, select Snapshot source type and for source-disk select the instance which you have created earlier in my case i.e. gauri-instance
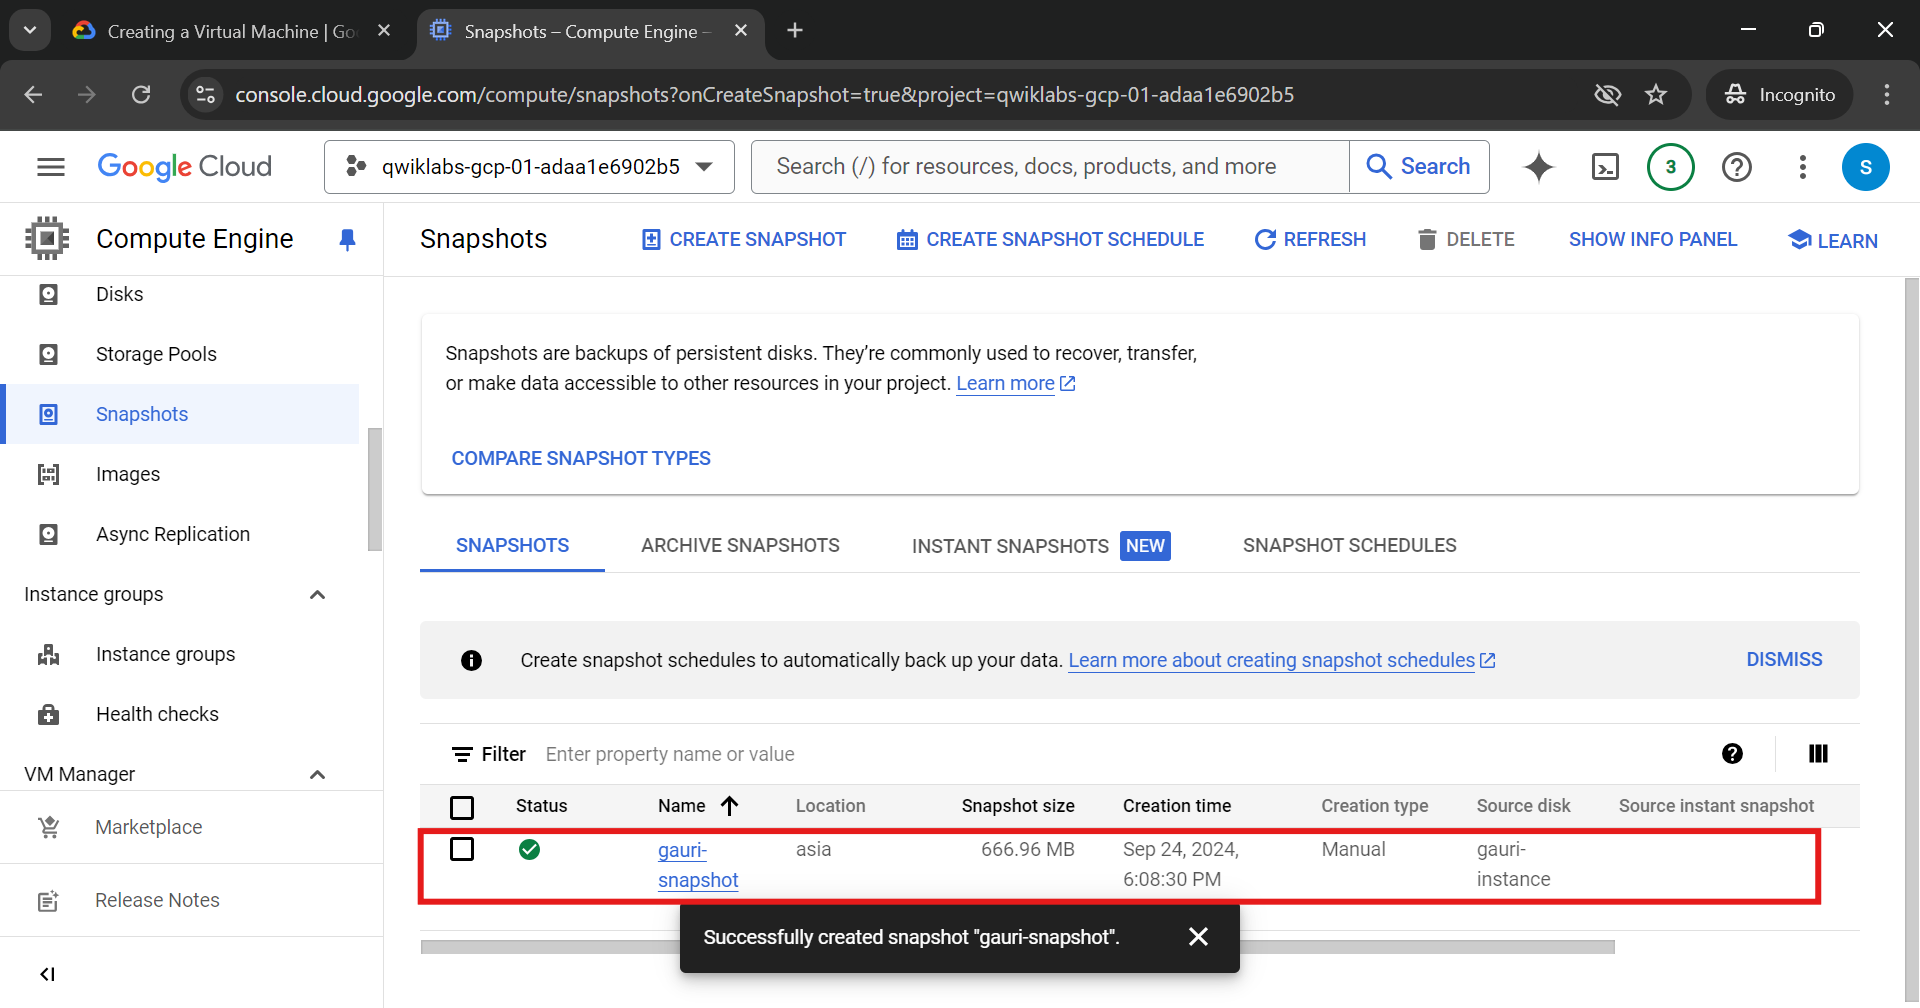
Now, click on create
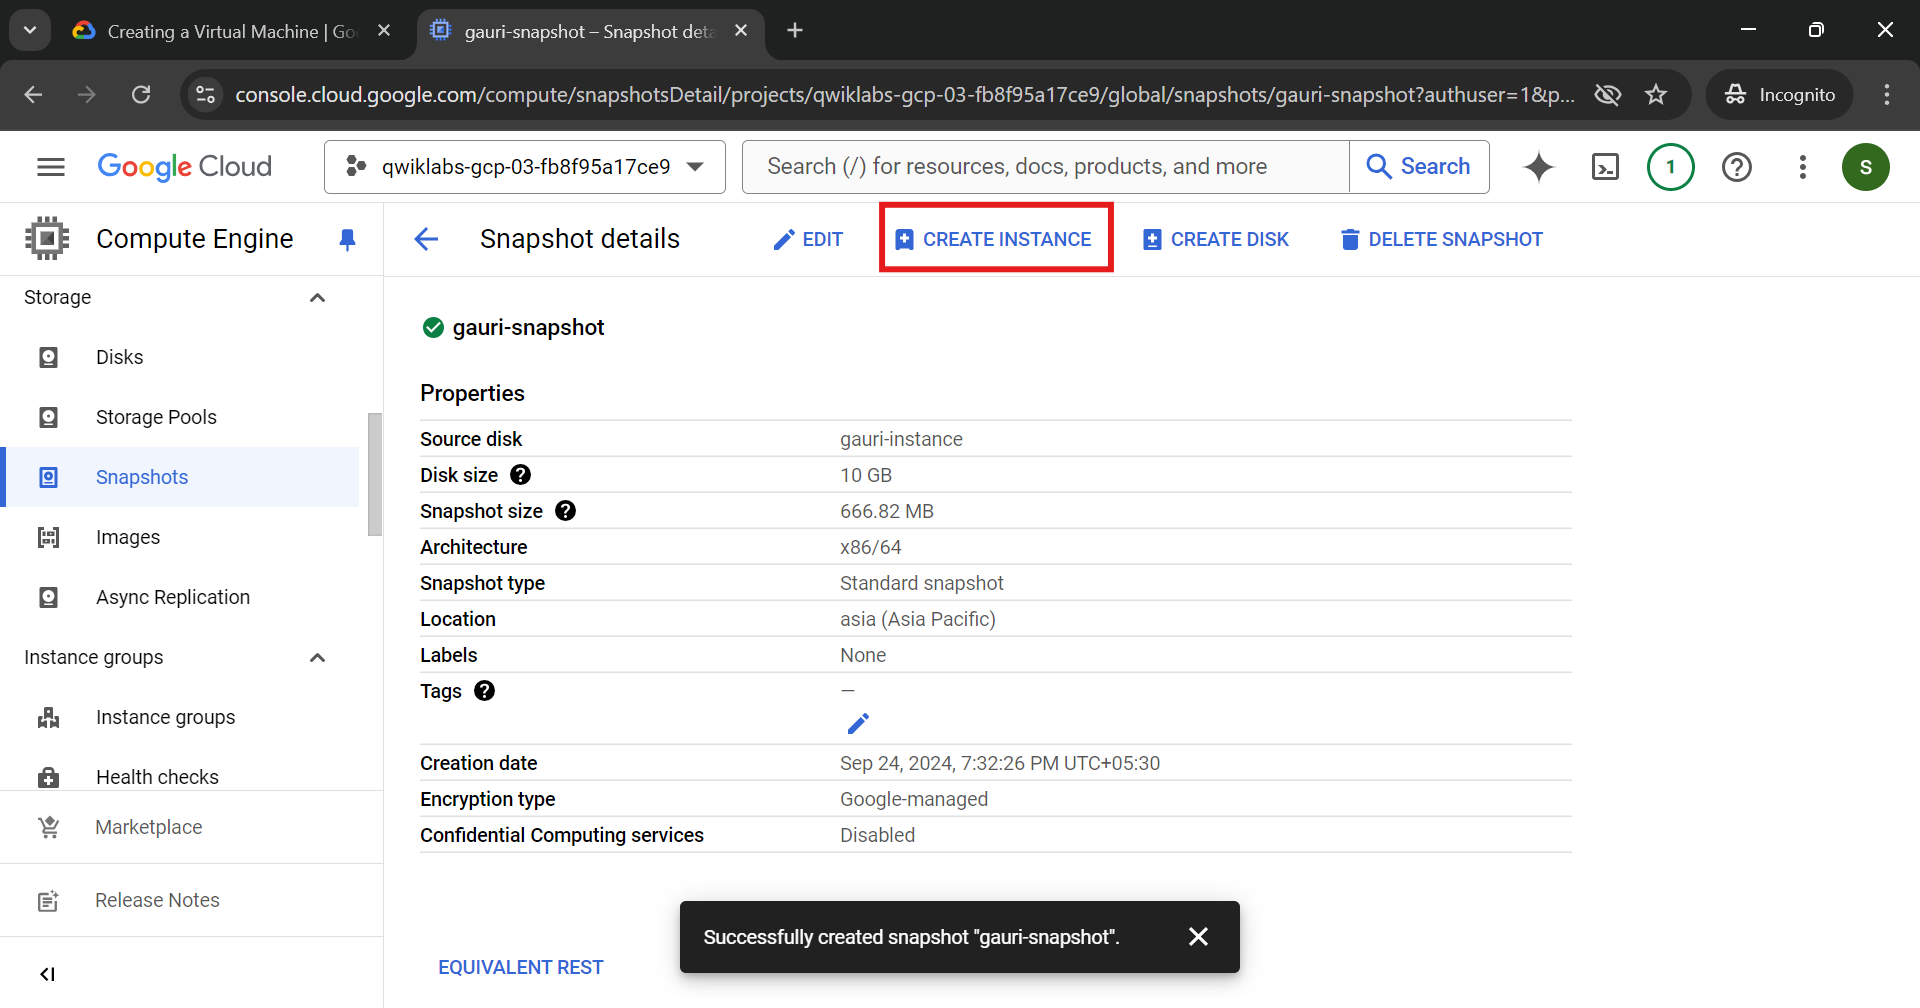
Now, click on this created snapshot, click on CREATE INSTANCE
Name your instance, give region and under firewall Allow both HTTP and HTTPS traffic
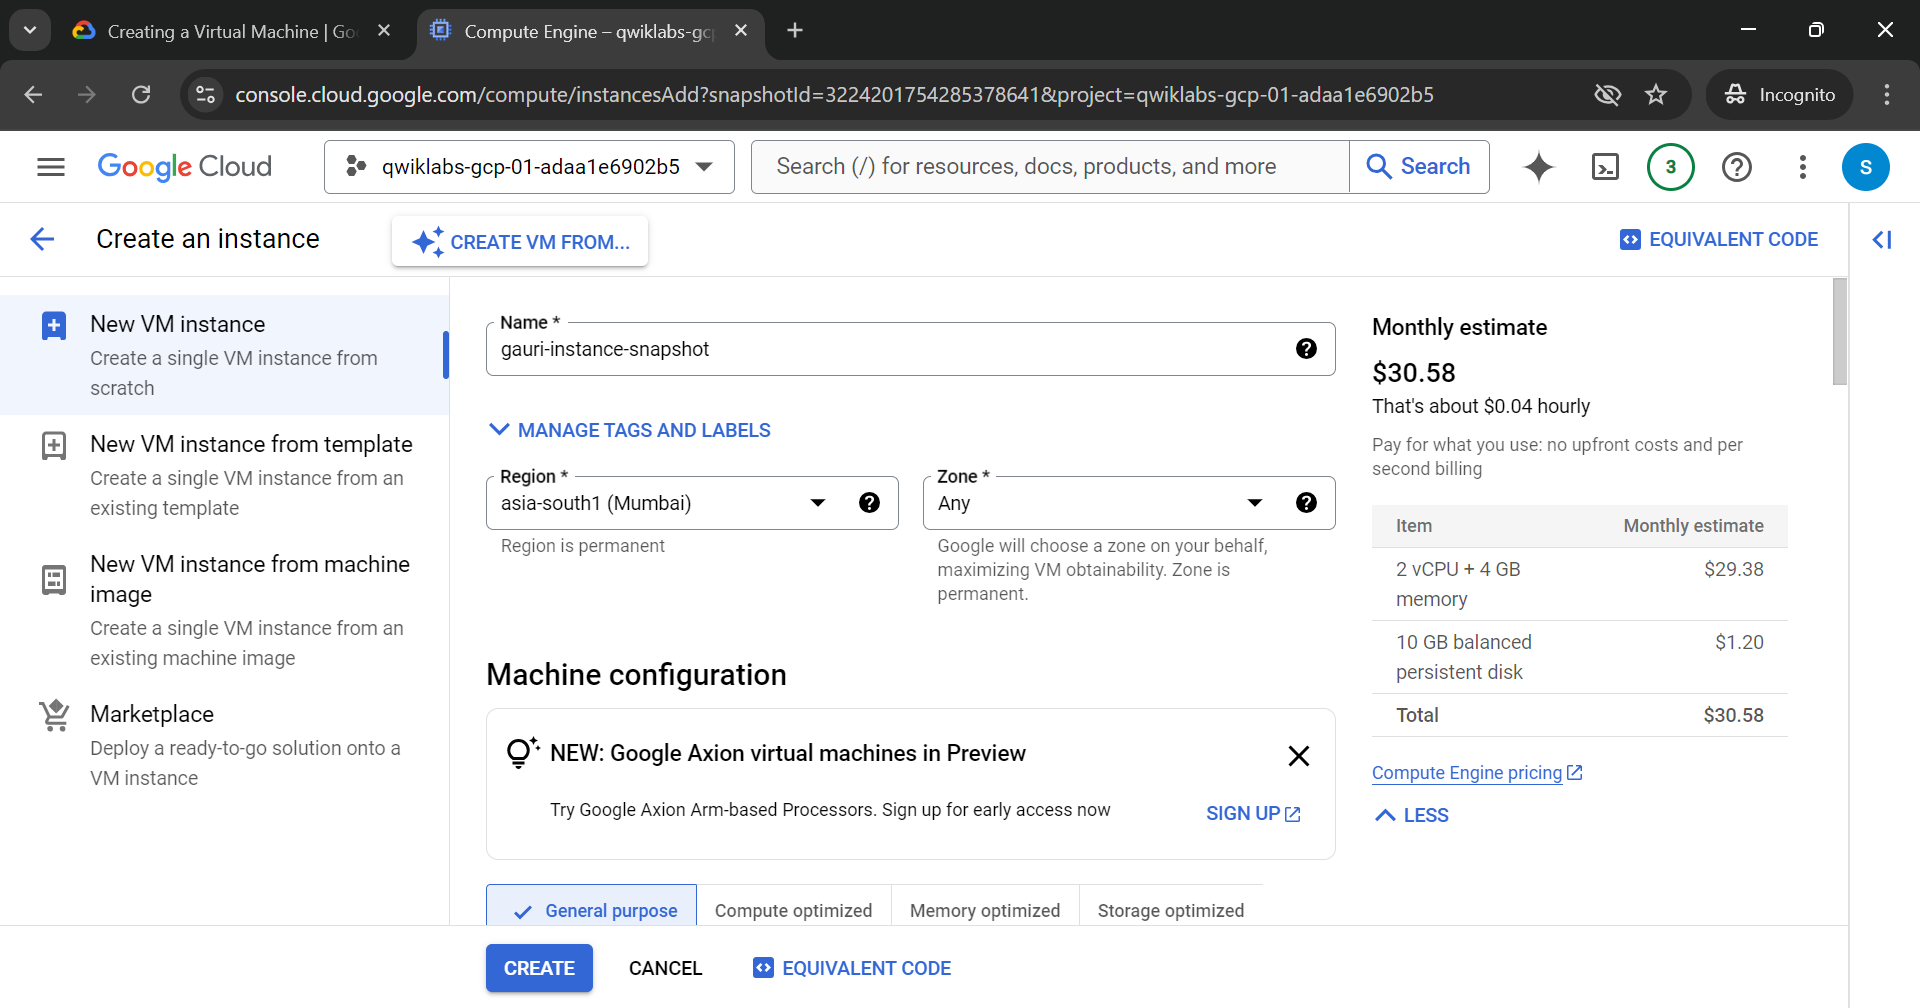
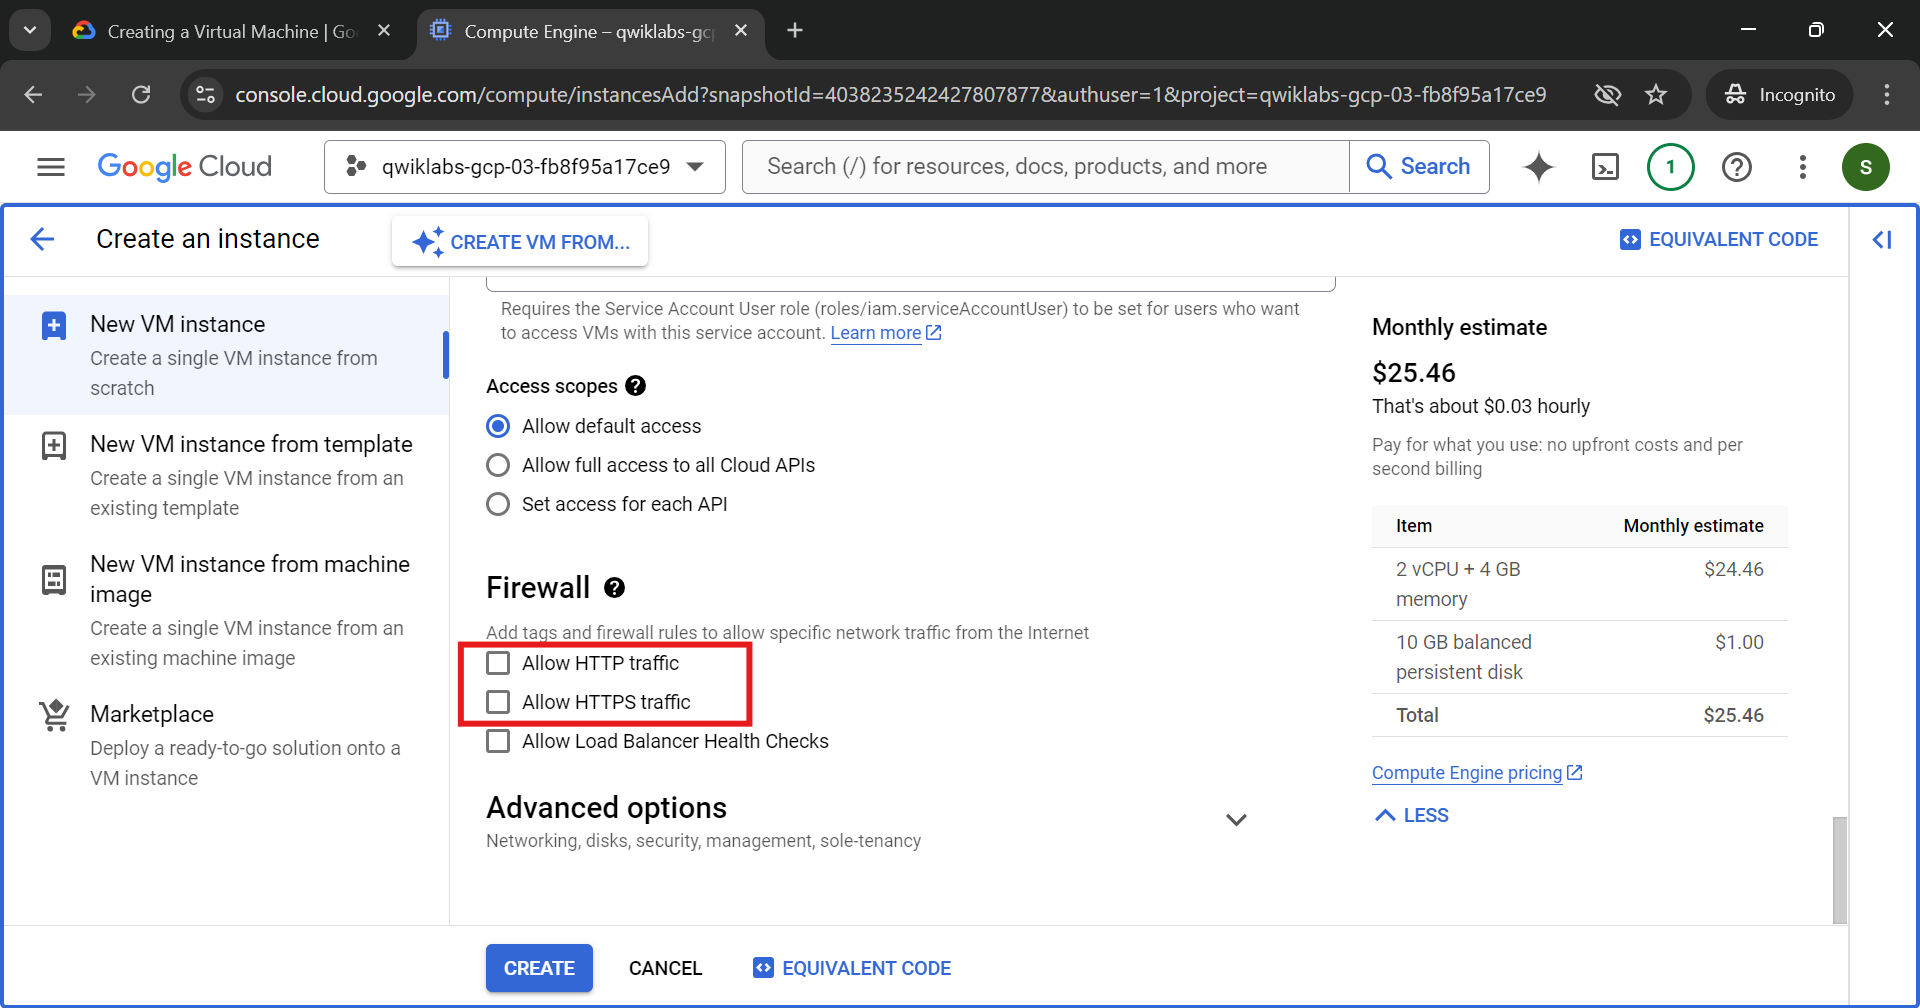
Click on create
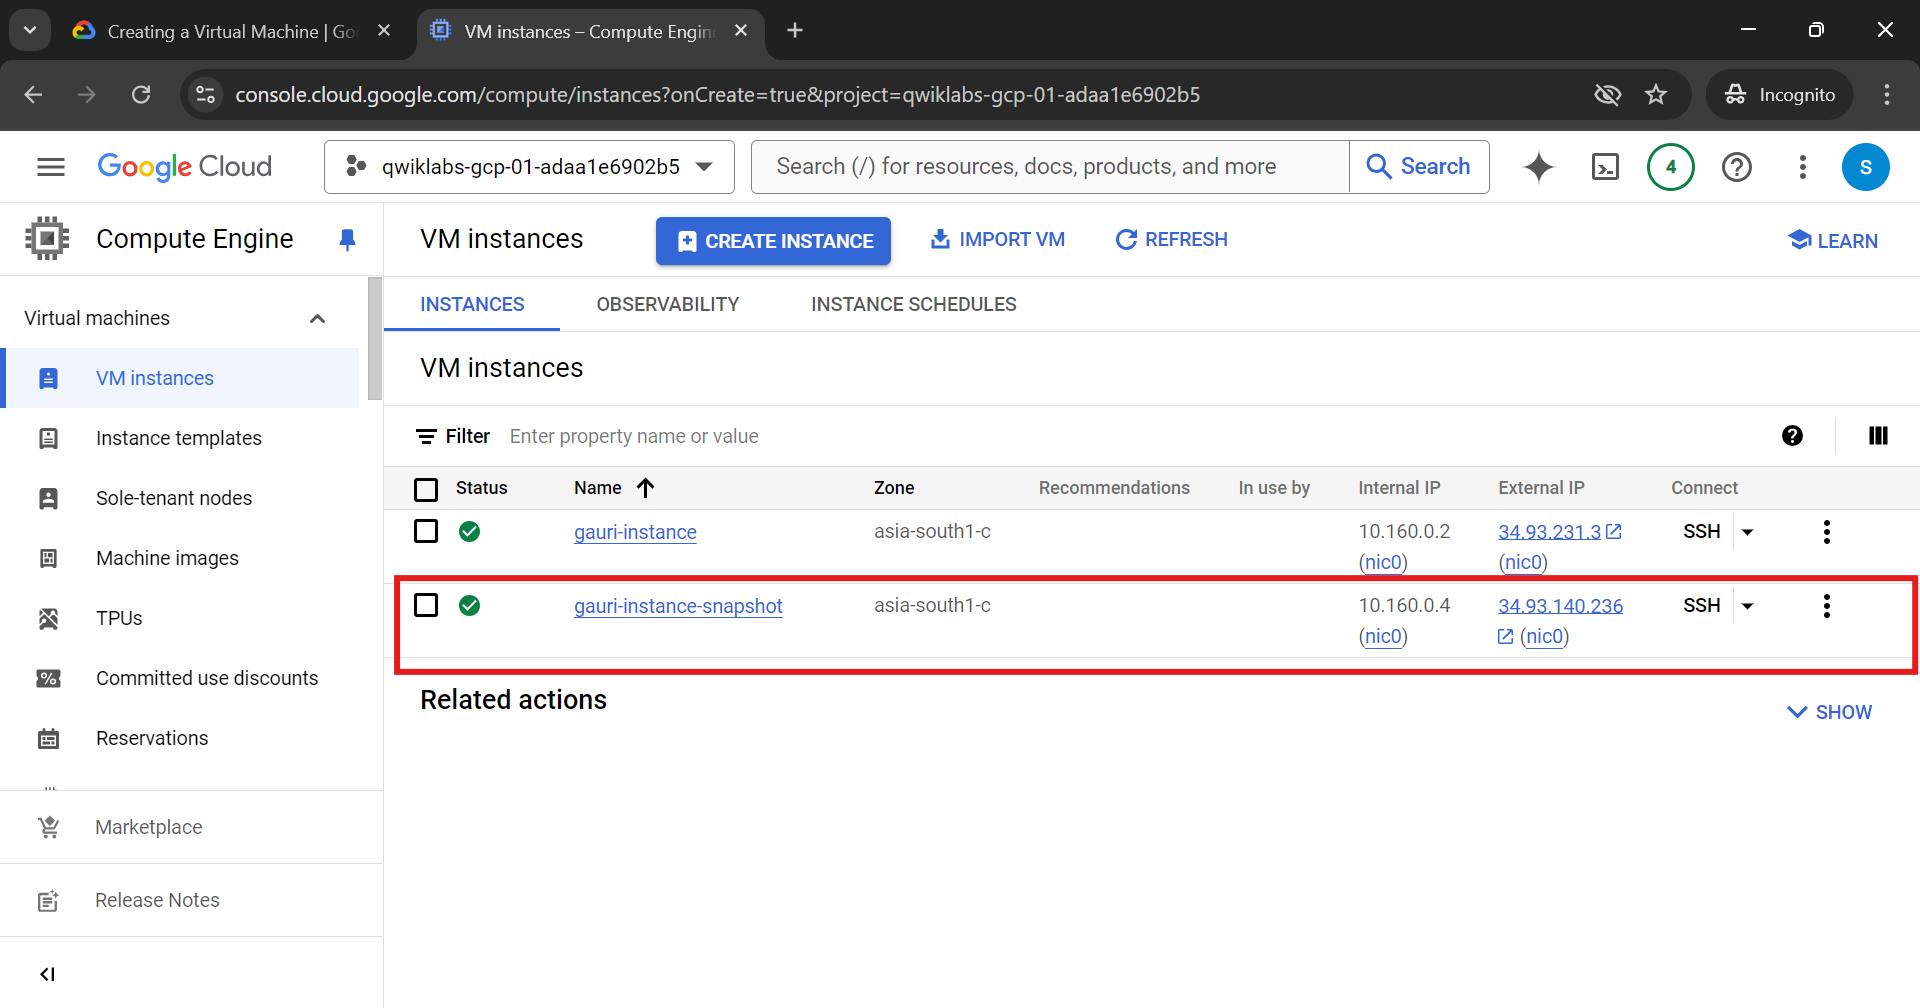
Now, copy the External IP of this newly created instance and hit it in the browser, you will be able to see the apache2 default page which we have intsalled in our previous instance i.e. gauri-instance
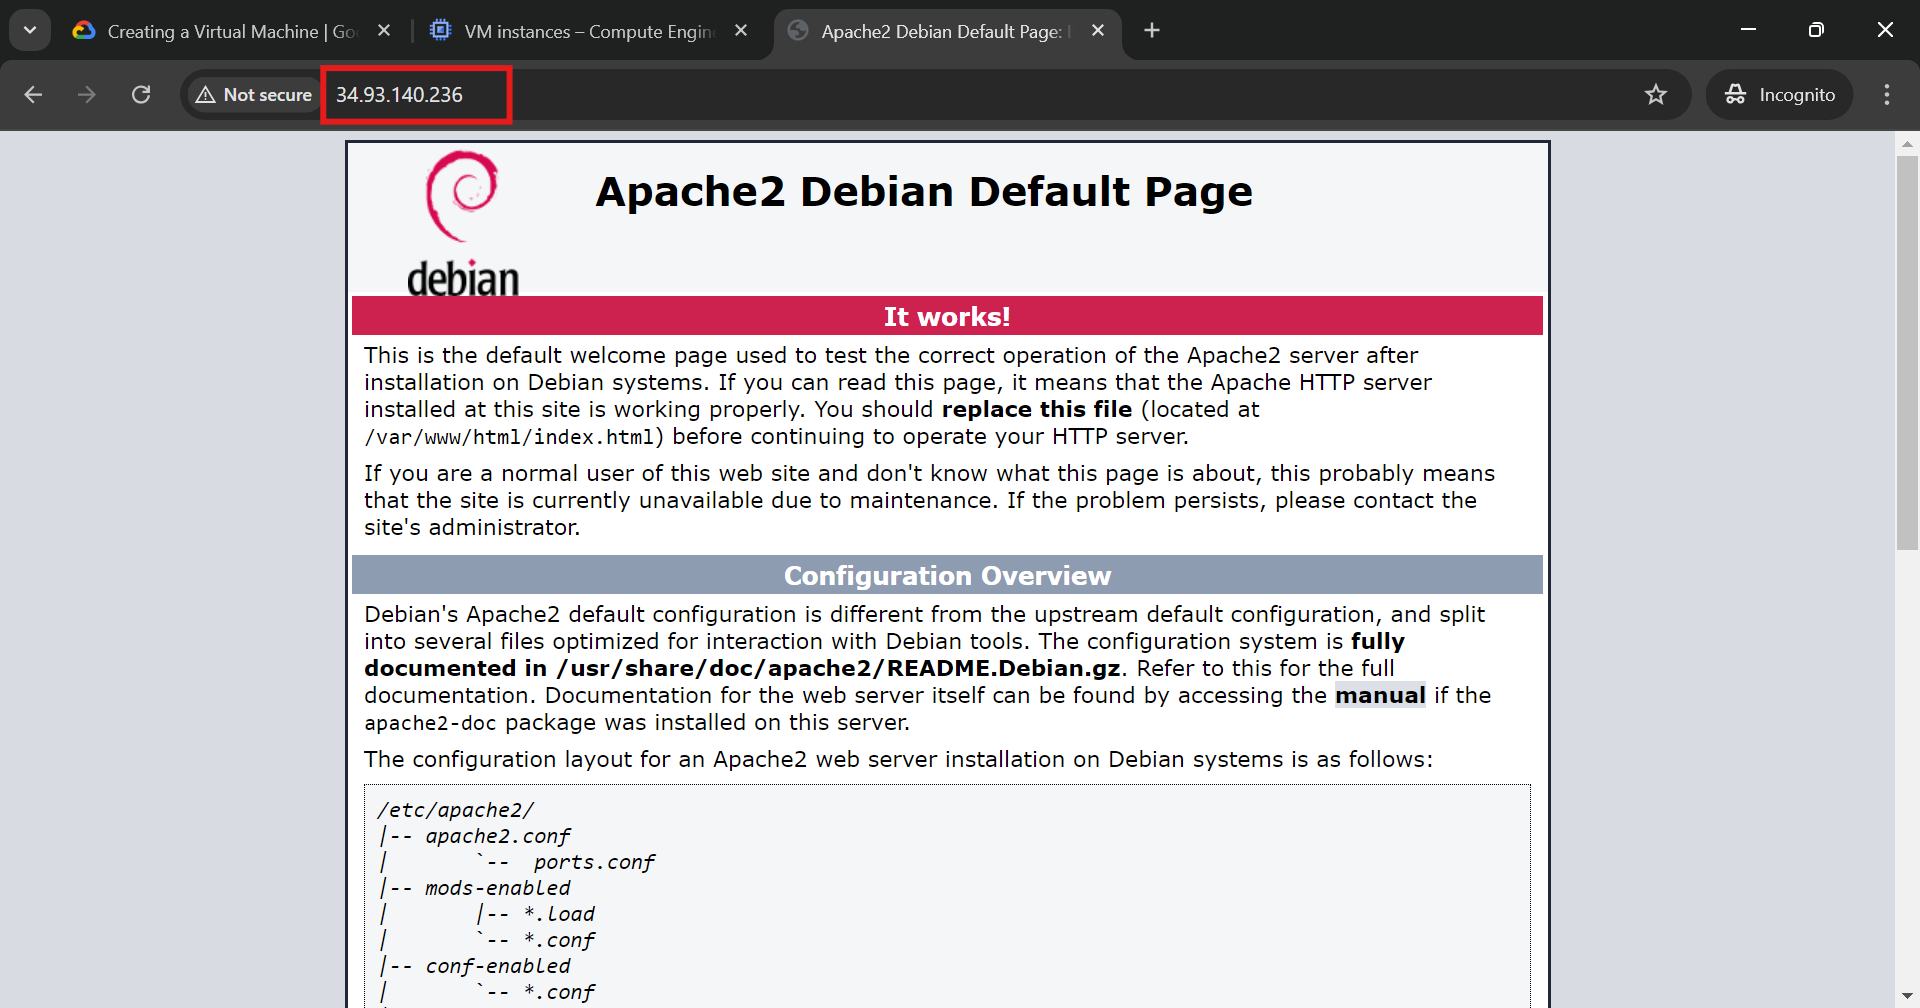
Awesome! You’ve successfully created a VM from a snapshot, giving you a powerful way to restore environments quickly. Up next, we’ll dive into creating VMs with startup scripts, automating configurations right from the start. Stay tuned for more cloud magic!
Subscribe to my newsletter
Read articles from Gauri Agrawal directly inside your inbox. Subscribe to the newsletter, and don't miss out.
Written by
