Deploying Jenkins and Building a Simple Pipeline on Azure
 Alla Yasheela
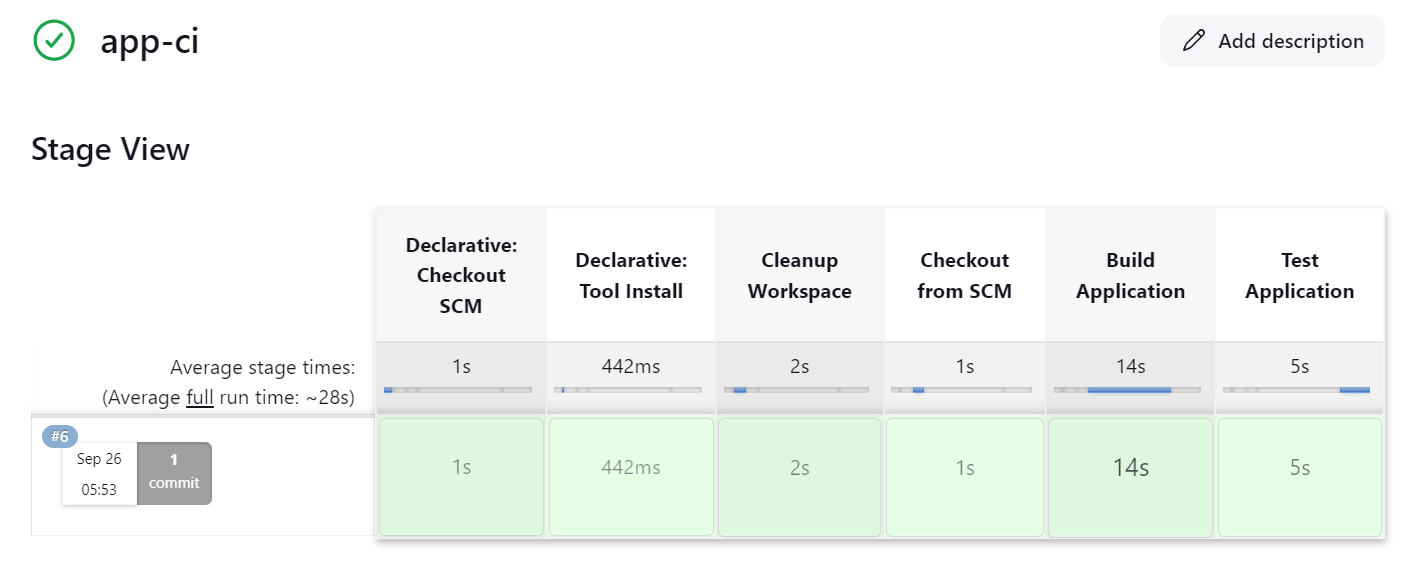
In this guide, we will continue our journey by creating a Jenkins Agent VM in Azure, configuring it, and setting up a simple pipeline. Let’s get started!
Step 1: Verify Jenkins Status
First, we need to ensure that Jenkins is running on our VM.
Command:
systemctl status jenkins
This command checks the status of the Jenkins service. If it is active and running, you're good to proceed.
Step 2: Access Jenkins
To access Jenkins, follow these steps:
Copy the DNS Name: Go to your Azure portal and locate your VM. Copy the DNS name provided there.
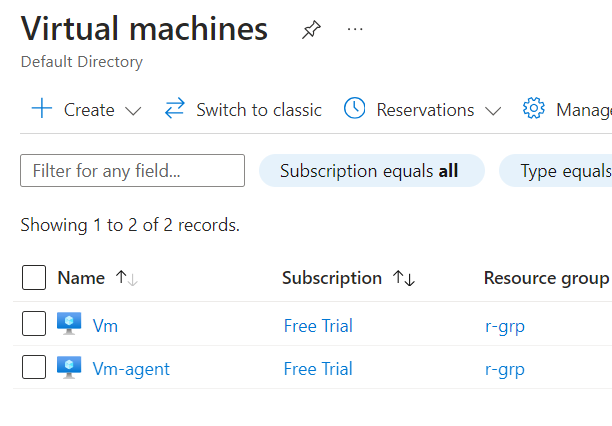
Open Your Browser: Paste the DNS name in your browser's address bar, adding
:8080at the end (e.g.,http://your-dns-name:8080). This is Jenkins' default port.
Step 3: Create a Jenkins User
Once Jenkins is accessible:
Install Jenkins: If you haven't done so already, follow the installation instructions on the Jenkins website.
Create Your User Account: During the setup process, you will be prompted to create an admin user account. Fill in the required details to manage Jenkins and its pipelines effectively.
Step 4: Install Jenkins Plugins
To enhance Jenkins' capabilities:
Access Plugin Manager: From the Jenkins dashboard, navigate to "Manage Jenkins" > "Manage Plugins."
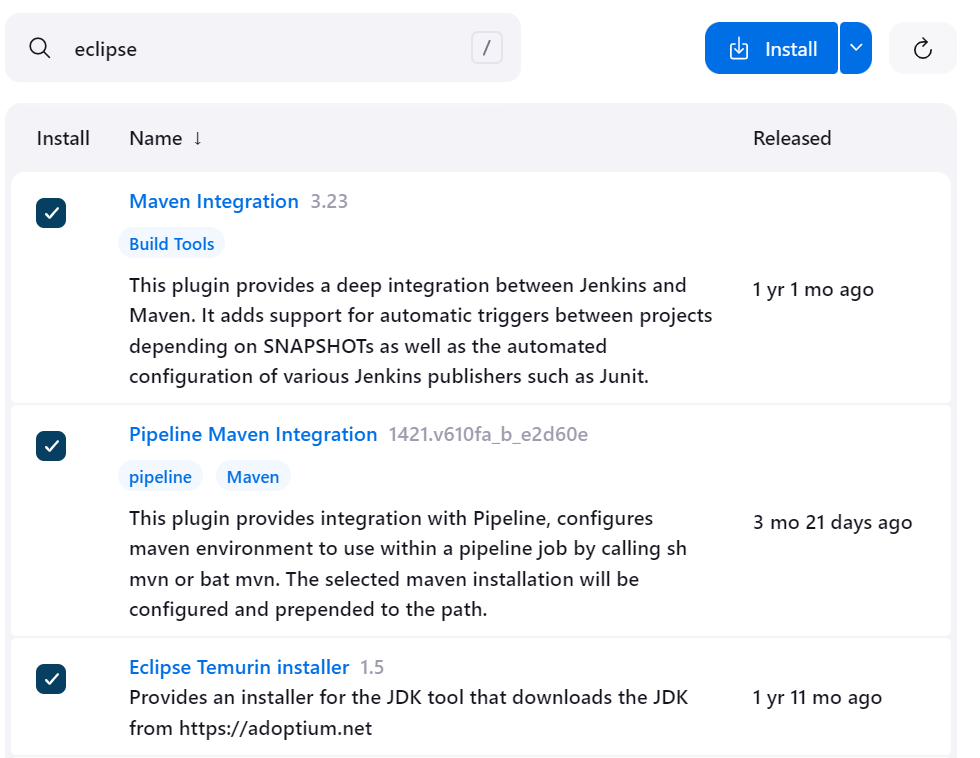
Install Required Plugins: You can manually search for and install the necessary plugins from the "Available" tab. Popular plugins include Maven Integration and GitHub Integration.
Verify Installation: After installation, check the "Installed" tab to ensure the plugins are correctly installed.
Configure the Jenkins-Main and Jenkins-Agent
Step 5: Set Up Jenkins Agent
Manage Jenkins: Click on "Manage Jenkins" from the dashboard.
Manage Nodes: Go to "Manage Nodes and Clouds."
Create New Node: Click on "New Node," provide a name, select "Permanent Agent," and click OK.
Node Configuration: Fill in the required details, such as Remote root directory and Labels, then choose a Launch method (like Launch agent by connecting it to the master).
Save Configuration: Click "Save" to finalize the agent setup.
Step 6: Integrate Maven to Jenkins
Global Tool Configuration: In "Manage Jenkins," go to "Global Tool Configuration."
Maven Section: Scroll down to the Maven section and click "Add Maven." Provide a name and check "Install automatically."
Save Configuration: Click "Save" to apply your changes.
Step 7: Add GitHub Credentials
Manage Credentials: Back in "Manage Jenkins," go to "Manage Credentials."
Add New Credentials: Click on "Add Credentials," select "Username with password," fill in your GitHub username and password (or personal access token), and click OK.
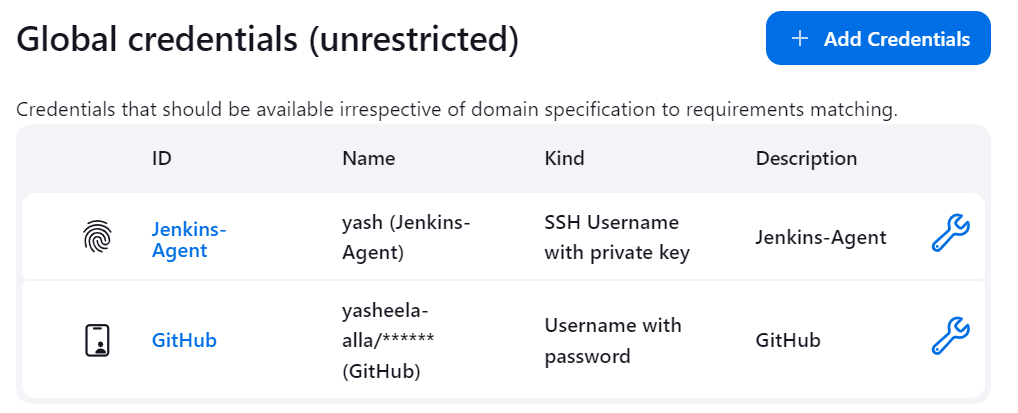
Here’s how to generate and configure SSH keys for your Jenkins setup on Azure:
Setting Up SSH Keys for Jenkins
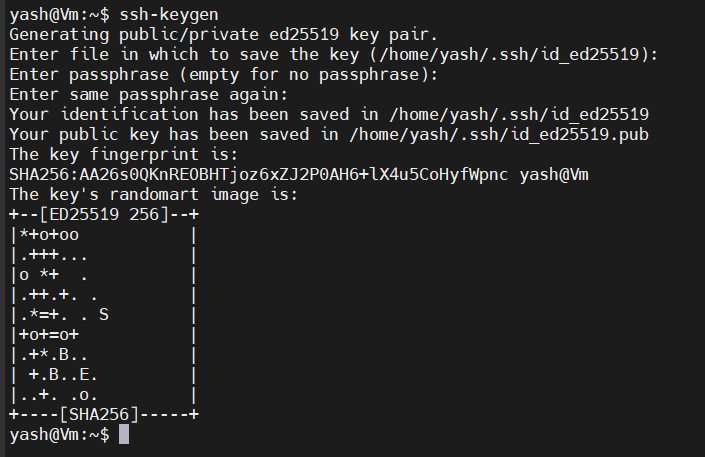
Step 1: Generate SSH Key Pair
Open Your Terminal: You can use a terminal on your local machine or an SSH-enabled terminal on your VM.
Generate the Key Pair: Run the following command to create a new SSH key pair. Replace
your_email@example.comwith your email address.ssh-keygen -t rsa -b 4096 -C "your_email@example.com"Save the Key: When prompted to "Enter a file in which to save the key," you can press Enter to save it in the default location (
~/.ssh/id_rsa).Set a Passphrase: Optionally, you can set a passphrase for added security. If you don’t want a passphrase, just press Enter twice.
Step 2: Copy the SSH Public Key
Display the Key: Use the following command to display your public key:
cat ~/.ssh/id_rsa.pubCopy the Key
Step 3: Add the SSH Key to Your GitHub Account
Log into GitHub: Go to your GitHub account.
Navigate to SSH and GPG Keys: Click on your profile icon in the upper right corner, select "Settings," and then go to "SSH and GPG keys."
Add New SSH Key: Click on the "New SSH key" button.
Enter a Title: Give your SSH key a title for identification.
Paste the Key: In the "Key" field, paste the public key you copied earlier.
Save: Click "Add SSH key" to save it.
Step 4: Test the SSH Connection
Test the Connection: Run the following command to test if the SSH key is working correctly:
ssh -T git@github.comExpected Output: If everything is set up correctly, you should see a message like:
Hi username! You've successfully authenticated, but GitHub does not provide shell access.
Step 5: Configure Jenkins to Use the SSH Key
Manage Jenkins: Go to your Jenkins dashboard and click on "Manage Jenkins."
Manage Credentials: Click on "Manage Credentials."
Add New Credentials: Select the appropriate domain (or global), click "Add Credentials," and choose "SSH Username with private key."
Fill in the Details:
Username: Enter
git(for GitHub).Private Key: Choose "Enter directly" and paste your private key (found in
~/.ssh/id_rsa).
Save: Click "OK" to save your credentials.
Create Pipeline Script (Jenkinsfile)
Step 8: Create a Jenkinsfile
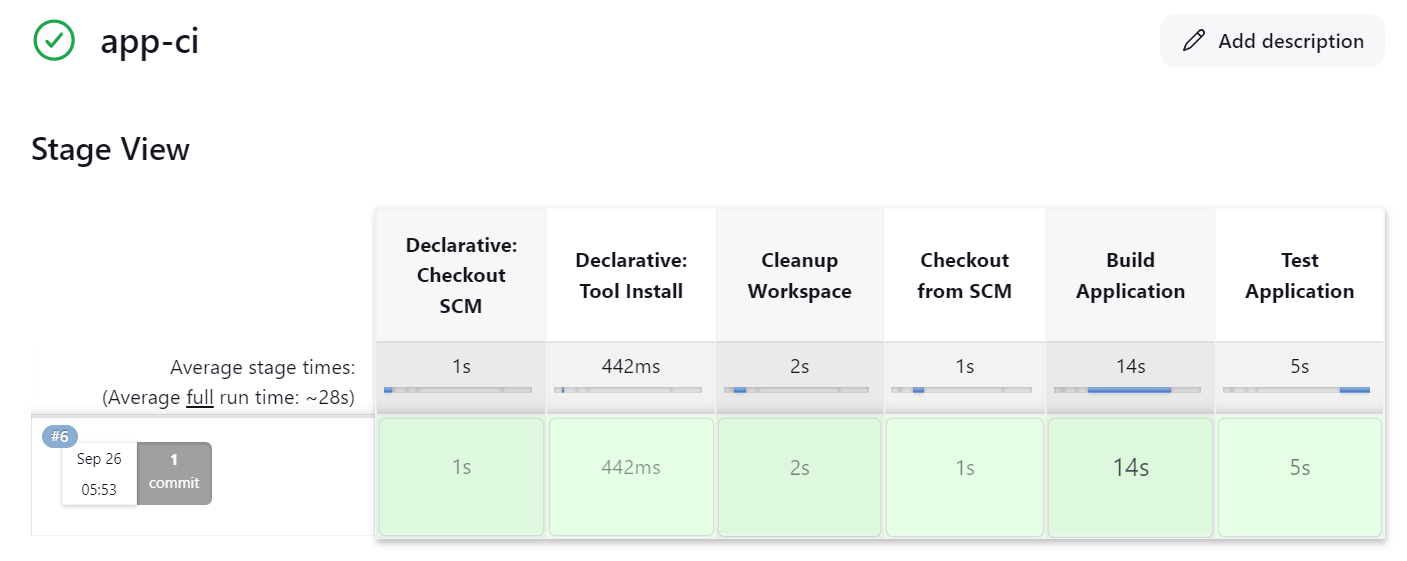
Create a New Item: From the Jenkins dashboard, click "New Item," choose "Pipeline," and give it a name.
Pipeline Configuration: In the configuration page, scroll down to the "Pipeline" section.
Enter Pipeline Script: In the "Definition" dropdown, select "Pipeline script" and enter your script. Here's a simple example:
 pipeline {
     agent any
     stages {
         stage('Build') {
             steps {
                 echo 'Building...'
                 sh 'mvn clean package'
             }
         }
         stage('Test') {
             steps {
                 echo 'Testing...'
                 sh 'mvn test'
             }
         }
         stage('Deploy') {
             steps {
                 echo 'Deploying...'
                 // Add your deployment commands here
             }
         }
     }
 }
Save and Build: Click "Save" and then "Build Now" to execute your pipeline.
Conclusion
In this post, we’ve walked through the steps to deploy Jenkins on an Azure VM, verify its status, set up a Jenkins agent, integrate Maven, and create a simple Jenkins pipeline. With this setup, you can automate your CI/CD processes effectively. Happy automating!
Subscribe to my newsletter
Read articles from Alla Yasheela directly inside your inbox. Subscribe to the newsletter, and don't miss out.
Written by

Alla Yasheela
Alla Yasheela
I'm Yasheela, an undergraduate with a deep interest in DevOps, and cloud technologies. Currently working on exciting projects on all things DevOps. I’m passionate about simplifying complex concepts and sharing practical insights. Through my Hashnode blog, I document my learning journey, from building scalable applications to mastering cloud services, with the goal of empowering others to grow their tech skills. Let's Learn Together !!