Easy Setup: Vite, React & Tailwind CSS in Minutes!
 Anubhav Gupta
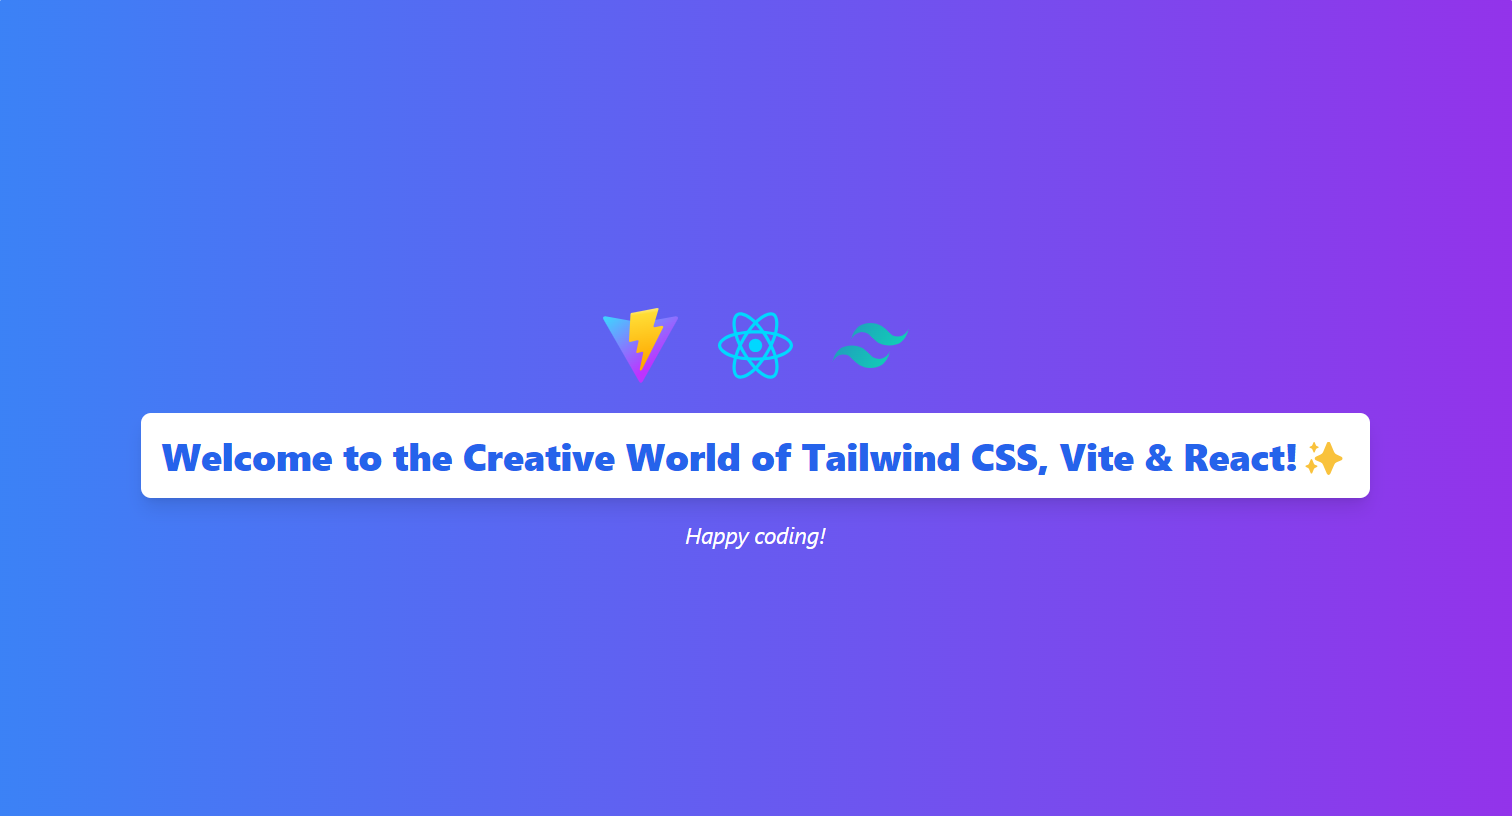
Table of Contents:
Introduction
Prerequisites
Step-by-Step Setup
Conclusion
Additional Information
Intrduction :
In the ever-evolving landscape of front-end development, Tailwind CSS is revolutionizing styling with its efficient utility-first approach. Coupled with Vite, the new go-to bundler recommended by React’s documentation, this combo offers a smoother development experience. In this post, we’ll quickly set up these cutting-edge technologies in just a few minutes. Let’s dive in!
Prerequisites :
Ensure you have Node.js and npm installed. Simply follow these steps:
Visit the Node.js official website and download the LTS (Long Term Support) version.
Run the installer and follow the instructions provided; npm is bundled with Node.js, you do not need to install it additionally.
Verify the installation by running the following commands in your terminal or command prompt
node -v
npm -v
Setp-By-Step Setup :
- Open Vs Code and open the terminal:
Windows: hit “ctrl” + ` (backtick, usually below the Esc key).
Mac: hit “cmd” + ` (backtick, usually below the Esc key).
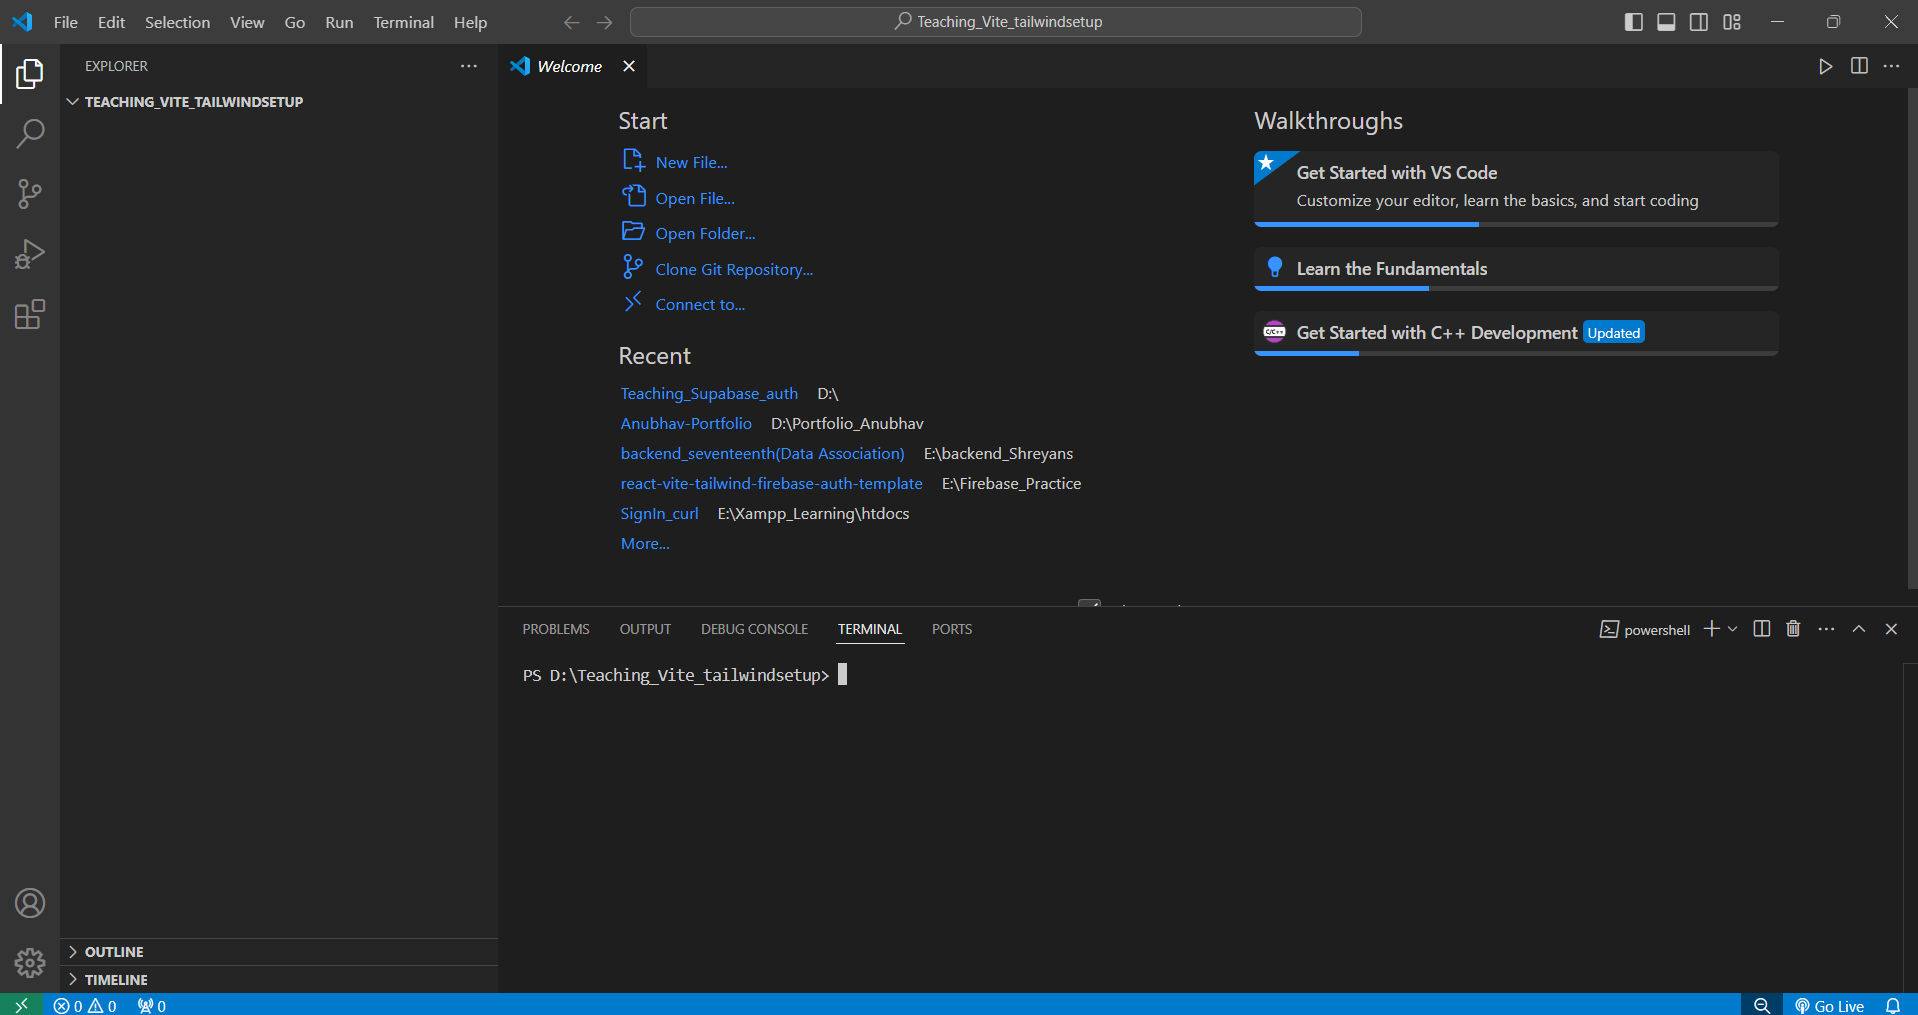
now run the following command :
npm create vite@latest your-project-name -- --template reactReplace
your-project-namewith your desired project name, then press Enter.
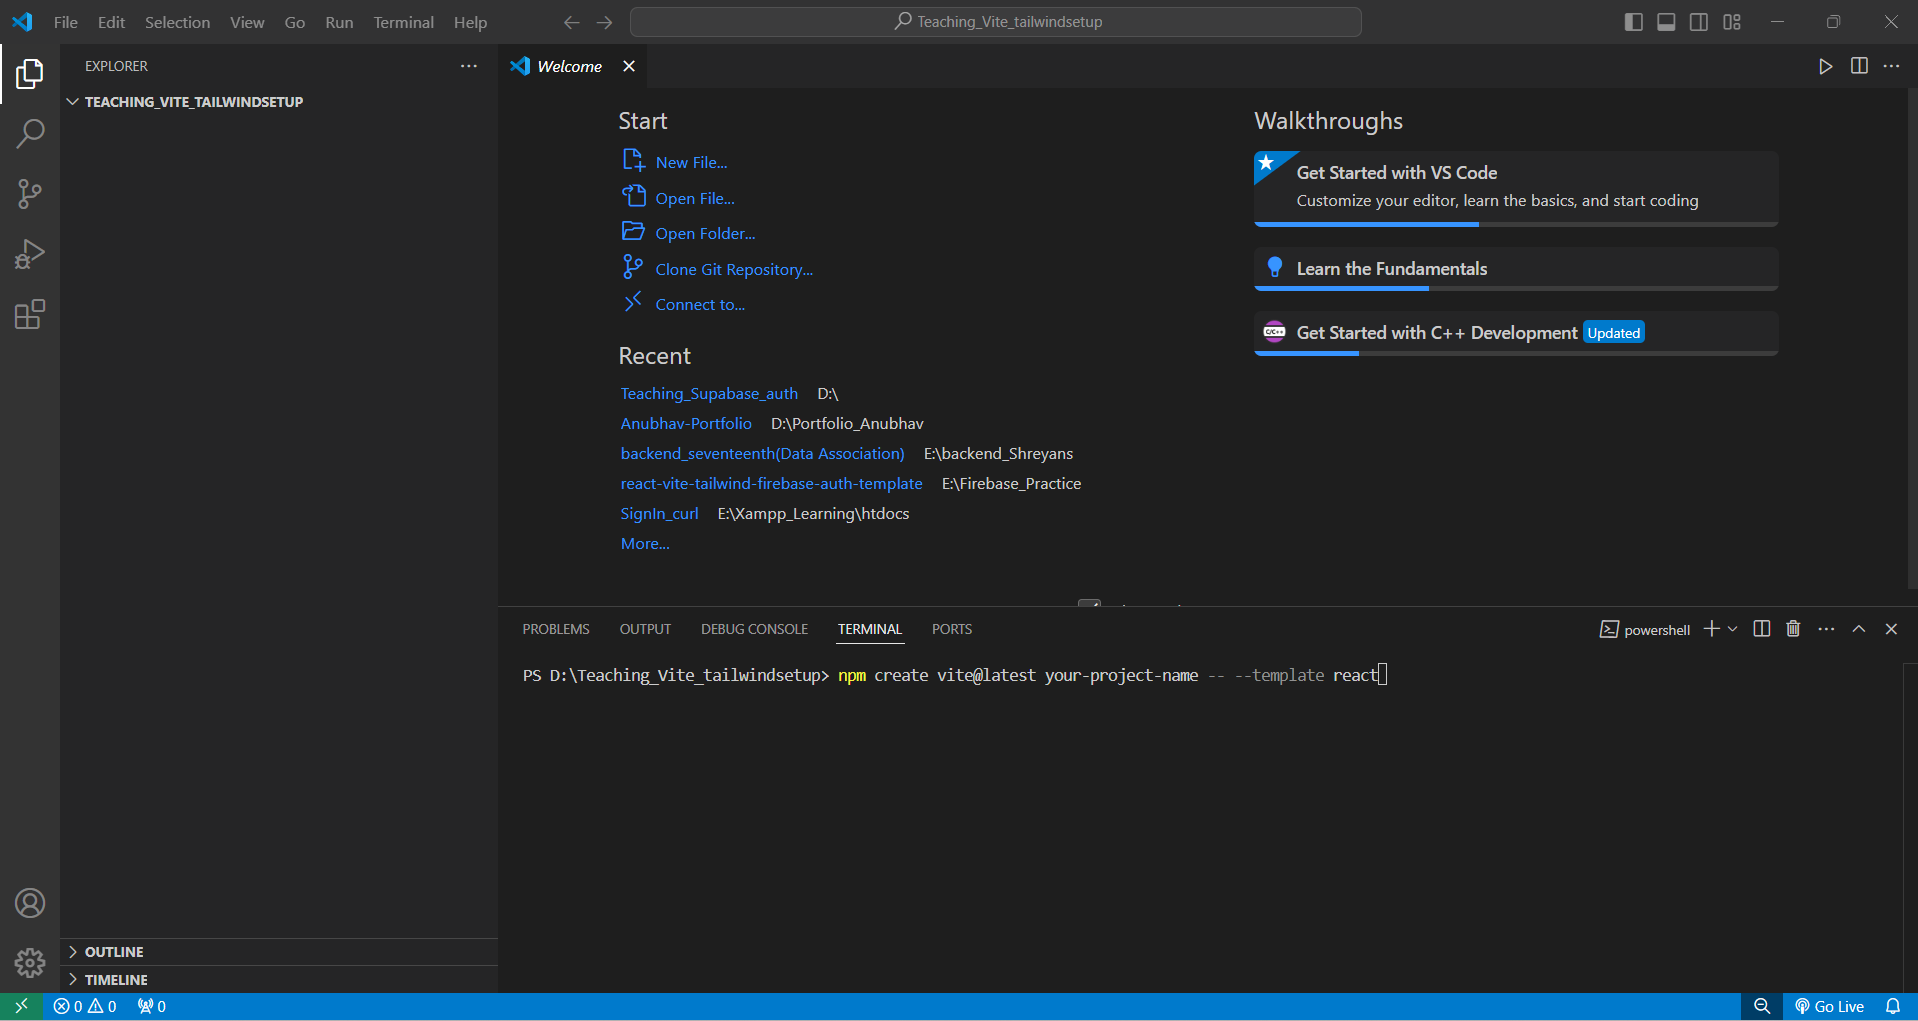
I've named my project "SetUpPractice", you can use your own project name for the following steps.
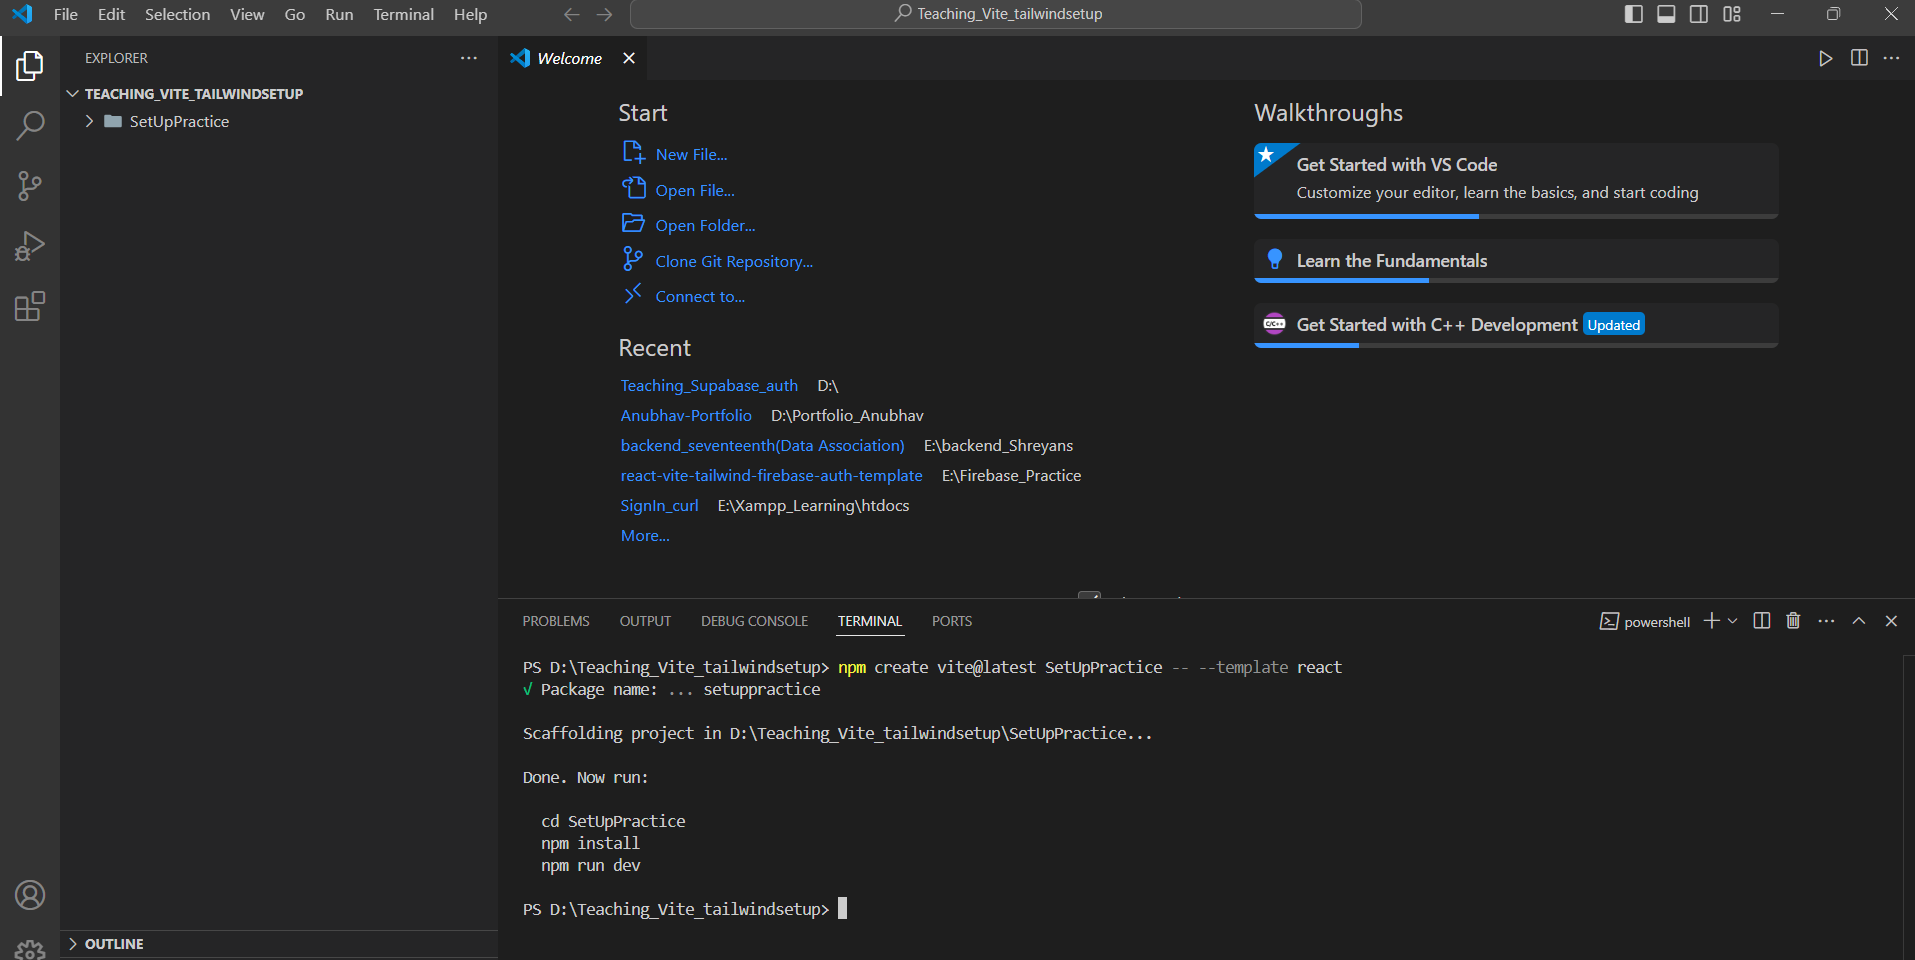
Now navigate to your project folder :
cd your-project-name
Run the below command to Install Tailwind CSS and Other Dependencies :
npm install -D tailwindcss postcss autoprefixer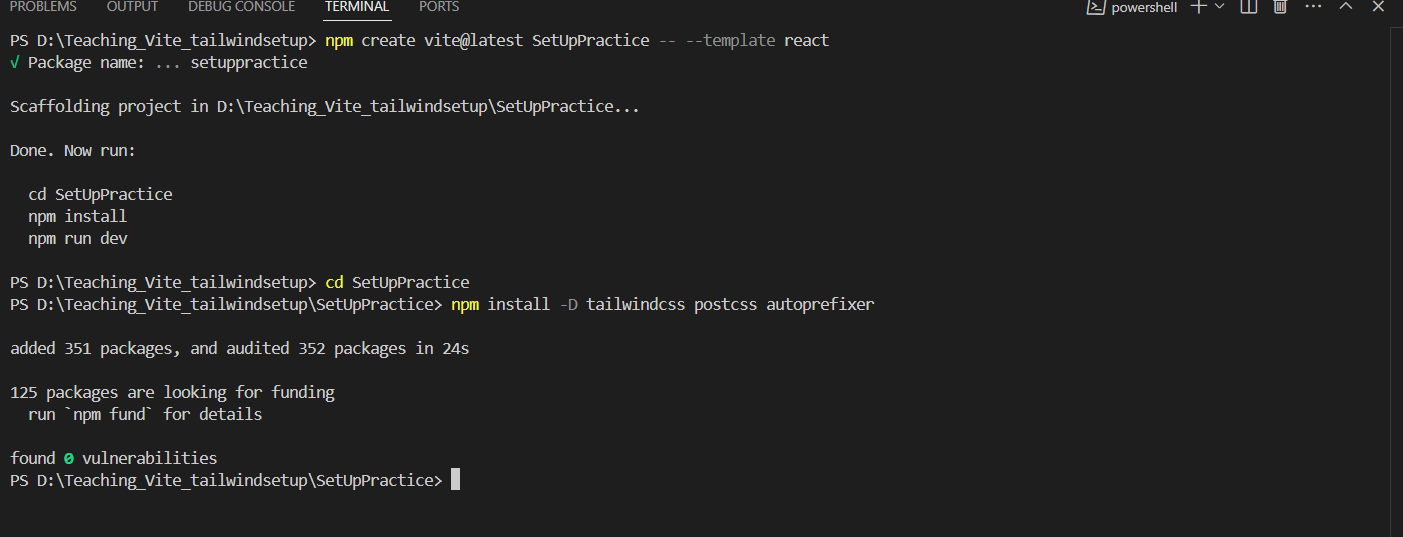
now your folder will look like this :
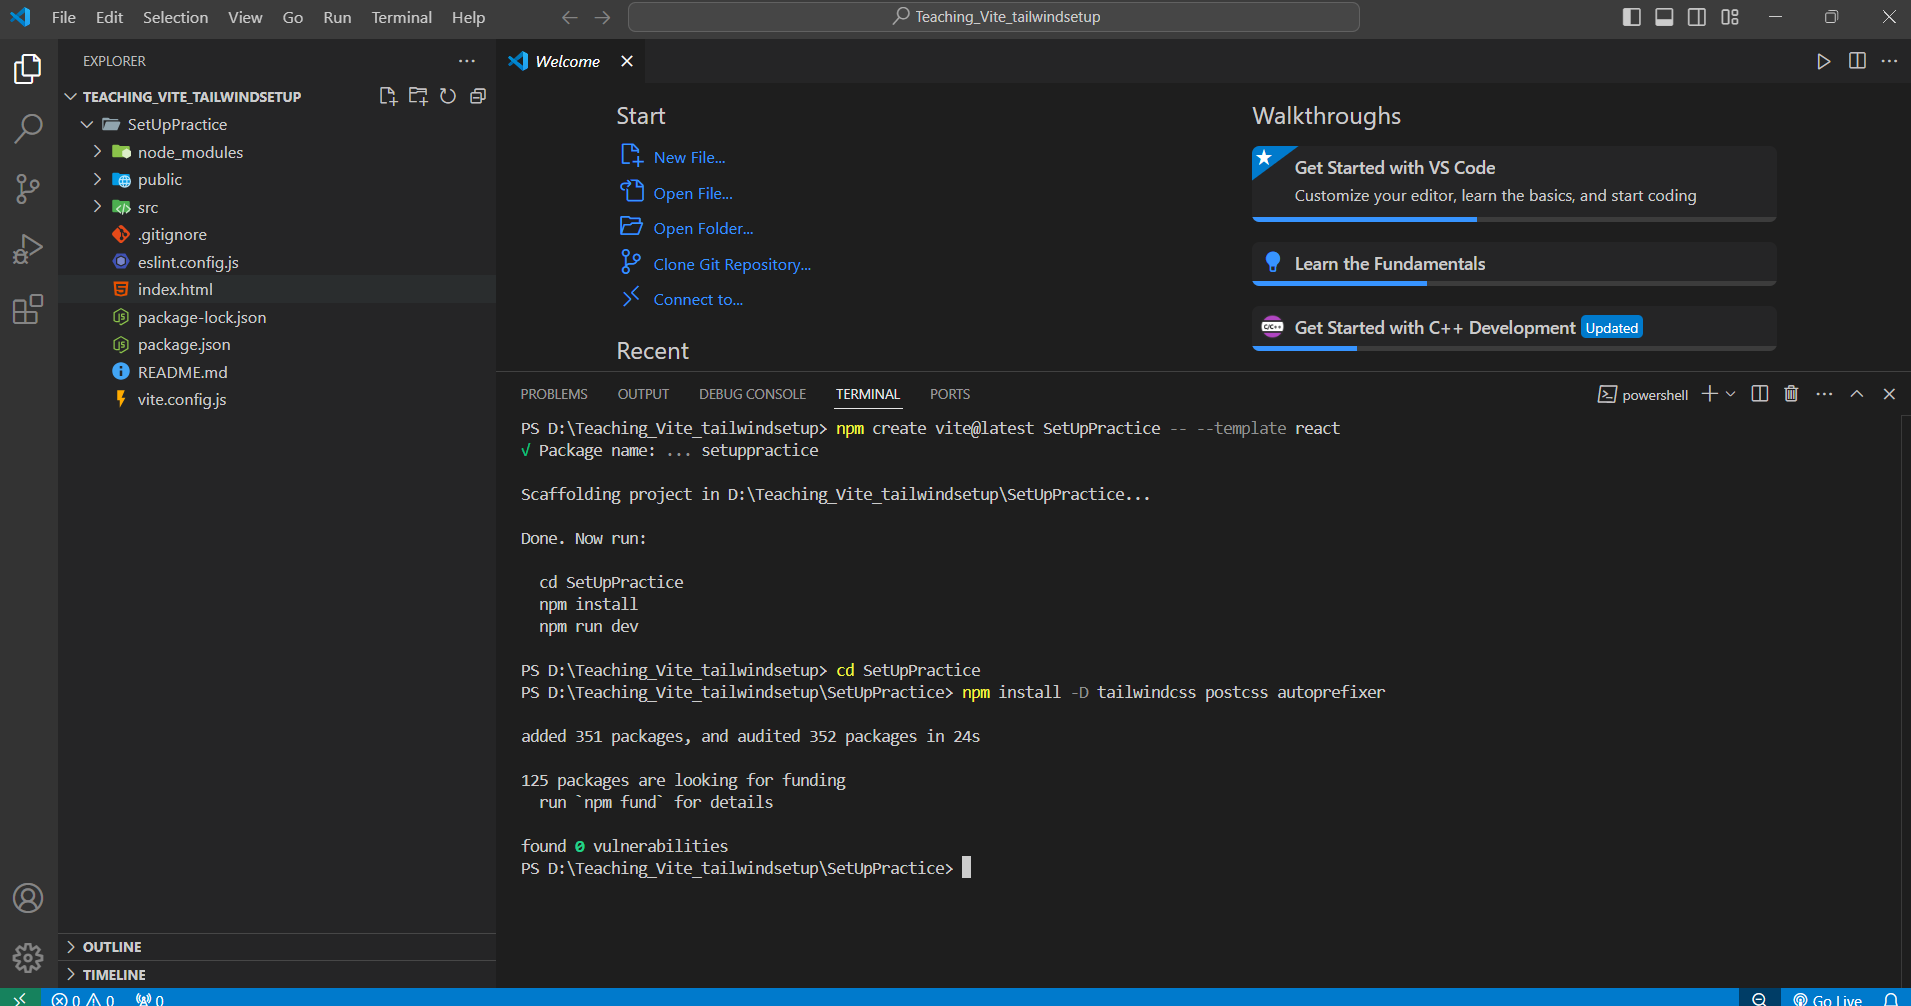
Confirm that you have the below text in your
package.json: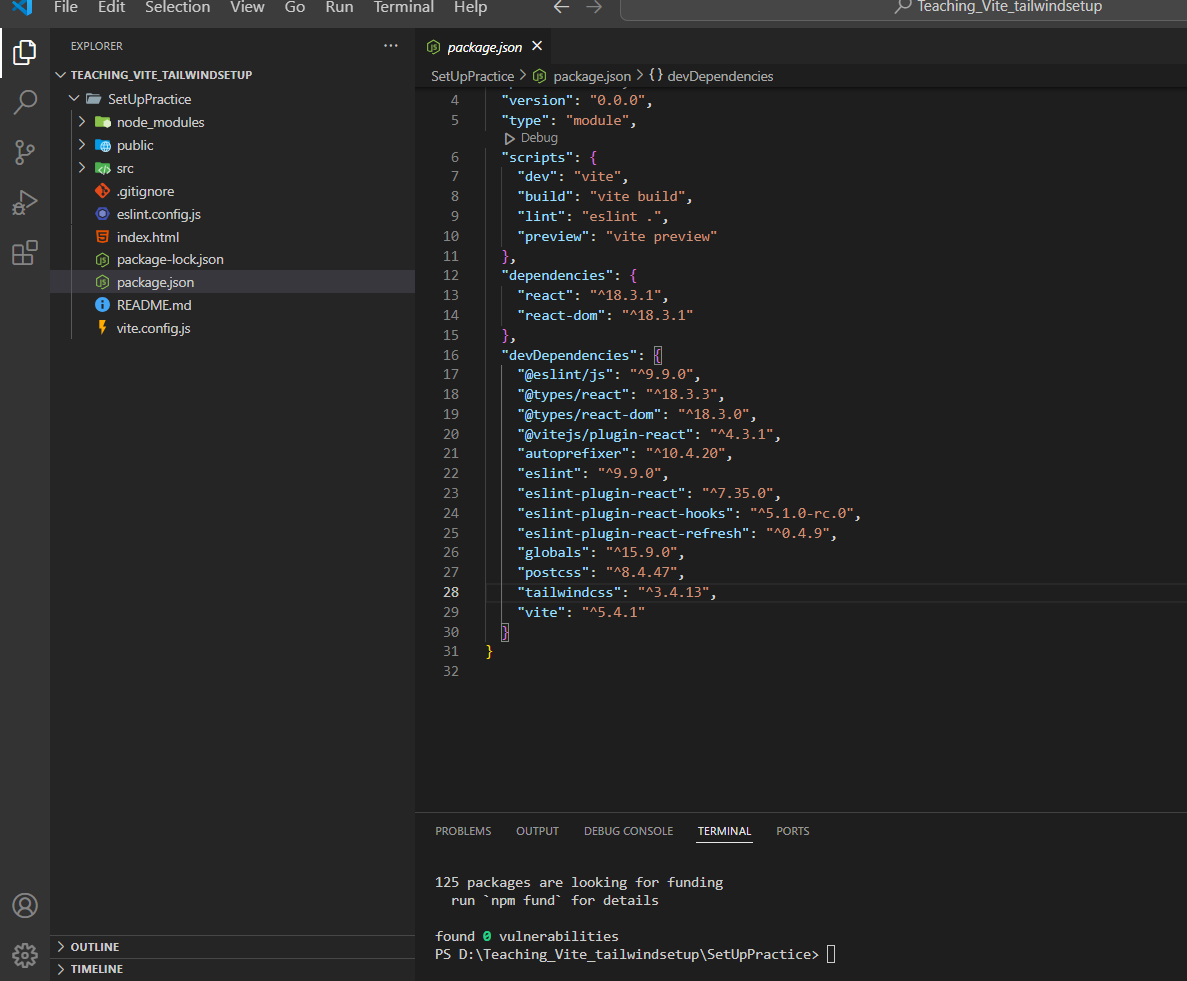
Now run the below command to generate the Configuration Files :
npx tailwindcss init -pThis command generates
tailwind.config.jsandpostcss.config.jsconfiguration files, also known as config files.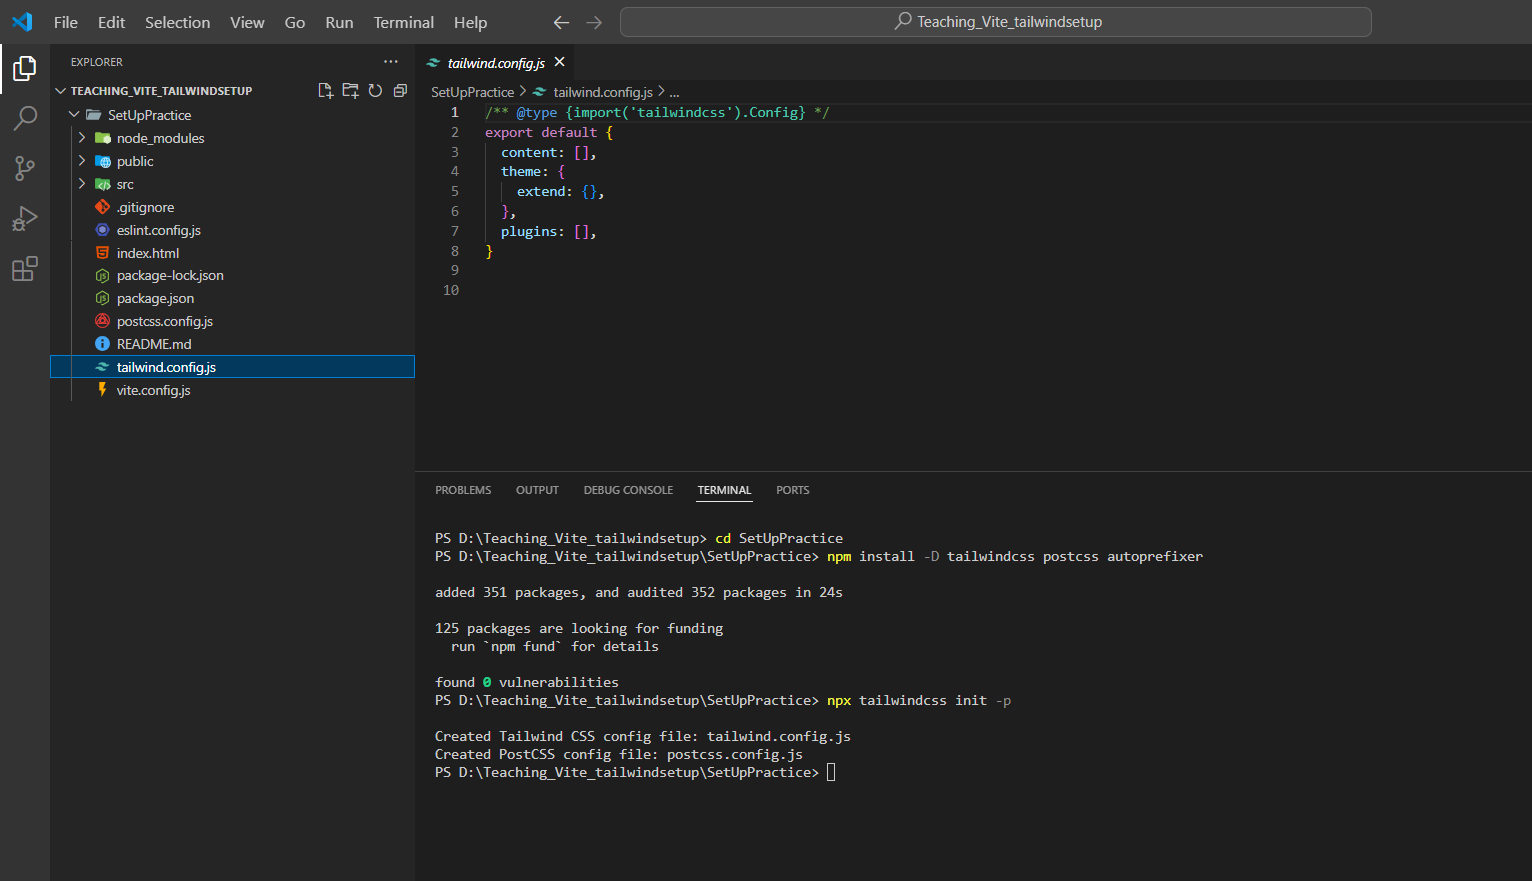
Now Open your
tailwind.config.jsfile, and add the below code in the content :"./index.html", "./src/**/*.{js,ts,jsx,tsx}",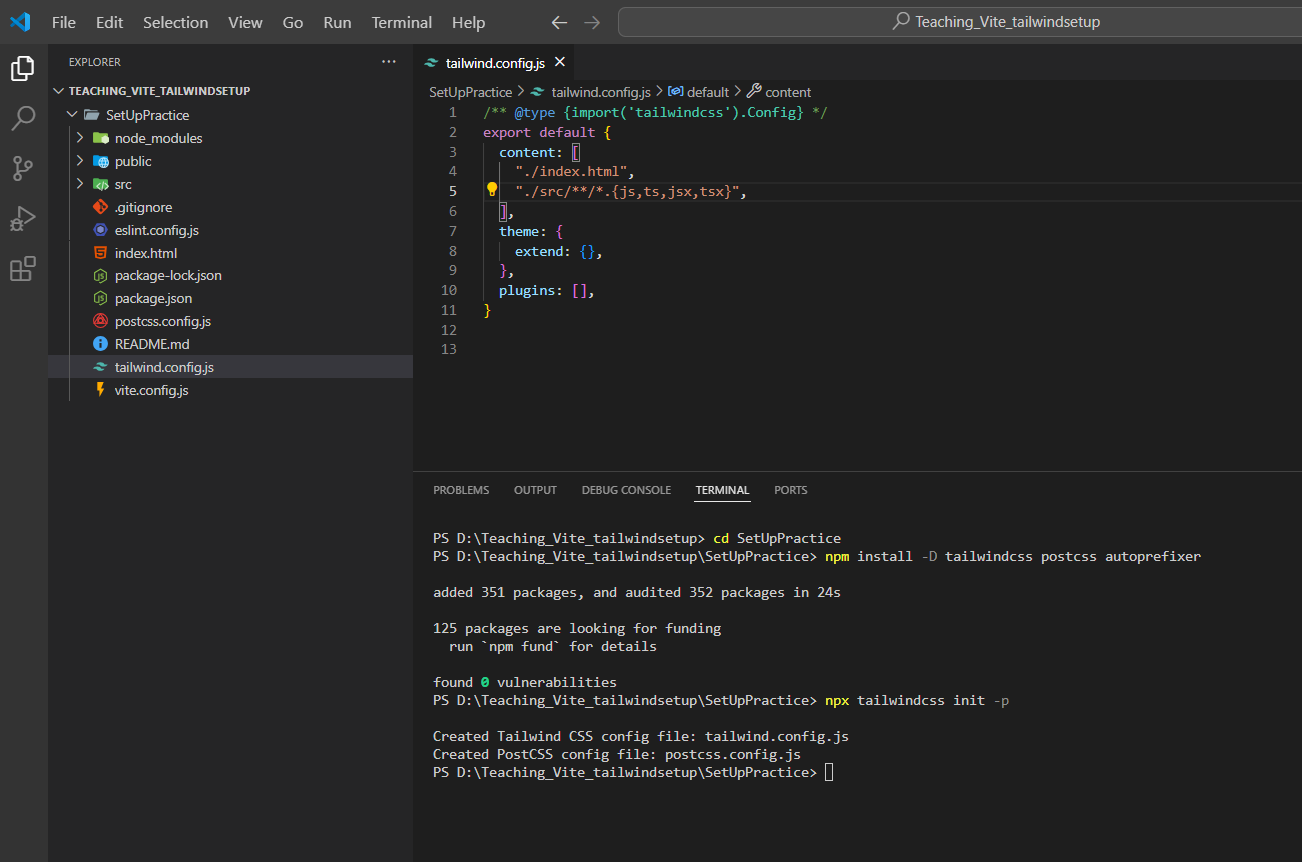
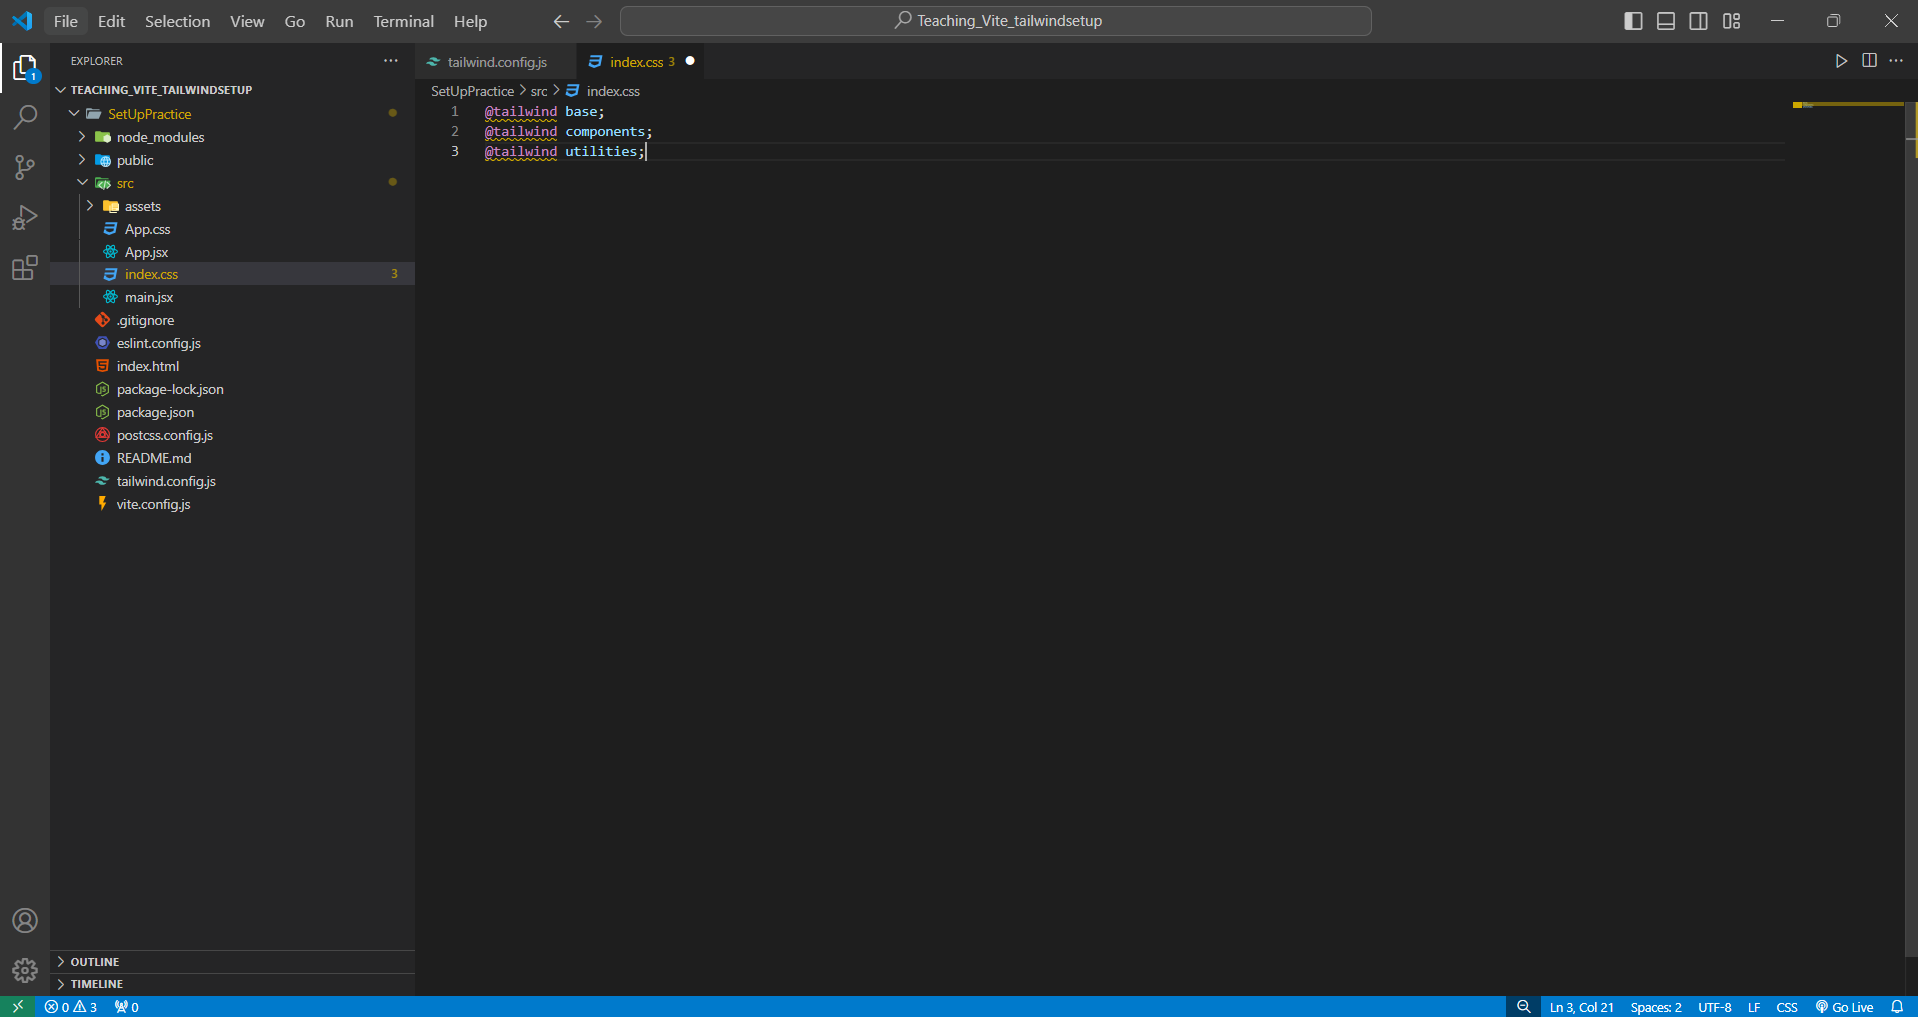
Now we need to add the Tailwind Directives in our CSS , usually in our ./src/index.css file, the tailwind directives are given below :
 @tailwind base;
 @tailwind components;
 @tailwind utilities;
After opening our ./src/index.css file initially, it will look like this :
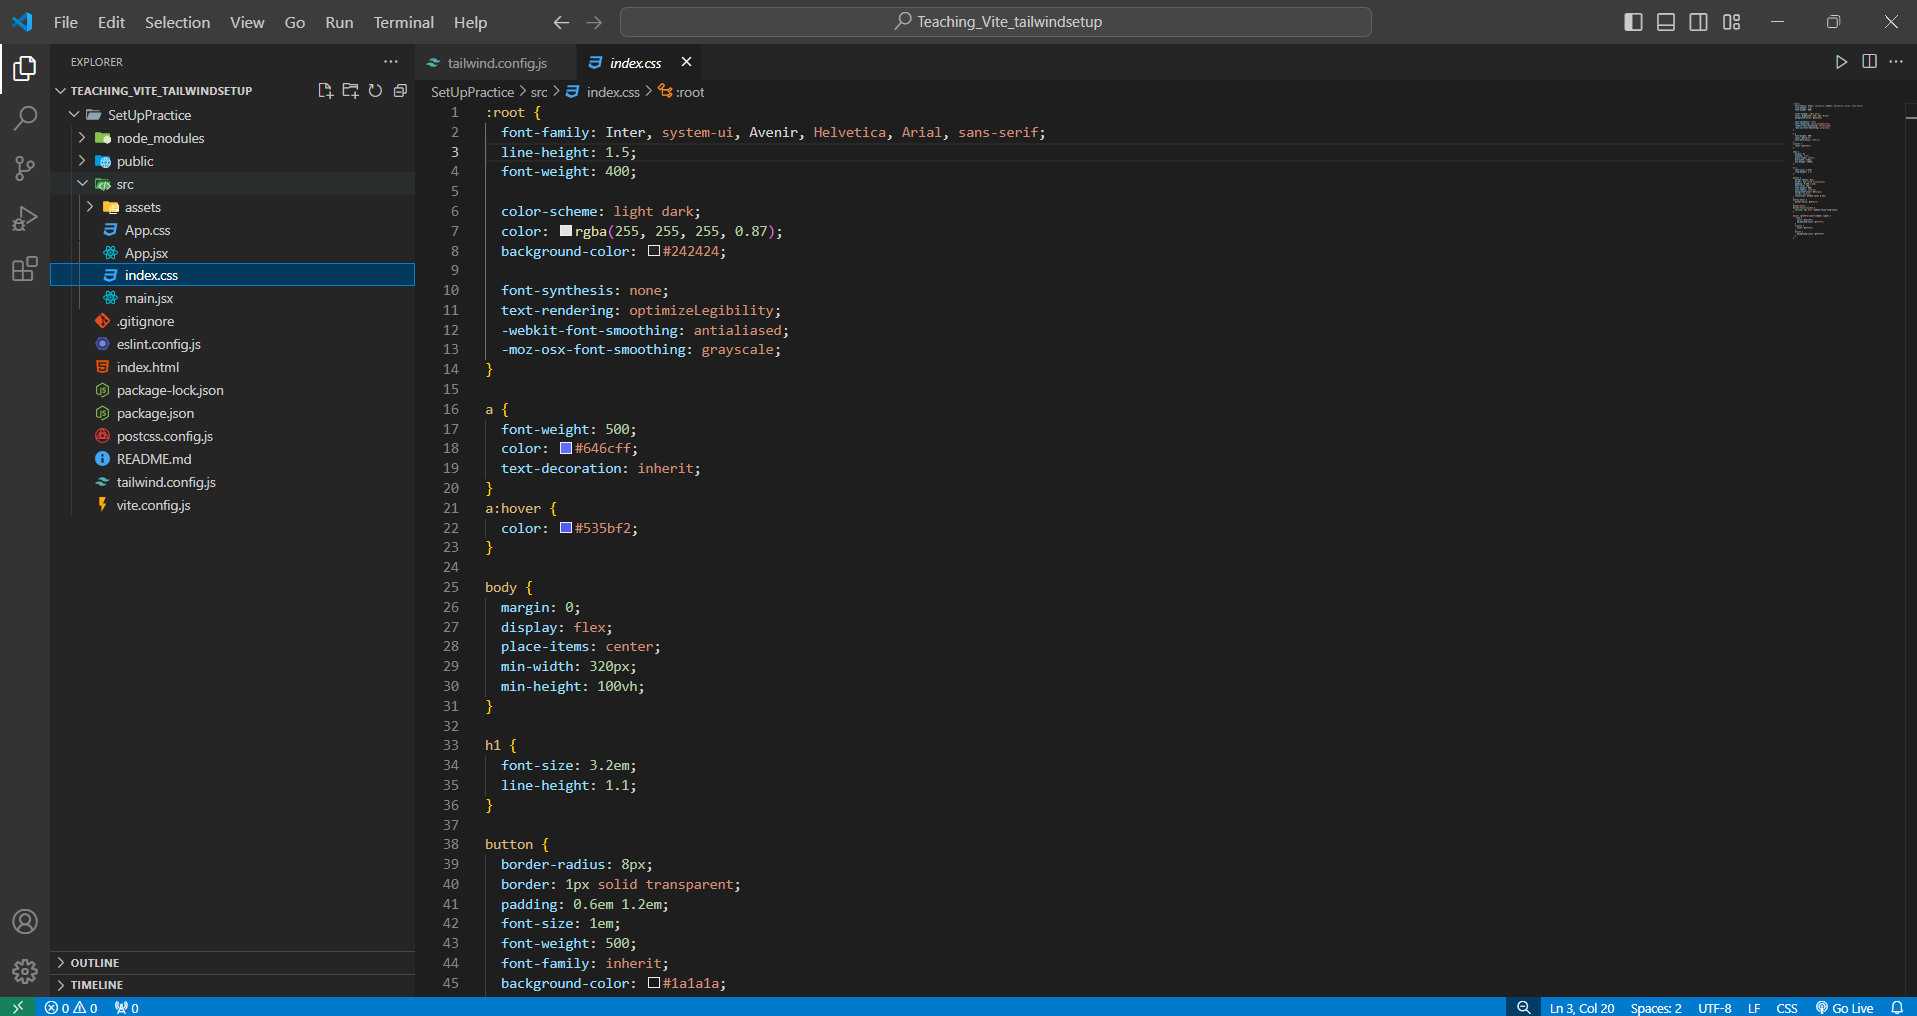
Remove all this CSS and add the Above Tailwind Directives here :
Now we are almost there we just need to Start Our Vite Server by running the below command :
npm run dev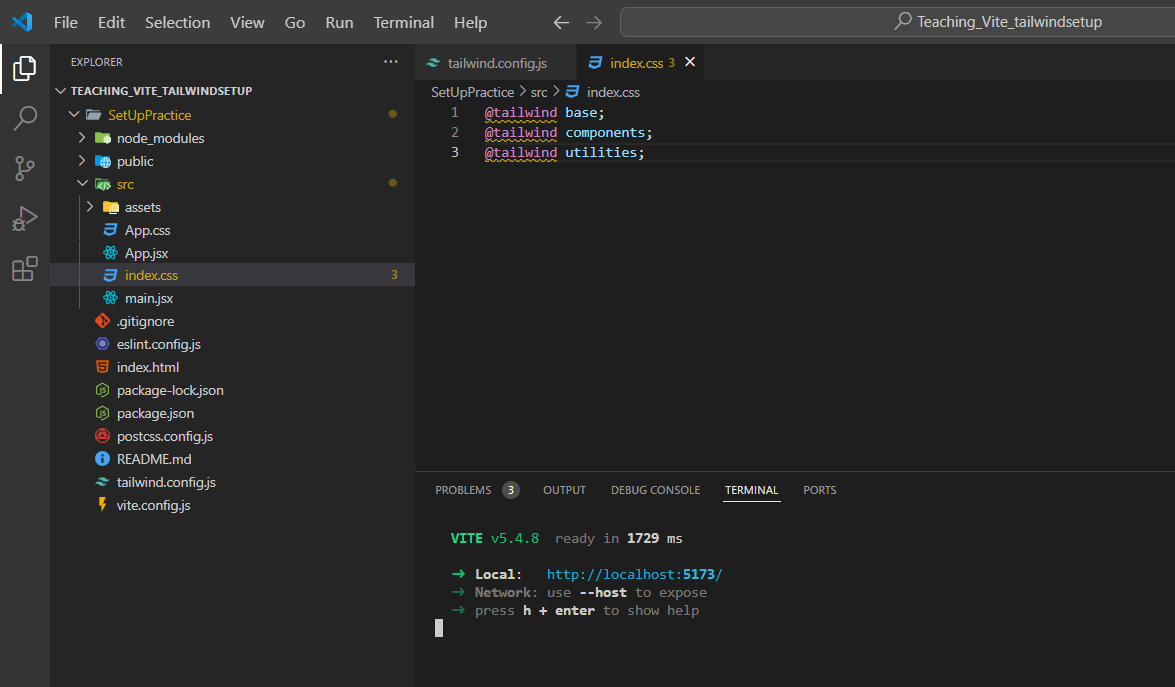
Now all you need to do is press “Ctrl” (or “Cmd” on Mac) and then click on the link to navigate. If you're currently on port 5173, this is the default port for most Vite React applications.
(The logos appear off-center due to the removal of default CSS from
index.css. This is okay; we only need the setup to continue.)
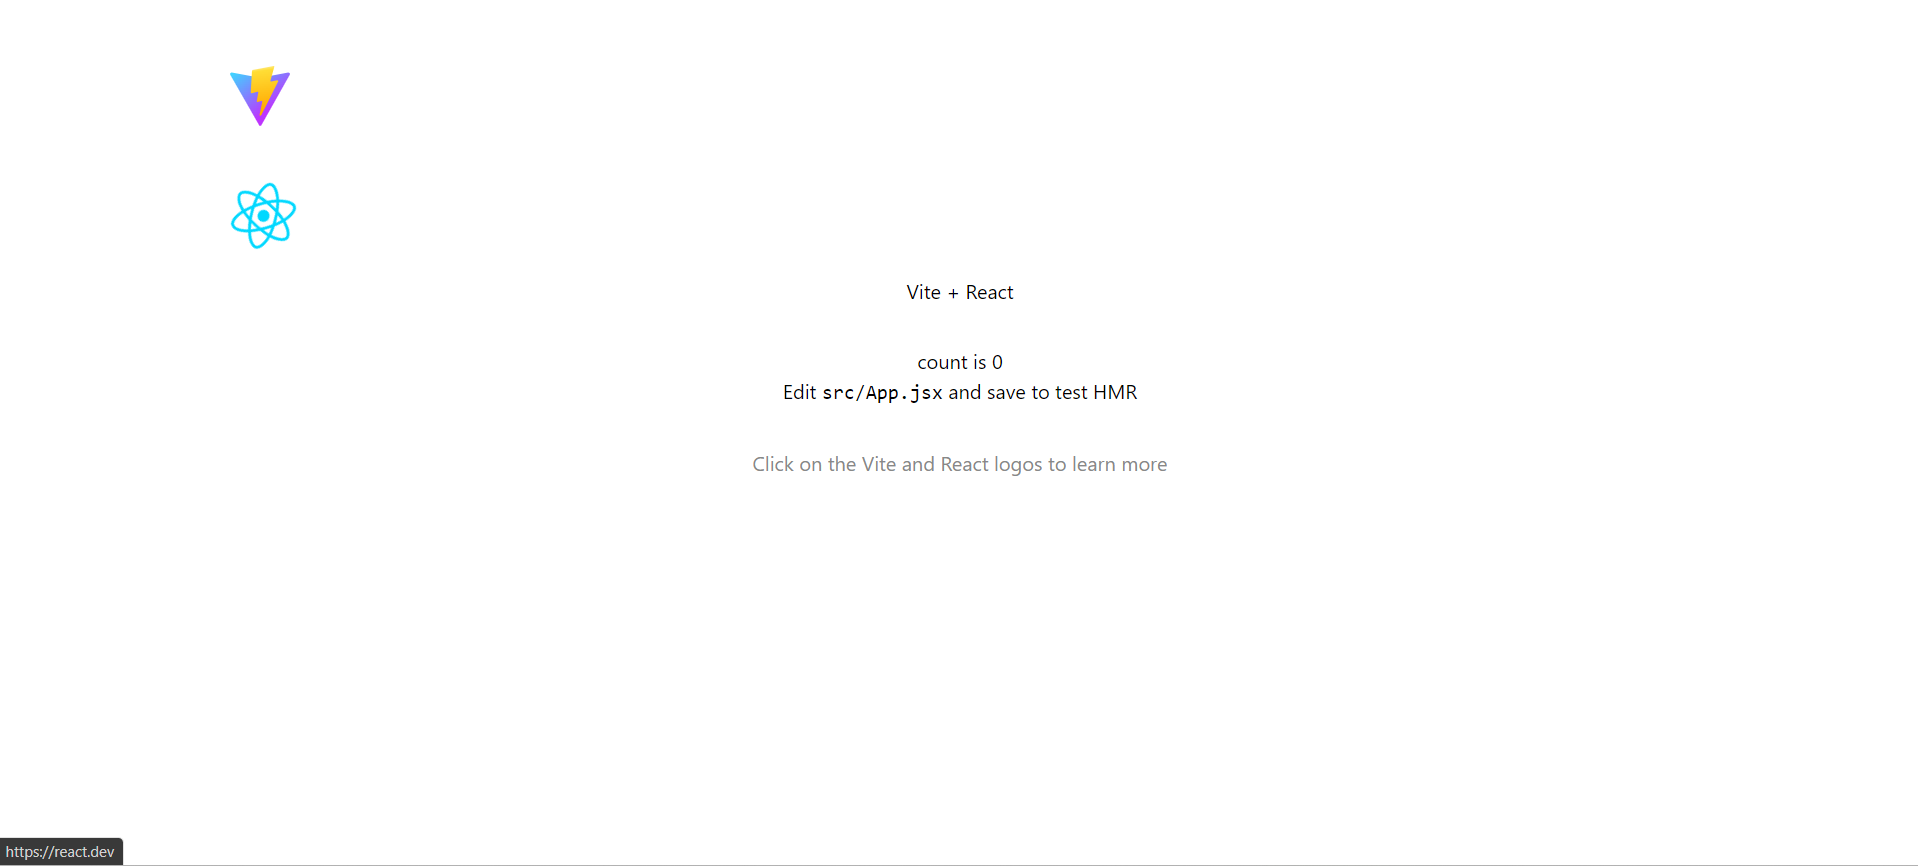
Bingo! you have successfully set up React and Tailwindcss using Vite.
Conclusion :
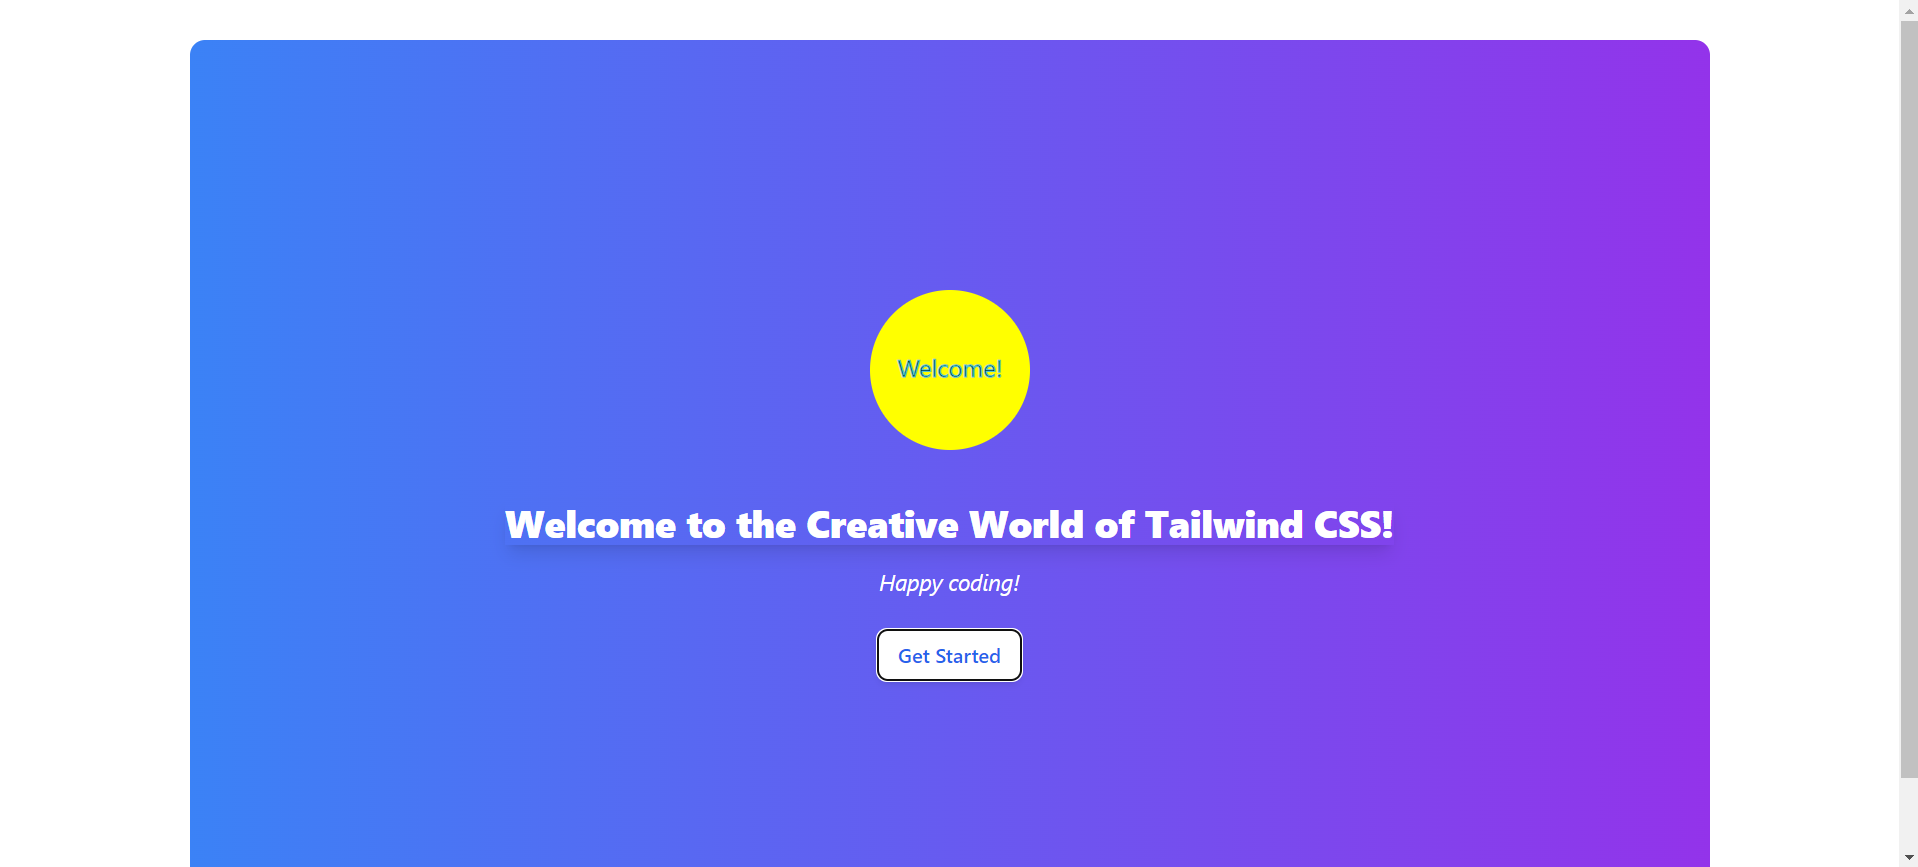
Now you can head over to your App.jsx and start experimenting with Tailwind CSS!
Replace the code in your App.jsx with the customized code below to dive into the world of Tailwind CSS :
import './App.css';

function App() {
  return (
    <>
      <div className="flex flex-col items-center justify-center min-h-screen bg-gradient-to-r from-blue-500 to-purple-600 text-white p-6 rounded-xl">
        <svg
          xmlns="http://www.w3.org/2000/svg"
          viewBox="0 0 200 200"
          className="w-40 h-40 mb-6"
        >
          <circle cx="100" cy="100" r="80" fill="yellow" />
          <text x="50%" y="50%" textAnchor="middle" stroke="#51c5cf" strokeWidth="1px" fill="black" fontSize="24" dy=".3em">
            Welcome!
          </text>
        </svg>
        <h1 className="text-3xl font-extrabold text-center shadow-lg">
          Welcome to the Creative World of Tailwind CSS!
        </h1>
        <p className="mt-4 text-lg italic">
          Happy coding!
        </p>
        <button className="mt-6 px-4 py-2 bg-white text-blue-600 font-semibold rounded-lg shadow-md hover:bg-gray-200 transition duration-300">
          Get Started
        </button>
      </div>
    </>
  );
}

export default App;
Additional Information :
Incase you do not want to use the port “5173“ you can modify the port number to your desired port number
Simply go to
Vite.config.js, initially it will look like this :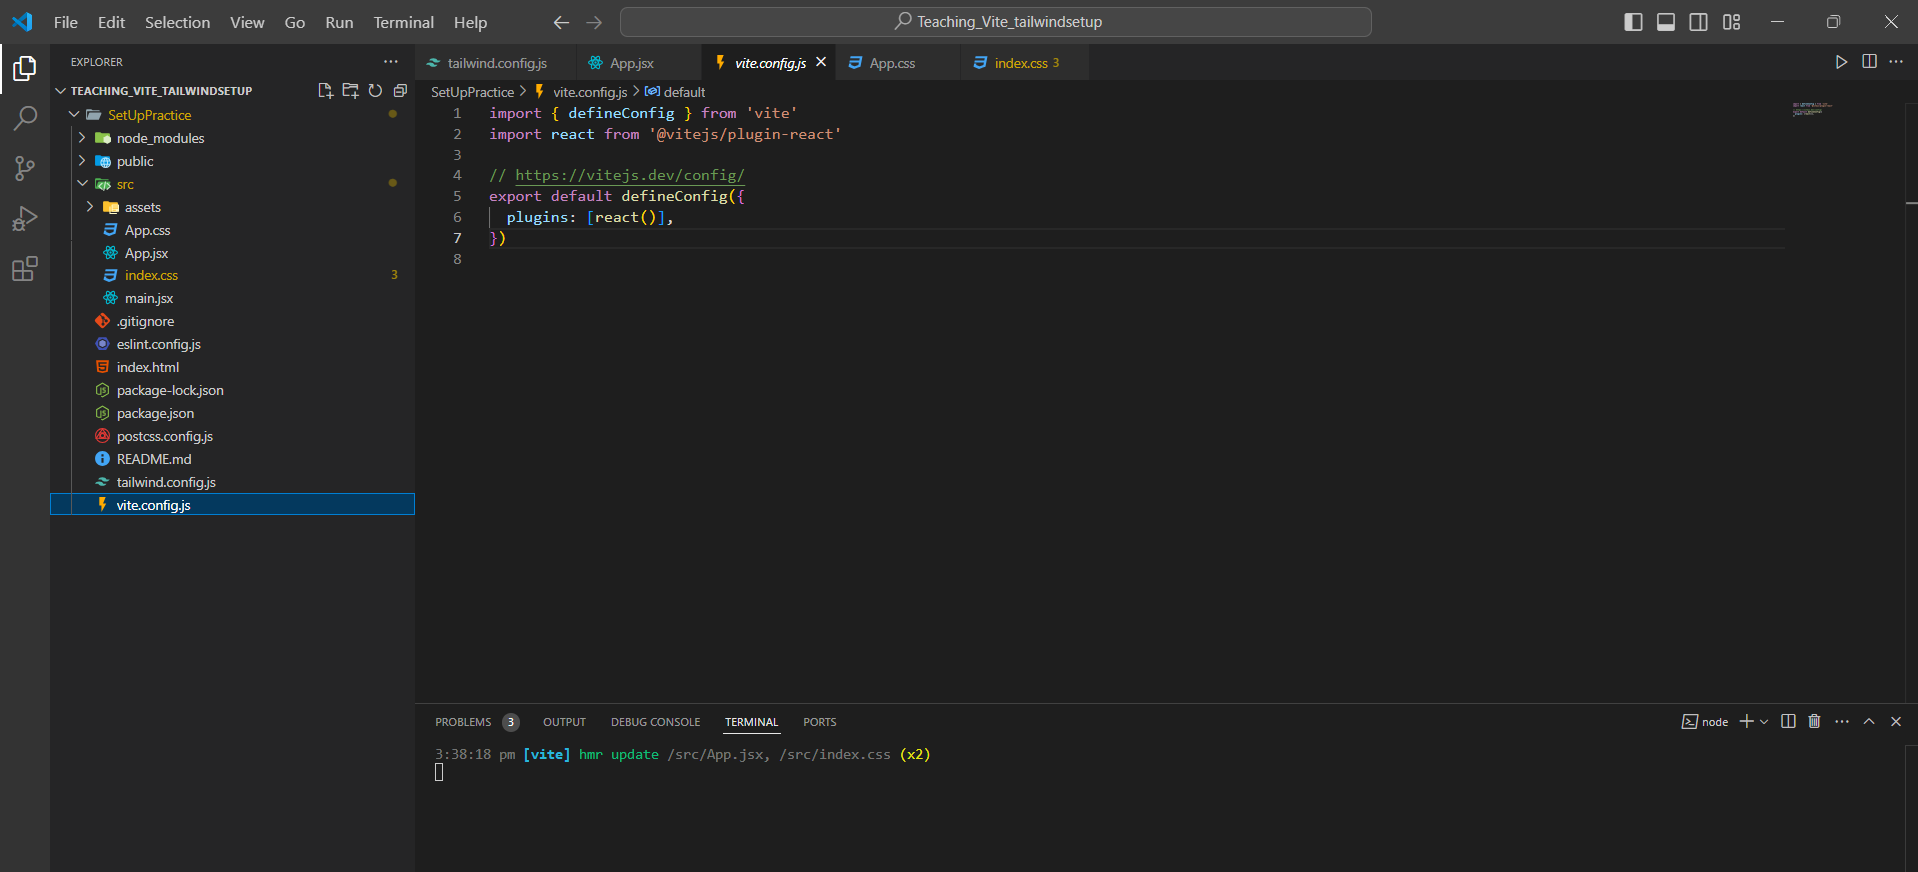
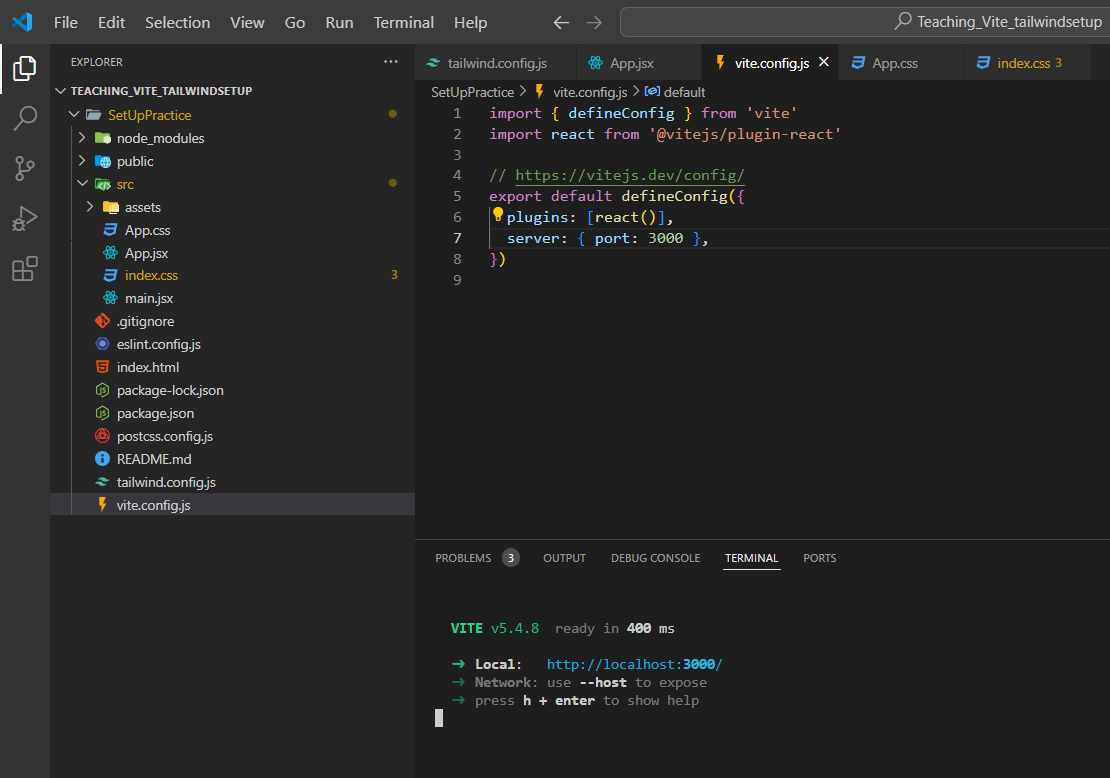
Replace the initial code with the one below, and change the port number to your preference (I'm using 3000):
  import { defineConfig } from 'vite'
  import react from '@vitejs/plugin-react'

  // https://vitejs.dev/config/
  export default defineConfig({
    plugins: [react()],
    server: { port: 3000 },
  })
Vite automatically updates the port when changed. If you encounter any errors, press “Ctrl + C” (or “Cmd + C” on Mac) to terminate the batch job and restart. Vite will then run on port 3000!
Thanks For Coming This Far, If you liked the content do lemme know & do not forget to follow me! 😁
Subscribe to my newsletter
Read articles from Anubhav Gupta directly inside your inbox. Subscribe to the newsletter, and don't miss out.
Written by

Anubhav Gupta
Anubhav Gupta
I am a passionate Web Developer from India, currently specializing in Full Stack Development. I aim to actively engage with the tech community, fostering creativity, sharing my knowledge, and collaborating to grow together. Let's innovate and build the future of technology!