How to Deploy NodeJS Application on Azure Virtual Machine With Domain and DNS Mapping?
 Ansal Pandey
Hello, fellow tech enthusiasts and developers! 👋 I’m Ansal Pandey, an Android and Backend Engineer with experience deploying numerous applications for clients during my freelancing journey. Today, I’m excited to walk you through the step-by-step process of deploying a Node.js application on an Azure Virtual Machine (VM) and mapping it to a custom domain using Cloudflare DNS.
If you've ever struggled with configuring a server, managing DNS records, or securing your app with SSL, this guide is for you. By the end, your Node.js application will be live, accessible through your custom domain, and fully secured with HTTPS—all without breaking a sweat. 🚀
Let's dive in and get your app up and running on Azure + Cloudflare in no time! 🔥
Create an Azure Virtual Machine
Login to Azure Portal
Head to Azure Portal (Azure Portal)
Log In with your Microsoft Account.
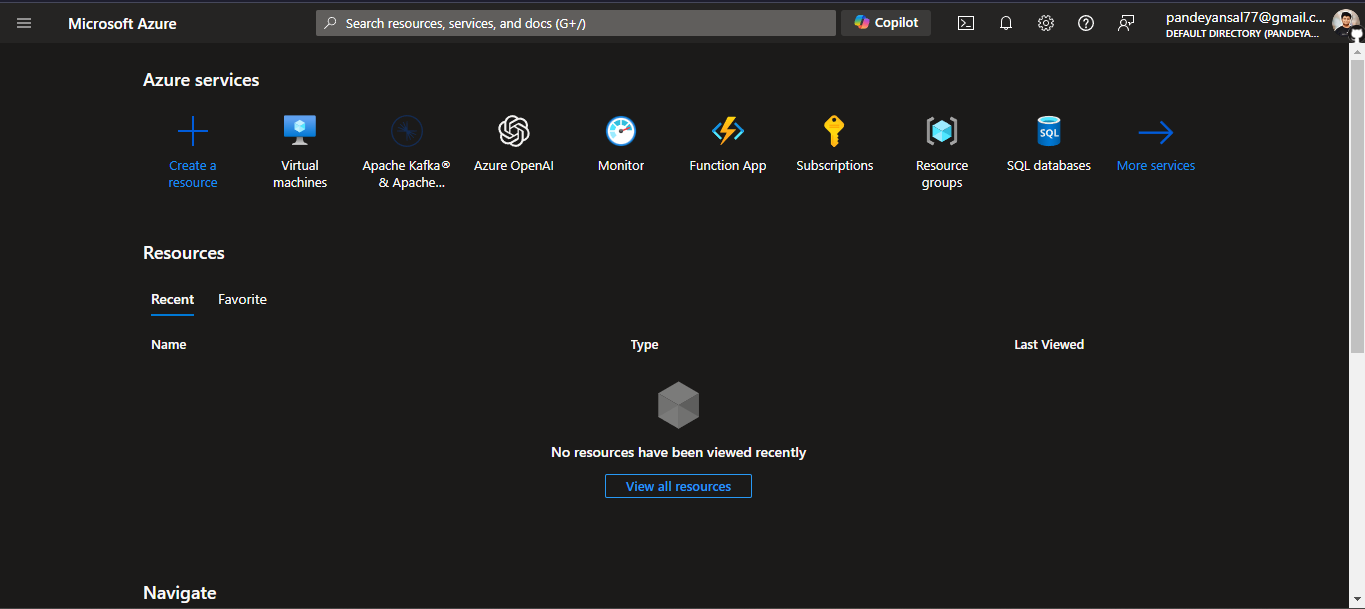
The Azure Portal dashboard will appear.
Create A Virtual Machine
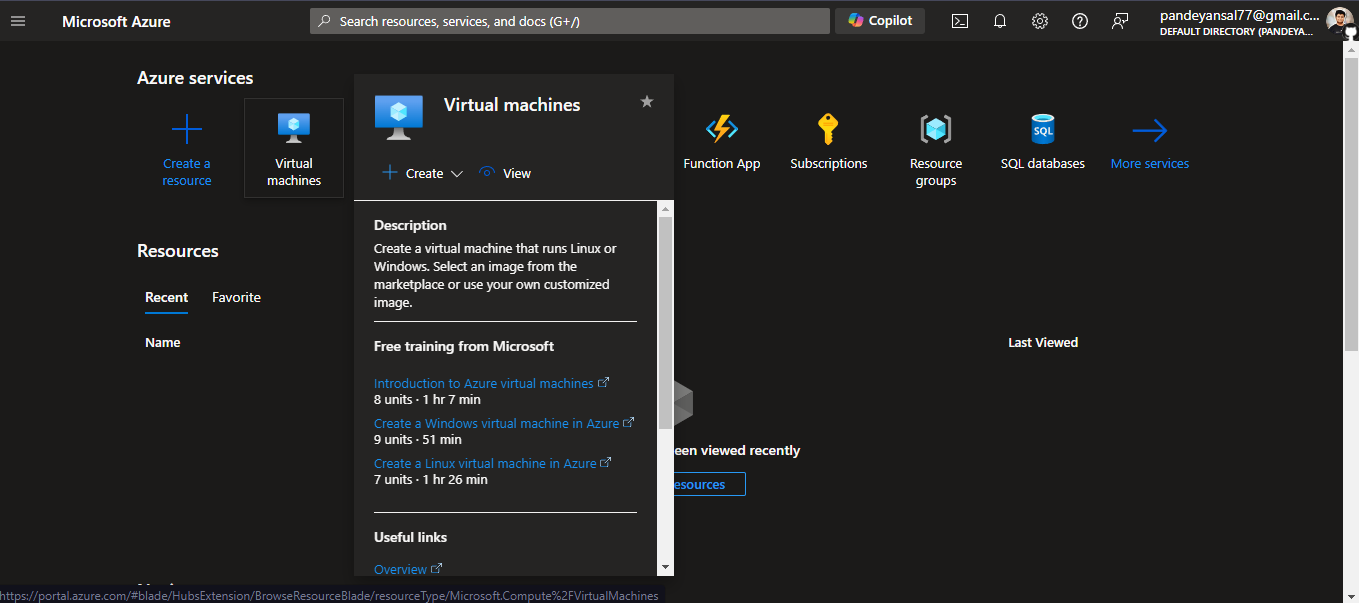
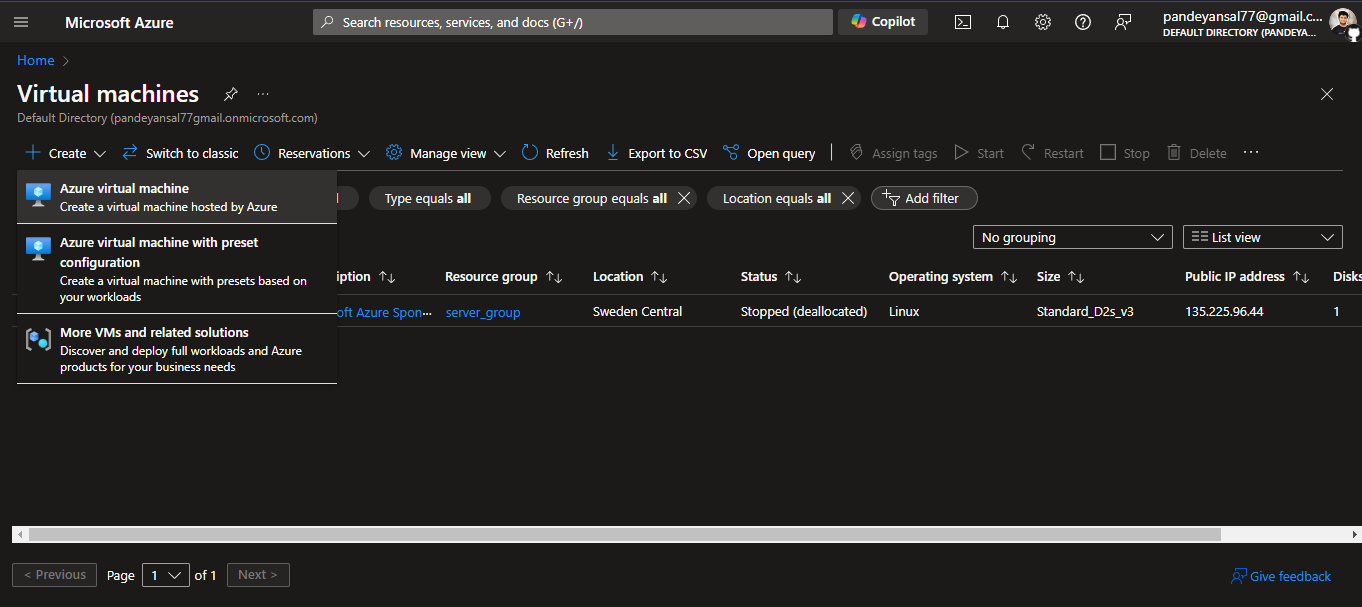
- In the Azure Portal, search for Virtual Machines and click on Create.
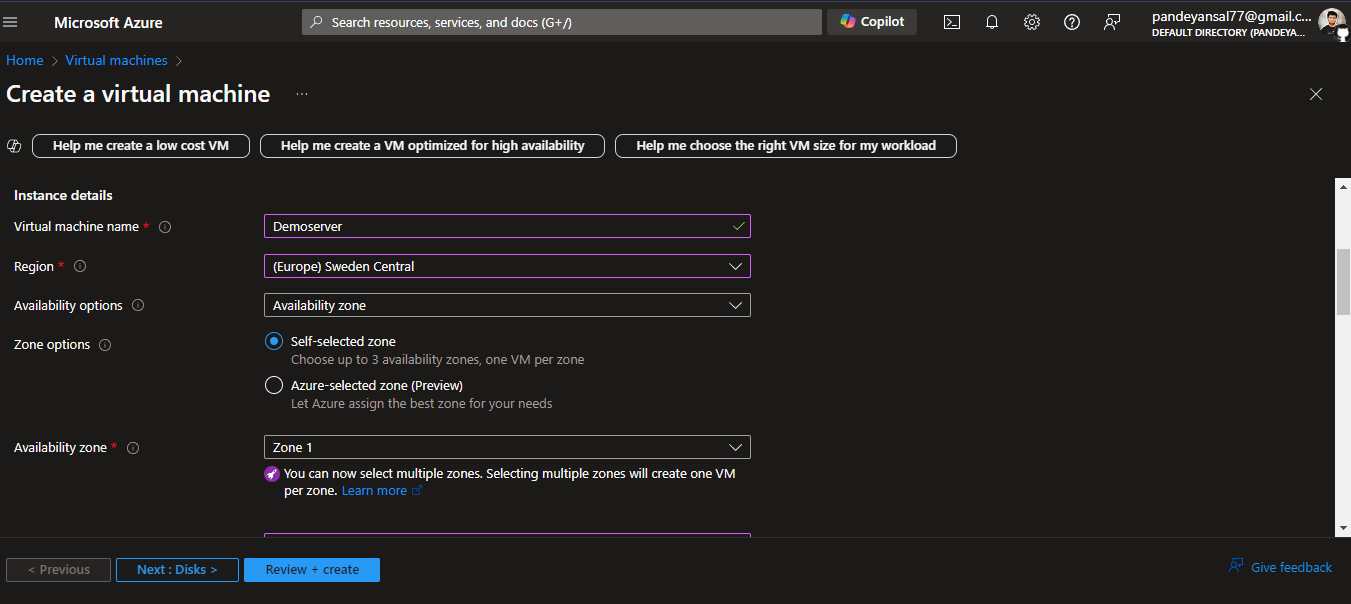
- Specify the name for your Virtual Machine, Region and Availability Zone, For now we are going with the default options.
- Choose Ubuntu as your operating system, or any other Linux distribution, Set a size for the VM according to your application’s needs.
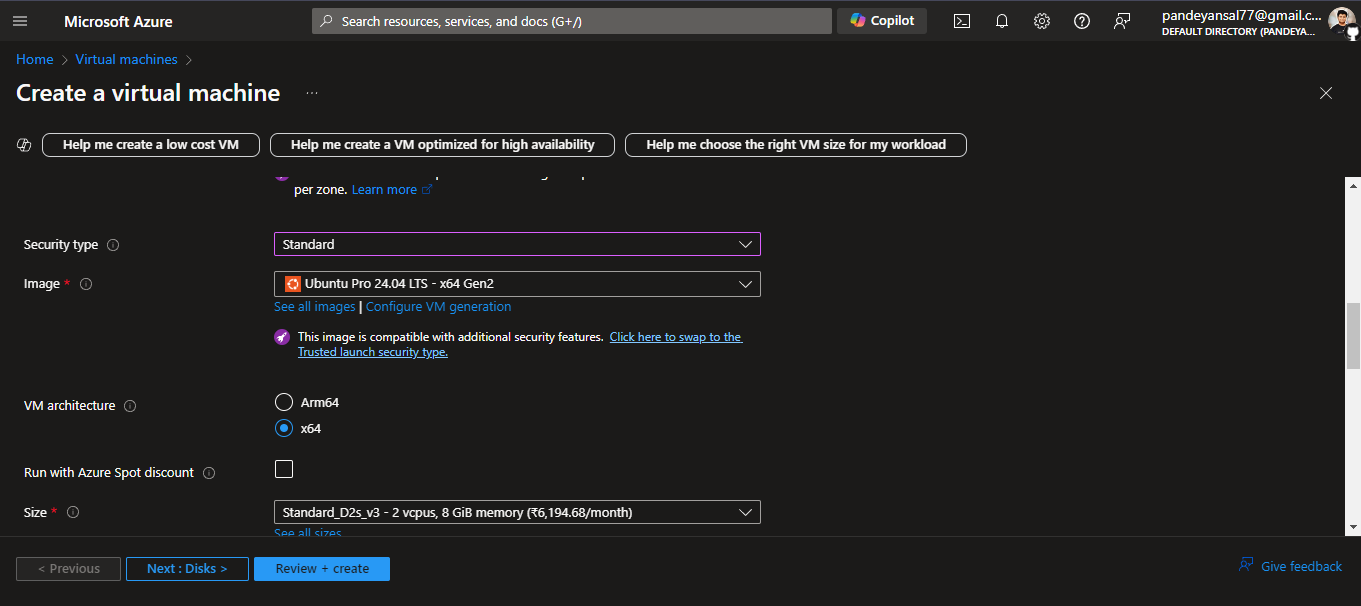
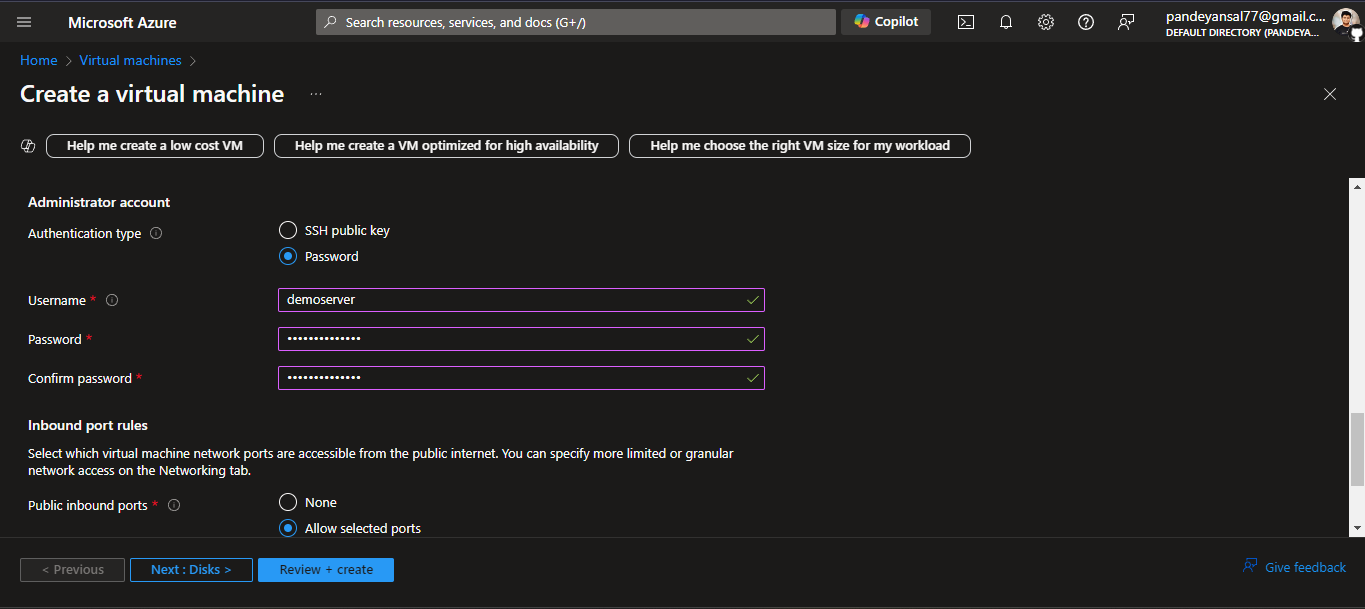
- In the Authentication type, select SSH Public Key (recommended for security) or use a password, for now we are going with password based authentication.
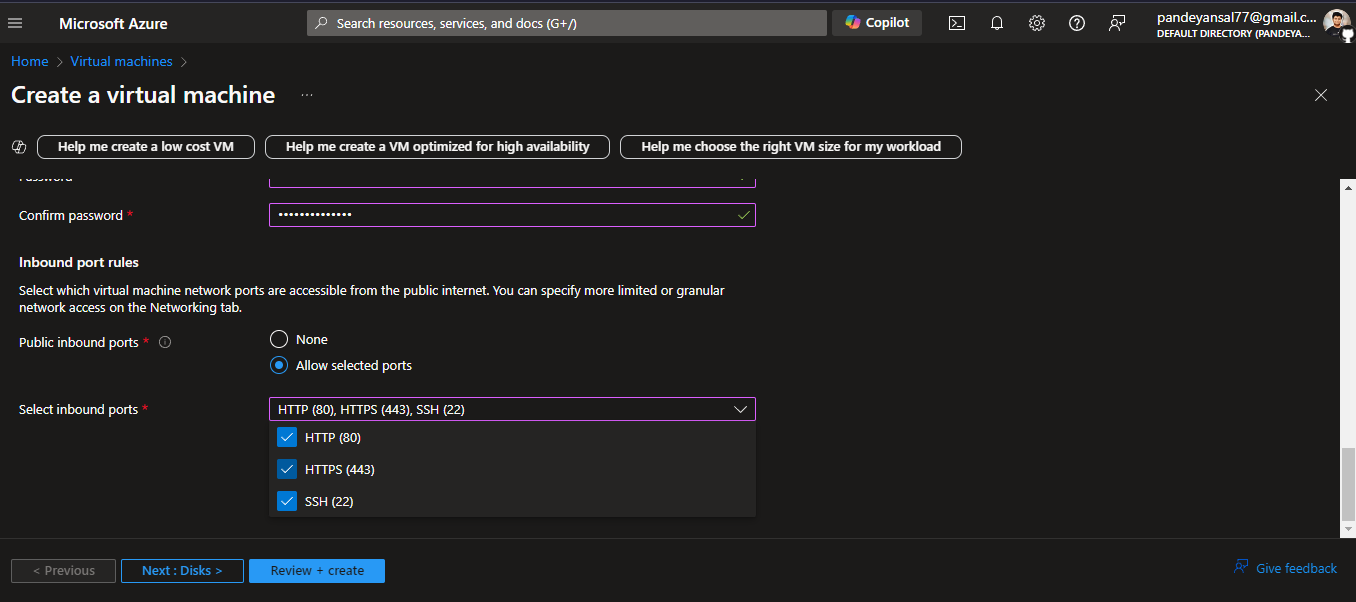
Make sure to configure inbound ports: open port 80 for HTTP traffic and port 443 for HTTPS traffic.
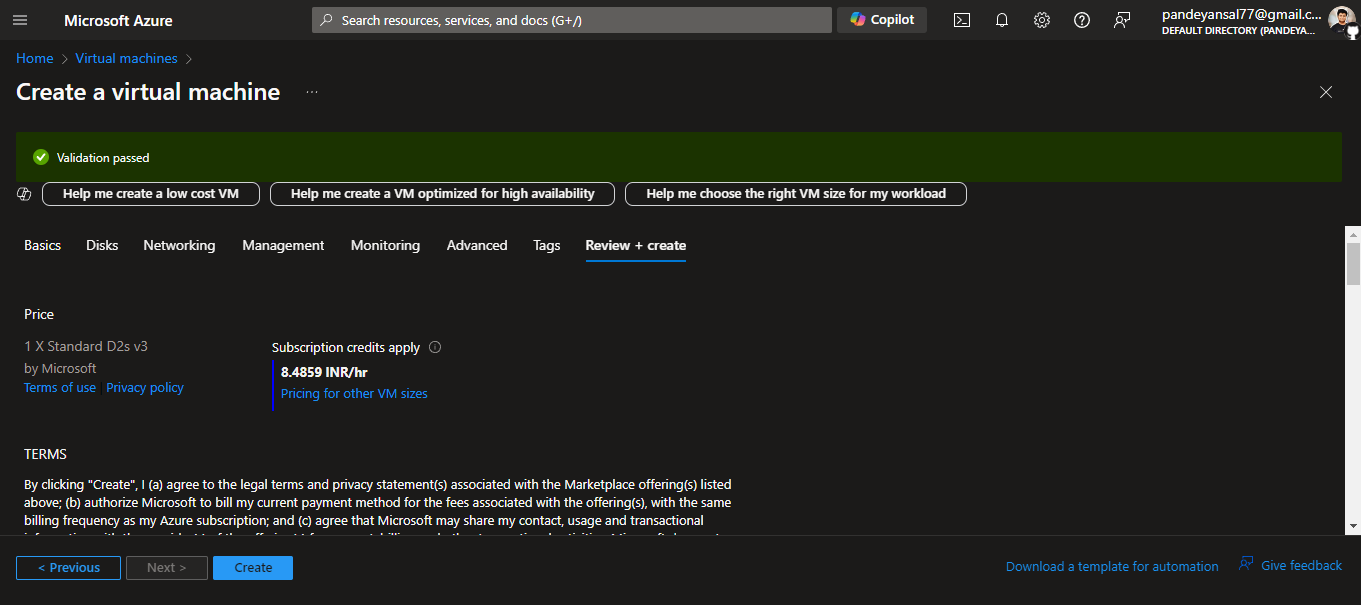
Click Review + Create to finalize the setup, then hit Create after validation.
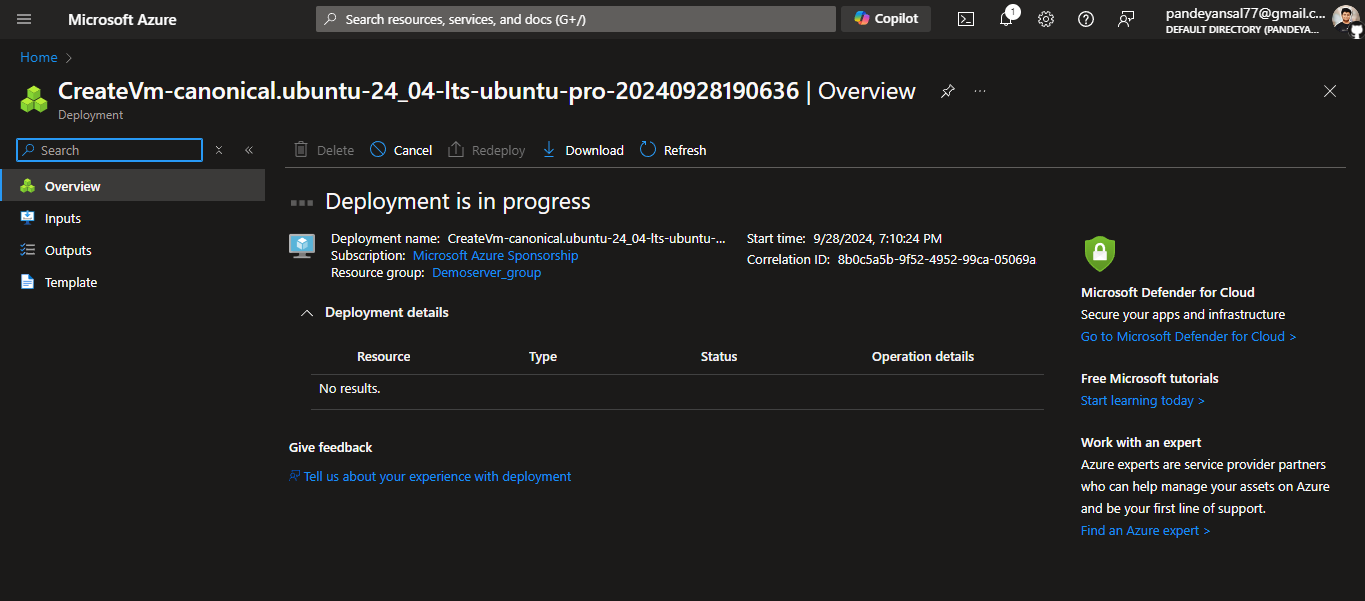
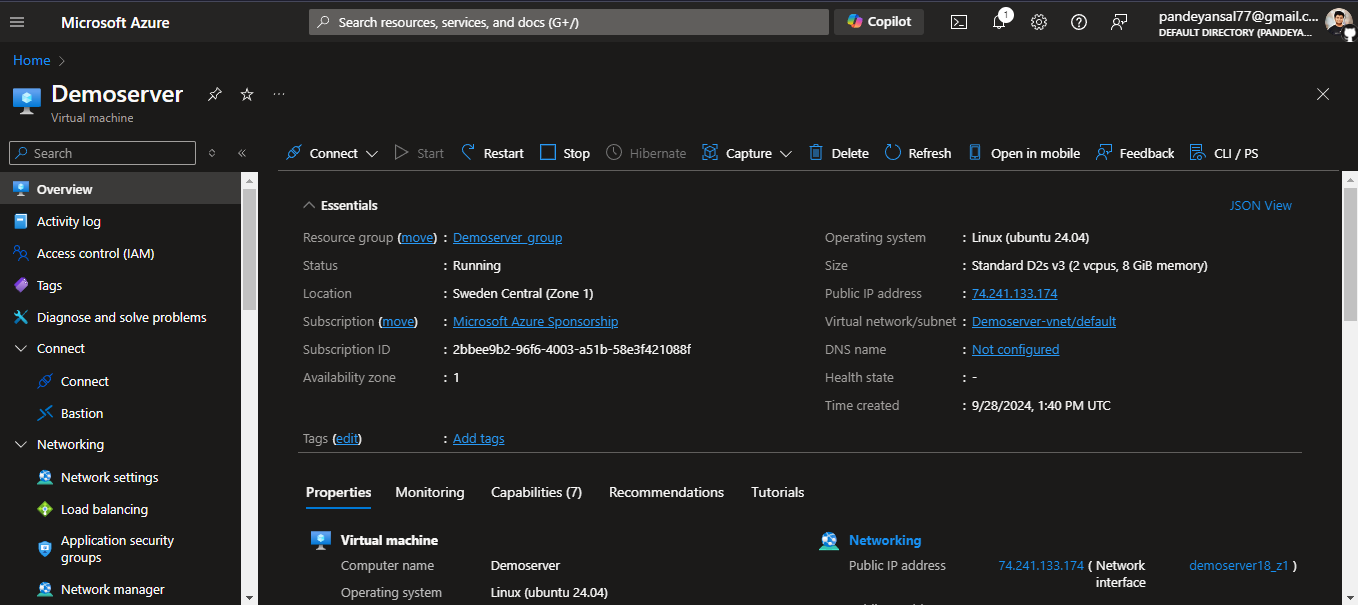
Connect to Your VM
Once your VM is up and running, you’ll connect to it via SSH:
Click on Connect
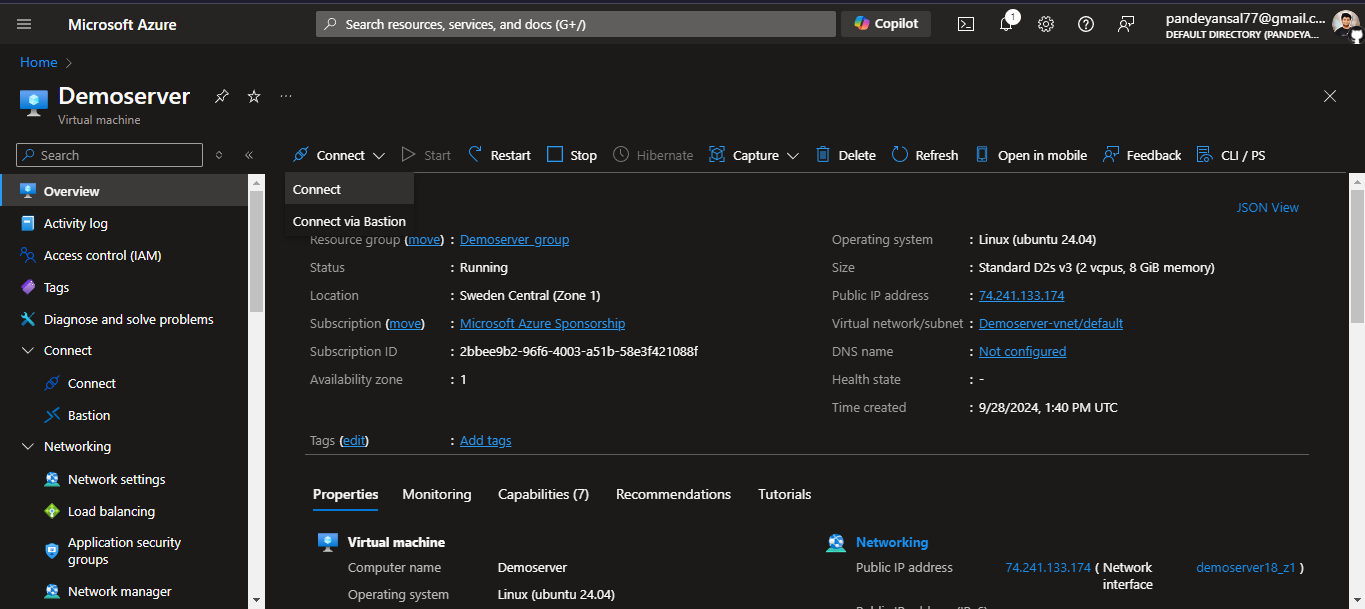
Then another window will open, Click on Select for the Native SSH.
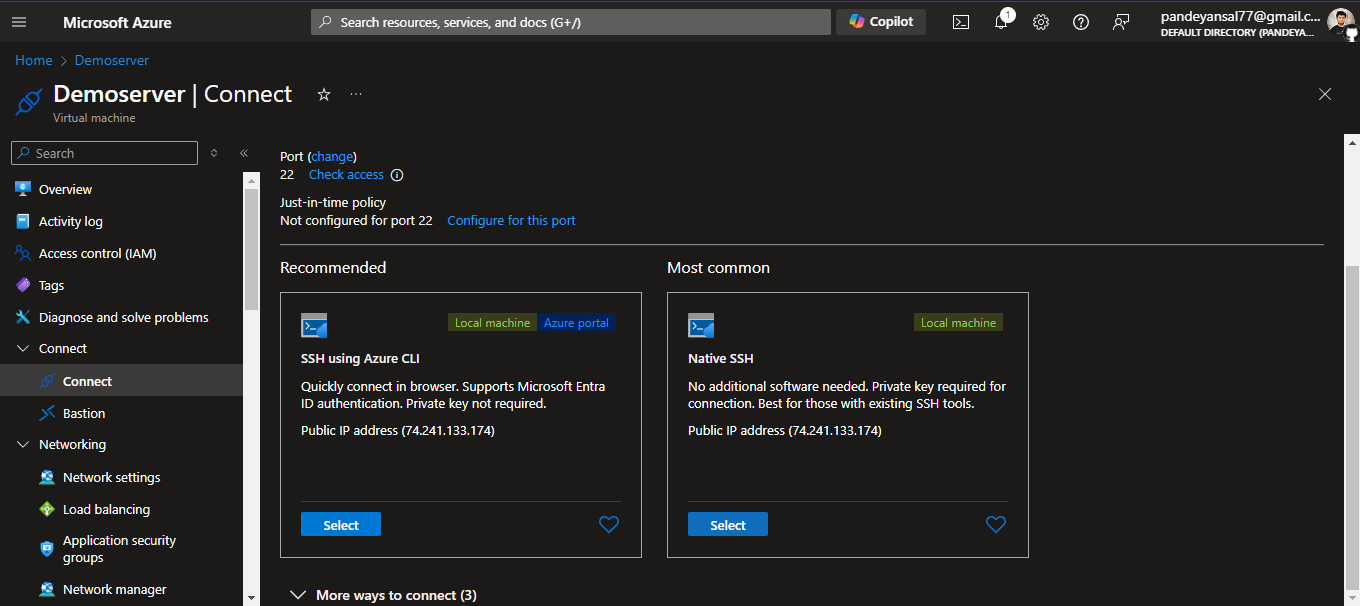
A side window will open with all the necessary commands needed to connect with your Virtual Machine via SSH.
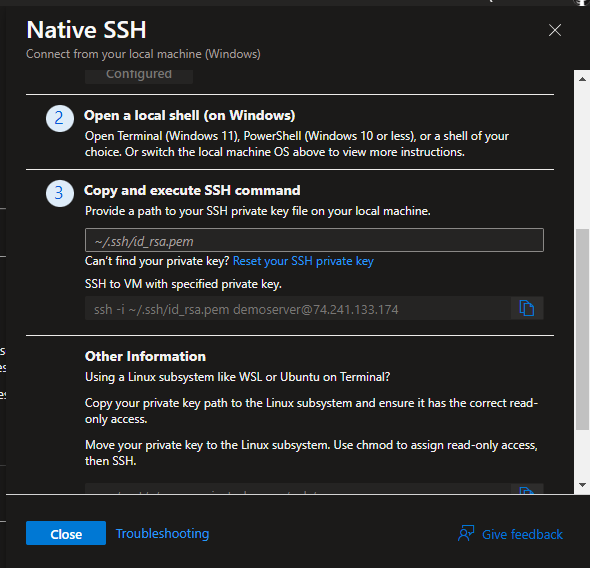
Copy the command
ssh -i ~/.ssh/id_rsa.pem demoserver@74.241.133.174Paste it in a Terminal application that supports SSH.
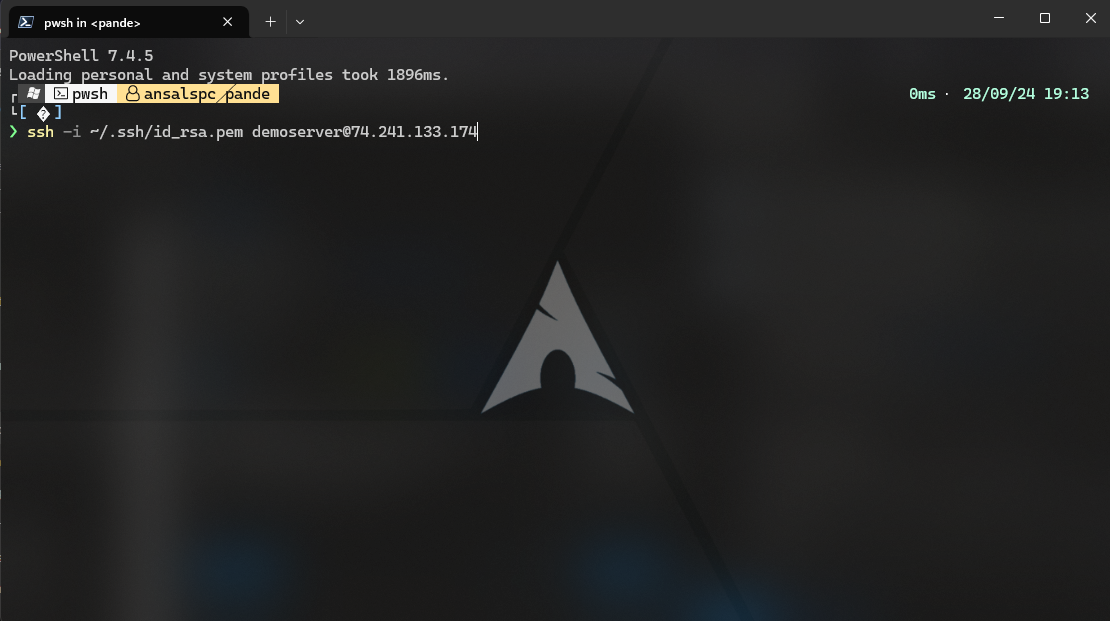
As we are using password for Authentication, It will ask the password for the VM.
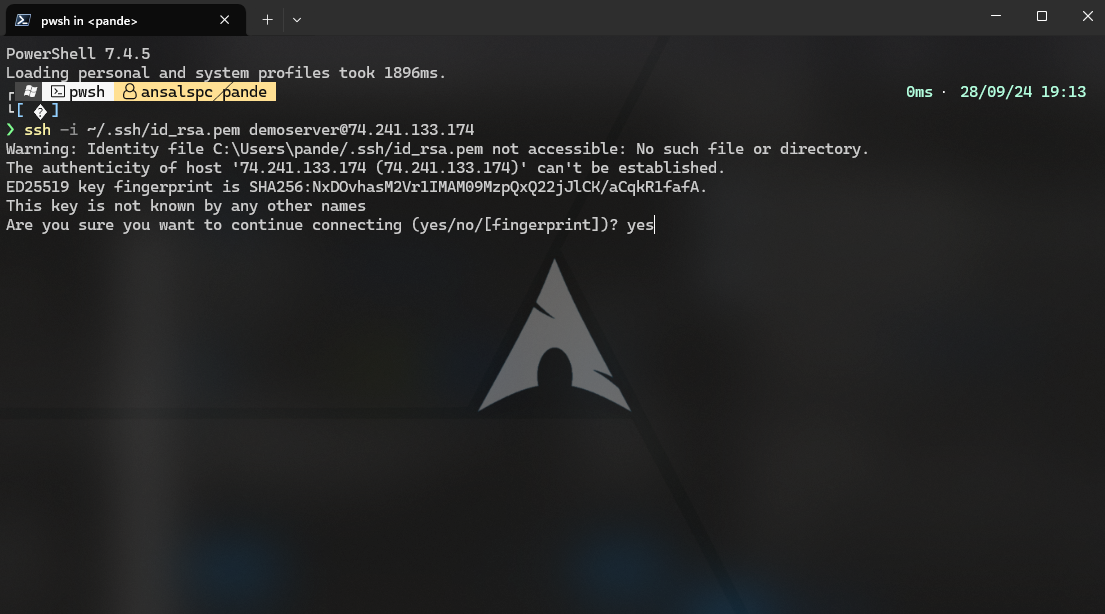
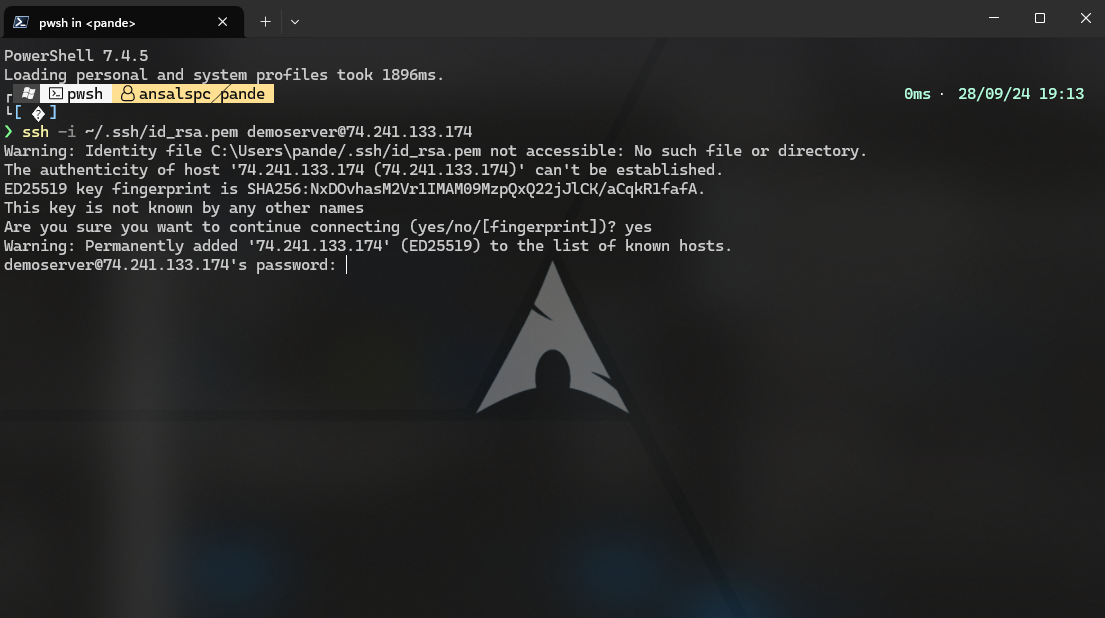
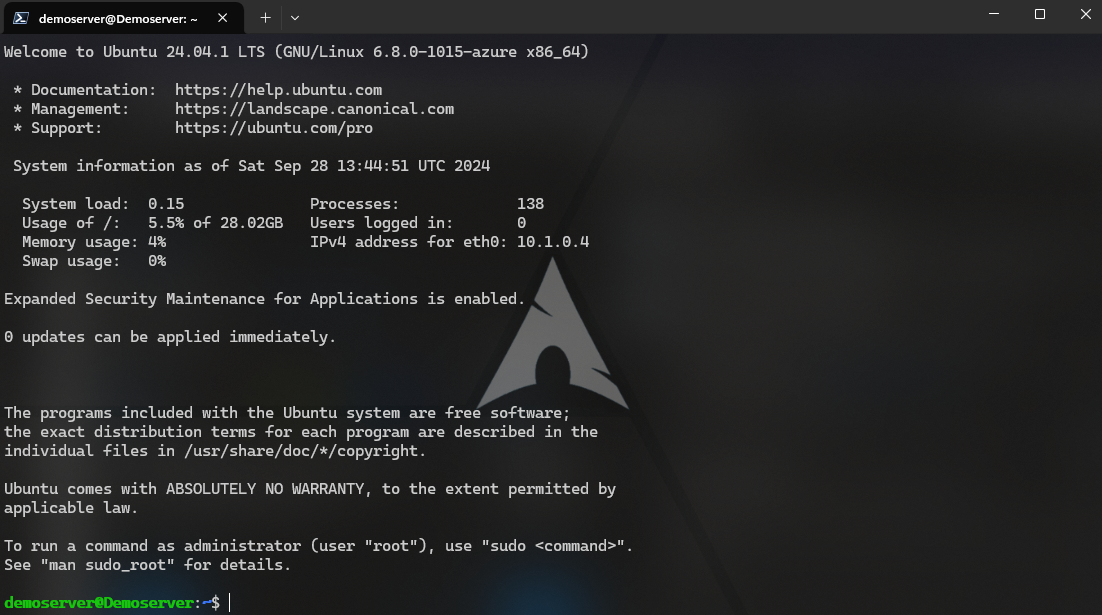
Enter the password that you have added while creating the Virtual Machine and you will get access to your Virtual Machine from your Terminal application.
Install Node.js and NPM
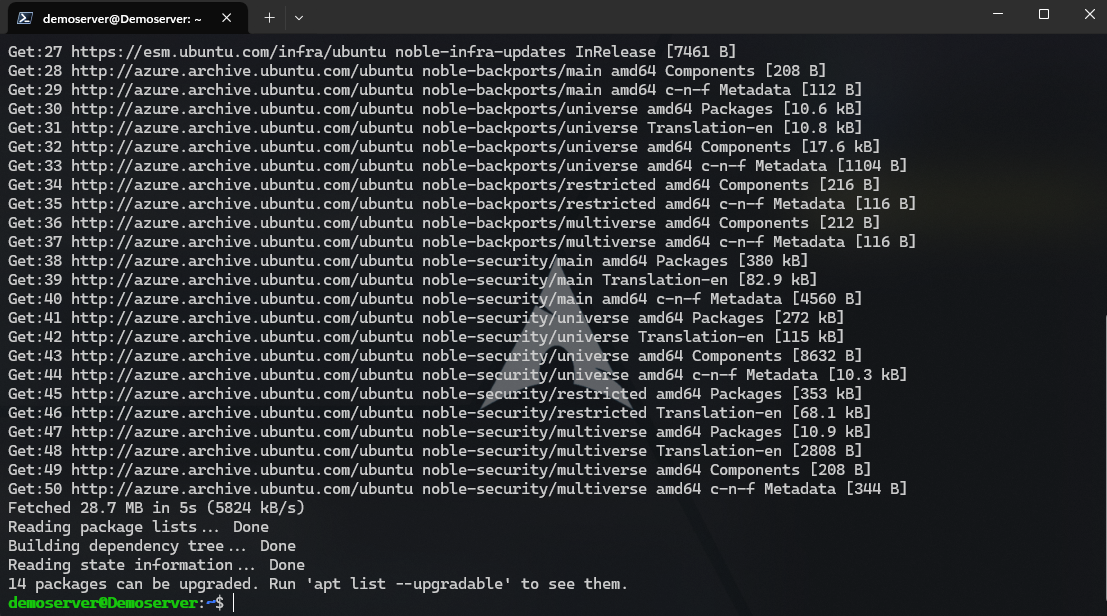
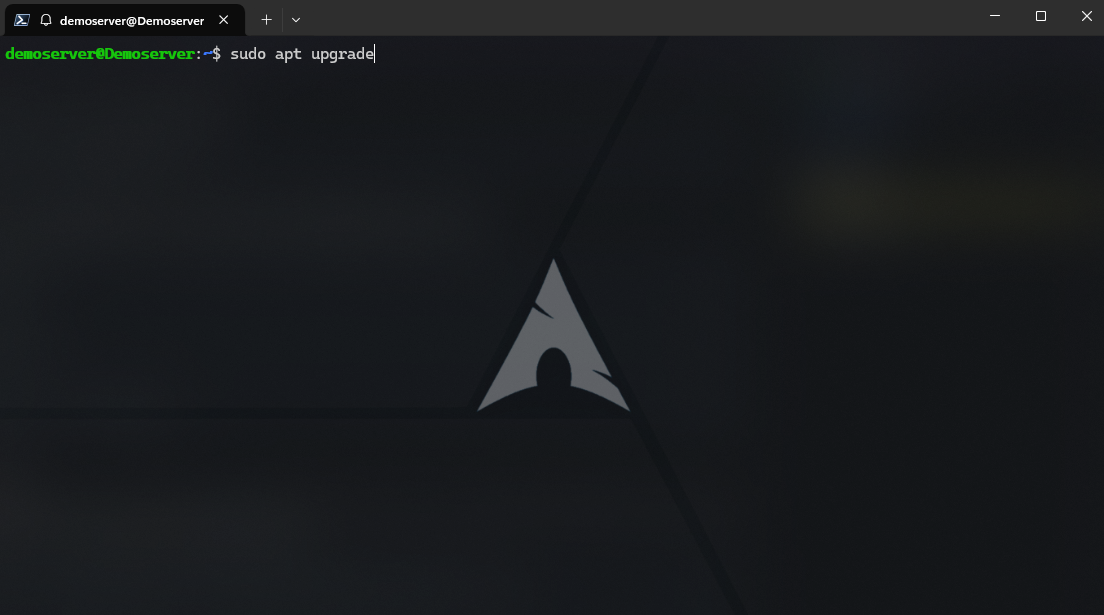
Update your VM by using the following commands.
 sudo apt update
 sudo apt upgrade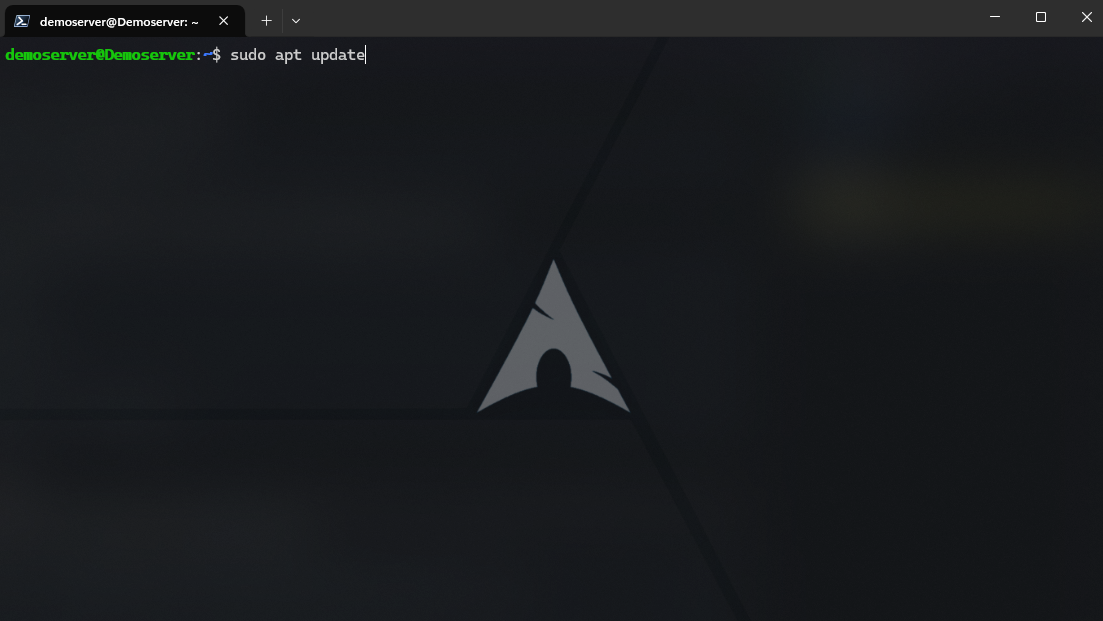
Install Node.js and NPM
 curl -fsSL https://deb.nodesource.com/setup_16.x | sudo -E bash -
 sudo apt-get install -y nodejs
Check the NodeJS and NPM version:
 node -v
 npm -v
Transfer Your Node.js Application to the VM, Clone the GitHub Repository
- If your Node.js application is hosted on GitHub:
git clone https://github.com/username/repository.git
Install Dependencies
cd your-app-directory
npm install
Test the Application
Start your Node.js application to ensure it’s working correctly:
node app.js
- Your application should now be running on the VM. You can test it by visiting
http://your-vm-ip:3000or the port your app is configured to run on.
Install and Configure Nginx
To serve your Node.js app on the default HTTP (80) and HTTPS (443) ports, we’ll set up Nginx as a reverse proxy.
Install Nginx
sudo apt install nginxConfigure Nginx
Edit the default Nginx config file to point to your Node.js application:
sudo nano /etc/nginx/sites-available/defaultReplace the contents with:
 server {
     listen 80;
     server_name yourdomain.com www.yourdomain.com;

     location / {
         proxy_pass http://localhost:3000;
         proxy_http_version 1.1;
         proxy_set_header Upgrade $http_upgrade;
         proxy_set_header Connection 'upgrade';
         proxy_set_header Host $host;
         proxy_cache_bypass $http_upgrade;
     }
 }
Change
yourdomain.comto your actual domain.Ensure the
proxy_passdirective points to the port your Node.js app runs on (e.g.,3000).
Restart Nginx
After editing, restart Nginx:
sudo systemctl restart nginxInstall PM2 for Process Management
- To keep your Node.js app running in the background, use PM2.
sudo npm install pm2 -g
- Start the Node.js application with PM2.
pm2 start app.js
Save the PM2 process list
Make sure PM2 starts your app on boot:
    pm2 startup
    pm2 save
Map Your Domain with Cloudflare
Now that your Node.js app is running on the Azure VM, we’ll set up Cloudflare for domain management.
Add DNS records in Cloudflare
- Go to the Cloudflare Dashboard.
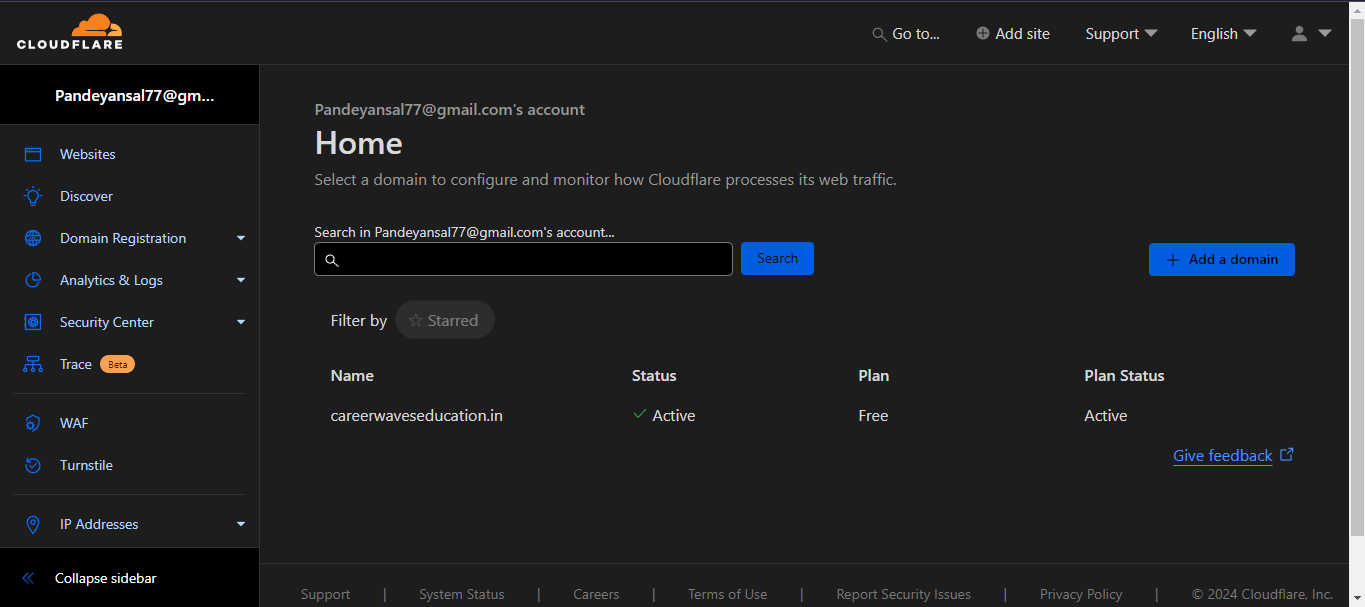
Select your domain and navigate to the DNS settings.
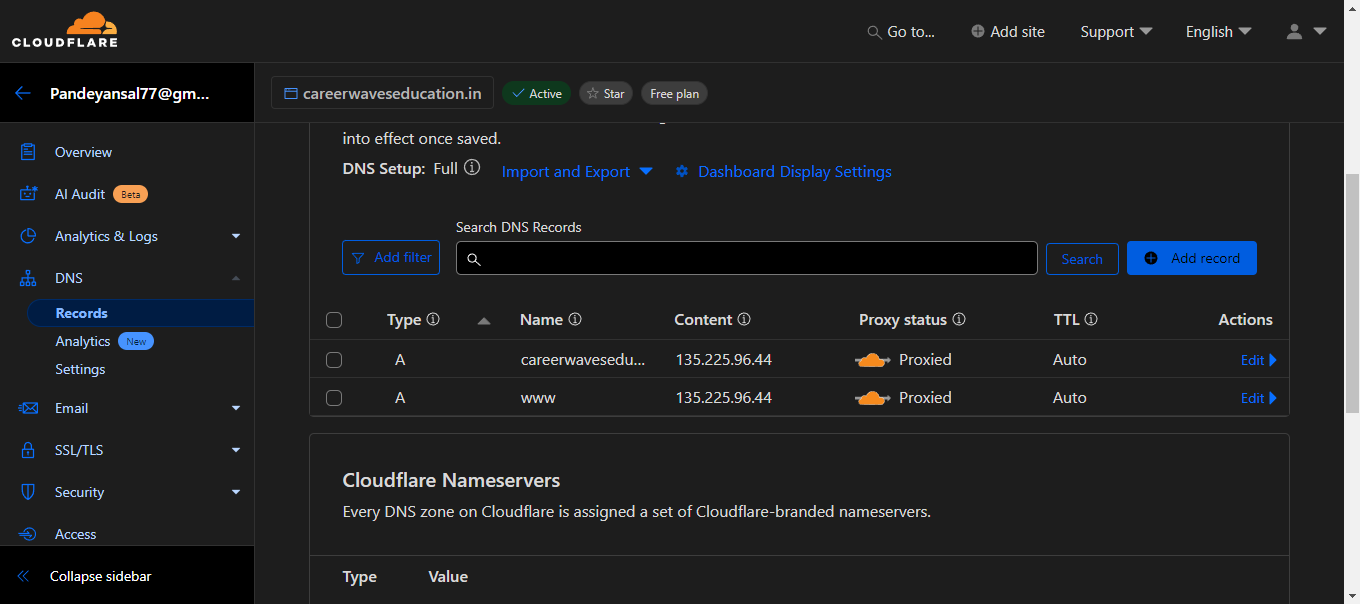
Add an A record pointing your domain to the public IP address of your Azure VM:
Name:
@(orwwwfor subdomain)Content: Your VM’s public IP
Proxy status: Proxied (for Cloudflare protection)
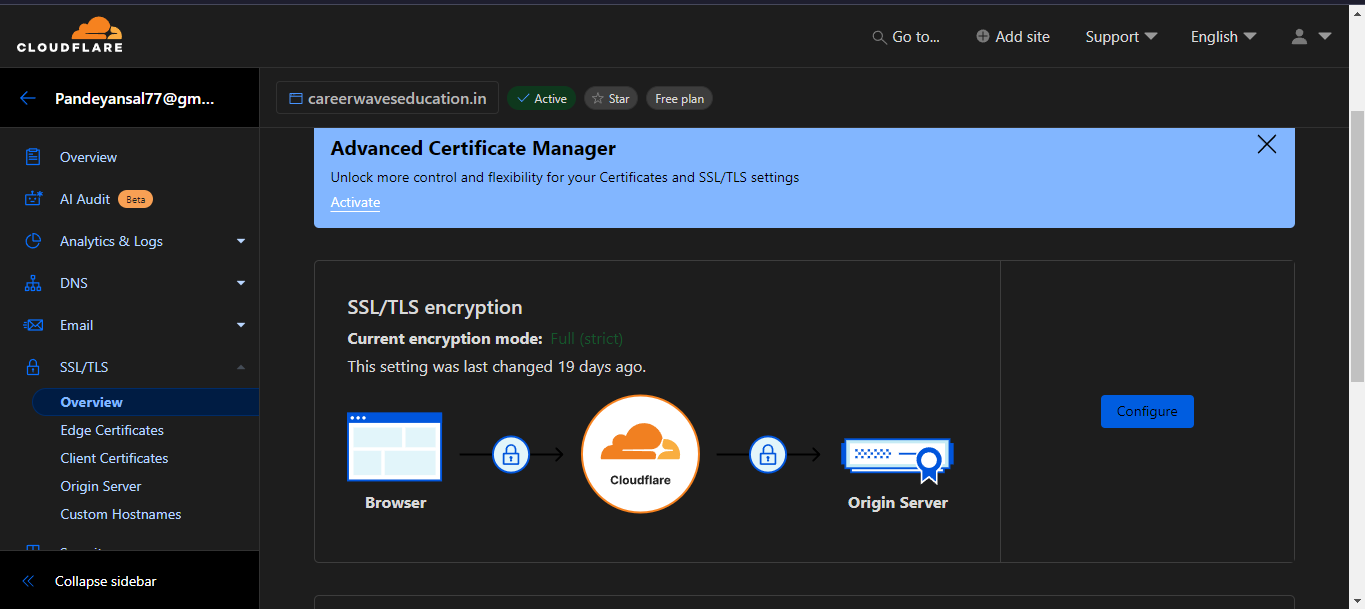
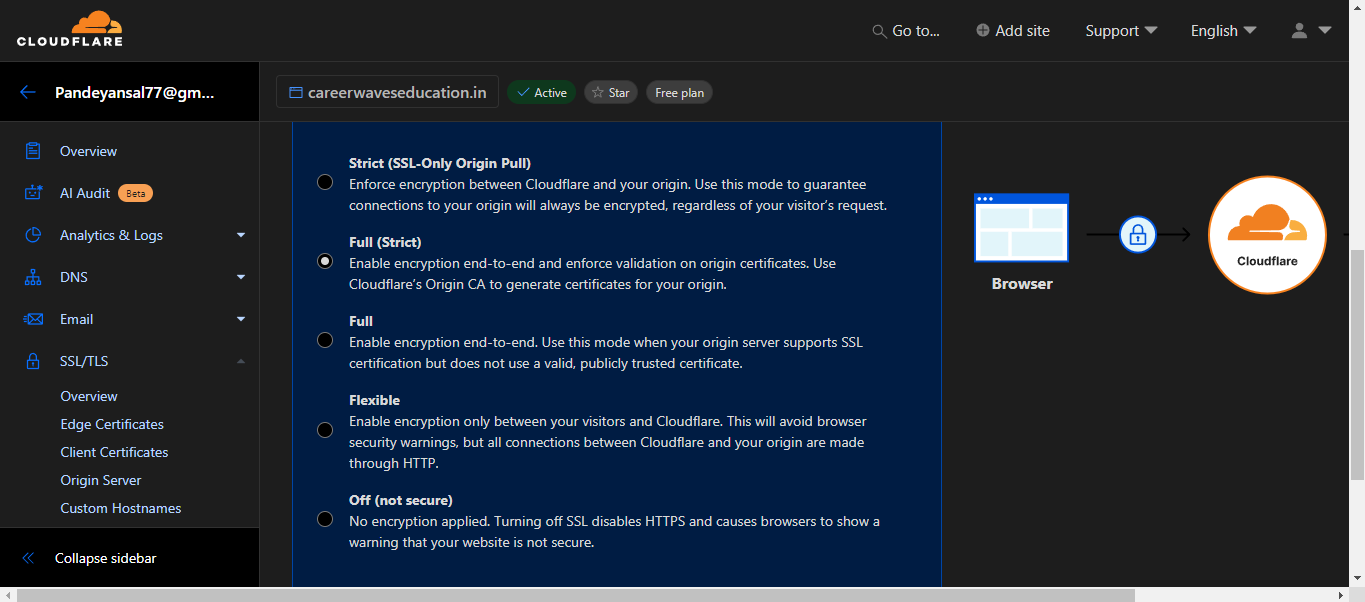
- SSL/TLS Configuration
In Cloudflare: Go to the SSL/TLS settings and select Full mode (strict if you have a CA-issued certificate).
Install SSL Certificate Using Let’s Encrypt
To secure your site with HTTPS, we’ll install a Let’s Encrypt SSL certificate on the server.
Install Certbot:- It automates SSL certificate installation.
sudo apt install certbot python3-certbot-nginxObtain SSL Certificate:- Run the following command to obtain and install the SSL certificate.
sudo certbot --nginx -d yourdomain.com -d www.yourdomain.comAuto-renew SSL Certificate (Optional)
sudo systemctl enable certbot.timer
Verify Deployment
- Visit your domain (
https://yourdomain.com) in a browser to verify the app is running securely with HTTPS.
- Visit your domain (
Conclusion
In this guide, we covered deploying a Node.js application on an Azure Virtual Machine, setting up Nginx as a reverse proxy, managing your app with PM2, and securing it with SSL using Cloudflare and Let’s Encrypt. With your Node.js app now live and secured, you’re ready to scale and enhance it further!
Thank you for taking the time to read this blog! I hope it was helpful in guiding you through deploying your Node.js application on Azure.
Feel free to connect with me on:
Instagram: @ansal_pandey
LinkedIn: Ansal Pandey
GitHub: @Ansalpandey
Happy coding! 😊
Subscribe to my newsletter
Read articles from Ansal Pandey directly inside your inbox. Subscribe to the newsletter, and don't miss out.
Written by

Ansal Pandey
Ansal Pandey
I'm a highly motivated Android developer passionate about building engaging, scalable, and user-friendly apps. I leverage my expertise in Kotlin, Jetpack Compose, and XML to craft modern UIs and ensure efficient app structures. Technical Skills: UI/UX Design: I excel at crafting beautiful and intuitive user experiences using Jetpack Compose for a modern look and feel, while maintaining clean and scalable code with Kotlin. Development: I'm proficient in building robust and scalable applications utilizing strong architectural patterns like MVVM and Clean Architecture. I integrate with APIs using Retrofit and manage dependencies with Dagger Hilt. Backend Integration: I leverage Firebase and other APIs to seamlessly connect apps to backend services. Beyond Technical Skills: Problem-Solving: My strong analytical mind tackles complex challenges and finds innovative solutions. Collaboration: I thrive in collaborative environments, working effectively with designers, product owners, and other developers. Continuous Learning: I have a passion for staying ahead of the curve by actively learning new technologies in the Android ecosystem. I'm seeking a collaborative and growth-oriented environment where I can contribute to cutting-edge projects, utilize my skills to deliver impactful applications, and continue to learn and grow as a developer.