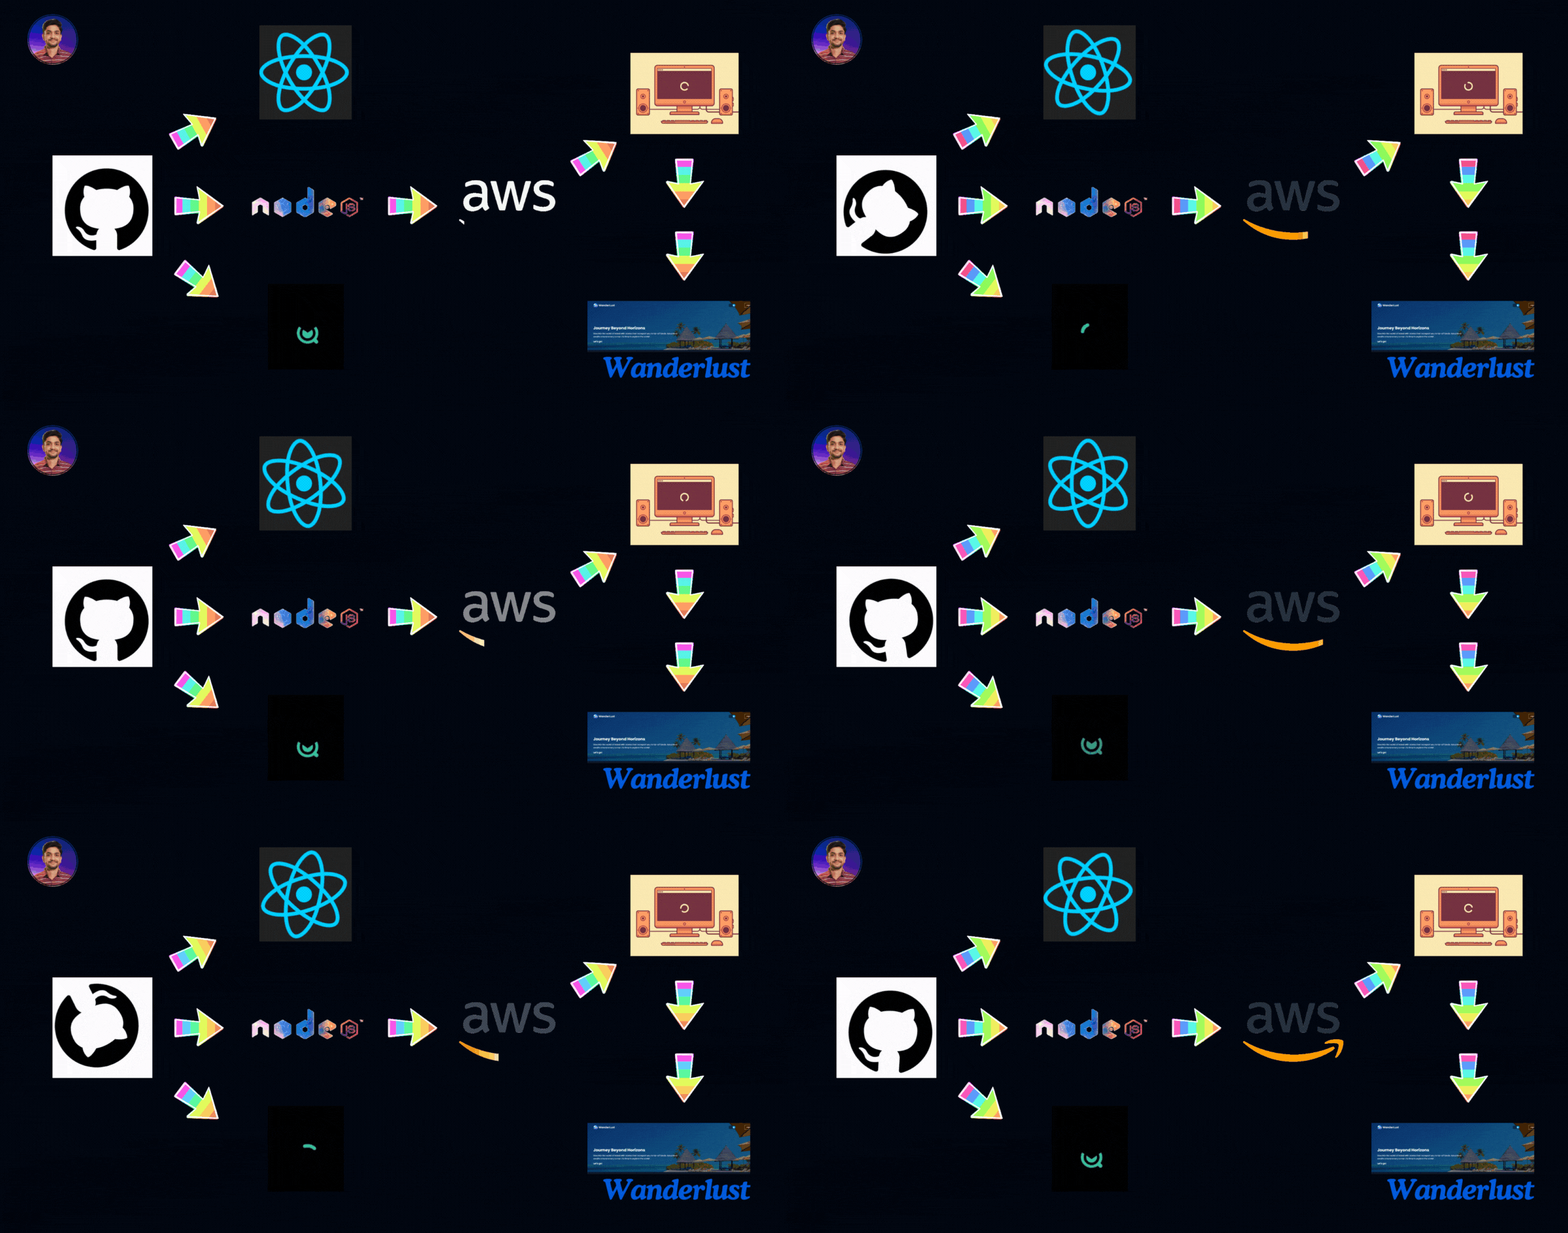
Project: Wanderlust Deployment
 Harshit Sahu
Wanderlust is an ultimate travel blog app for those having strong desire to travel and explore the world, driven by curiosity and a craving for new experiences.

STEPS: -
1. Clone Repository:
git clone https://github.com/harshitsahu2311/Wanderlust-Project.git
2. Navigate to Cloned Directory:
cd Wanderlust-Project
3. List Directory Contents:
ls
4. Install Node Version Manager (NVM):
curl -o- https://raw.githubusercontent.com/nvm-sh/nvm/v0.39.7/install.sh | bash
export NVM_DIR="$HOME/.nvm"
[ -s "$NVM_DIR/nvm.sh" ] && \. "$NVM_DIR/nvm.sh"  # This loads nvm
[ -s "$NVM_DIR/bash_completion" ] && \. "$NVM_DIR/bash_completion"  # This loads nvm bash_completion
5. Install Node.js version 21:
nvm install 21
6. Verify Node.js and npm Installation:
node -v
npm -v
7. Navigate to Backend Directory:
cd Wanderlust-Project/backend
8. Install Backend Dependencies:
npm i
9. Install MongoDB:
sudo apt-get install gnupg curl
curl -fsSL https://www.mongodb.org/static/pgp/server-7.0.asc | sudo gpg -o /usr/share/keyrings/mongodb-server-7.0.gpg --dearmor
echo "deb [ arch=amd64,arm64 signed-by=/usr/share/keyrings/mongodb-server-7.0.gpg ] https://repo.mongodb.org/apt/ubuntu jammy/mongodb-org/7.0 multiverse" | sudo tee /etc/apt/sources.list.d/mongodb-org-7.0.list
sudo apt-get update
sudo apt-get install -y mongodb-org
10. Start MongoDB Service:
sudo systemctl start mongod
11. Import Sample Data to MongoDB:
mongoimport --db wanderlust --collection posts --file ./data/sample_posts.json --jsonArray
12. Set Up Environment Variables:
cp .env.sample .env
13. View Environment Variables:
cat .env
14. Start Backend Server:
npm start
15. Navigate to Frontend Directory:
cd ../frontend/
16. Install Frontend Dependencies:
npm i
17. Create Local Environment File for Frontend:
cp .env.sample .env.local
18. Start Frontend Development Server:
npm run dev
19. Run Frontend Server with Specific Host:
npm run dev -- --host
20. Run Frontend Server in Background:
nohup npm run dev -- --host &
- Starts frontend server in the background.
21. Check Port Usage:
lsof -i:5173
22. Terminate Process Using Port:
sudo kill 9 2336
23. View Port Usage Again:
lsof -i:5173
24. Edit Local Environment File:
vim .env.local
Make these changes VITE_API_PATH="http://<your-public-ip>:5000”
25. Start Frontend Server in Background Again:
nohup npm run dev -- --host &
26. Start Backend Server Again:
cd ../backend/
npm start

Congratulations!! You have done a 3-tier application in Virtual Network.
Subscribe to my newsletter
Read articles from Harshit Sahu directly inside your inbox. Subscribe to the newsletter, and don't miss out.
Written by

Harshit Sahu
Harshit Sahu
Enthusiastic about DevOps tools like Docker, Kubernetes, Maven, Nagios, Chef, and Ansible and currently learning and gaining experience by doing some hands-on projects on these tools. Also, started learning about AWS and GCP (Cloud Computing Platforms).