Starting with Three.js for 3D Graphics
 Gautam Gupta
"The only way to do great work is to love what you do." – Steve Jobs.
Hi there! I am Gautam. If you've ever wondered how those flashy Apple and portfolio websites integrate stunning 3D models, or if you're just looking to get started with 3D graphics on the web, then you're in the right place. Join me as I document my journey and share a comprehensive guide to learning Three.js. Let's grow together! Hope you enjoy it!
Prerequisites:
Basic Knowledge of JavaScript and Node.js.
Enough enthusiasm for the world of 3D.
Introduction
Three.js is a popular JavaScript library that makes it easy to create 3D graphics on the web. It provides a user-friendly interface for WebGL, a low-level API for rendering 3D graphics in the browser. With Three.js, you can build complex 3D scenes, animations, and interactive experiences without writing a lot of WebGL code.
Key features of Three.js include:
Scene Graph: Three.js uses a scene graph to manage and organize objects in a 3D scene, making it easier to handle and render complex scenes.
Geometry and Materials: The library offers a variety of built-in geometries (like cubes, spheres, and planes) and materials (such as basic, Lambert, and Phong materials) to create 3D objects.
Lighting: Three.js supports different types of lights, including ambient, directional, point, and spotlights, to create realistic lighting effects.
Cameras: It provides various types of cameras, such as perspective and orthographic cameras, to view the 3D scene from different angles.
Animations: Three.js includes tools for creating animations, such as keyframe animations and skeletal animations for character models.
Overall, Three.js is a powerful and flexible tool for anyone looking to create 3D graphics on the web, whether you're a beginner or an experienced developer.
Setting Up the Environment
For our first project, we need to set up a few things before diving into the details.
Make sure you have the following:
Node.js, a runtime environment that allows you to run code outside the web browser.
VS Code or any other IDE you prefer.
For this project, I am using Vite, a modern front-end build tool that provides a fast development experience for web projects. If you don’t have Vite installed, don’t worry. Just follow these steps in the VS Code terminal:
→ Navigate to your desired directory in the terminal.
→ Type
npm create vite@latest.→ Name the project, select vanilla, and then JavaScript.
→ Go into your project directory.
→ Type
npm installand thennpm run devto start the server.And guess what, you will also need Three.js. So, in your terminal, type:
npm i three gsapto install all the dependencies for Three.js.
Now you have everything you need to get started. Just delete everything in the style.css and main.js files.
Lights, Camera, Action! 🎥
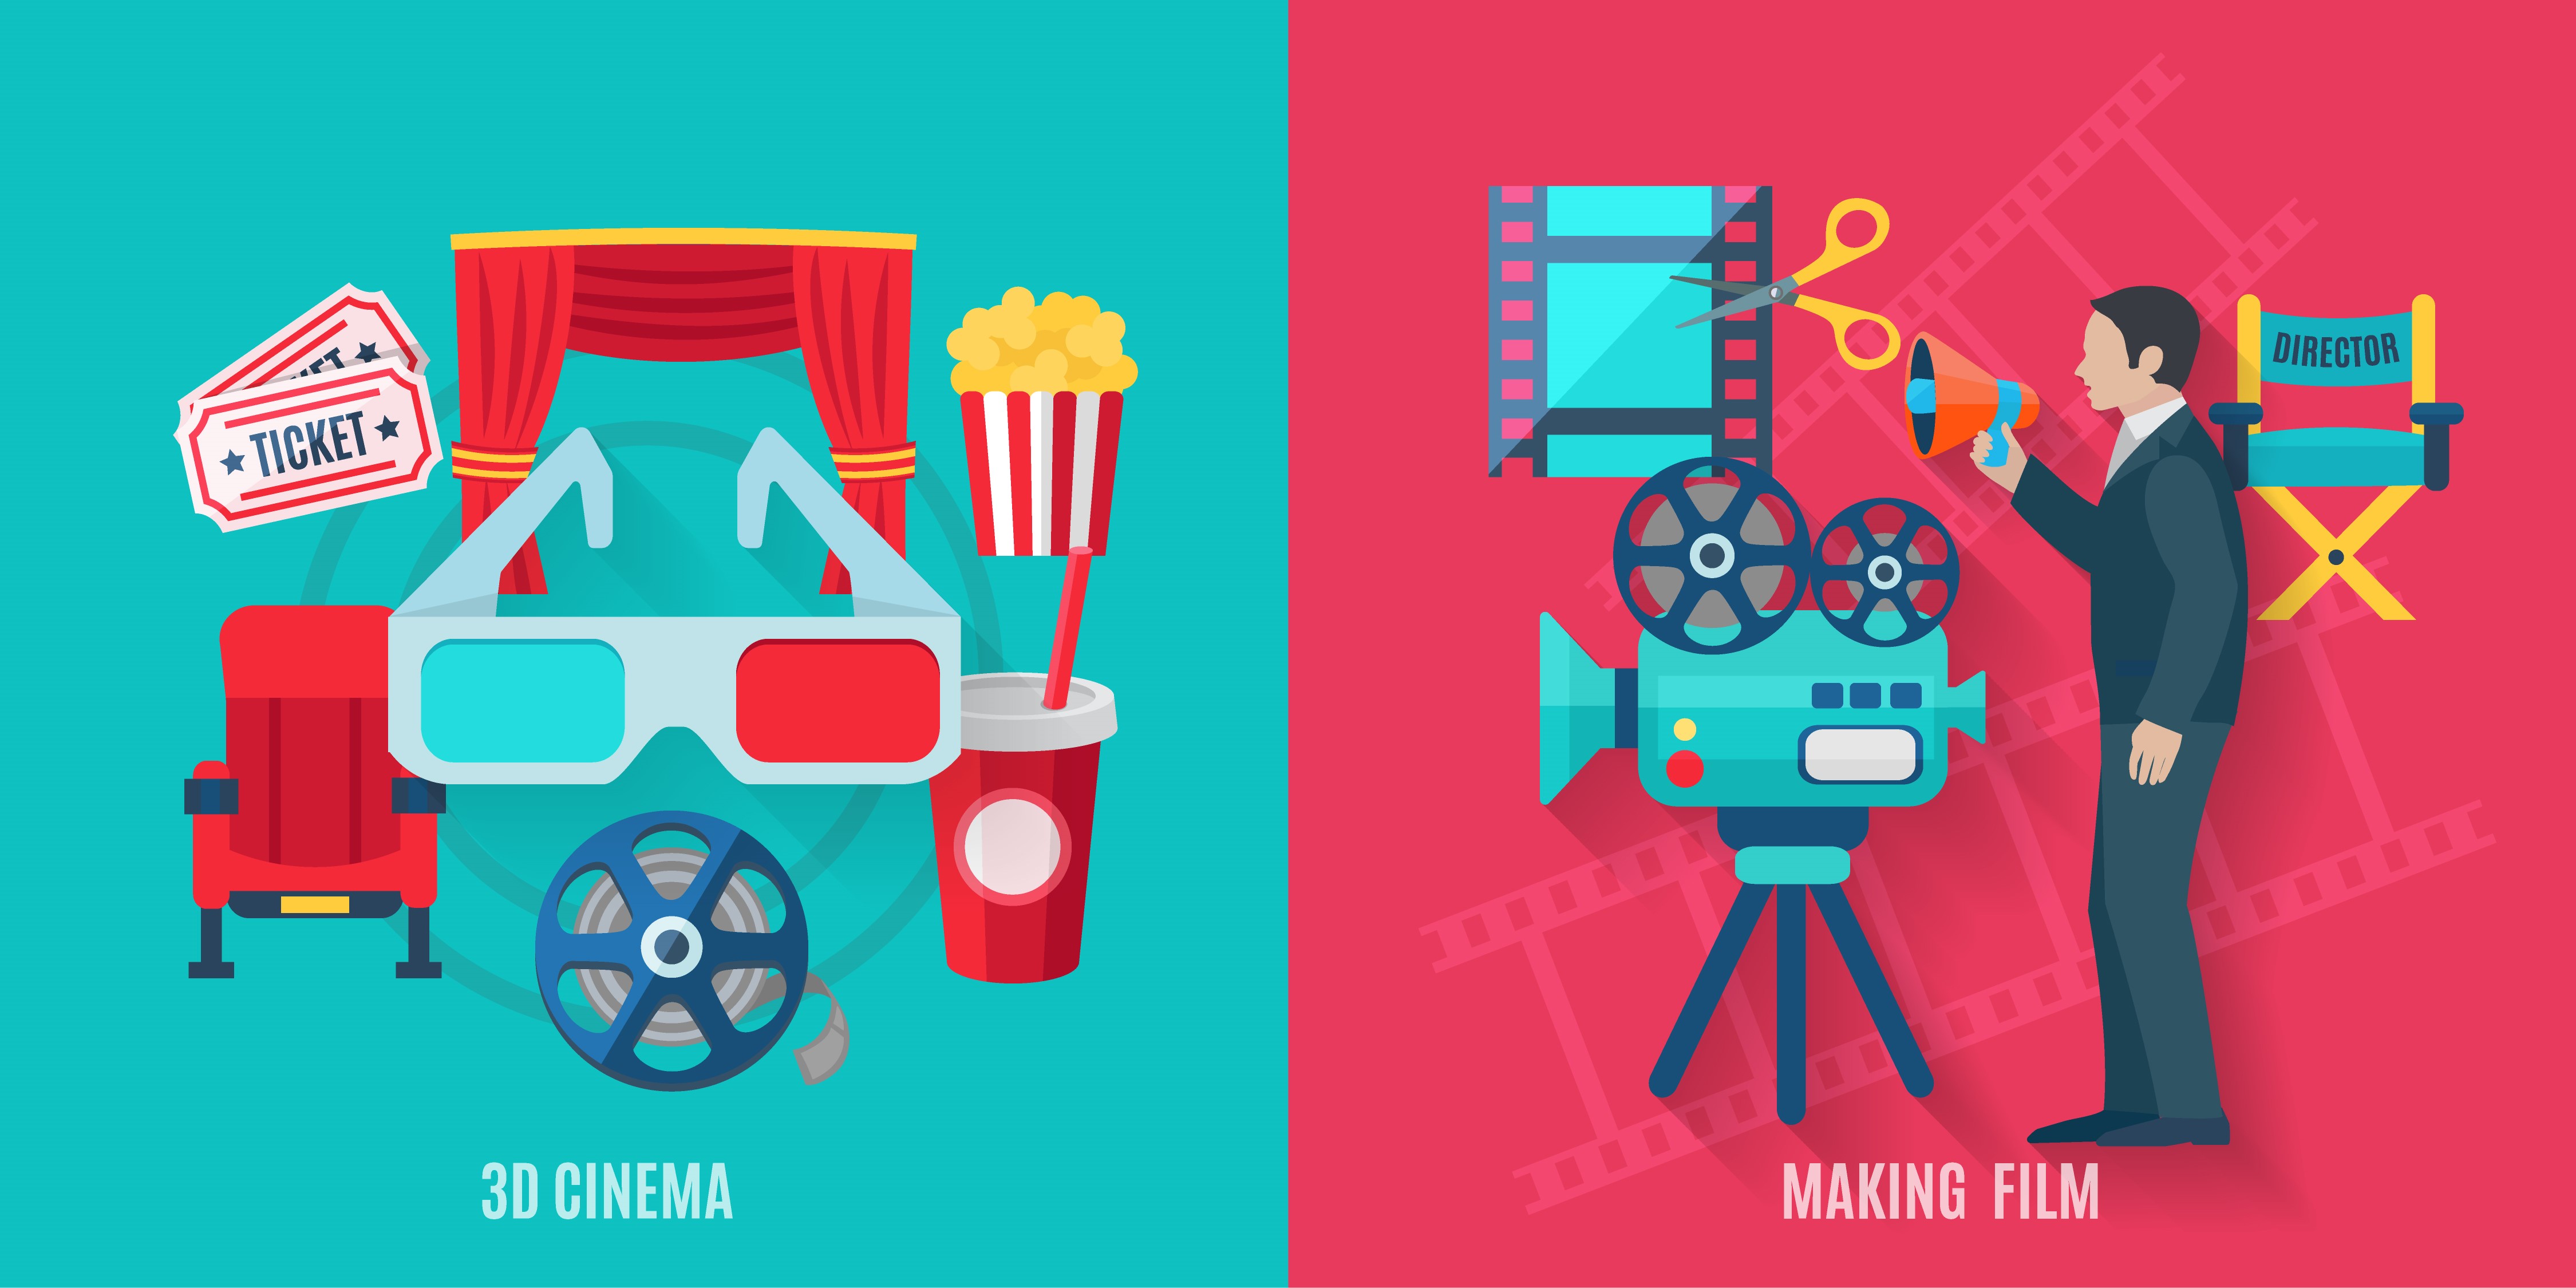
To understand the basics of Three.js, let's compare its components to a movie filming set. This analogy will help you grasp how each part works together to create stunning 3D graphics.

Scene
Think of the scene as the movie set. It's the environment where all the action happens. In Three.js, the scene is where you place all your objects, lights, and cameras. It's the container that holds everything together.
Camera
The camera in Three.js is like the camera in a movie. It determines what part of the scene is visible to the audience. There are different types of cameras in Three.js, such as perspective and orthographic cameras, each offering a unique way to view the scene.
Objects
Objects in Three.js are like the actors and props on the movie set. These can be anything from simple shapes like cubes and spheres to complex models. Objects are created using geometries and materials.
Geometry
Geometry defines the shape of an object, similar to how a prop designer creates the physical form of a prop. Three.js provides various built-in geometries, such as boxes, spheres, and planes, which you can use to create different shapes.
Material
Material is like the costume and makeup for the actors. It defines how the surface of an object looks and reacts to light. Three.js offers different materials, such as basic, Lambert, and Phong materials, to give your objects the desired appearance.
Lights
Lights in Three.js are akin to the lighting crew on a movie set. They illuminate the scene and create mood and atmosphere. Three.js supports various types of lights, including ambient, directional, point, and spotlights, each providing different lighting effects.
Renderer
The renderer is like the film crew that captures the scene. In Three.js, the renderer takes the scene and camera and produces the final image that you see on the screen. The most commonly used renderer in Three.js is the WebGLRenderer.
Animation
Animation in Three.js is similar to the director's instructions to the actors. It brings the scene to life by moving objects, changing their properties, or altering the camera's position over time. Three.js provides tools for creating both simple and complex animations.
By understanding these components and how they interact, you can start building your own 3D scenes in Three.js, just like a director orchestrates a movie set.
Working with Geometries & Materials 💎
For effective creation of the page, I would recommend running the server and open the web browser side by side of the IDE. Just type the following in terminal and click on the link that appears: npm run dev
Scene creation 🖼️
Now that we have an environment and understand the basics of Three.js, let's move on to the coding part. First of all, we need to import Three.js to our project file and create a scene. So, in main.js, do the following:
import * as THREE from 'three';
import './style.css'

const scene = new THREE.Scene();
Building Your First 3D Object 🔨
Now, we need a Mesh, which can be any shape or object. You can add a Mesh by importing a model file from Blender or using geometry code from the Three.js library. To keep it simple, we'll use a Mesh from the Three.js library. Visit threejs.org and go to Documentation > Geometries to find various geometries you can add to your scene.
For this example, I am going with the Torus-knot geometry (because it's kind of cool).
When you click on a geometry, you will find pre-loaded Three.js code for it. Just copy the code and paste it into main.js.
const geometry = new THREE.TorusKnotGeometry(10, 3, 100);
const material = new THREE.MeshStandardMaterial({ color: '#D2FF72'});
const torusKnot = new THREE.Mesh(geometry, material);

scene.add(torusKnot)
In the above code you can notice the following things:
A Mesh in Three.js is made up of geometry and material, both defined separately.
The geometry has three parameters: radius, tube radius, and radial segments.
Similarly, color, roughness, and other properties can be defined in the material.
After a mesh is created, it is added to the scene using the add() method.
Set up the Camera and Light Up your Scene 💡
Now, in order to see anything you need camera and light.
const light = new THREE.PointLight('#ffffff', 60, 60)
light.setPosition(0, 10 ,15)
scene.add(light)

const sizes = {
width: window.innerWidth,
height: window.innerHeight
}

const camera = new THREE.PerspectiveCamera(45, sizes.width/sizes.height)
camera.position.z = 60
scene.add(camera)
In the above code you can notice the following things:
We've picked a Point light with white color, strength of 20, and set its position in the z-direction.
The
sizesobject tracks the viewport's width and height.We've chosen a Perspective Camera with a focal length of 45, set the viewport's width and height, and positioned the camera at z = 60.
After creating each object, we add it to the scene using the add() method.
Showtime! Render your 3D Model 🎬
For rendering the 3D model, we need a canvas. A canvas is simply a plane where all our elements are placed. For creating a canvas, we need to add a canvas tag in the index.html page.
<canvas class="webgl"></canvas>
Now that we have a canvas on our webpage, let's jump back to main.js to add the canvas to the scene.
const canvas = document.querySelector(".webgl")
const renderer = new THREE.WebGLRenderer({ canvas })
renderer.setSize(sizes.width, sizes.height)
renderer.render(scene, camera)
In the above code you can notice the following things:
The canvas is created using an HTML tag.
A renderer is created to render the scene on the canvas. The rendered scene is viewed from the camera's perspective.
And there you have it! You've successfully set up your first 3D scene using Three.js. 🎉🎉🎉 This is the steppingstone for your Three.js journey. Whether you're adding cool 3D visuals to a website or building an interactive portfolio, the possibilities are endless.
NOTE: If you cannot see your geometry, try adjusting the light properties.
Interactivity and Animation 🎃
Currently, our webpage renders only once, like creating a single image. Remember, a video is a sequence of images played quickly one after another. We need to do something similar to make an object move, meaning we need to render repeatedly to add interactivity.
Adjusting Your Playground ⚽
Let’s adjust the viewport to the full width and height of the browser. In the style.css following can be entered:
*{
  margin: 0;
  padding: 0;
  box-sizing: border-box;
}
body,
html {
overflow-x = hidden;
}
But we have a problem! Even if the canvas fits the whole browser screen, it won't adjust when the window size changes (Remember? The scene is only rendering once). So, we need to continuously update the browser size and adjust the camera accordingly.
windows.addEventListener("resize", () => {
sizes.width = window.innerWidth
sizes.height = window.innerHeight

camera.updateProjectionMatrix()
camera.aspect = sizes.width/sizes.height
renderer.setSize(sizes.width, sizes.height)
})
In the above code you can notice the following things:
Event listener is triggered when the window is resized.
camera’s aspect and projection matrix and renderer’s size are updated accordingly.
But we still need to make the animation loop to achieve the continuous rendering we've been talking about.
const loop = () => {
renderer.render(scene, camera)
window.requestAnimationFrame(loop)
}
loop();
And DONE! the magic should be happening now. The mesh won’t deform when the windows is adjusted, and canvas will readjust accordingly.
Adding Interactivity and Animation 🎭
A static 3D image of a geometry is just like a photo on a website. So why not add some interactivity?
For this, we need to import the Orbit controls and gsap libraries. Add the following to the top of main.js:
import { gsap } from "gsap";
import { OrbitControls } from 'three/examples/jsm/controls/OrbitControls.js';
Now, let's define some Orbit controls so we can rotate our mesh by clicking and dragging.
const controls = new OrbitControls(camera, canvas)
controls.enableDamping = true
controls.enablePan = false
controls.enableZoom = false
controls.enableRotate = true
controls.autoRotate = 5

const loop = () => {
controls.update();
}
In the above code you can notice the following things:
The controls object is defined.
We have set only damping and rotate to true, while pan and zoom are set to false.
Additionally, auto rotate is set to 5, so the mesh will always be rotating.
And we have added controls to update in the loop function that we created earlier.
Now, the torus will be rotating constantly, and you will be able to click and drag the torus to change its orientation. Sounds fun, right?
Cycling Colors 🔵🟢🔴🟡
Now to make this more fun we can make the colors cycle based on where we click and drag. For this the program needs to know when the mouse is clicked.
let mouseDown = false
let rgb = []
window.addEventListener("mousedown", () => {mouseDown = true})
window.addEventListener("mouseup", () => {mouseDown = false})
Now we will define the logic to determine when and which color to change to.
window.addEventListener("mousemove", (e) => {
if(mouseDown){
rgb = [
Math.round((e.pageX / sizes.width) * 255),
Math.round((e.pageY /sizes.width) * 255),
165
];
let newColor = new THREE.color(`rgb(${rgb.join(",")})`)

gsap.to(torusKnot.material.color,{
    r:newColor.r
    g:newColor.g
    b:newColor.b
    })
  }
})
And voila! Now we have an interactive, rotating, and color-changing 3D webpage. To add content, you can use HTML tags for any text and style it with CSS.
Final Thoughts 💭
And that's a wrap! 🎬 You've just taken your first steps into the world of 3D web development with Three.js. From setting up a scene to animating and interacting with your first 3D object, you've unlocked the foundational tools you need to build stunning visual experiences for the web. Whether you're creating eye-catching portfolio websites, immersive product displays, or just having fun experimenting with 3D shapes and animations, the possibilities are limitless.
Happy Building!🎉🎉.
Subscribe to my newsletter
Read articles from Gautam Gupta directly inside your inbox. Subscribe to the newsletter, and don't miss out.
Written by
