Requests and limits: simplified in kubernetes
 Syed Mahmood Ali
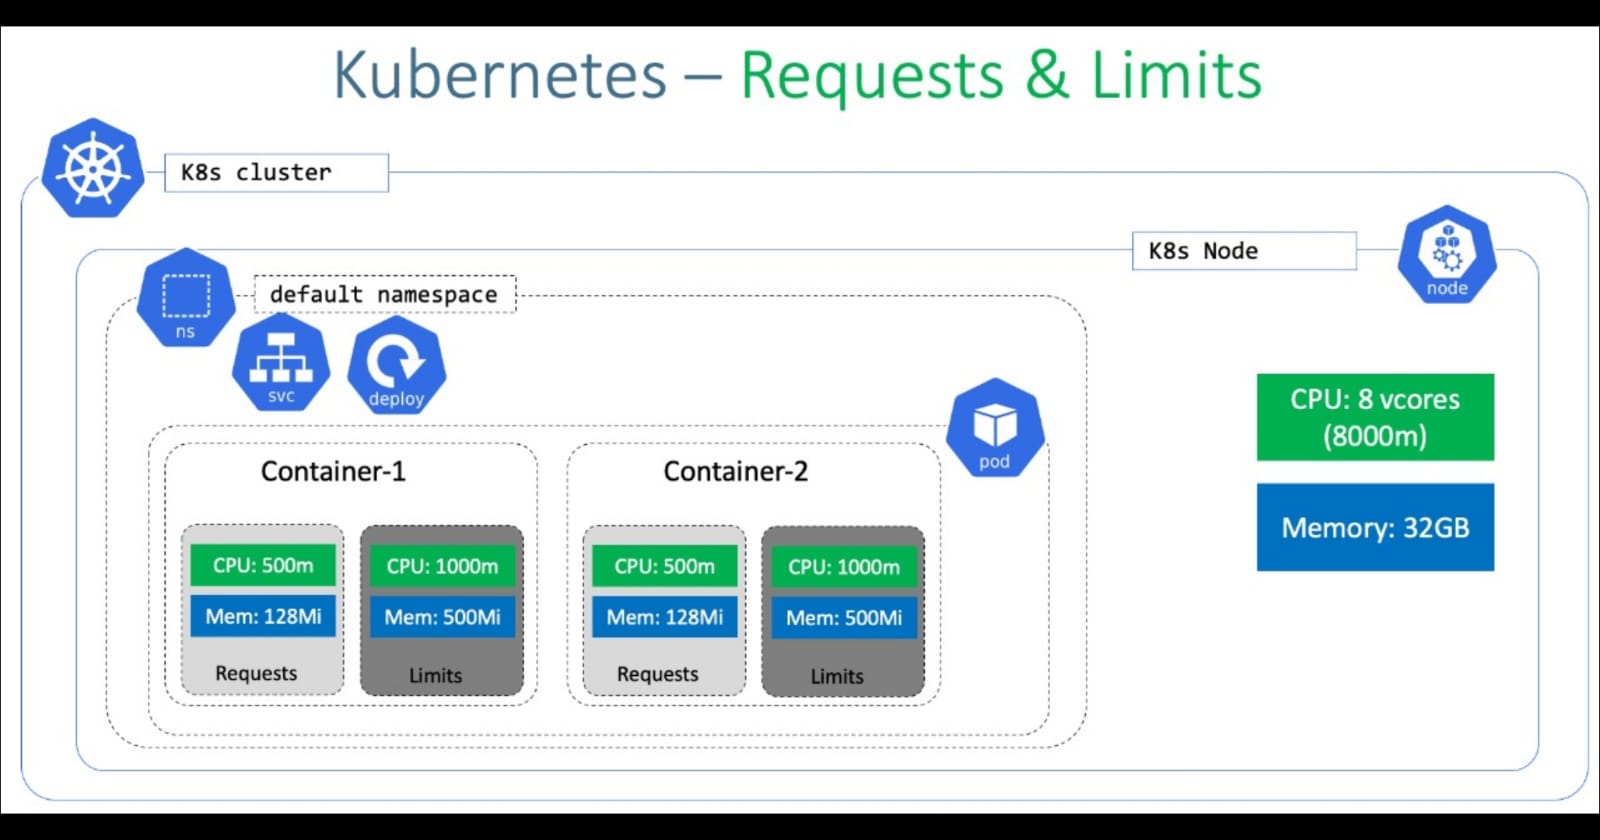
Requests and limits are the two parameters that help Kubernetes manage resources effectively by ensuring that containers get the resources they need without consuming too much also making sure that all of the resources are being efficiently utilized.
Requests
Definition: Requests specify the minimum amount of CPU and memory resources that a container requires to run.
Purpose: Kubernetes uses requests to decide which node to place a container on. It ensures that a node has enough capacity to meet the container’s resource demands.
Behavior: If a container’s resource requests cannot be met by any node in the cluster, Kubernetes won’t schedule the pod onto that node.
Example: Setting a CPU request of 0.5 cores means the container expects at least 0.5 CPU cores available on any node where it can run.
Limits
Definition: Limits define the maximum amount of CPU and memory resources that a container is allowed to use.
Purpose: Limits prevent a container from consuming excessive resources and impacting other pods or the node’s stability.
Behavior: If a container exceeds its resource limits, Kubernetes may throttle the container, terminate it, or take other actions depending on the configured policies.
Example: Setting a CPU limit of 1 core ensures that the container cannot use more than 1 CPU core, even if more is available on the node.
Why Use Requests and Limits?
Resource Allocation: Requests help Kubernetes allocate resources efficiently by placing pods on nodes that can meet their requirements.
Resource Management: Limits prevent containers from consuming more than their fair share of resources, ensuring stability and fairness across the cluster.
Performance: Properly configured requests and limits can improve application performance by preventing resource contention and ensuring consistent behavior.
Keeping all of this in mind, let’s move ahead and see an example scenario
Example Scenario
Imagine you have a container running in a Kubernetes pod that performs some computations. You want to make sure it has enough CPU and memory to work properly but doesn’t hog all the resources on the node.
How to Set Requests and Limits

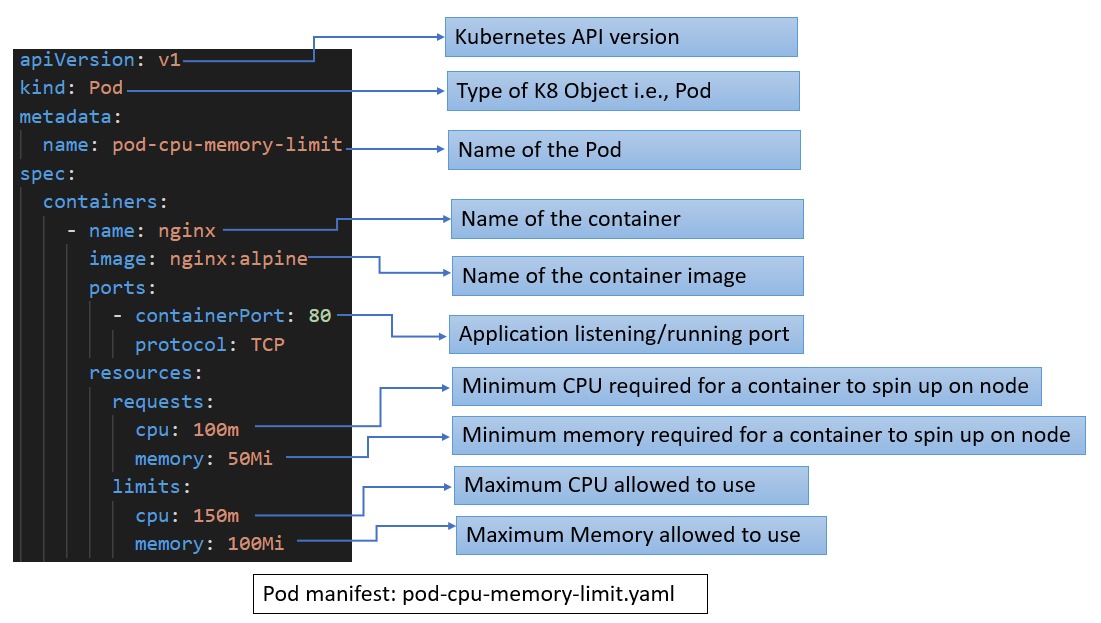
When defining your Kubernetes pods, you can set requests and limits in the pod’s YAML file.
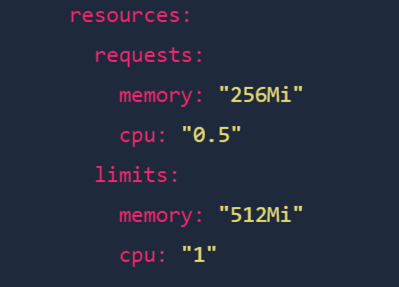
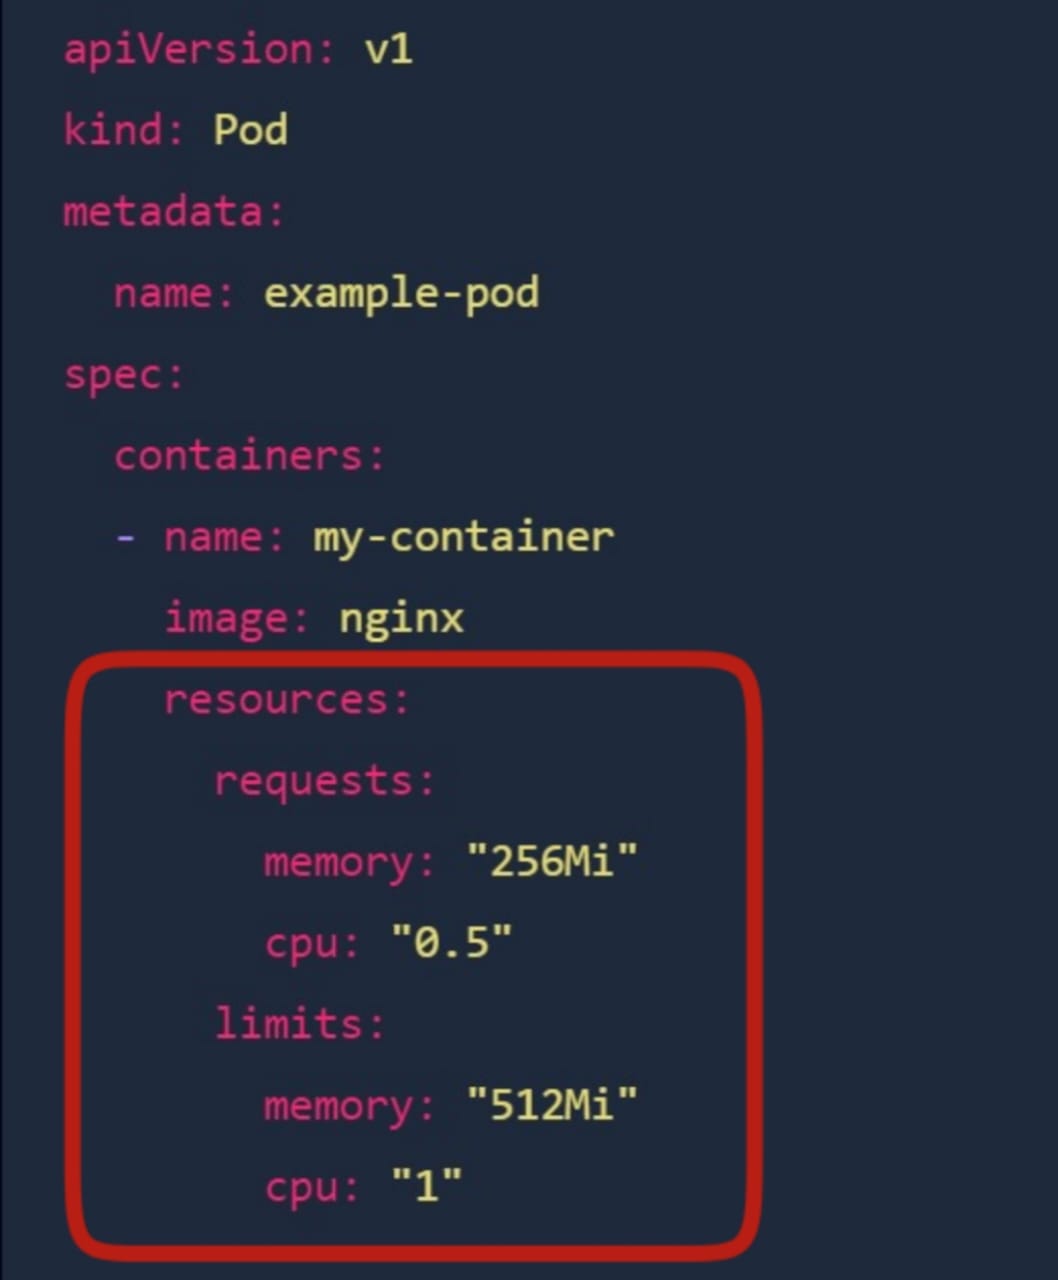
Here’s an example YAML configuration for a pod that requests 0.5 CPU cores and 256Mi (mebibytes) of memory but is limited to 1 CPU core and 512Mi of memory.
apiVersion: v1
kind: Pod
metadata:
  name: example-pod
spec:
  containers:
  - name: my-container
    image: nginx
    resources:
      requests:
        memory: "256Mi"
        cpu: "0.5"
      limits:
        memory: "512Mi"
        cpu: "1"
The part where it is defined:


CPU Requests and Limits
CPU Request: The container will be guaranteed at least 0.5 CPU cores.
CPU Limit: The container can use up to 1 CPU core but no more.
CPU is fractional, which means you can request and limit parts of a core:
0.5CPU = Half of a CPU core.1CPU = 1 full CPU core.
Memory Requests and Limits
Memory Request: The container will be guaranteed at least 256Mi of memory.
Memory Limit: The container can use up to 512Mi of memory.
Memory is defined in byte units:
Mi(Mebibyte): 1Mi = 1,048,576 bytes (~1.05MB).Gi(Gibibyte): 1Gi = 1,073,741,824 bytes (~1.07GB).
How Kubernetes Uses Requests and Limits
Requests: Kubernetes uses the request values to decide which node to place the container on. For example, if a node has 1 CPU core available, and your container requests 0.5 CPU, Kubernetes will know that the node can fit this container.
Limits: Once the container is running, if it tries to use more than its CPU or memory limit:
CPU Limit Exceeded: Kubernetes will throttle the container’s CPU usage, slowing it down.
Memory Limit Exceeded: If the container uses more memory than the limit, Kubernetes will terminate (kill) the container.
Example 1: Under the Limit (Good Scenario)
Let’s say your container is running and it needs 0.3 CPU cores and 200Mi of memory. Since this is under the requests (0.5 CPU, 256Mi memory), the container will run smoothly, and no throttling or killing happens.
Example 2: CPU Limit Exceeded (Throttling Scenario)
Now, imagine your container suddenly needs 1.2 CPU cores. Since it is limited to 1 CPU, Kubernetes will throttle the container. This means the container will slow down, only using up to 1 CPU, even though it wants more.
Example 3: Memory Limit Exceeded (Container Killed Scenario)
If your container tries to use 600Mi of memory, but the limit is 512Mi, Kubernetes will kill the container, as it has exceeded the maximum allowed memory. It will restart the container according to the pod’s restart policy.
Why Use Requests and Limits?
Requests ensure that the container always has enough resources to run.
Limits protect the system by preventing containers from using too many resources and affecting other containers.
Best Practices for Requests and Limits
Measure Actual Usage: Before setting requests and limits, monitor your application’s CPU and memory usage to set realistic values.
Avoid Over-Requesting: Don’t set requests too high, or you might waste resources. Only ask for what your app really needs.
Avoid Over-Limiting: Be careful not to set limits too low, or your container might get throttled or killed when it needs more resources temporarily.
Use Auto-scaling: Consider using Horizontal Pod Autoscaler (HPA) to automatically adjust the number of running pods based on CPU/memory usage.
Example of Different Containers in a Pod
You can set different requests and limits for different containers in the same pod. Here’s an example where two containers have different resource configurations:
apiVersion: v1
kind: Pod
metadata:
  name: multi-container-pod
spec:
  containers:
  - name: web-server
    image: nginx
    resources:
      requests:
        memory: "256Mi"
        cpu: "0.5"
      limits:
        memory: "512Mi"
        cpu: "1"
  - name: db
    image: mysql
    resources:
      requests:
        memory: "1Gi"
        cpu: "1"
      limits:
        memory: "2Gi"
        cpu: "2"
In this case:
- The web-server container has lower resource requirements (0.5 CPU, 256Mi memory).
The db container (like a MySQL database) needs more resources (1 CPU, 1Gi memory), and it has higher limits too.
Simple Mental Model:
Requests are the "reservation" — what the container must have.
Limits are the "ceiling" — what the container is not allowed to exceed.
Summary
In Kubernetes, requests define the minimum CPU and memory a container needs, while limits set the maximum it can use. Requests ensure the container has enough resources to run, and Kubernetes schedules pods based on these values. Limits prevent containers from over-consuming resources—if they exceed the CPU limit, they are throttled; if they exceed the memory limit, they may be killed. Properly configuring requests and limits ensures efficient resource use and cluster stability, with best practices including setting values based on actual usage and leveraging auto-scaling for dynamic adjustments.
Subscribe to my newsletter
Read articles from Syed Mahmood Ali directly inside your inbox. Subscribe to the newsletter, and don't miss out.
Written by
