E-mail service in NextJs and nodemailer
 Oussama Chahidi
Introduction
In today’s digital landscape, email remains a cornerstone of communication, both for personal use and business interactions. With a myriad of email services available, Gmail stands out as one of the most popular choices, thanks to its user-friendly interface and robust features. But what if you want to harness the power of Gmail programmatically? This is where NextJs and Nodemailer come into play.
NextJs, a powerful React framework, enables developers to build fast and dynamic web applications with ease. When paired with Nodemailer, a versatile module for NodeJs, you can create custom email solutions that leverage Gmail’s capabilities. In this blog post, we’ll explore how to integrate Gmail with NextJs and Nodemailer, allowing you to send emails effortlessly from your web application. Whether you're looking to enhance user engagement, send notifications, or manage communications, this guide will provide you with the essential steps to get started.
Let’s dive in and unlock the potential of email in your NextJs applications !
Create a google email application
Since we gonna the gmail smtp, we need to create an application
1. Login to the google account you want to use , then click on the avatar icon and manage account settings button.
2. Go to Settings > turn on two steps verification
3. in the search bar, look for “App Password“ > create and application by giving it a name and a password will be generated, save that password cause you’ll see it for once.
Now we are done, with gmail , let’s jump to the code.
- Create a NextJs project and install nodemailer in it:
npm i nodemailer
Since we using TypeScript, we need to install the nodemailer types
npm i @types/nodemailer --dev
- Let’s put the mailer code
create an `.env` and put the USER and PASS values, then create
app > api > mailer > route.ts
// app/api/mailer/route.ts

import nodemailer from 'nodemailer';
import { NextRequest, NextResponse } from 'next/server';

export async function POST(request: NextRequest) {
  const { to } = await request.json();

  // Create a transporter
  const transporter = nodemailer.createTransport({
    host: 'smtp.gmail.com',
    port: 587,
    secure: false, // Use TLS
    auth: {
      user: process.env.NX_PUBLIC_EMAIL_USER,
      pass: process.env.NX_PUBLIC_EMAIL_PASS,
    },
  });


  // Set up email data
  const mailOptions = {
    from: process.env.NX_PUBLIC_EMAIL_USER,
    to,
    subject: "Subject Title",
    html: `HTML TEMPLATE`,
  };

  try {
    // Send mail
    await transporter.sendMail(mailOptions);

    transporter.verify((error, success) => {
      if (error) {
        console.error('Transporter verification failed:', error);
      } else {
        console.log('Server is ready to take our messages:', success);
      }
    });

    return NextResponse.json({ message: 'Email sent successfully' });
  } catch (error) {
    console.error(error);
    return NextResponse.json({ error: 'Failed to send email' }, { status: 500 });
  }
}
On the client side
import React, { useState } from 'react';
import {
  Button,
  Dialog,
  DialogClose,
  DialogContent,
  DialogHeader,
  DialogTitle,
  DialogTrigger,
  Input,
  Label,
} from '@hirehub/shared';
import { z } from 'zod';
import { Controller, useForm } from 'react-hook-form';
import toast from 'react-hot-toast';

const formSchema = z.object({
  email: z.string().min(1).email(),
});


const InvitationModal = () => {
  const [isOpen, setIsOpen] = useState(false)
  const form = useForm<z.infer<typeof formSchema>>({});
  const {orgName} = useOrgStore()

  function onOpen() {
    setIsOpen(true)
  }

  function onClose() {
    setIsOpen(false)
    form.reset()
  }

  async function submit(values: z.infer<typeof formSchema>) {
    toast.loading("One moment please...", { id: "inviting" });

    try {
      const res = await fetch("/api/mailer", {
        method: "POST",
        headers: {
          "Content-Type": "application/json",
        },
        body: JSON.stringify({
          to: values.email,
        }),
      });

      if (!res.ok) {
        throw new Error('Network response was not ok');
      }

      toast.dismiss("inviting");
      toast.success("Email invitation has been sent");
      onClose()
    } catch (err) {
      toast.dismiss("inviting");
      console.error(err);
    }
  }


  return (
    <Dialog open={isOpen} onOpenChange={onClose}>
        <Button variant={'ghost'} onClick={onOpen}>Invite People</Button>
      <DialogContent>
        <DialogHeader>
          <DialogTitle>Invite People</DialogTitle>
        </DialogHeader>
        <form onSubmit={form.handleSubmit(submit)} className="mt-5">
          <div className="flex flex-col gap-4">
            <Label>Member E-mail</Label>
            <Controller
              name="email"
              control={form.control}
              render={({ field }) => (
                <Input
                  id="email"
                  className="col-span-3"
                  {...field}
                  placeholder="Enter the e-mail"
                />
              )}
            />
            {form.formState.errors.email && (
              <span className="text-red-500 text-sm">
                {form.formState.errors.email.message}
              </span>
            )}
          </div>
          <div className="flex flex-row items-center gap-3 justify-end mt-5">
            <Button variant={'outline'} onClick={onClose}>Cancel</Button>
            <Button>Invite</Button>
          </div>
        </form>
      </DialogContent>
    </Dialog>
  );
};

export default InvitationModal;
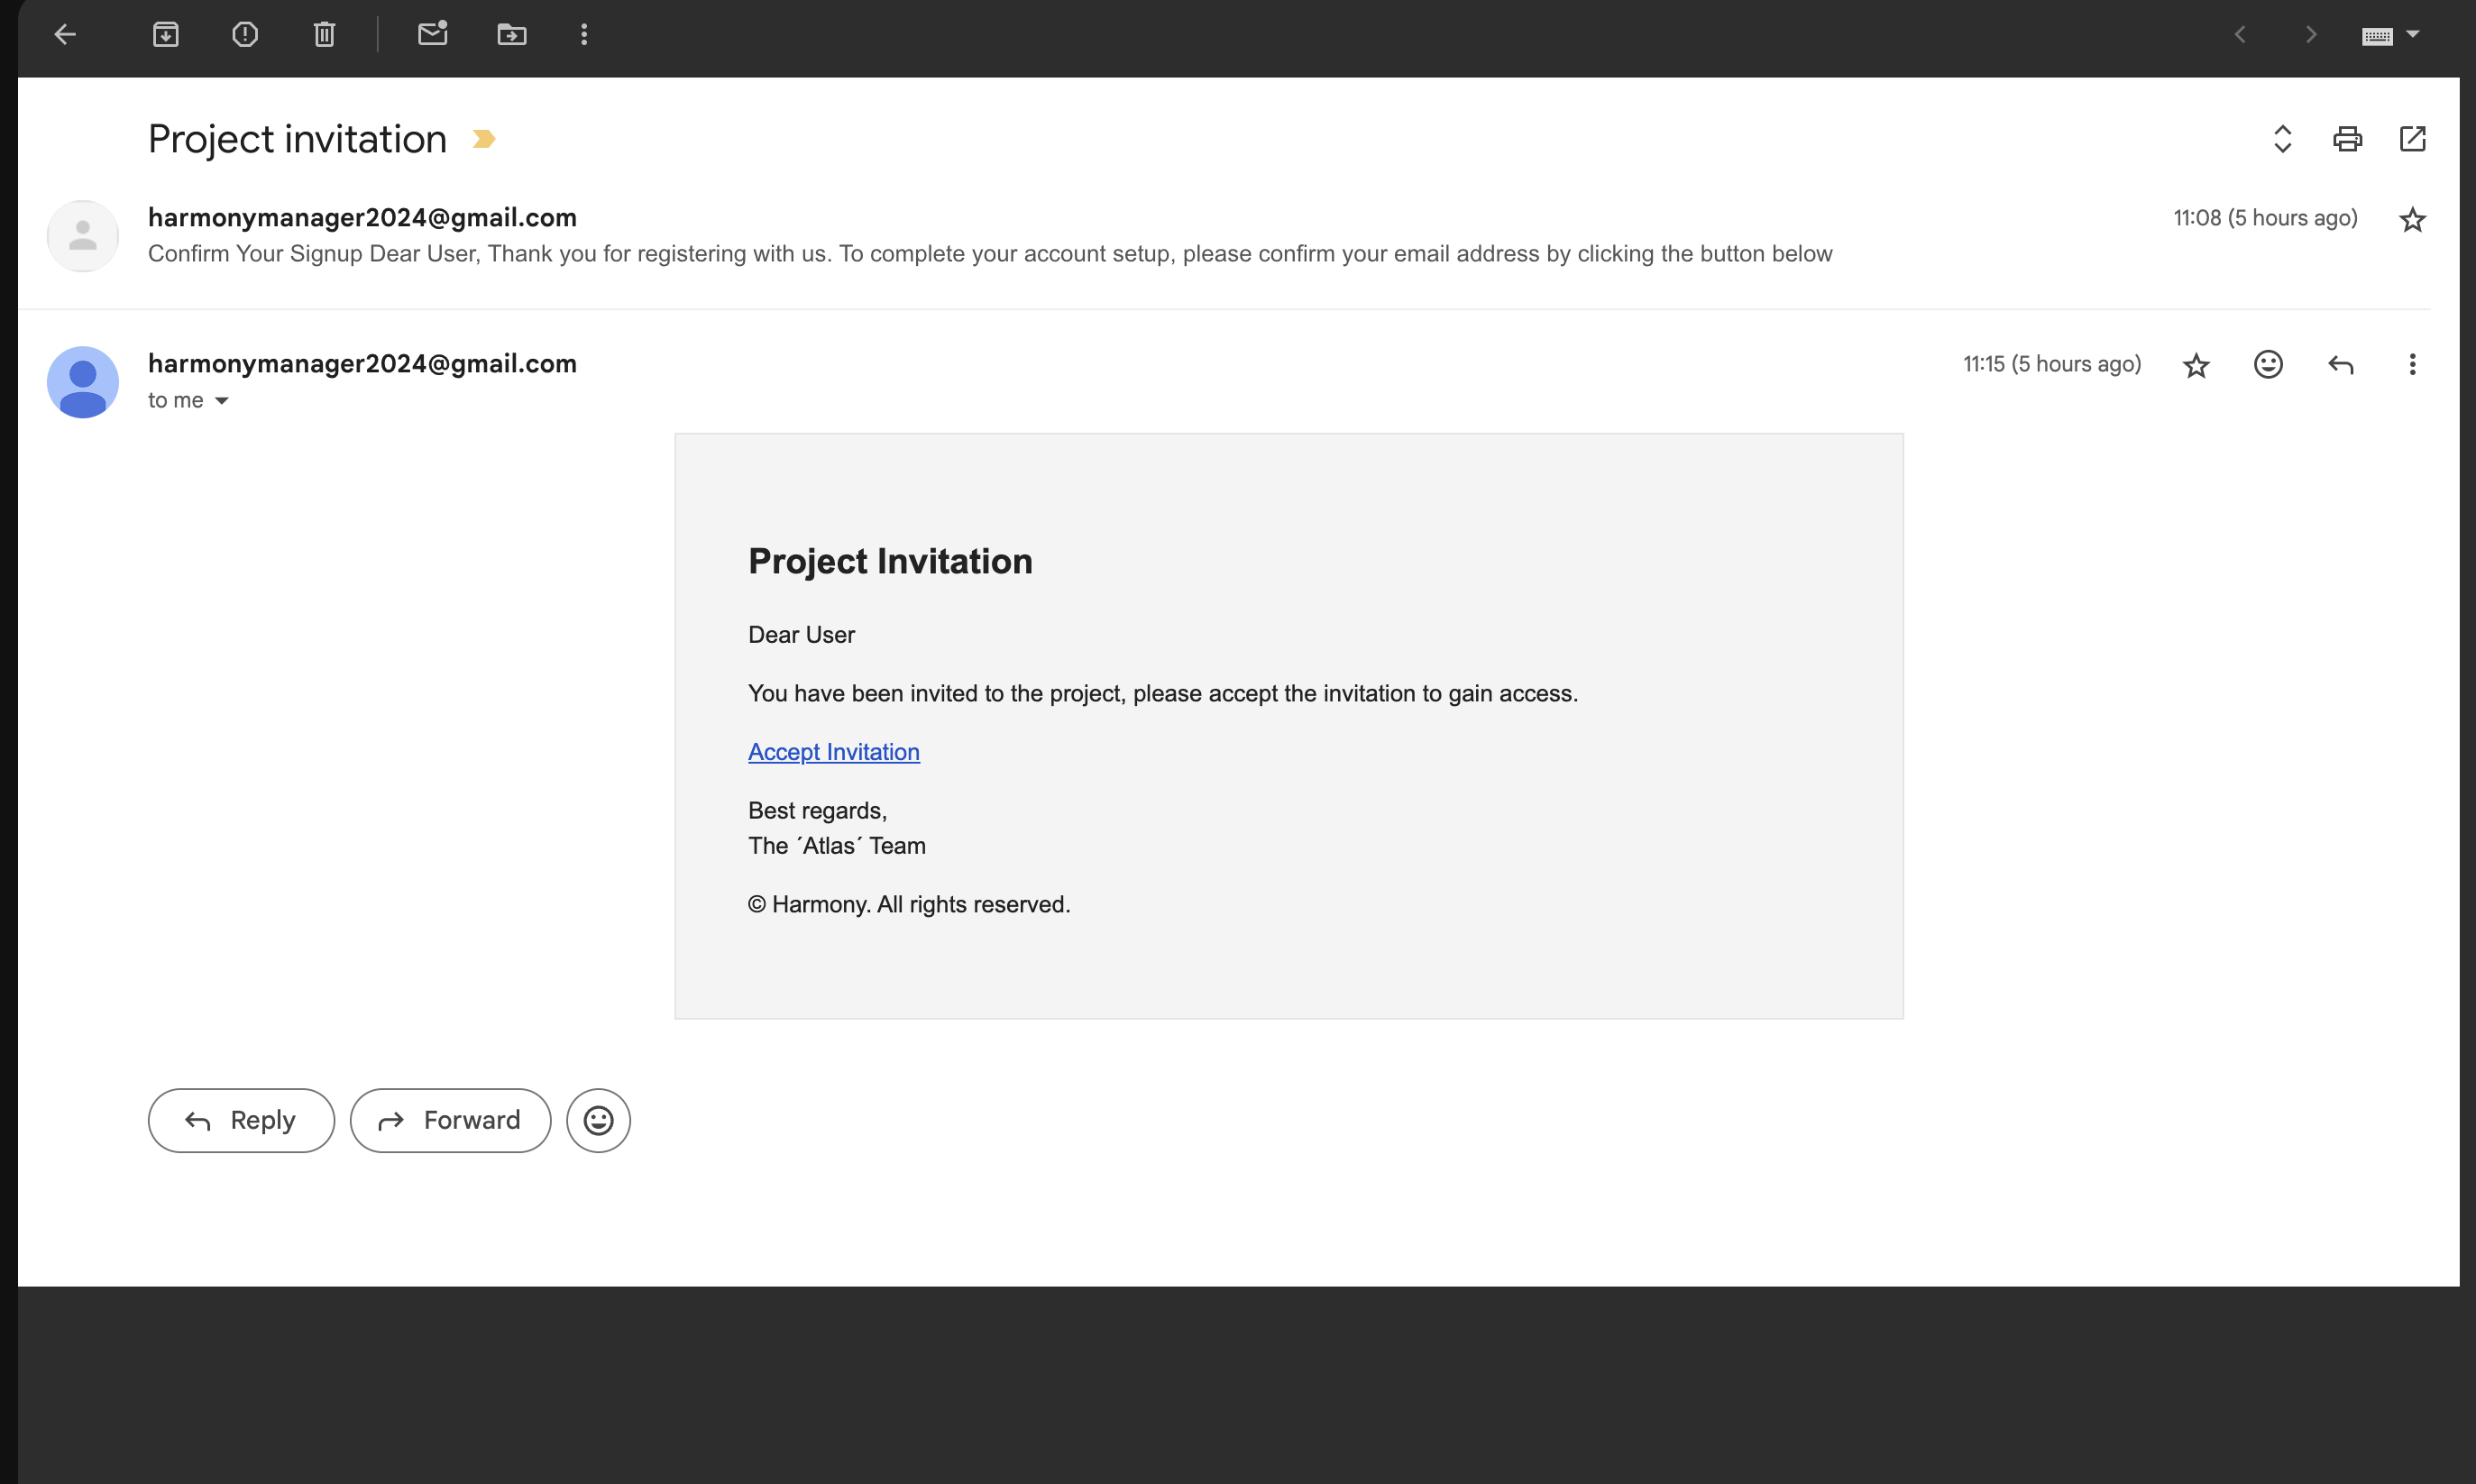
That’s it, if you try this . you will receive an email with the used template and from the used emaila

Conclusion
Integrating Gmail with NextJs and Nodemailer opens up a world of possibilities for enhancing your web applications. By leveraging these powerful tools, you can easily send automated emails, notifications, and user communications directly from your application. Throughout this guide, we explored the setup process, from configuring your Gmail account to crafting and sending emails using Nodemailer.
With this foundation, you can now build more interactive and engaging user experiences. Whether you're developing a contact form, a newsletter subscription, or any feature that requires email communication, the combination of Next.js and Nodemailer makes it straightforward and efficient.
As you continue to develop your application, consider exploring additional features like email templates, attachments, and more advanced configurations. Happy coding, and may your emails always land in the inbox !
Subscribe to my newsletter
Read articles from Oussama Chahidi directly inside your inbox. Subscribe to the newsletter, and don't miss out.
Written by

Oussama Chahidi
Oussama Chahidi
Hi, my name is oussama and i am a self-taught full stack javascript developer with interests in computers. I like the expend my knowledge and learn new things each day cause i always see the beauty in mystery.