Integrating Google SSO with Argo CD: A Step-by-Step Guide
 yogesh Rai
In today's cloud-native landscape, Argo CD has emerged as a powerful continuous delivery tool for Kubernetes. Enhancing its security by integrating Google Single Sign-On (SSO) ensures that only authorized users can access your deployments, leveraging Google's robust authentication mechanisms. This guide will walk you through the three essential steps to integrate Google SSO with Argo CD:
Configuring the OAuth Consent Screen
Creating an OAuth Client ID
Configuring Argo CD to Use OpenID Connect
Let's dive into each step in detail.
1. Configuring the OAuth Consent Screen
The OAuth Consent Screen is the interface users see when they authenticate via Google. Proper configuration ensures a smooth and secure login experience.
Steps to Configure the OAuth Consent Screen:

Navigate to the OAuth Consent Configuration Page:
Go to the Google Cloud Console.
Select your project or create a new one.
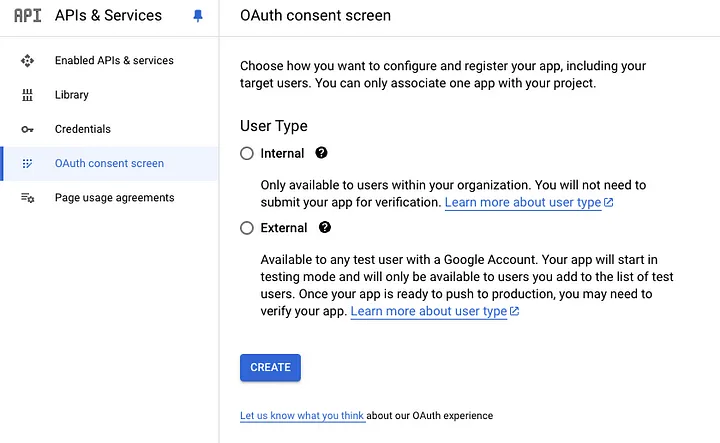
Navigate to APIs & Services > OAuth consent screen.
Create a Consent Screen:
If you haven't set up a consent screen before, click on Create consent screen.
Choose between Internal (only available to users within your organization) or External (available to any Google user). Select based on your requirements.
Provide Application Details:
App Name: Enter a name for your application (e.g.,
Argo CD Login).User Support Email: Provide a valid support email address.
Optional: Add an app logo and other branding details to enhance the user experience.
Authorized Domains:
Under Authorized domains, add the domains permitted to access Argo CD.
For example, adding
example.comallows all Google Workspace users with an@example.comemail address to log in.
Scopes Configuration:
Proceed to the Scopes section.
Click on Add or remove scopes.
Add the following scopes:
https://www.googleapis.com/auth/userinfo.profileopenid
These scopes allow Argo CD to access basic user profile information necessary for authentication.
Save Your Configuration:
- Review your settings and click Save to finalize the OAuth consent screen setup.
2. Creating an OAuth Client ID
Next, you'll create an OAuth Client ID, which Argo CD will use to communicate with Google for authentication.

Steps to Create an OAuth Client ID:
Access Google API Credentials:
- In the Google Cloud Console, navigate to APIs & Services > Credentials.
Create New Credentials:
- Click on + Create Credentials and select OAuth Client ID.
Configure the OAuth Client:
Application Type: Choose Web Application from the dropdown menu.
Name: Enter a recognizable name for your client (e.g.,
ArgoCD).
Authorized JavaScript Origins:
Enter your Argo CD URL. For example:
https://argocd.example.com
Authorized Redirect URIs:
Add the redirect URI that Google will use after authentication. It should follow this format:
https://argocd.example.com/api/dex/callback
Finalize and Save:
Click Create.
Important: Save the generated Client ID and Client Secret securely, as you'll need them in the next step.
3. Configuring Argo CD to Use OpenID Connect
With the OAuth Client ID and Secret in hand, you can now configure Argo CD to utilize OpenID Connect (OIDC) for authentication via Google.
Steps to Configure Argo CD:
Access Argo CD Configuration:
- Locate the
argocd-cmConfigMap in your Argo CD installation. This can typically be found in theargocdnamespace.
- Locate the
Edit the ConfigMap:
You can edit the ConfigMap using
kubectl:kubectl edit configmap argocd-cm -n argocd
Add Dex Configuration:
In the
datasection of the ConfigMap, add thedex.configwith your OAuth credentials. ReplaceclientIDandclientSecretwith the values obtained earlier.data: url: https://argocd.example.com dex.config: | connectors: - type: oidc id: google name: Google config: issuer: https://accounts.google.com clientID: XXXXXXXXXXXXX.apps.googleusercontent.com clientSecret: XXXXXXXXXXXXX
Apply the Changes:
Save and exit the editor. Kubernetes will automatically update the ConfigMap.
Restart the Argo CD server to apply the new configuration:
kubectl rollout restart deployment argocd-server -n argocd
Verify the Integration:
Navigate to your Argo CD URL (e.g.,
https://argocd.example.com).Click on the Log in with Google button.
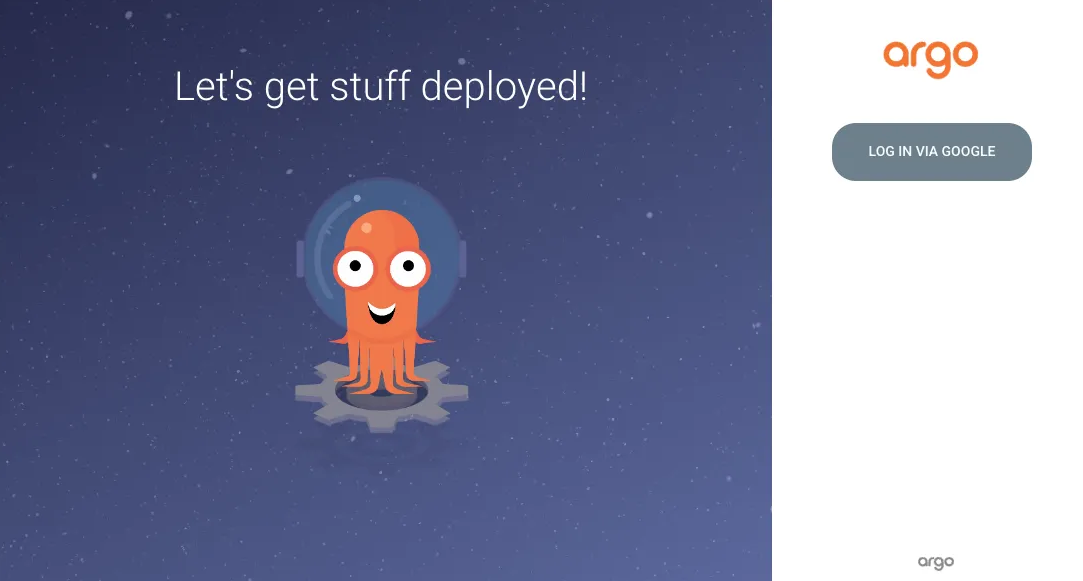
You should be redirected to the Google OAuth consent screen. Upon successful authentication, you’ll be granted access to Argo CD.
Conclusion
Integrating Google SSO with Argo CD enhances your continuous delivery pipeline's security by leveraging Google's authentication infrastructure. By following the steps outlined above—configuring the OAuth consent screen, creating an OAuth Client ID, and setting up Argo CD with OpenID Connect—you can ensure that only authorized users within your organization can access and manage your Kubernetes deployments through Argo CD.
Subscribe to my newsletter
Read articles from yogesh Rai directly inside your inbox. Subscribe to the newsletter, and don't miss out.
Written by
