Nx Monorepo
 Oussama Chahidi
Introduction to Nx Monorepos
In modern software development, managing multiple projects, apps, or services across teams can become complex and difficult to scale. This is where Nx comes into play—a smart and scalable build system for managing monorepos. Nx allows you to host multiple applications and libraries within a single repository, promoting code reuse, consistency, and ease of collaboration.
What is a Monorepo?
A monorepo (short for "monolithic repository") is a version-controlled codebase that contains multiple projects, often with interdependencies. Rather than managing separate repositories for each project, a monorepo consolidates them into a unified environment. This approach simplifies development, testing, and deployment processes across a large-scale organization.
Why Use Nx for Monorepos?
Nx, built on top of the powerful dev toolchain Bazel, extends traditional monorepos by offering tools that are specifically tailored to handle the needs of modern application development. It provides:
Code Sharing: Share components, utilities, and services between different applications and libraries without duplication.
Consistency: Enforce best practices and consistent tooling across all projects in the repository.
Productivity: Nx offers built-in generators and executors to scaffold new apps, services, and libraries quickly, helping developers stay productive.
In this first part of our Nx Monorepo series, we’ll explore the foundational ideas behind why you might consider using a monorepo for your team and how Nx makes managing a large repository simple and efficient.
In the next parts, you can dive deeper into setting up an Nx monorepo.
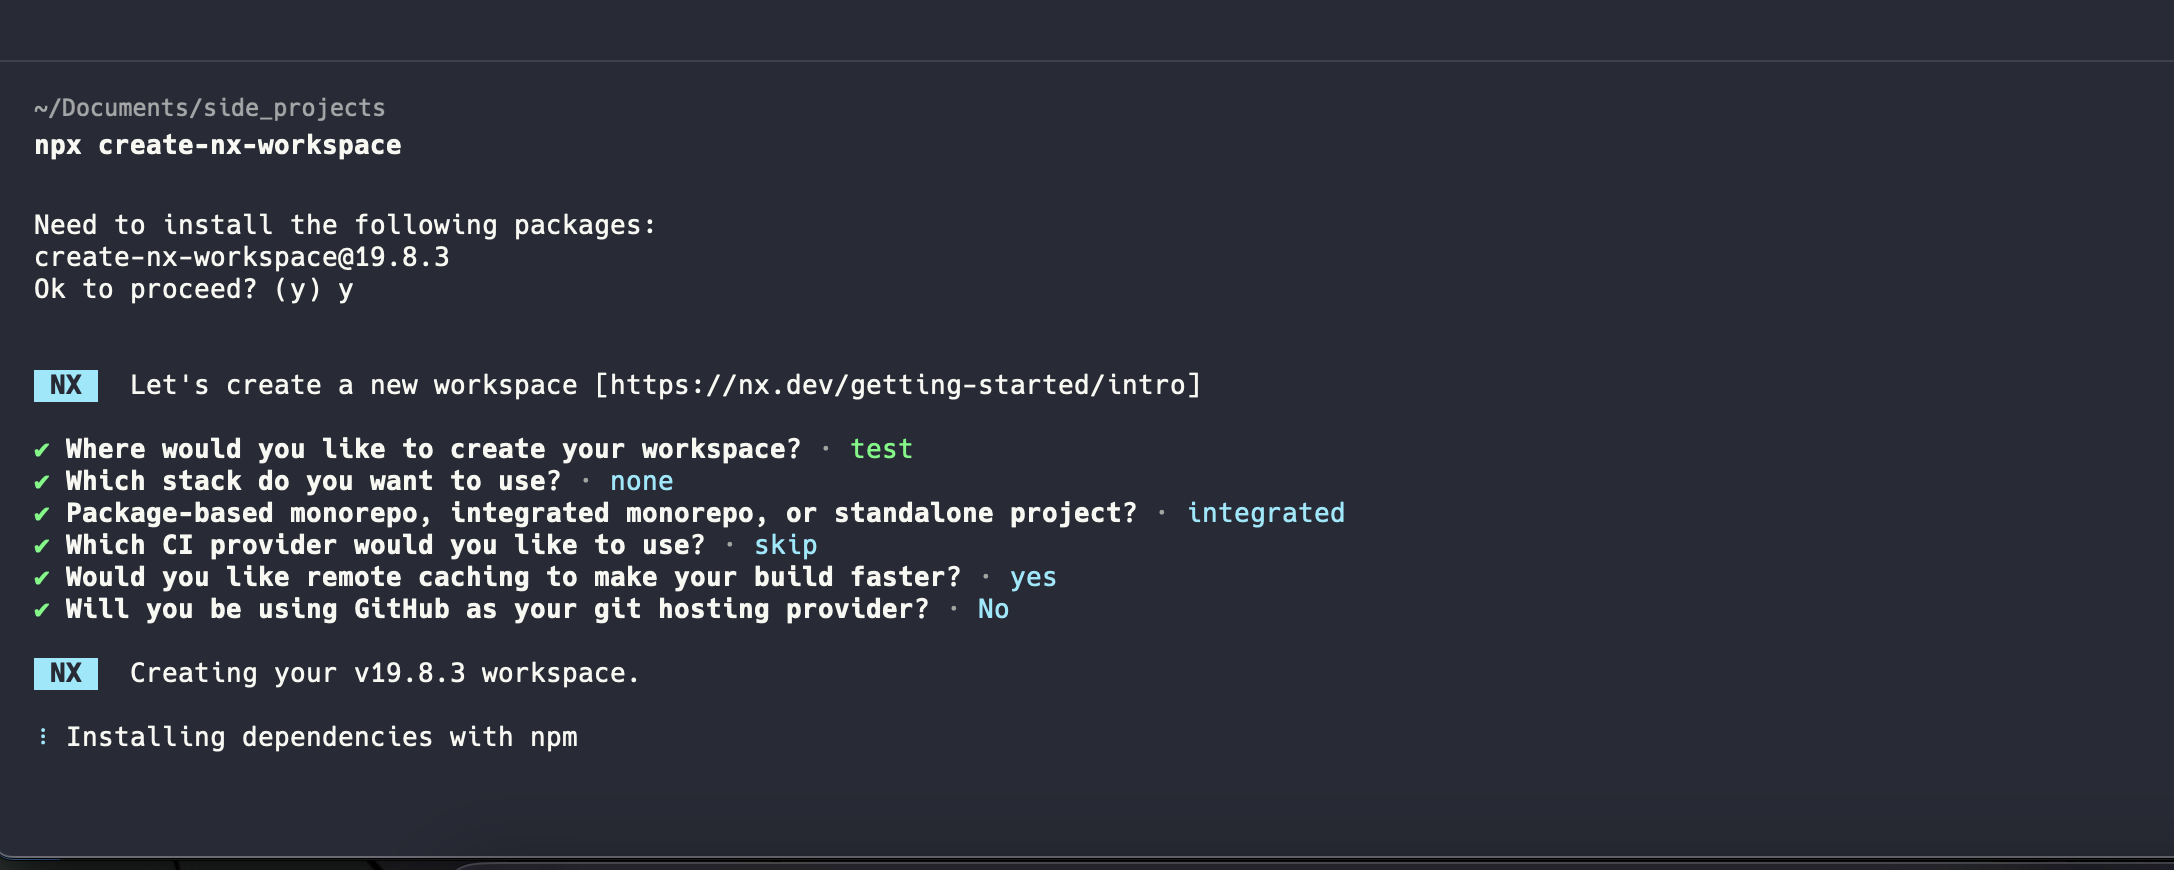
To create a monorepo run the following commande
npx create-nx-workspace
Then pass the following steps:

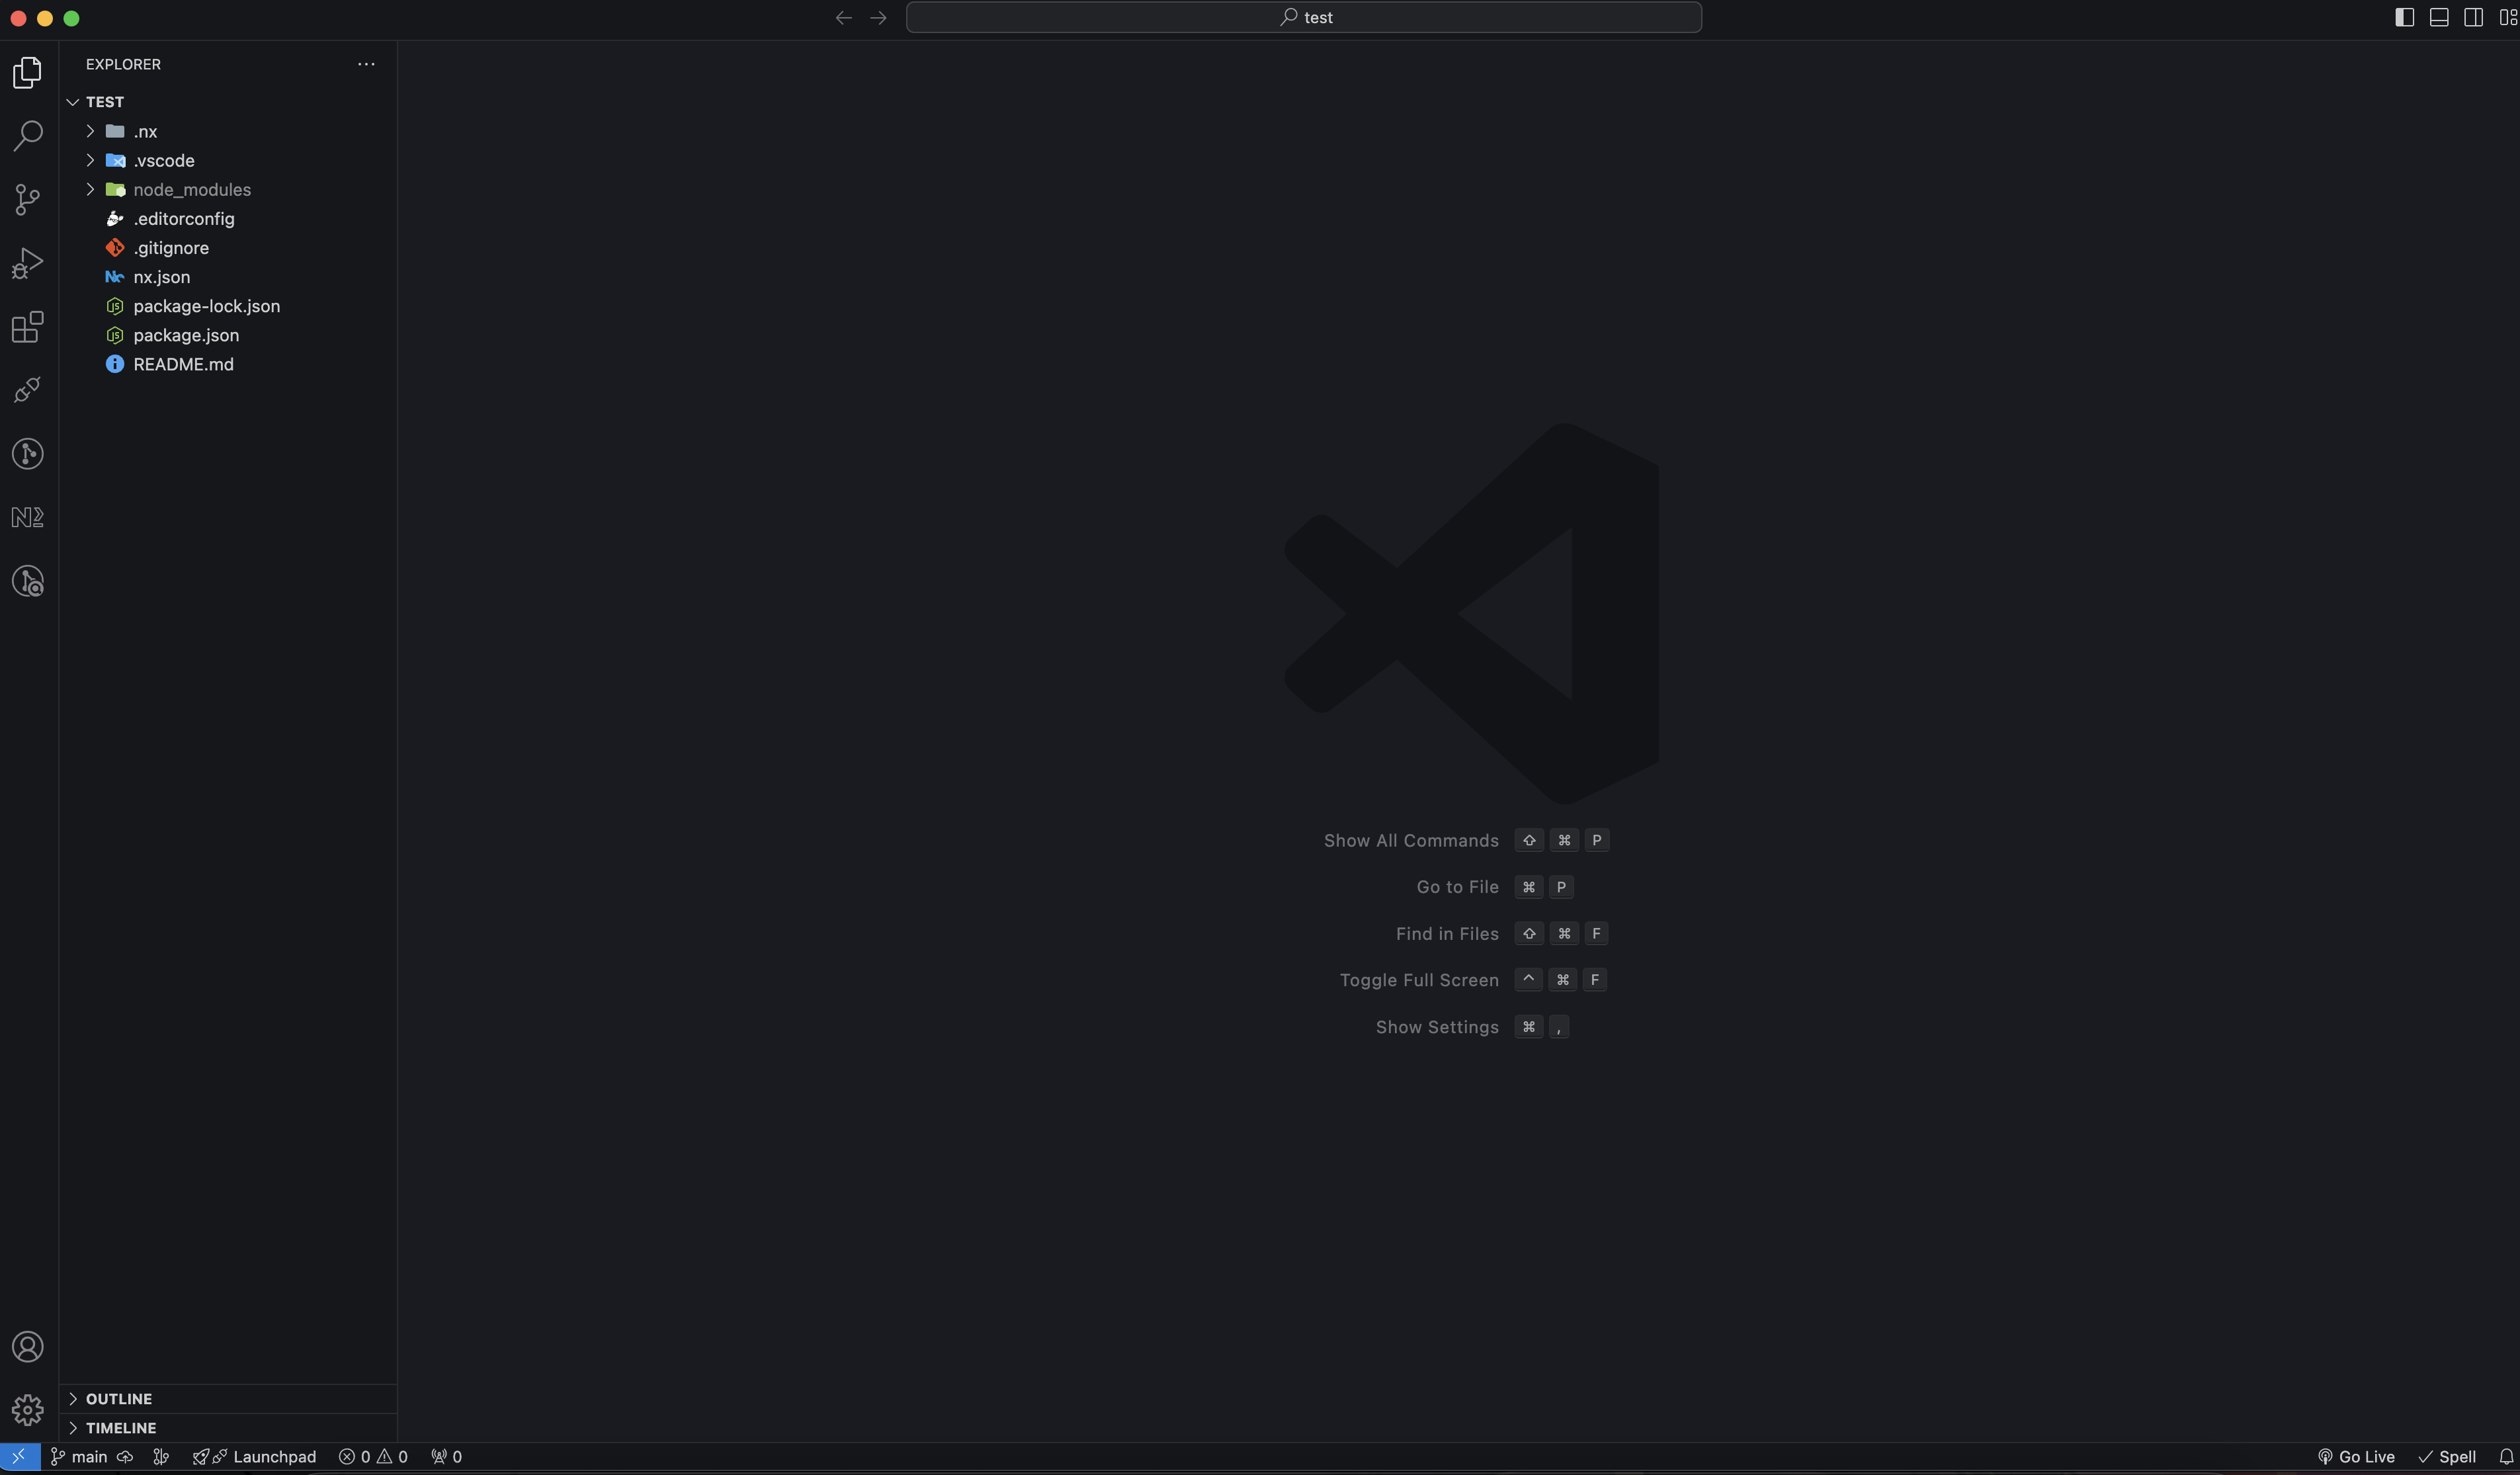
After finishing this process, you can open the folder in your favorite editor, in my case i’m using vscode

As you can see, we have no project yet but a ready enviroment. Let's create out first project with NextJs:
nx add @nx/next
This command adds necessary dependencies for nx to manage a nextjs apps. In the root of the folder add an apps folder , to create an app run the following
nx g @nx/next:app <app-name> --directory=apps/
To keep our apps organized inside an apps folder, we add the flag --directory=apps/ at the end of the creating command so that our application will be put inside the apps folder.
after hitting enter, finish this config process:

and voila our app is here

That's it, out nextjs app is here , run it using nx cli :
npx nx run app-name:dev
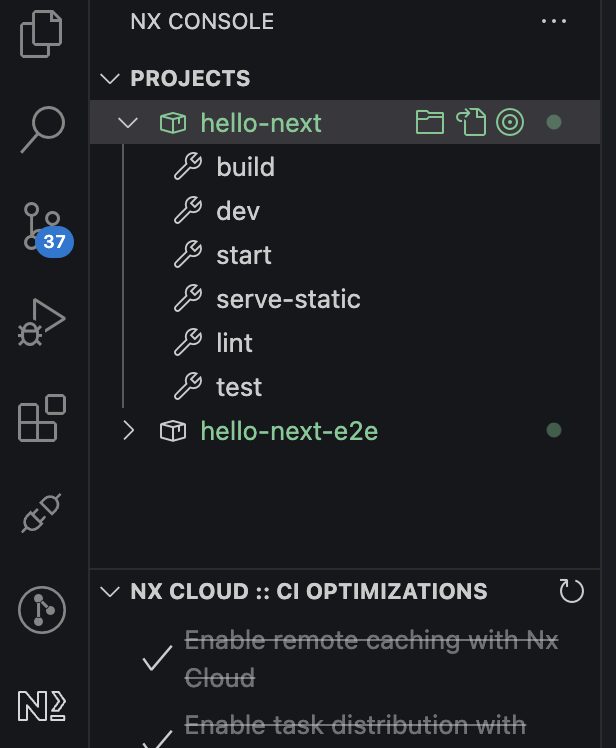
if you don’t like using command line when running your apps, you can use extension called `Nx Console` which will show you your apps and the command to run from there, like this

As easy as that.
Conclusion
In this part of the series, we’ve walked through the basics of setting up an Nx monorepo, creating an application within it, and running the app smoothly. By following these steps, you’ve laid the foundation for a scalable and maintainable development workflow. Nx simplifies the process of managing multiple projects by providing powerful tools for generating, organizing, and running applications.
Whether you're working on a large-scale project with several teams or developing multiple apps within the same ecosystem, Nx makes it easy to keep everything in sync and reusable. In the next parts, we’ll explore more advanced features of Nx, such as optimizing builds, sharing code across projects, and improving CI/CD processes.
Subscribe to my newsletter
Read articles from Oussama Chahidi directly inside your inbox. Subscribe to the newsletter, and don't miss out.
Written by

Oussama Chahidi
Oussama Chahidi
Hi, my name is oussama and i am a self-taught full stack javascript developer with interests in computers. I like the expend my knowledge and learn new things each day cause i always see the beauty in mystery.