WebdriverIO Configuration Guide: Setting Up Your Test Automation Framework
 Hardik Chotaliya
In this blog, we will dive into setting up and configuring WebdriverIO V9, which forms the foundation of your Automation framework.
WebdriverIO Setup:
WebdriverIO can be installed and configured in two main ways:
Custom configuration via the terminal: You answer a series of questions to tailor the setup to your needs.
Cloning a boilerplate project: You can fork a pre-existing project from a repository (like GitHub).
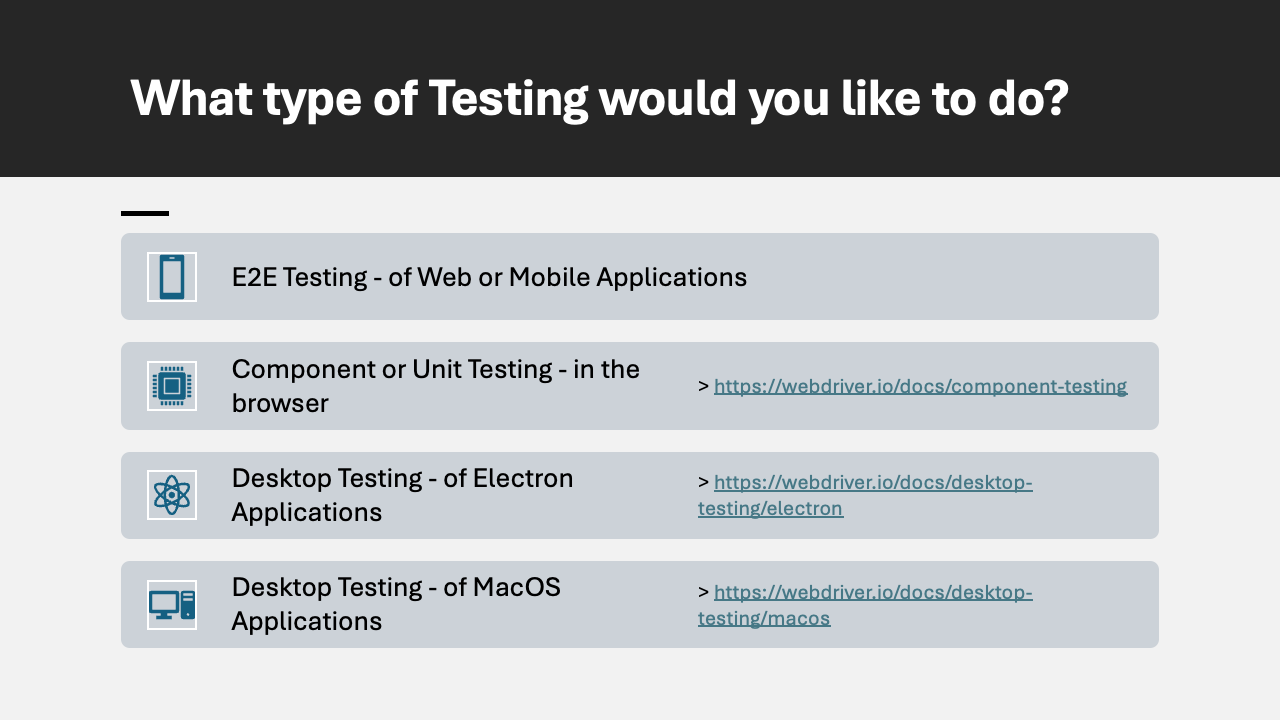
Option 1: The terminal-based setup asks questions like:
Type of testing: E2E testing (for web/mobile applications) or unit/component testing.
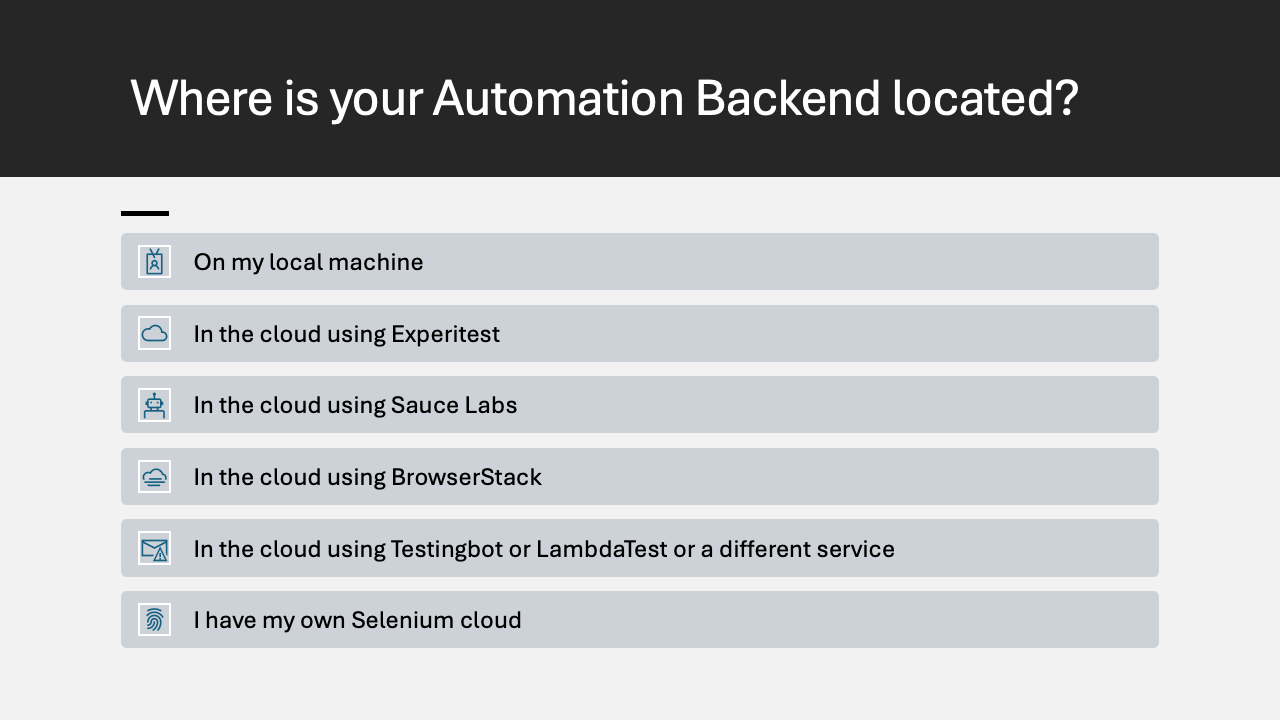
Automation backend: Options include local machine, or cloud services like BrowserStack, Sauce Labs, etc. We are focusing on local setup.
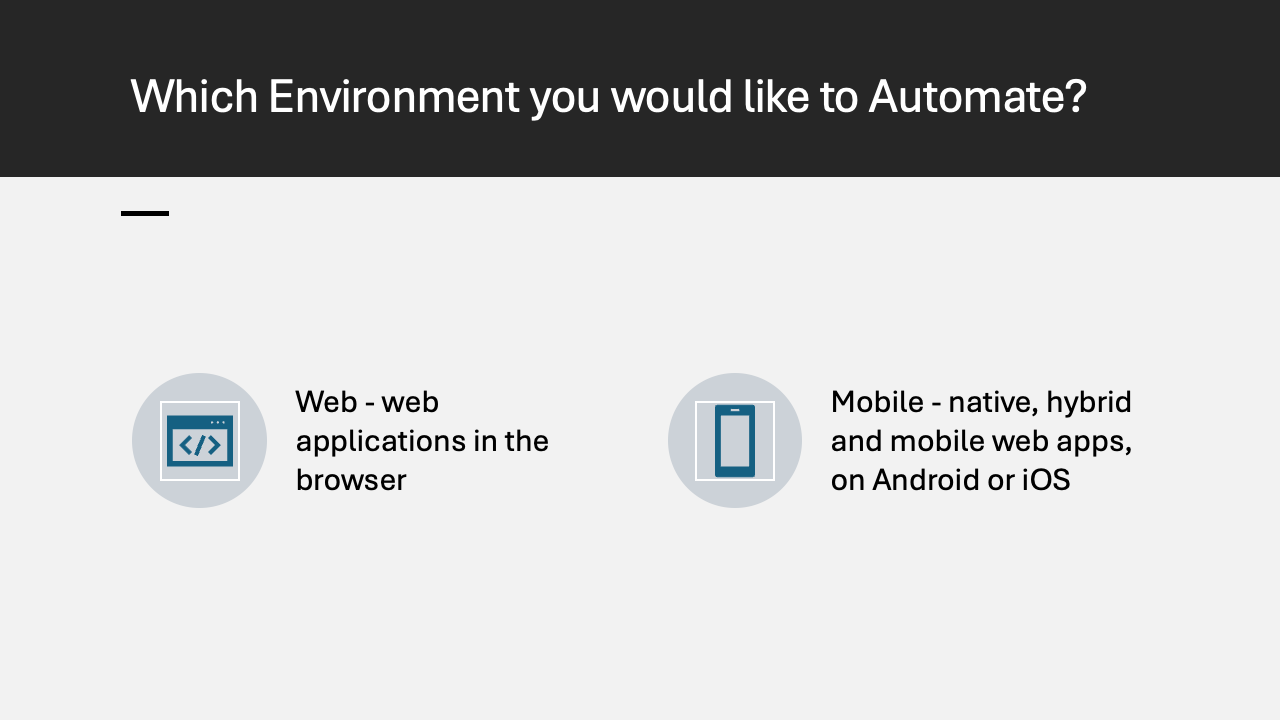
Environment to automate: Typically, web applications (browser-based).
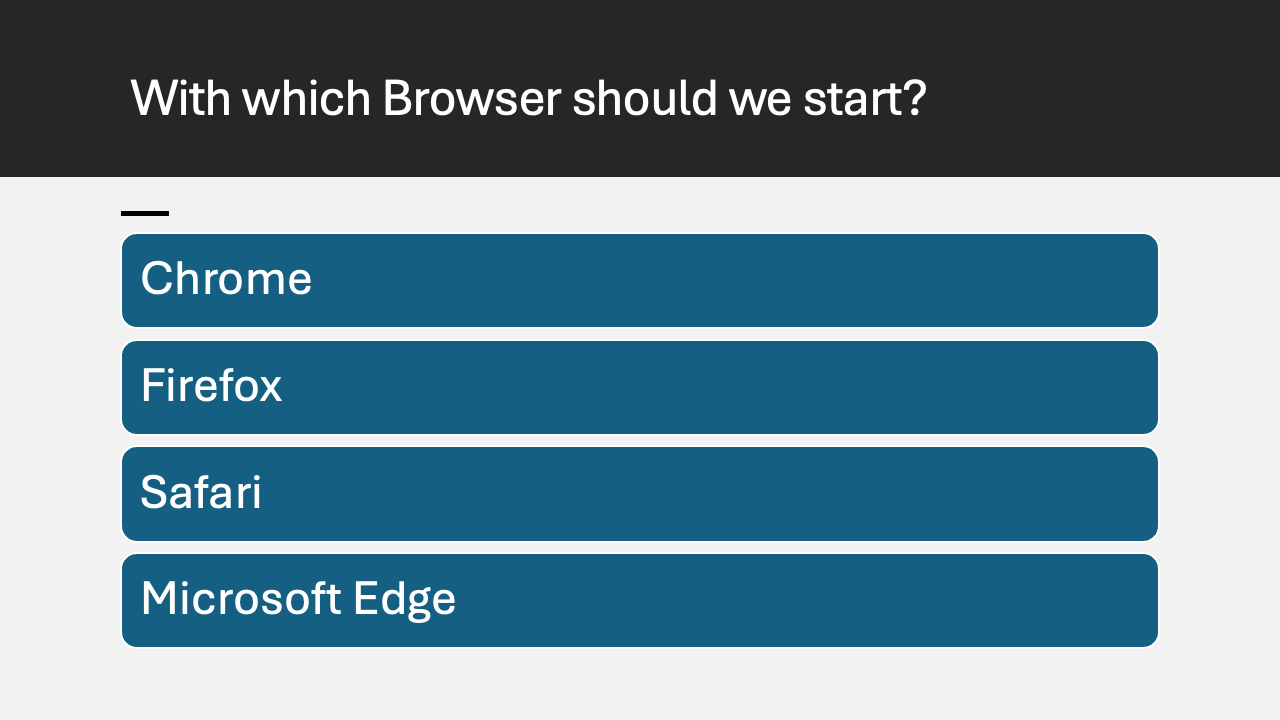
Browser selection: Start with Chrome (you can add others like Firefox, Safari, or Edge later).
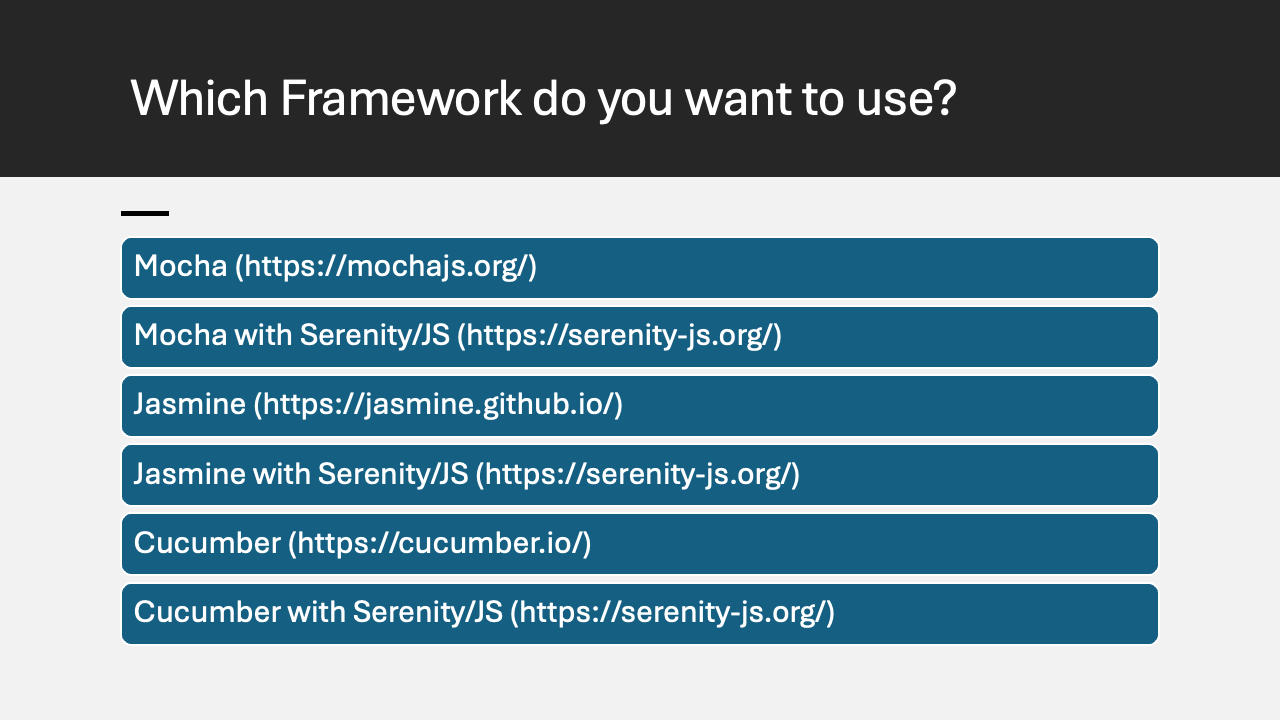
Framework: Default options are Mocha or Jasmine. WebdriverIO also supports Cucumber for BDD. (We are Using Cucumber)
Compiler: Use TypeScript (recommended for type safety).

Option 2: Cloning a Boilerplate Project
- Cloning a boilerplate from GitHub (e.g., Jasmine TypeScript Boilerplate) allows you to skip some manual setup and get started faster with a pre-built structure.
Essential Configuration Steps:
Page Object Model (POM): A best practice is to set up the Page Object Model, which organizes locators and actions for each page, making the test code more modular and maintainable.
Reporters: You can use multiple reporters for your test results. For this example, Spec and Allure reporters are configured to generate readable output and detailed reports.
Base URL: Configure a base URL to avoid redundant code for navigation in your tests.
Yarn for package management: The book recommends using Yarn over npm due to its faster package installation. If you are cloning a project, it’s important to run
yarn installto bring in all dependencies.
Test Files and Directory Structure:
Test files follow this structure:
./test/specs/**/*.ts(organized in folders for better scalability).Page objects should be stored in
./test/pageobjects/**/*.ts.
Running the Tests:
After configuration, you can run your tests using:
yarn wdiofor executing all tests.npx wdio run test/wdio.conf.tsfor more direct execution.
The command wdio run will launch the test suite and display results in the terminal using the chosen reporters.
Managing Dependencies and Commits:
Use
yarn outdatedto check for outdated dependencies.Use
yarn upgrade-interactiveto update individual packages.Add a
.gitignorefile to avoid committing unnecessary files (e.g.,node_modules, test results) to your repository.
Version control tip: Create branches for new features to work on without affecting the main branch. When finished, create a pull request (PR) to merge the changes back into the main branch.
Deeper Concept: Page Object Model (POM)
The Page Object Model separates test logic from the details of the web UI. Each page of the web app is represented by a class. This class contains:
Locators: Find elements on the page.
Actions: Perform tasks like clicking buttons or entering text.
For example, a LoginPage object might look like this:
class LoginPage {
  get usernameInput() { return $('#username'); }
  get passwordInput() { return $('#password'); }
  get loginButton() { return $('#login-button'); }

  async login(username: string, password: string) {
    await this.usernameInput.setValue(username);
    await this.passwordInput.setValue(password);
    await this.loginButton.click();
  }
}

export default new LoginPage();
Why is POM important?
Modularity: When the UI changes, you only need to update the page object instead of multiple tests.
Reusability: Actions can be reused across different test cases, reducing code duplication.
Yarn vs. npm
Yarn installs packages in parallel, speeding up the process compared to npm’s sequential installations.
It generates a
yarn.lockfile to ensure consistent dependencies across environments, much likepackage-lock.jsonin npm, but with better performance management.
Example: First WebdriverIO Test
A simple test setup created by the configuration wizard could look like this:
import { browser, $ } from '@wdio/globals';

describe('Sample Test', () => {
  it('should load a website and check the title', async () => {
    await browser.url('https://duckduckgo.com/');
    await $('#search_form_input_homepage').setValue('WebdriverIO');
    await $('#search_button_homepage').click();
    const title = await browser.getTitle();
    expect(title).toContain('WebdriverIO');
  });
});
Next Steps:
Install WebdriverIO: Follow the configuration steps in the book to set up the project, using Yarn to manage dependencies.
Run basic tests: Start with simple E2E tests like the one shown above to familiarize yourself with WebdriverIO.
Explore configurations: Modify reporters, services, or browser setups as per your project needs.
Use POM: Structure your tests with Page Object Models to ensure scalability and maintainability.
Subscribe to my newsletter
Read articles from Hardik Chotaliya directly inside your inbox. Subscribe to the newsletter, and don't miss out.
Written by

Hardik Chotaliya
Hardik Chotaliya
👩💻 Automation QA Engineer || SDET ||✍🏼 Tech Blogger || WebdriverIO, JavaScript, TypeScript || based in 🇮🇳 || 🤓 Life-long learner ||Love ☕ & 🏏