Step-by-Step Guide: Creating an App Using MVVM Pattern with Delphi & Supabase (Part 1: Setup)
 Alessandro
Overview
This is a multi-part tutorial that will guide you through creating a Model View ViewModel (MVVM) Todo application that is cross-platform using Delphi with Supabase as a backend and user authentication. Part 1 of this series will focus on setup of our project on Supabase.
Setup
First, you should have a version of Delphi, found here, either community, professional, enterprise, or the trial (if you are testing this for your workplace do use the trial, community is only for personal use). Second, we will head over the Supabase website and create an account and project.
Account
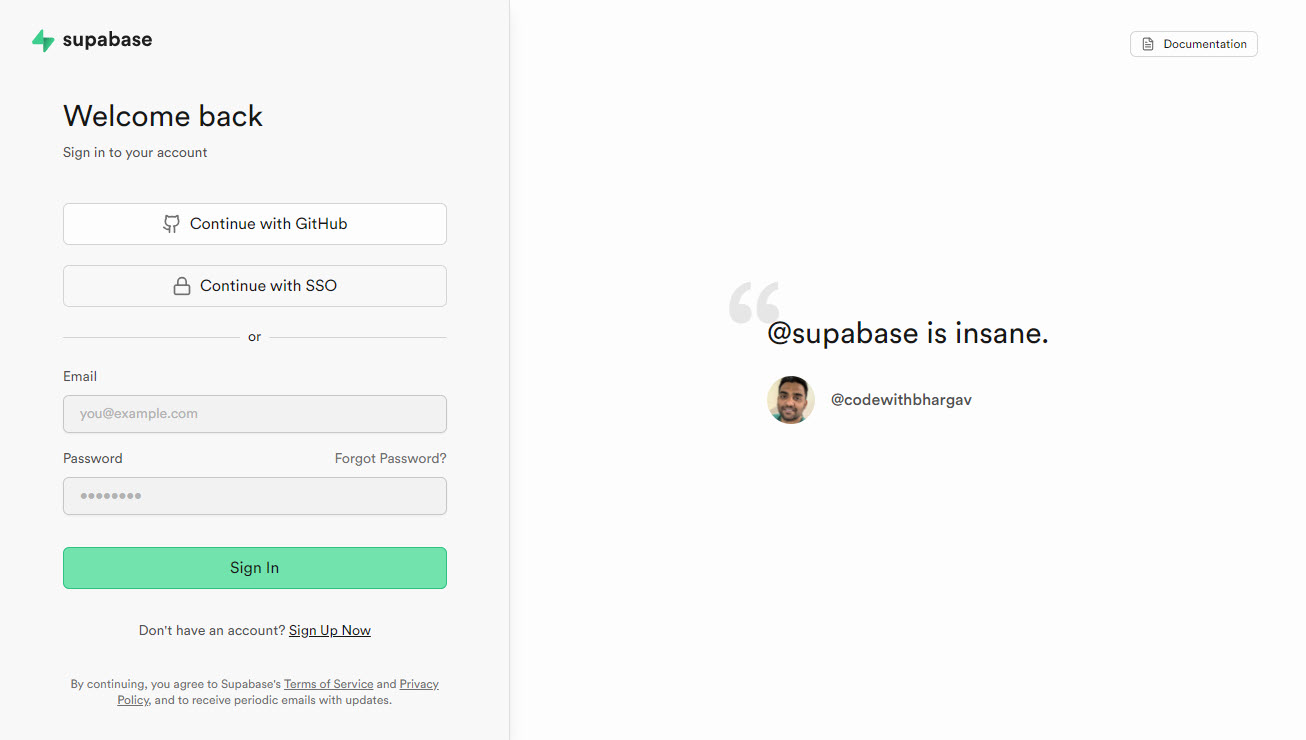
If you have an account already, skip this step, otherwise we will walk through creating your account. Once the Supabase website loads (as shown below), click on the “Start new project” button.

Your next step is to create an account by linking to your Github account, SSO account, or using the “Sign Up Now” link under the “Sign In” button.
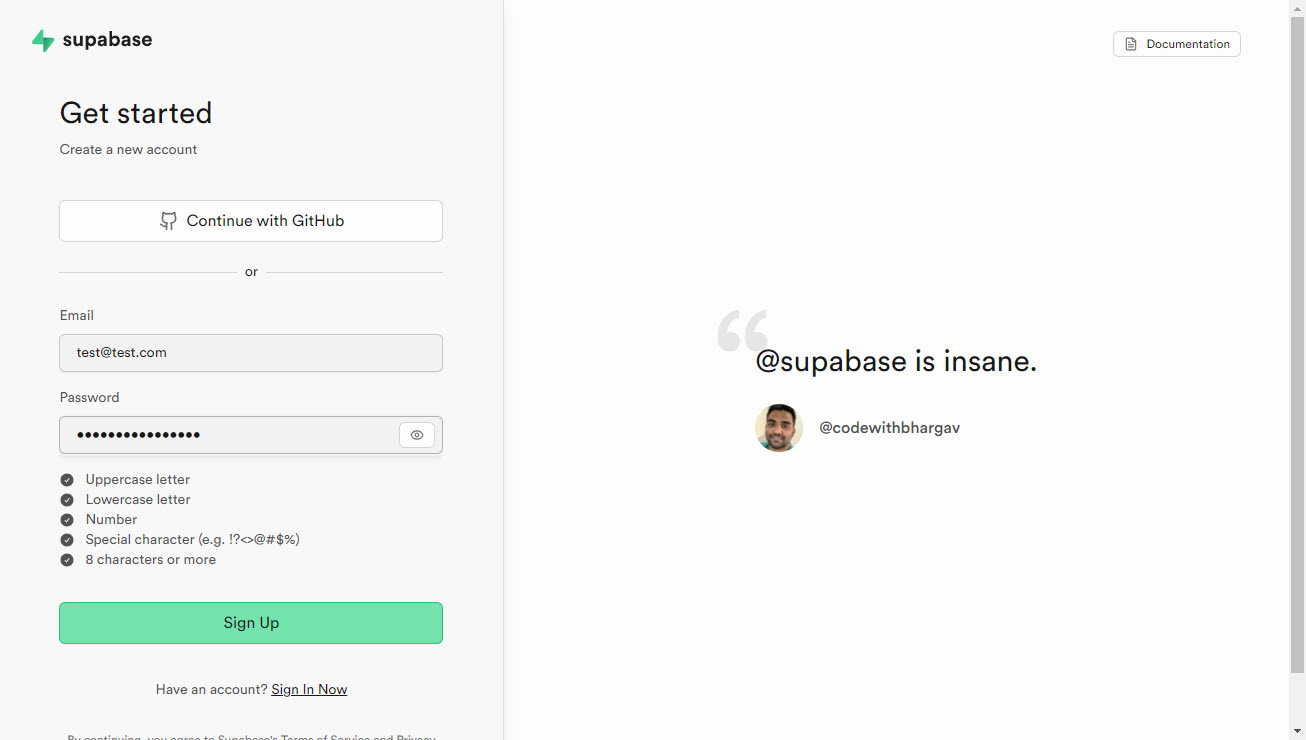
After we click on the “Sign Up Now” we will be presented with a page to enter the e-mail you want to use along with a password conforming to a requirements list.
Next, after we click the “Sign-Up” button and we will get the following page.
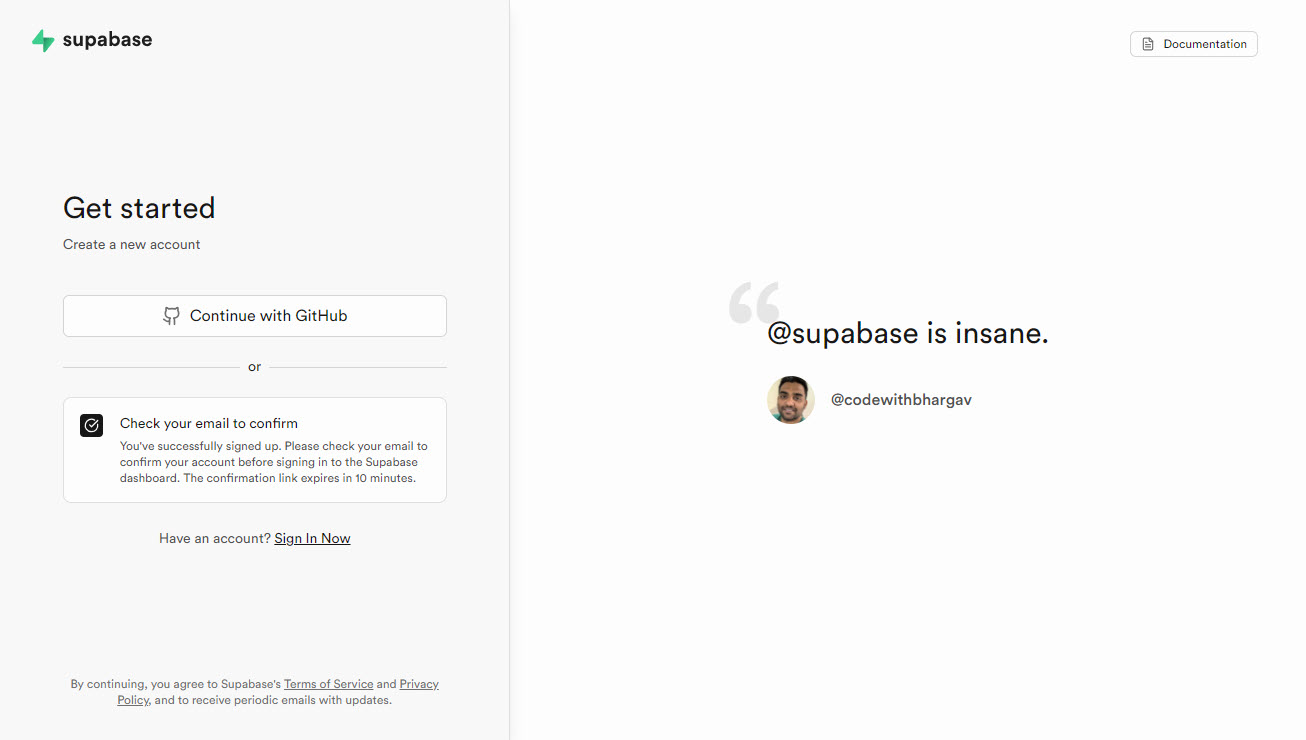
You should receive a link on your e-mail to confirm your account. Once confirmed you will be able to login. Now you should be able to login to Supabase and your dashboard will be visible as the following image.
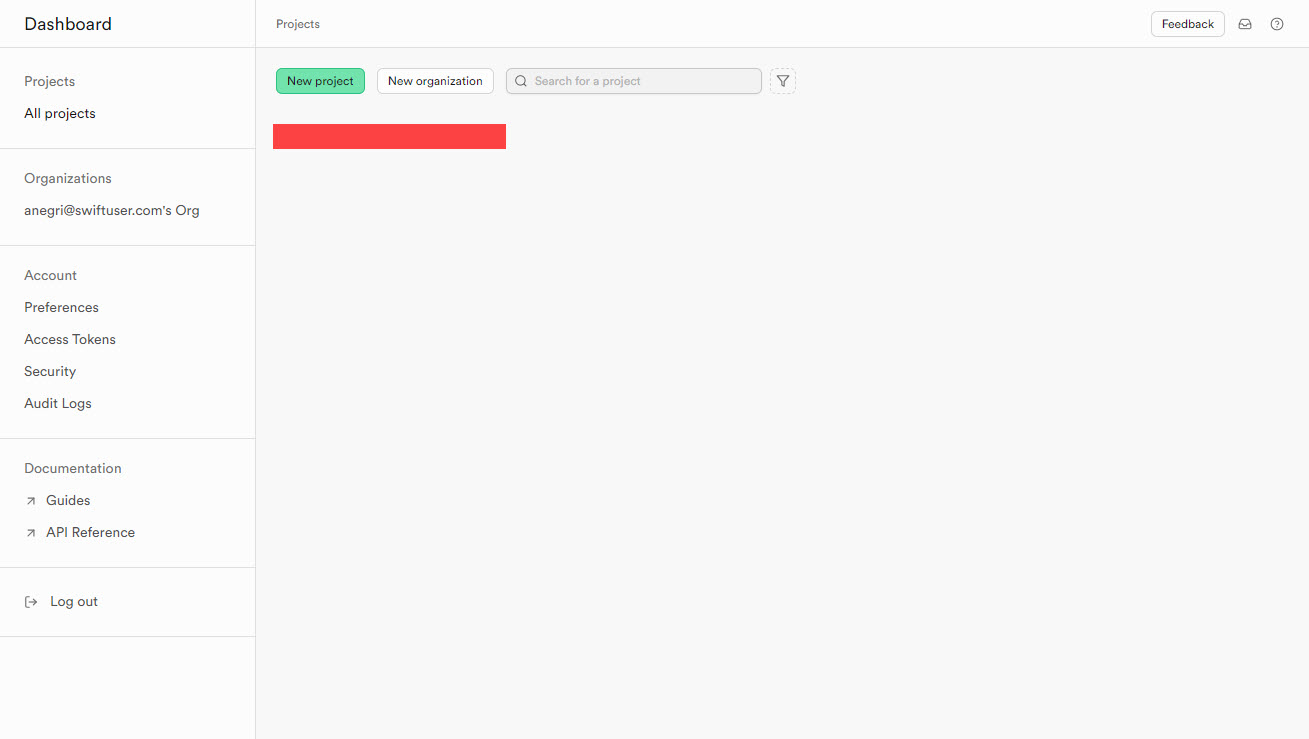
Next section will walk you through creating a new project.
Project
Now we will create the project, click on the “New Project” button located in the dashboard, and the screen below will appear.
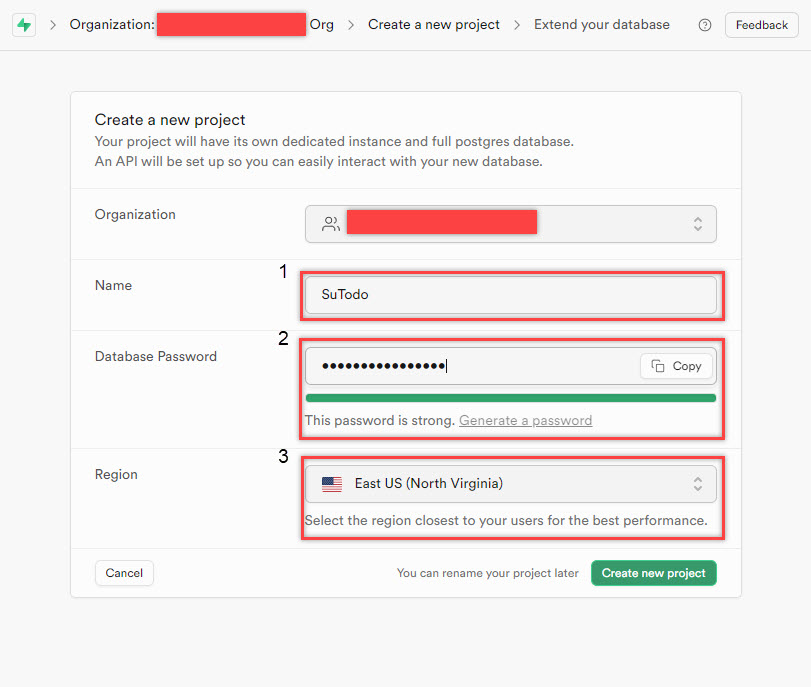
We will do the following steps: (1) name our project SuTodo, however you should name yours as you please ideally so that it is unique; (2) add your database password; (3) select a region closest to you, or where you want to deliver your application; and (4) click on the “Create new project” button. The following example show a test project called SampleTodo, you can find the “Project URL” and the “API Key” for it as it will display in yours once the project is created.
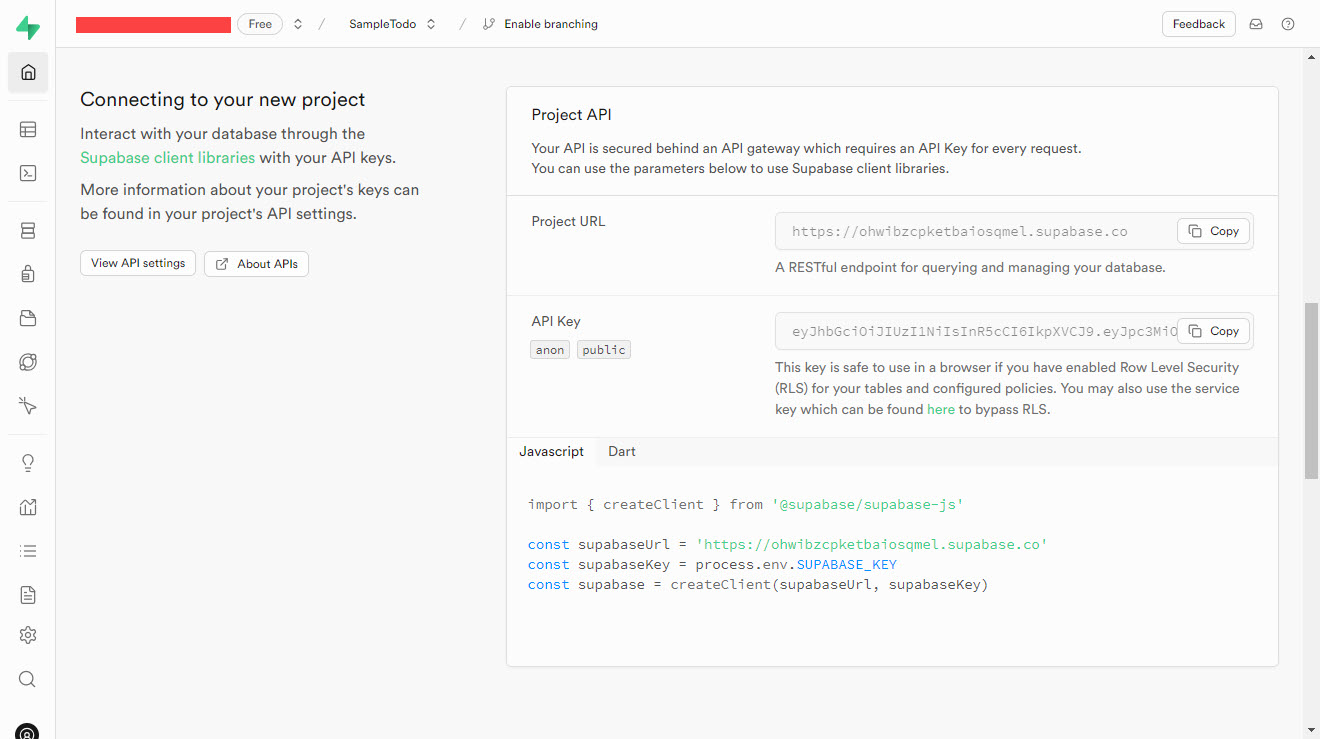
From the right menu bar select the Authentication navigation item, and it will bring up the following page.
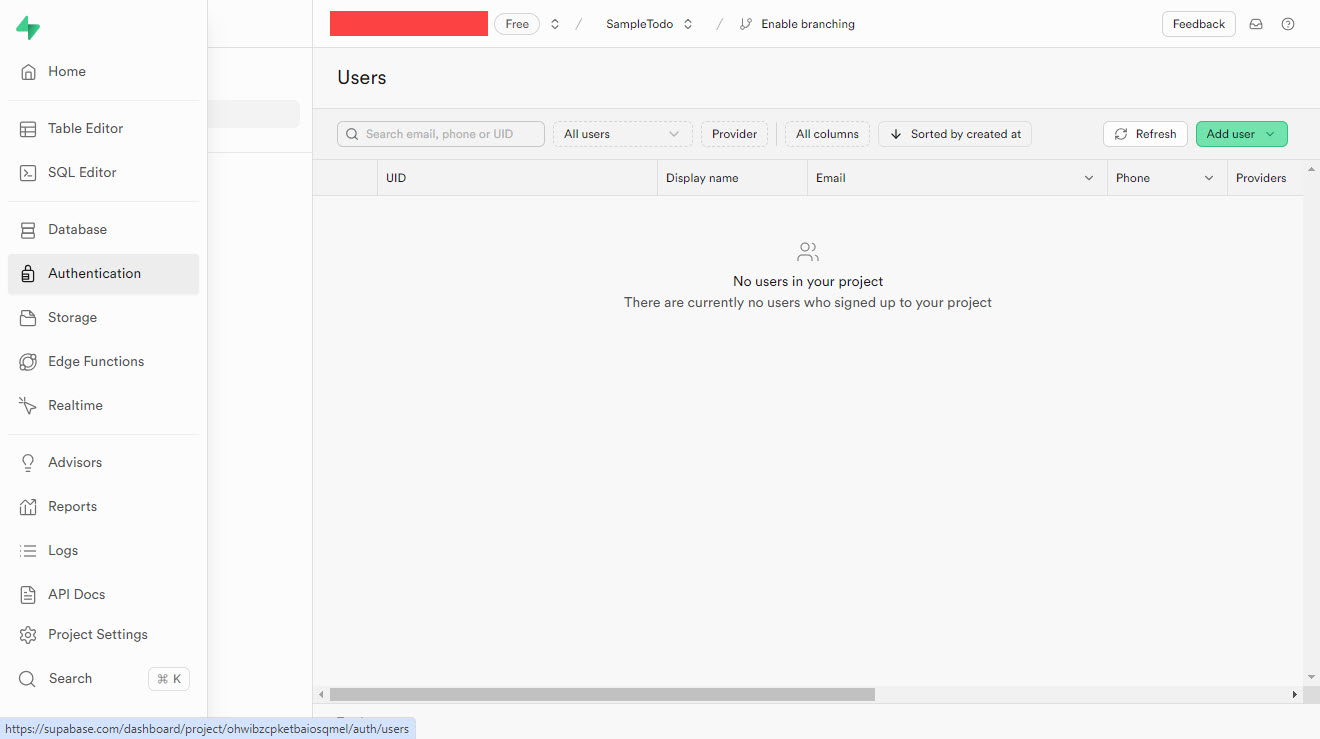
Now select providers and it will show all the different options, for this project we will only use the Email authentication option (this one is enabled by default) shown below.
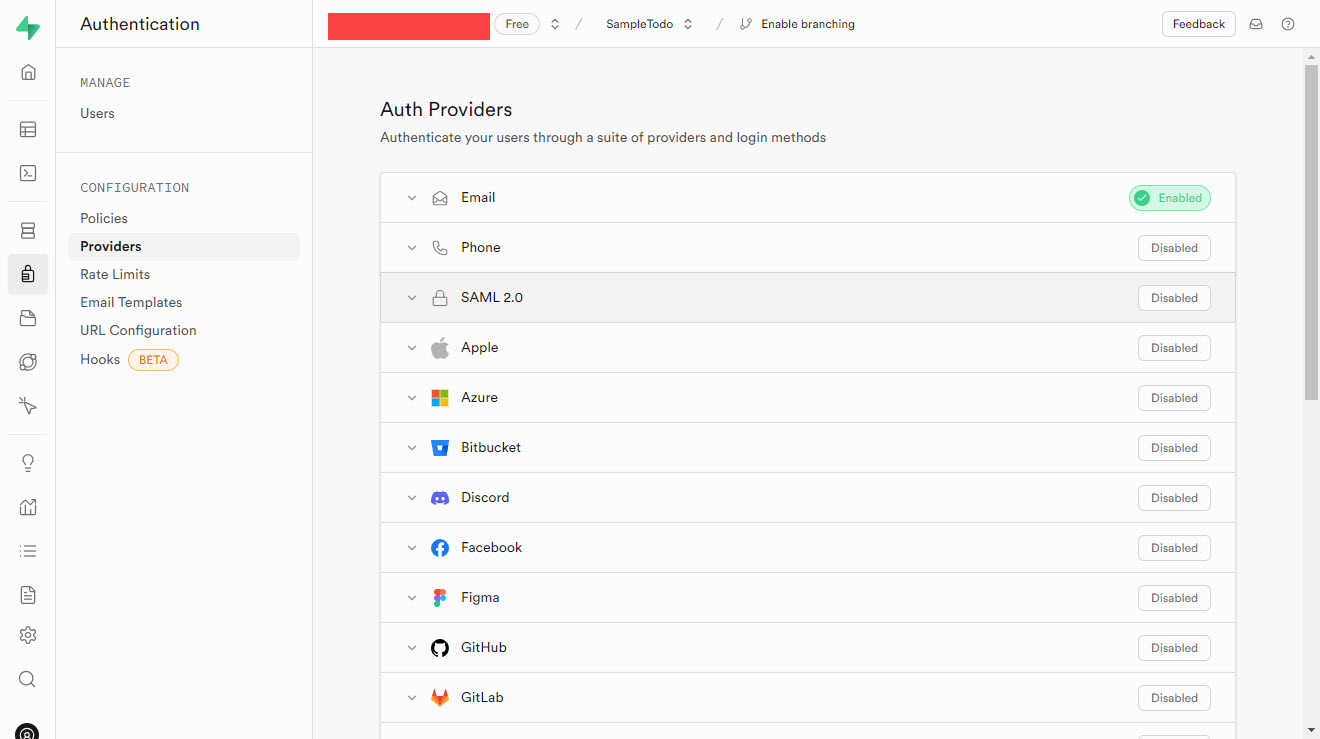
Finally, we are all set with the infrastructure for the backend.
Conclusion
Finally we have completed our setup for Supabase backend and authentication. Next article will focus on developing the bare bones Delphi application.
References
Subscribe to my newsletter
Read articles from Alessandro directly inside your inbox. Subscribe to the newsletter, and don't miss out.
Written by

Alessandro
Alessandro
I am a developer from the Greater Boston area, I have a M.S. in Computer Science and Engineering from the University of Connecticut, focused on Bayesian Networks and Bayesian Knowledge Bases. I have experience working on 3D laser scanners, motion platforms, DARPA projects, 3D simulations using the Unity game engine for robotics in synthetic environments (game generated and scanned), mobile development in both Android and iOS. My strengths are in rapid prototyping and taking an idea into a release candidate. The process is a winding road that takes a lot of time