Simple Guide for Beginners on Extending Django User Models
 Dalius Beck
Hey Devs, This is Dalius and I want to discuss something that could be a real dilemma in the Django documentation. which is the question, How on earth do i extend the Django user model?”
Django does provide us with a User model of its own built in model when getting started on the build process of our projects. Then we often think about using it as our main User model for the whole project we are working on. Like this..
from django.contrib.auth.models import User
...

Blogs(models.Model):
    author = models.Foreignkey(User, # one to many relationship
                on_delete=models.CASCADE,
                null=True,
                related_name='blogs')
The authentication that comes with this form of practice is good enough for only common cases. But in more modern cases like our login are more different for the client to login to our apps have changed through the years of web development. Over the years authentication wants us to have our email and password as the standard to be granted access instead of putting in a username and password.
In this Guide, I want to show you how you can setup an authentication backend, extend the user model and many more.
Let’s Get started: Extending the User Model
now one thing I would like to cover first is building the custom user model. this part is as simple as it can get since we aren’t making any changes to the model but making it possible to add more in the future.
I created a user app in the Django project to add structure and make it neat as possible
# user/models.py file

from django.contrib.auth.models import AbstractUser

class CustomUser(AbstractUser):
    pass
I am using AbstractUser for this. AbstractUser is a subclass to Django’s built in User model ( touch more into subclasses on another note ). When using the subclass to extend it, we are basically telling Django “hey, I have a lot of information in my CustomUser model that is related to your model and I want to use yours but still want room to add more things of my own”. Like let’s say I want to add birthday to the model
# user/models.py

from django.db import models
from django.contrib.auth.models import AbstractUser


class CustomUser(AbstractUser):
    birthday = models.DateField(null=True, blank=True)

    def __str__(self):
        return self.username
now we need to do something first before we save our changes to the model and migrate our database to your preferred DB(MySQL, PostgreSQL, SQLite, etc.).
Substituting User Model
now we need to add it to our settings.py file
# usually place it at the end of the settings.py

INSTALLED_APPS = [
    'django.contrib.admin',
    'django.contrib.auth',
    'django.contrib.contenttypes',
    'django.contrib.sessions',
    'django.contrib.messages',
    'django.contrib.staticfiles',
    # custom app
    'user.apps.UserConfig',
]
...
# adding our custom user model
AUTH_USER_MODEL = 'user.CustomUser'
We are doing this to tell Django where is our custom user model is located using the dot notation. we made it in the user app and we are grabbing the model that we need to use.
It’s also good to use this because some projects may have authentication requirements for which Django’s built-in User model is not always appropriate. For instance, on some sites it makes more sense to use an email address as your identification token instead of a username.
Django allows you to override the default user model by providing a value for the AUTH_USER_MODEL setting that references a custom model. Now we are able to makemigrations to the system telling it we are done setting up our custom user model.
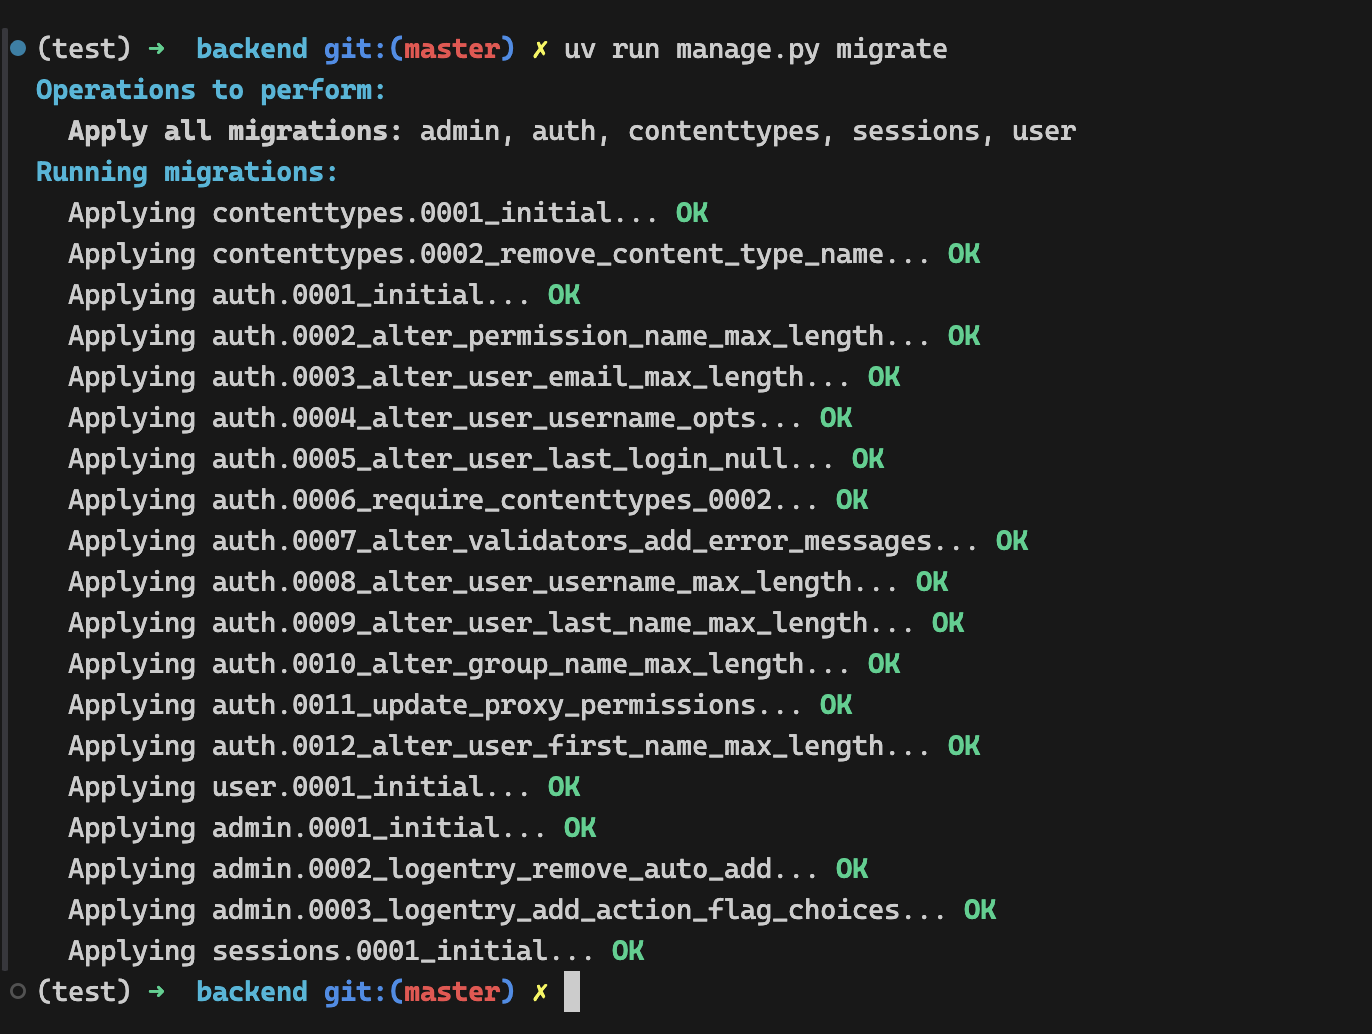
also I am using uv but using python3 your terminal would look like this

Django has checked for the CustomUser model successfully and now we need to migrate the file:

once this is done now we can get started on the project. our Custom user model is fully done.
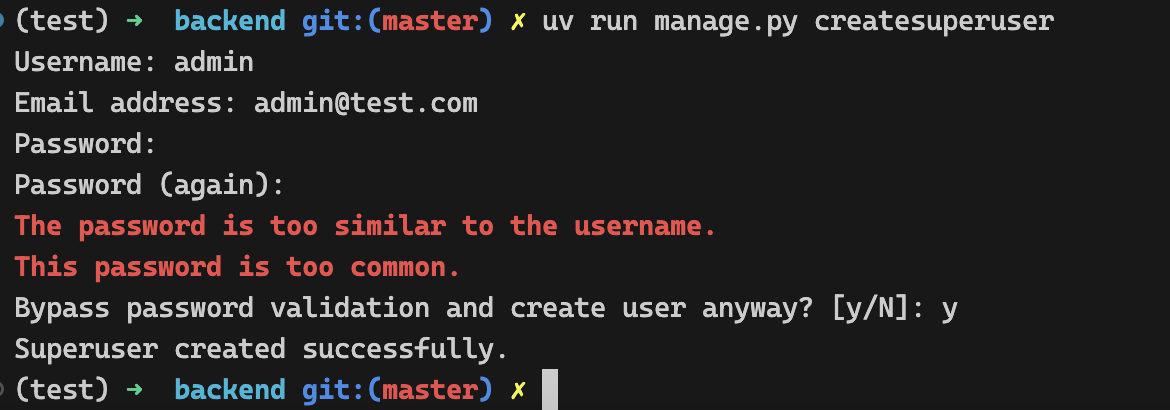
now lets check for our changes by running the server and going to http://localhost:8000/admin page in our browser of choice. But also make sure to create the superuser. you can create your own username and password to what ever you like:

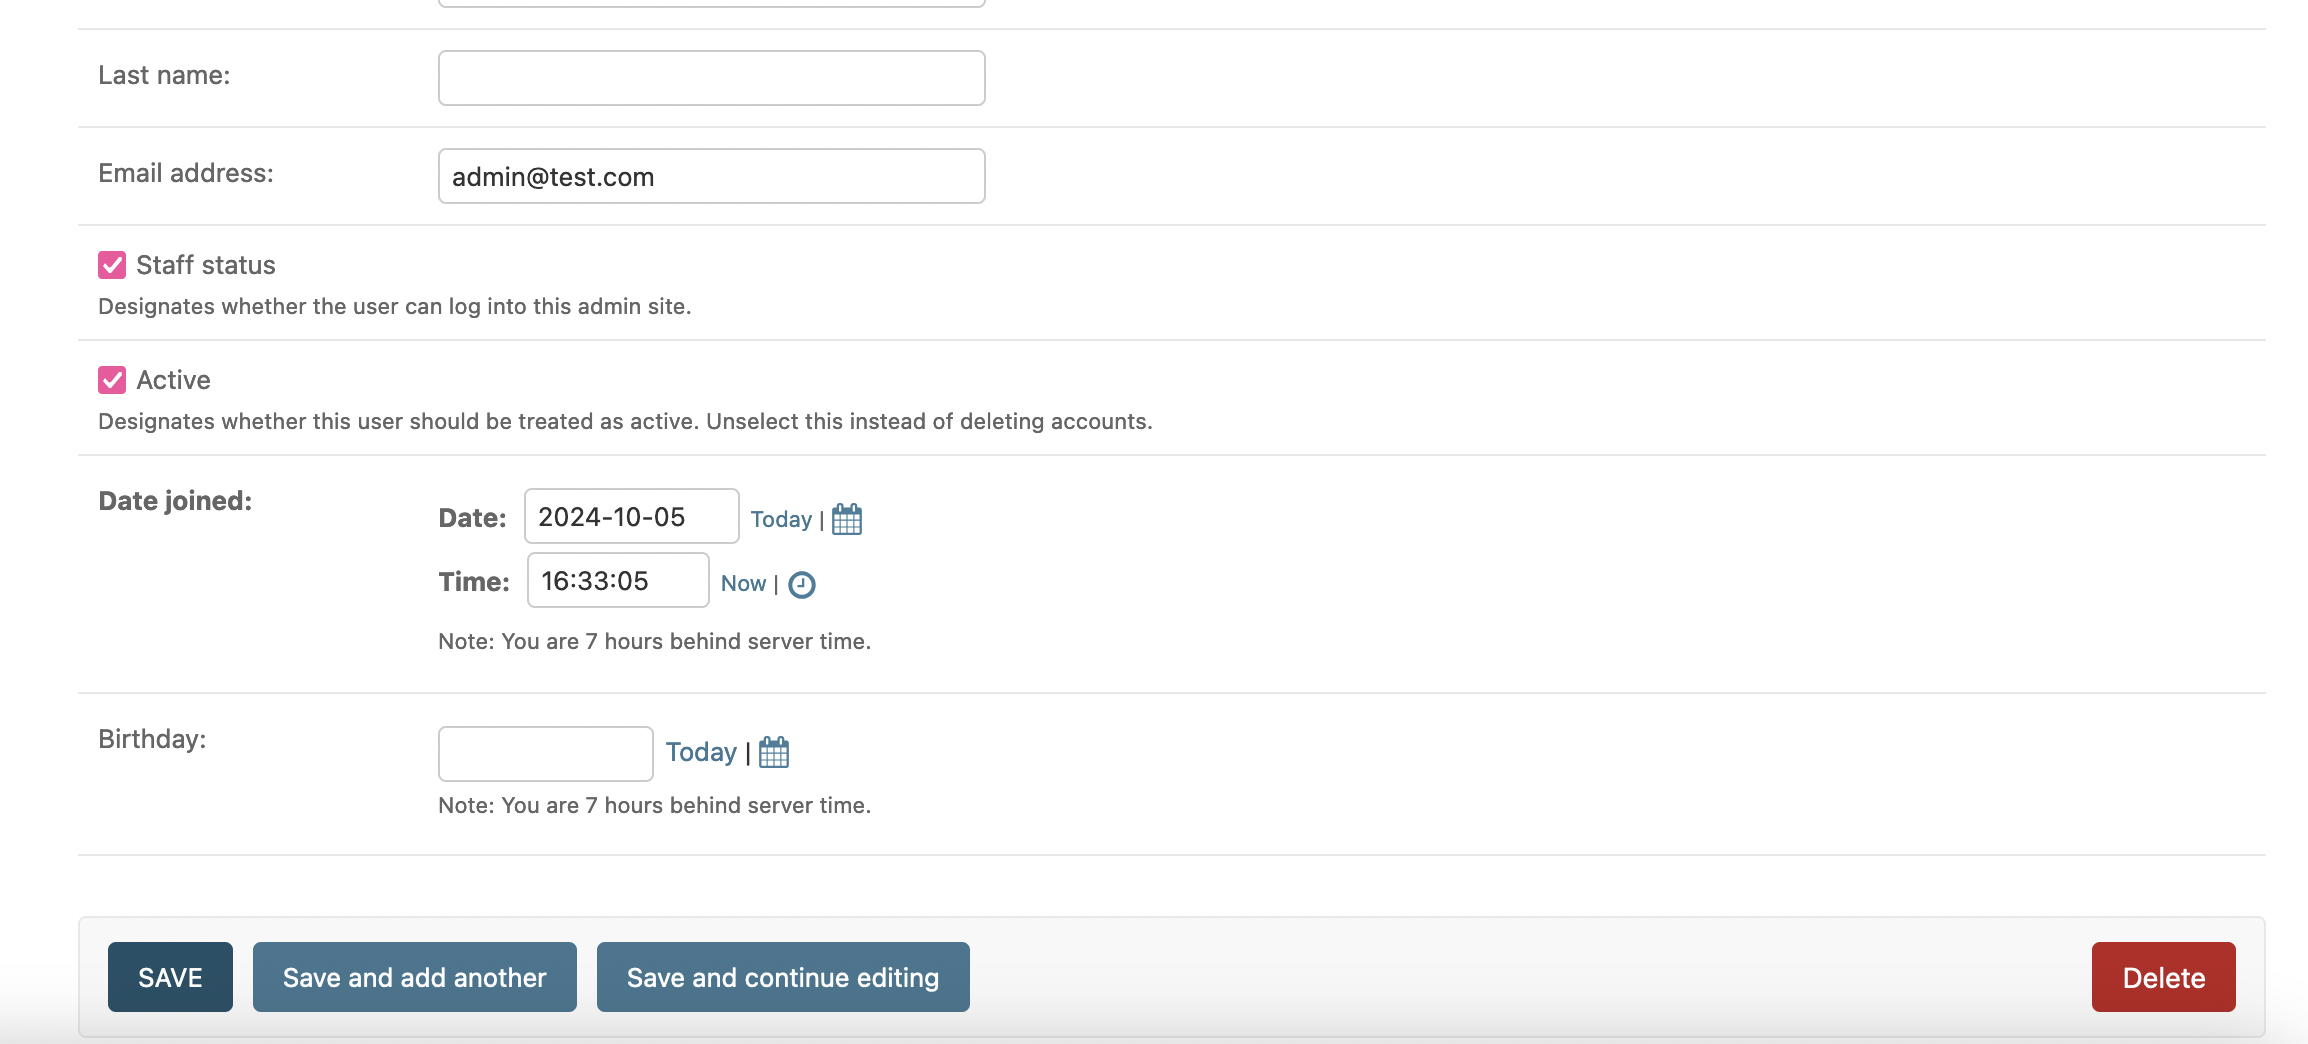
and our django admin should look like this in the user tab and scrolling to the bottom you should see the newly made field at the bottom.

Setup Backend Authentication
in our user app, we would need to make a backends.py file. Mine is going to look like this:
from django.contrib.auth.backends import ModelBackend
from django.contrib.auth import get_user_model


class EmailBackend(ModelBackend):
    def authenticate(self, request, username= None, password= None, **kwargs):
        UserModel = get_user_model()
        try:
            user = UserModel.objects.get(email = username)
        except UserModel.DoesNotExist:
            return None
        if user.check_password(password):
            return user
        return None
in the django docs, you will see instead of ModelBackend. They are going to be using BaseBackend. We want to use Modelbackend to make this process more simpler since it simplifies the process for us.
You don’t need to worry about manually checking password hashes, since ModelBackend has built-in support for check_password().
It smoothly integrates with Django’s default user model or any custom user model you may have.
You don’t need to write extra code to retrieve the user. ModelBackend ensures that passwords are hashed securely before comparison, helping you avoid potential security pitfalls.
If your project involves checking user permissions, ModelBackend provides this out of the box.
It pretty much keeps everything in a Django way of simplicity to the user and keeping the code clean. this is what I will be using for the authentication when the user have provided the information needed like email and password.
and now we need to put this in the settings.py :
AUTHENTICATION_BACKENDS = [
    'user.backends.EmailBackend',
    'django.contrib.auth.backends.ModelBackend',
]
once we add this into authentication_backends. We are again letting Django know we are using the custom backend to allow the email be accepted in place of the username field.
In this guide, we explored how to extend Django’s default User model by creating a CustomUser class and overriding it with the AUTH_USER_MODEL setting. We also walked through building a custom authentication backend to allow email-based login instead of relying on usernames.
By using Django’s ModelBackend, we simplified the authentication process, leveraging Django's built-in password hashing and user management functionality while maintaining flexibility for future extensions. Whether you're customizing the user model or setting up a more user-friendly email-based login, Django’s architecture makes it easy to adapt the authentication process to fit modern web application needs.
With these steps, you’re now equipped to handle custom user models and authentication in a clean, efficient way that aligns with best practices.
Summary
Custom User Model: We extended Django's
AbstractUserto create aCustomUsermodel, adding flexibility for future fields like birthdays.Substituting the User Model: By overriding
AUTH_USER_MODEL, we told Django to use our custom model for authentication.Custom Email Authentication: Using Django’s
ModelBackend, we set up email-based authentication, simplifying the login process and securing password handling.Integration: We integrated the custom authentication backend by updating the
AUTHENTICATION_BACKENDSinsettings.py.
leave a comment and liked if you liked the article and leave an idea you want me to try to cover on a future article. And like always devs, Consistency is key.
Lets Connect!
share your support and buy me a coffee
Subscribe to my newsletter
Read articles from Dalius Beck directly inside your inbox. Subscribe to the newsletter, and don't miss out.
Written by

Dalius Beck
Dalius Beck
Full stack software developer that’s just sharing his journey and want to meet aspiring people to connect and build a awesome experience one line at a time