How to Set Up SQL Server in Container Manager on your Synology NAS
 Khalil
Running SQL Server on a Synology NAS is a great way to leverage your NAS for database hosting, especially for development and testing purposes. Using Docker, you can easily install SQL Server without the need for a dedicated machine. In this guide, I’ll show you how to set up SQL Server in a Docker container on a Synology NAS on my Mac laptop.
Step 1: Install Docker on Synology NAS
If you haven’t already installed Docker, follow these steps:
1. Log in to your Synology NAS using the web interface.
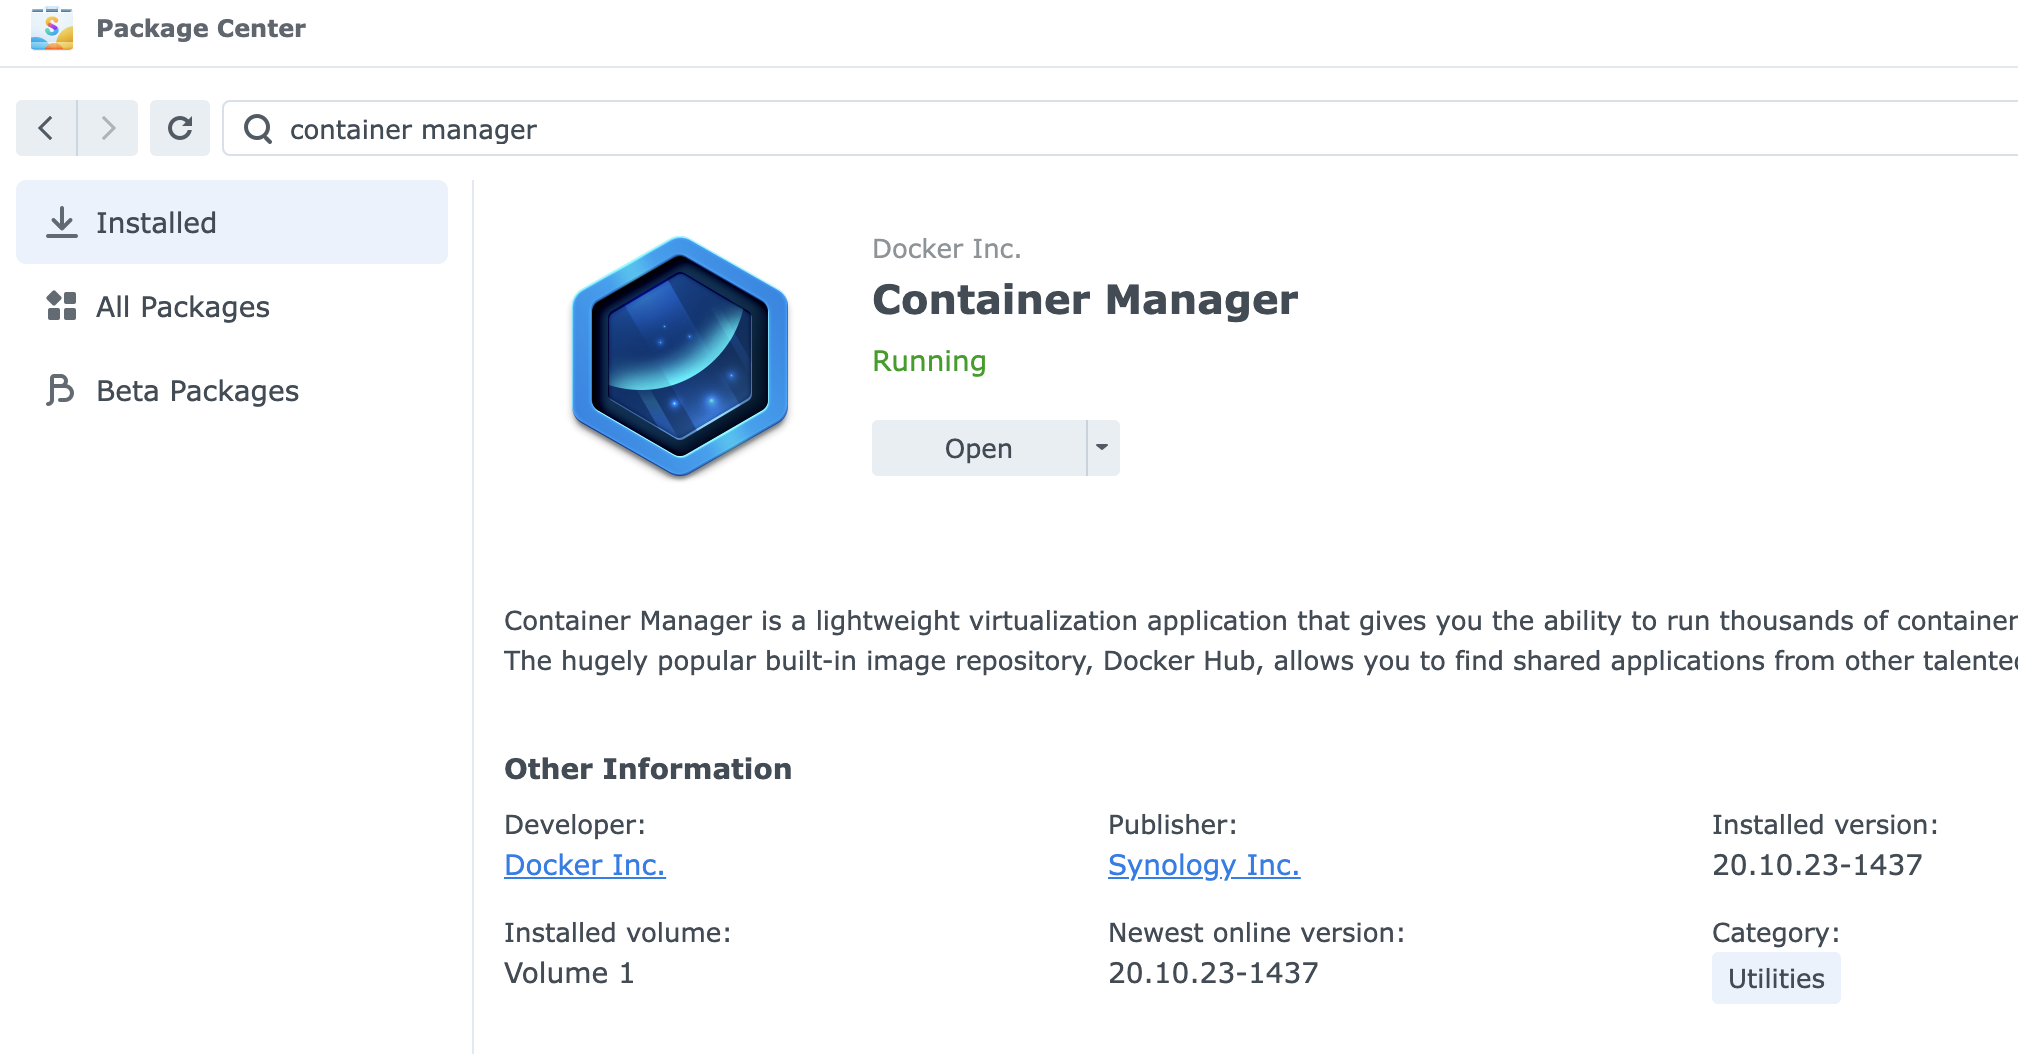
2. Go to Package Center.
3. Search for Container Manager and click Install.
4. Once installed, you’ll find Container Manager in the Main Menu, click open.
Step 2: Prepare a Directory for SQL Server Data
Before creating the SQL Server container, we need to set up a persistent storage directory for the SQL Server data. On Synology NAS, Docker containers can access local folders.
Create a folder for SQL Server data on your NAS. Use the File Station to create this folder. Under docker directory, create new folder: sqlserver
Ensure that the folder permissions allow Docker to read/write. You can configure this via Control Panel > Shared Folder > Permissions.
Create a storage folder for you server databases, mine was: /volume1/docker/sqlserver/sqlserver_storage
You might need to see Few Points section at the bottom of this article to avoid any issues with mssql user.
Step 3: Create the SQL Server Container in Container Manager
Now that we have the image, it’s time to set up the container.
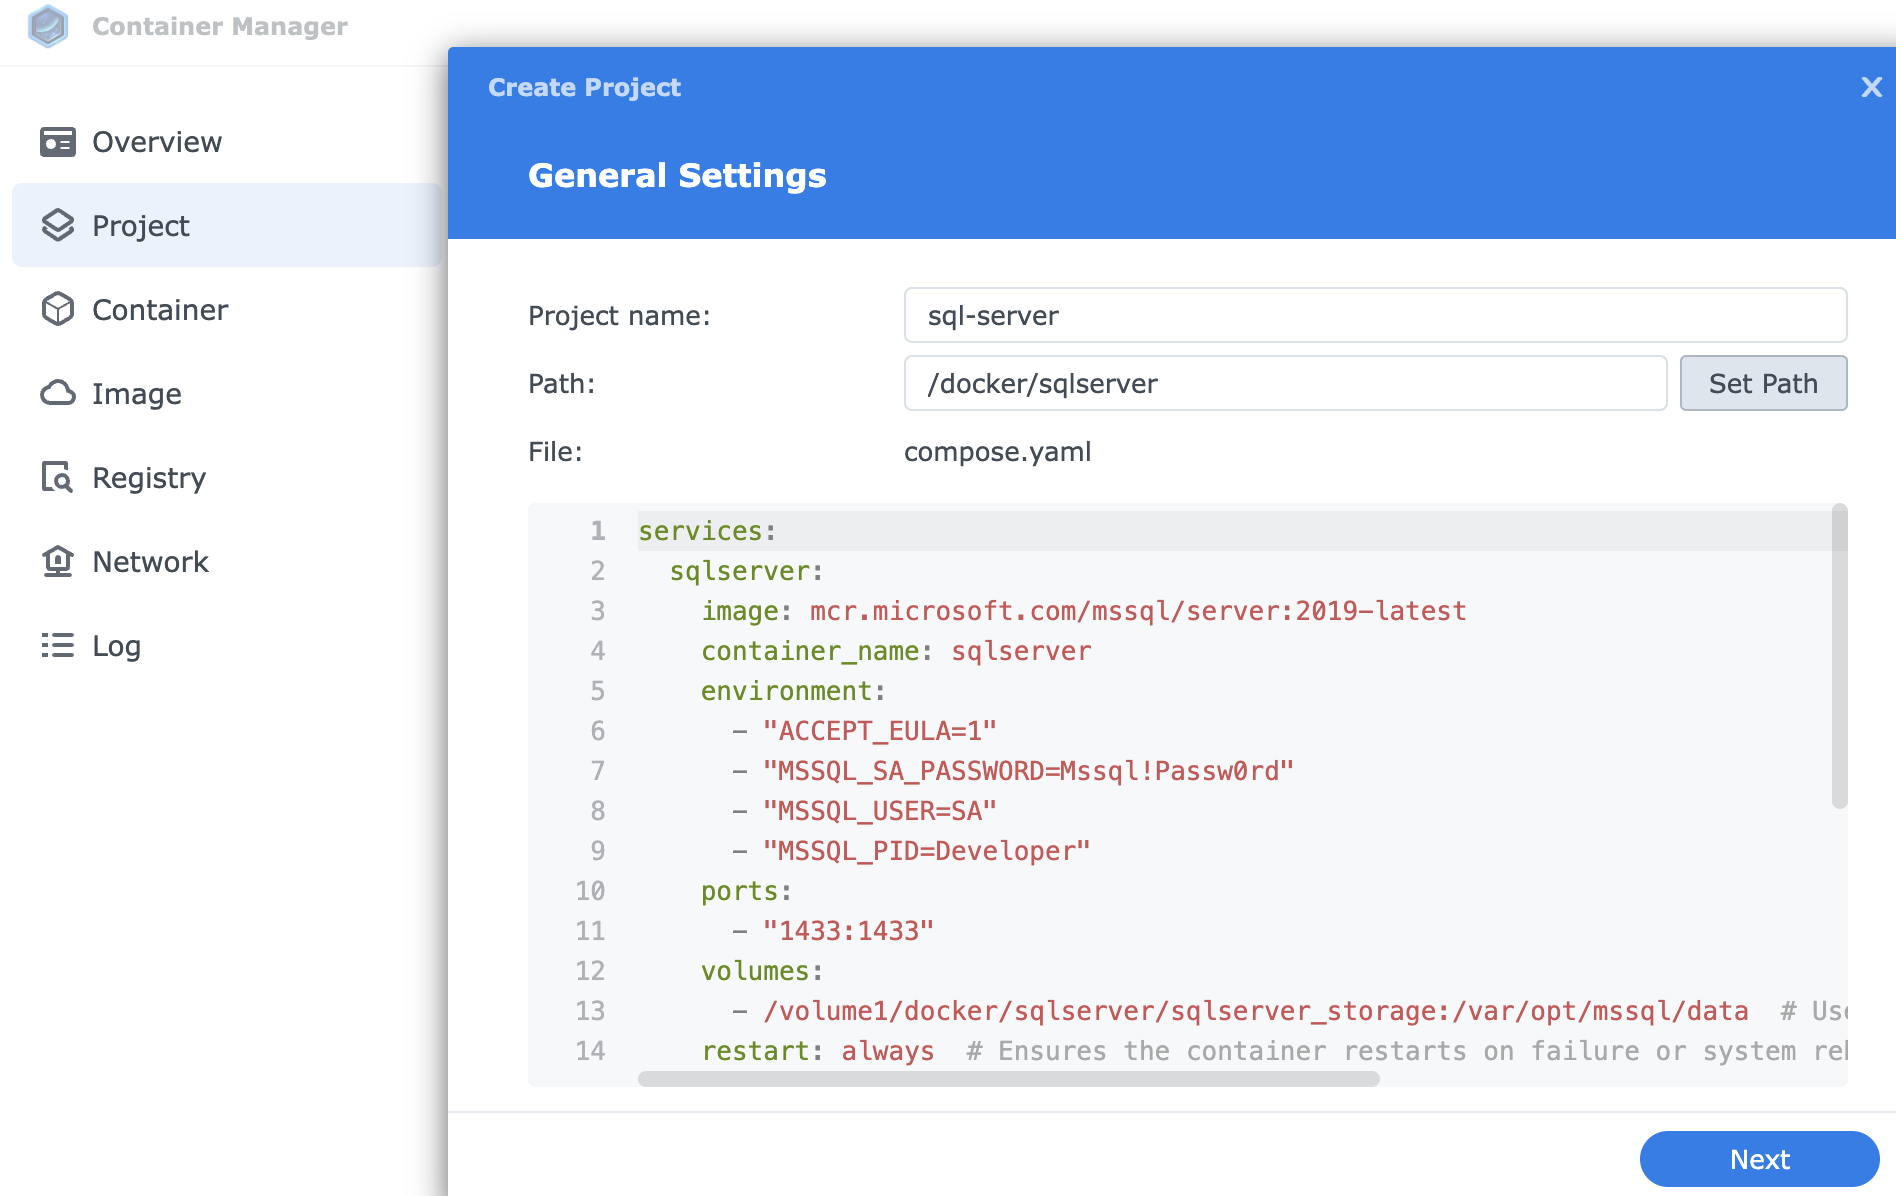
In Container Manager, Create project and name it sql-server as set the path to the directory as set in step 2.
I am using SQL Server 2019, you can use the latest if you wish to.
ervices:
  sqlserver:
    image: mcr.microsoft.com/mssql/server:2019-latest
    container_name: sqlserver
    environment:
      - "ACCEPT_EULA=1"
      - "MSSQL_SA_PASSWORD=Mssql!Passw0rd"
      - "MSSQL_USER=SA"
      - "MSSQL_PID=Developer"
    ports:
      - "1433:1433"
    volumes:
      - /volume1/docker/sqlserver/sqlserver_storage:/var/opt/mssql/data
    restart: always
Click Next, if you were asked to set up web portal, just ignore.
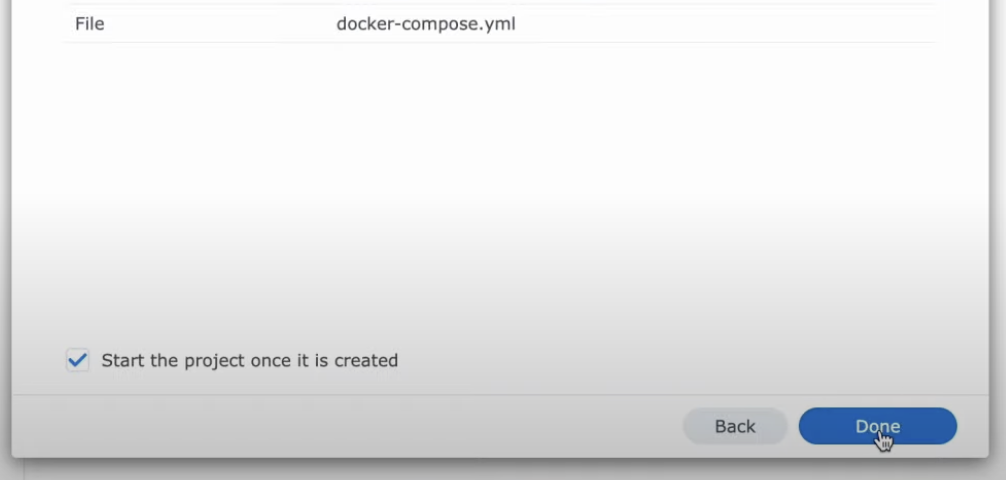
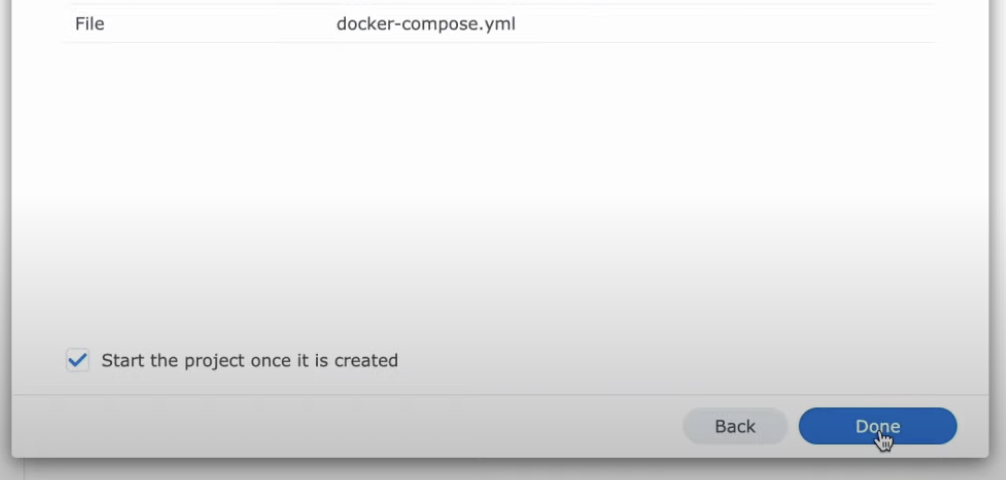
Tick Start the project once it is create
Done.
Step 5: Start SQL Server
Once the project is created, you should be able to see it running:
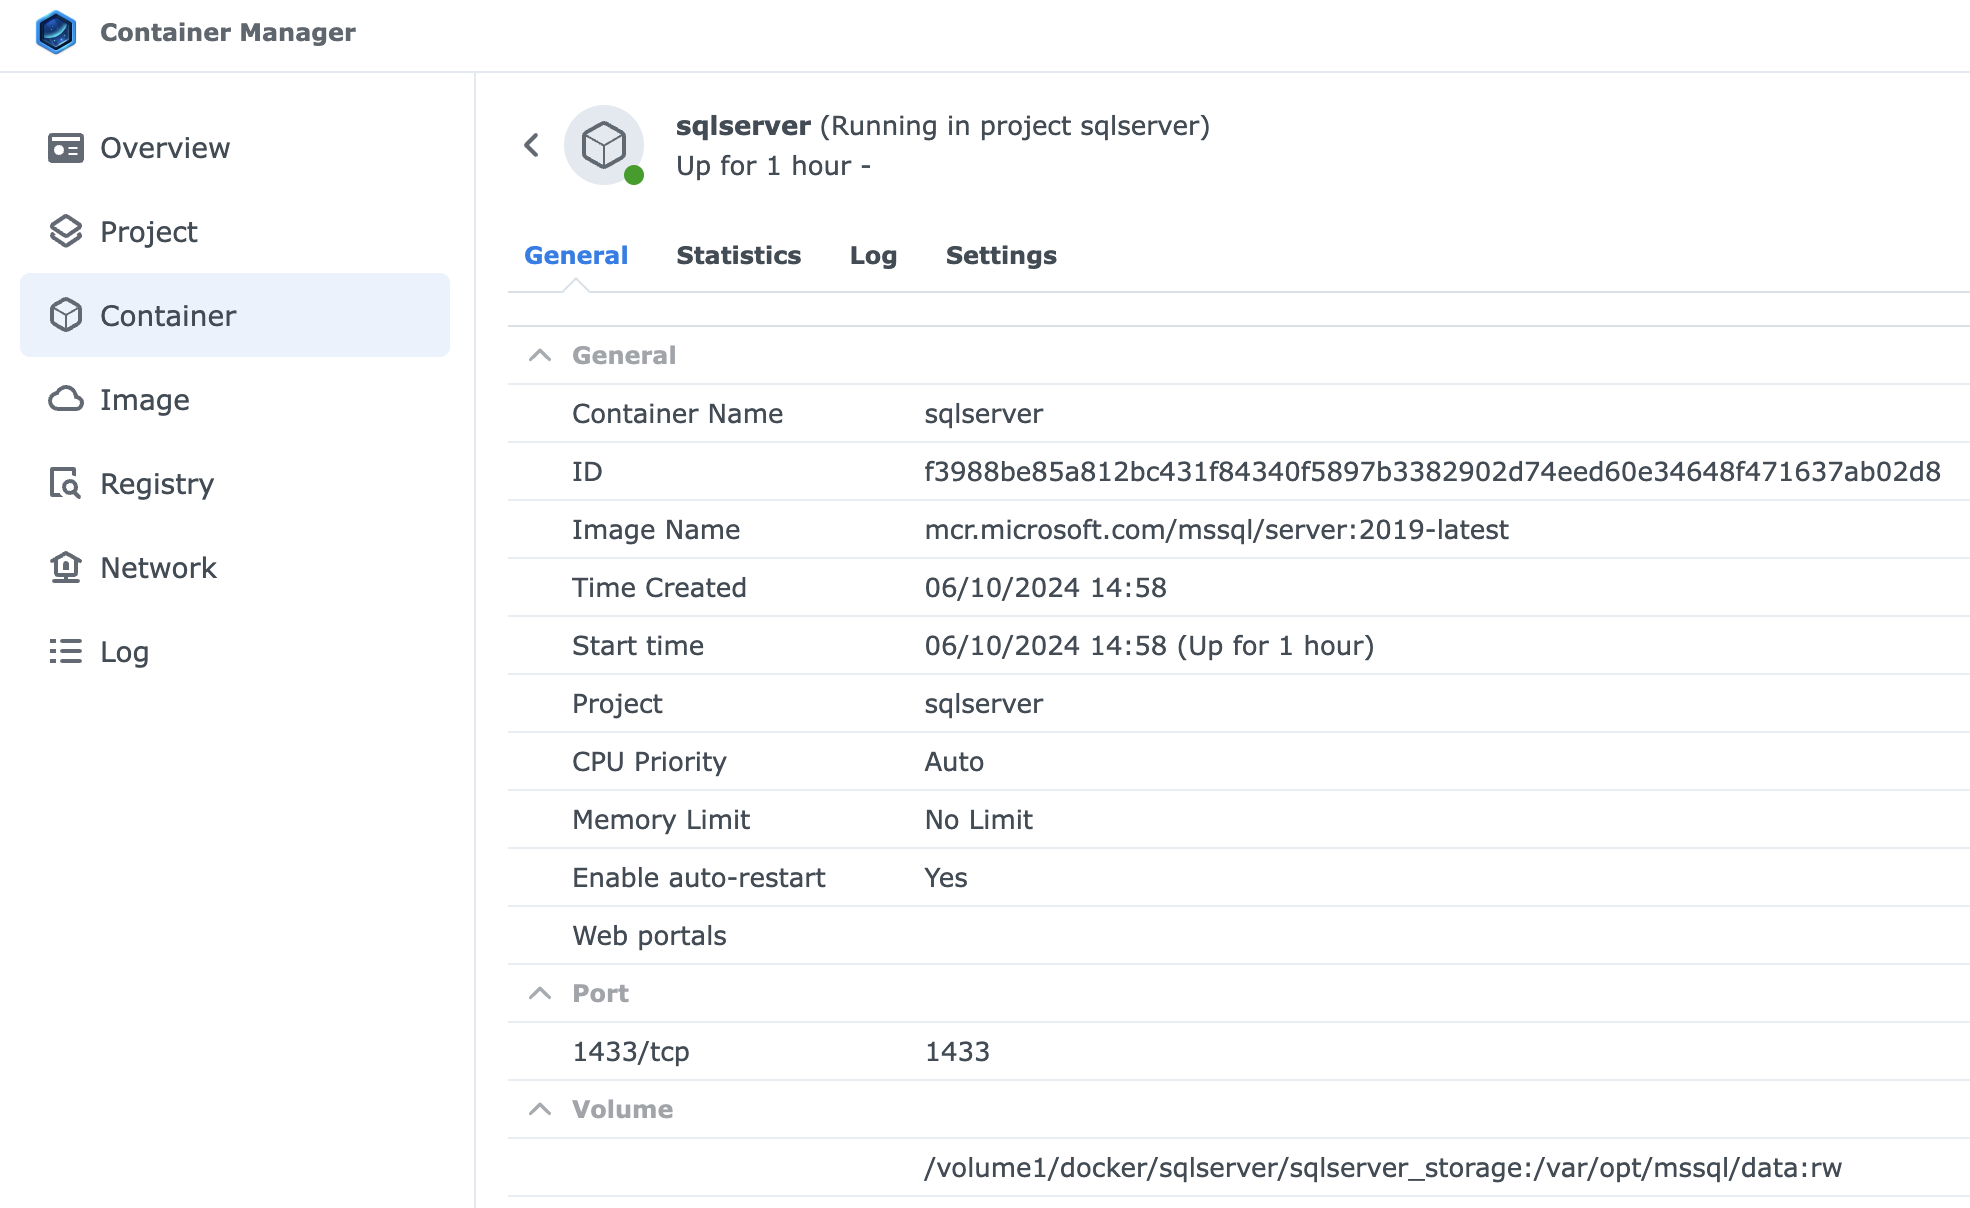
The container will now run SQL Server on your Synology NAS. You can access it through port 1433.
Step 4: Connect to SQL Server
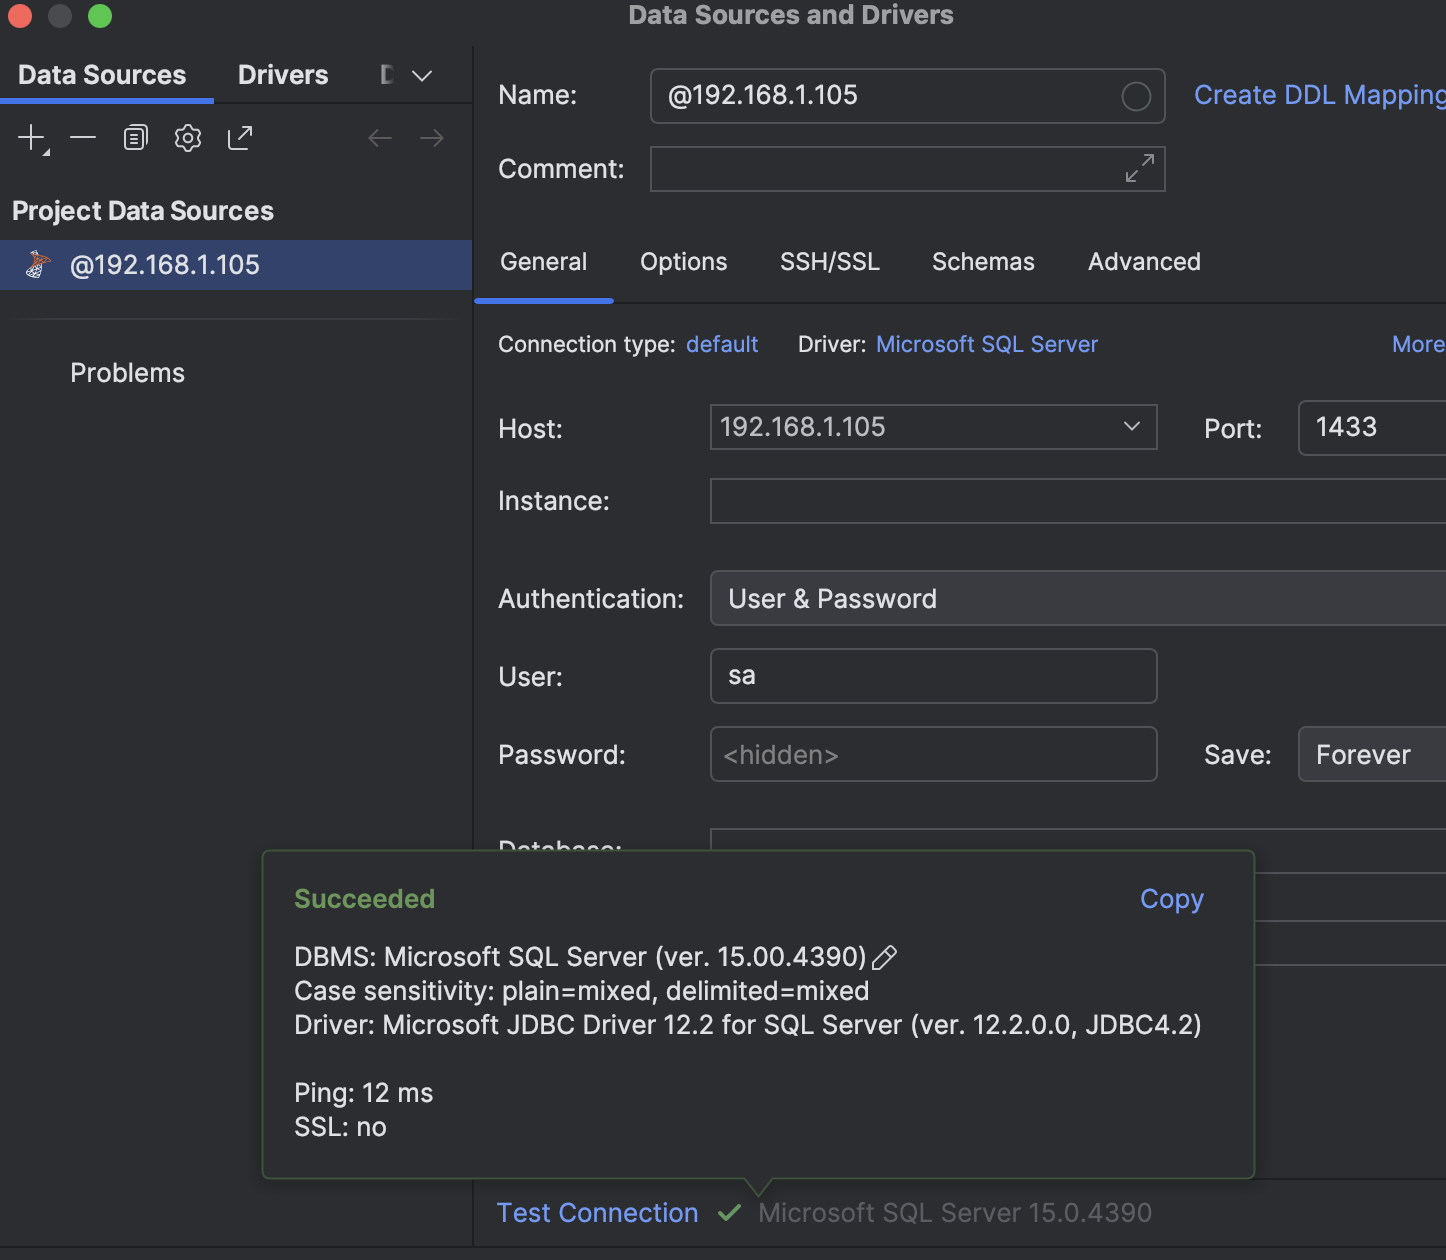
To connect to your SQL Server instance, you can use SQL Server Management Studio (SSMS) or any other SQL client. Use the following details:
Server: NAS_IP_Address,1433. In my case, it was 192.168.1.105,1433
Login: sa
Password: Mssql!Passw0rd
In my case, I’m using DataGrip"
Let’s create a database Hashnode and a table people, and see if we really can retrieve, insert some data:
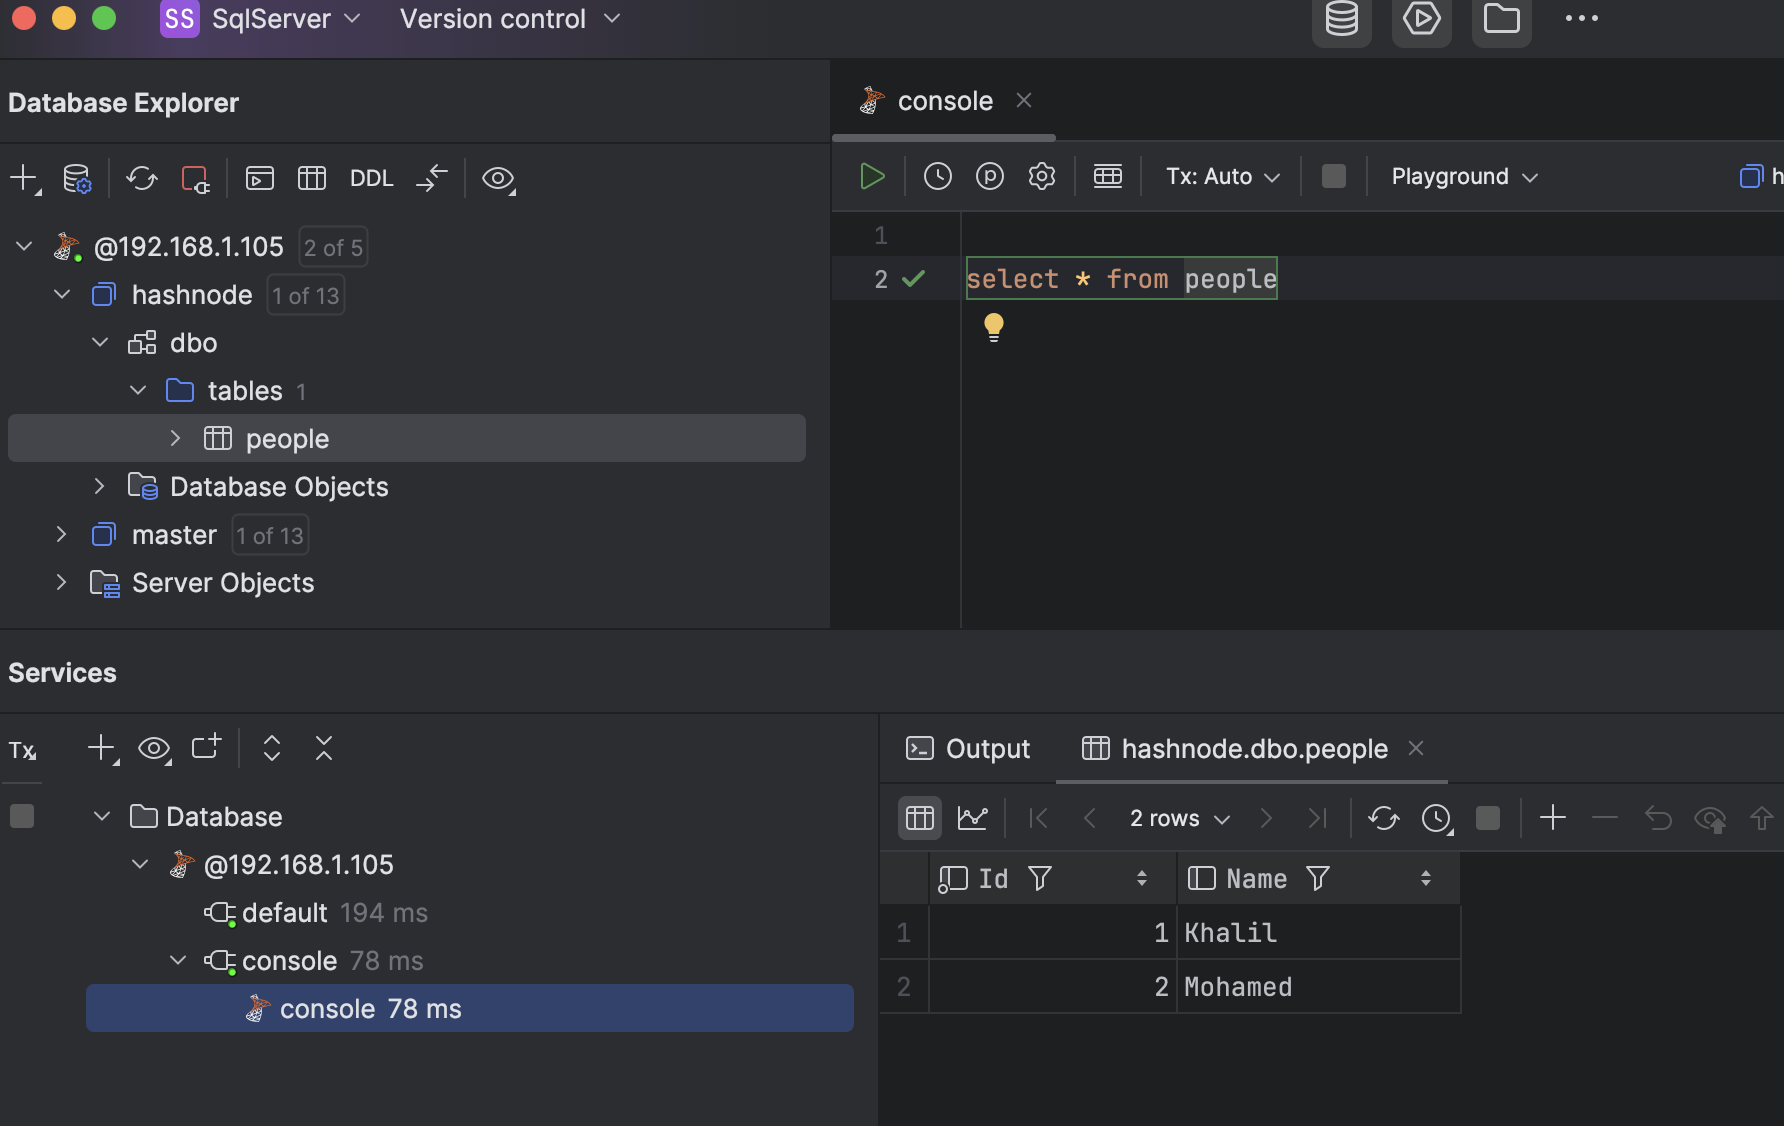
Perfect!
Step 7: Managing SQL Server
You can monitor and manage the SQL Server container through the Synology Docker interface. For example:
Restart or stop the container: Go to Docker > Container > sqlserver.
View logs: Check logs to troubleshoot any issues.
Change Password or storage location
On Container Manager:
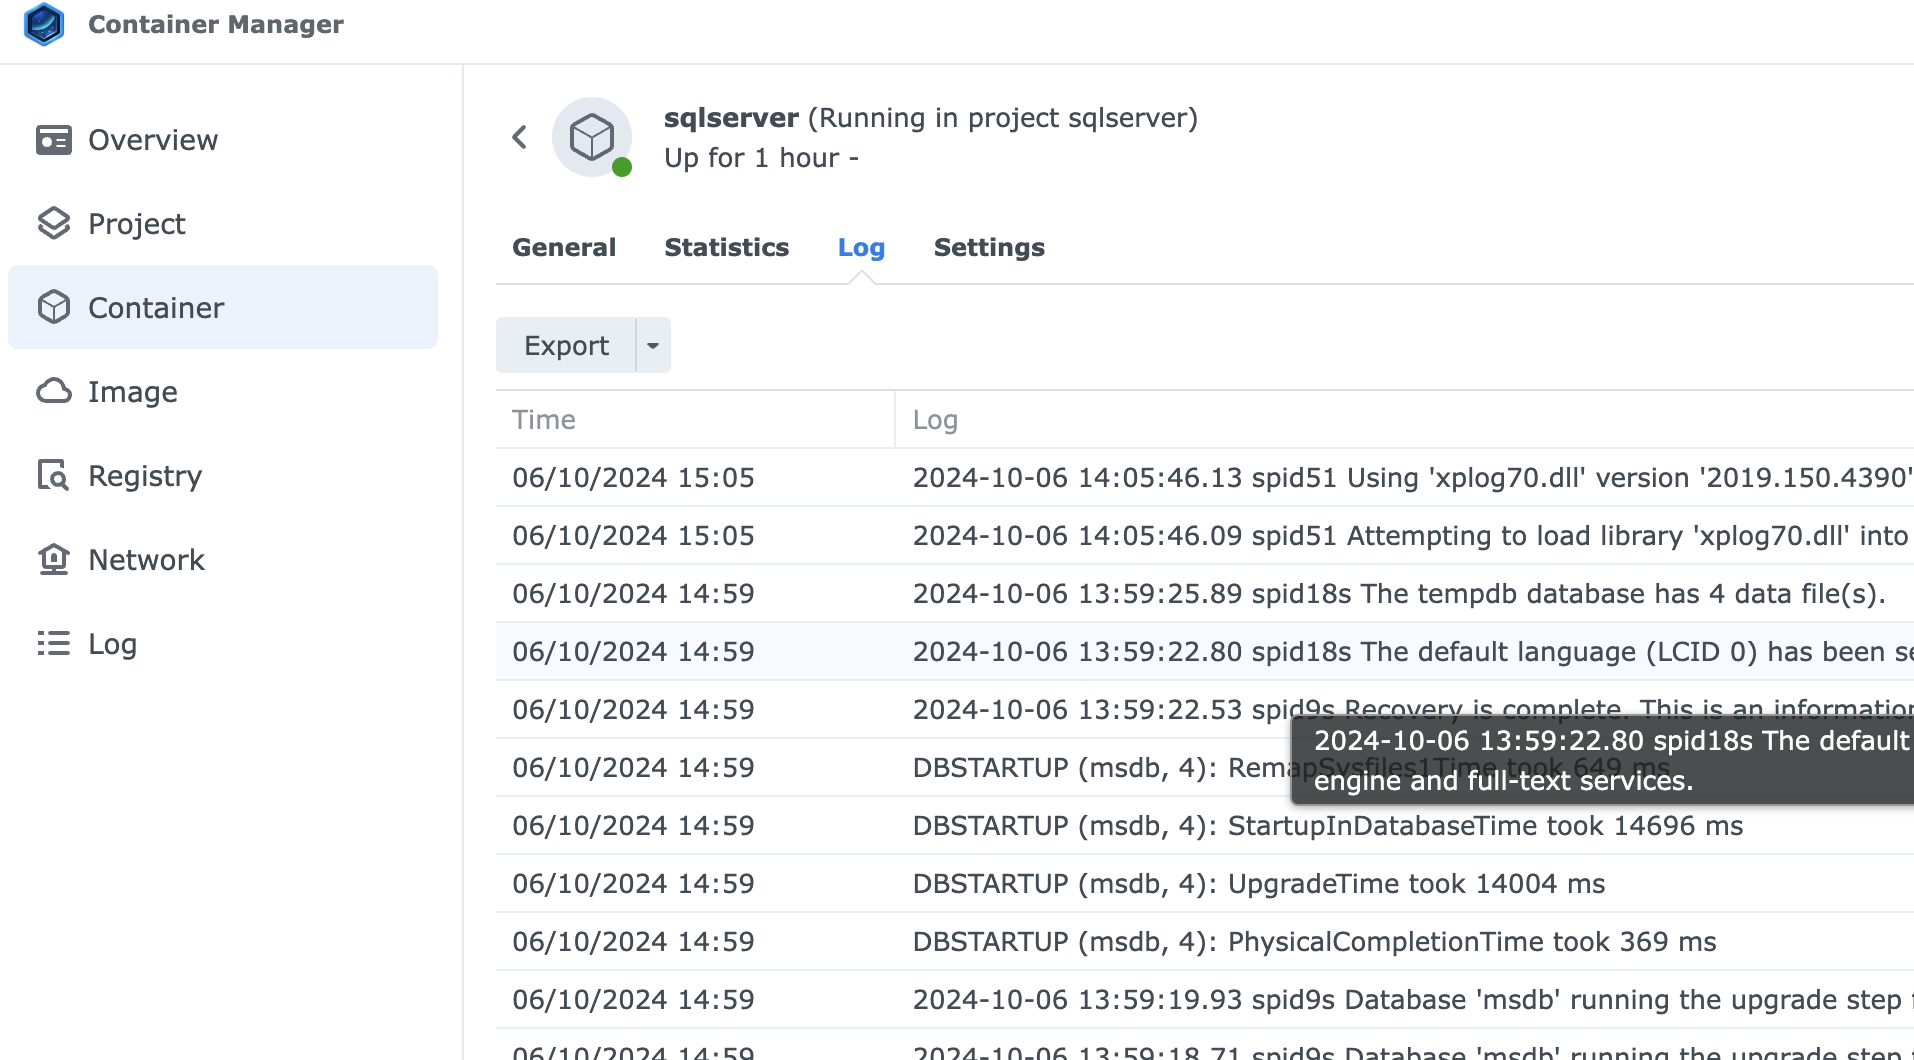
Or on Portainer:
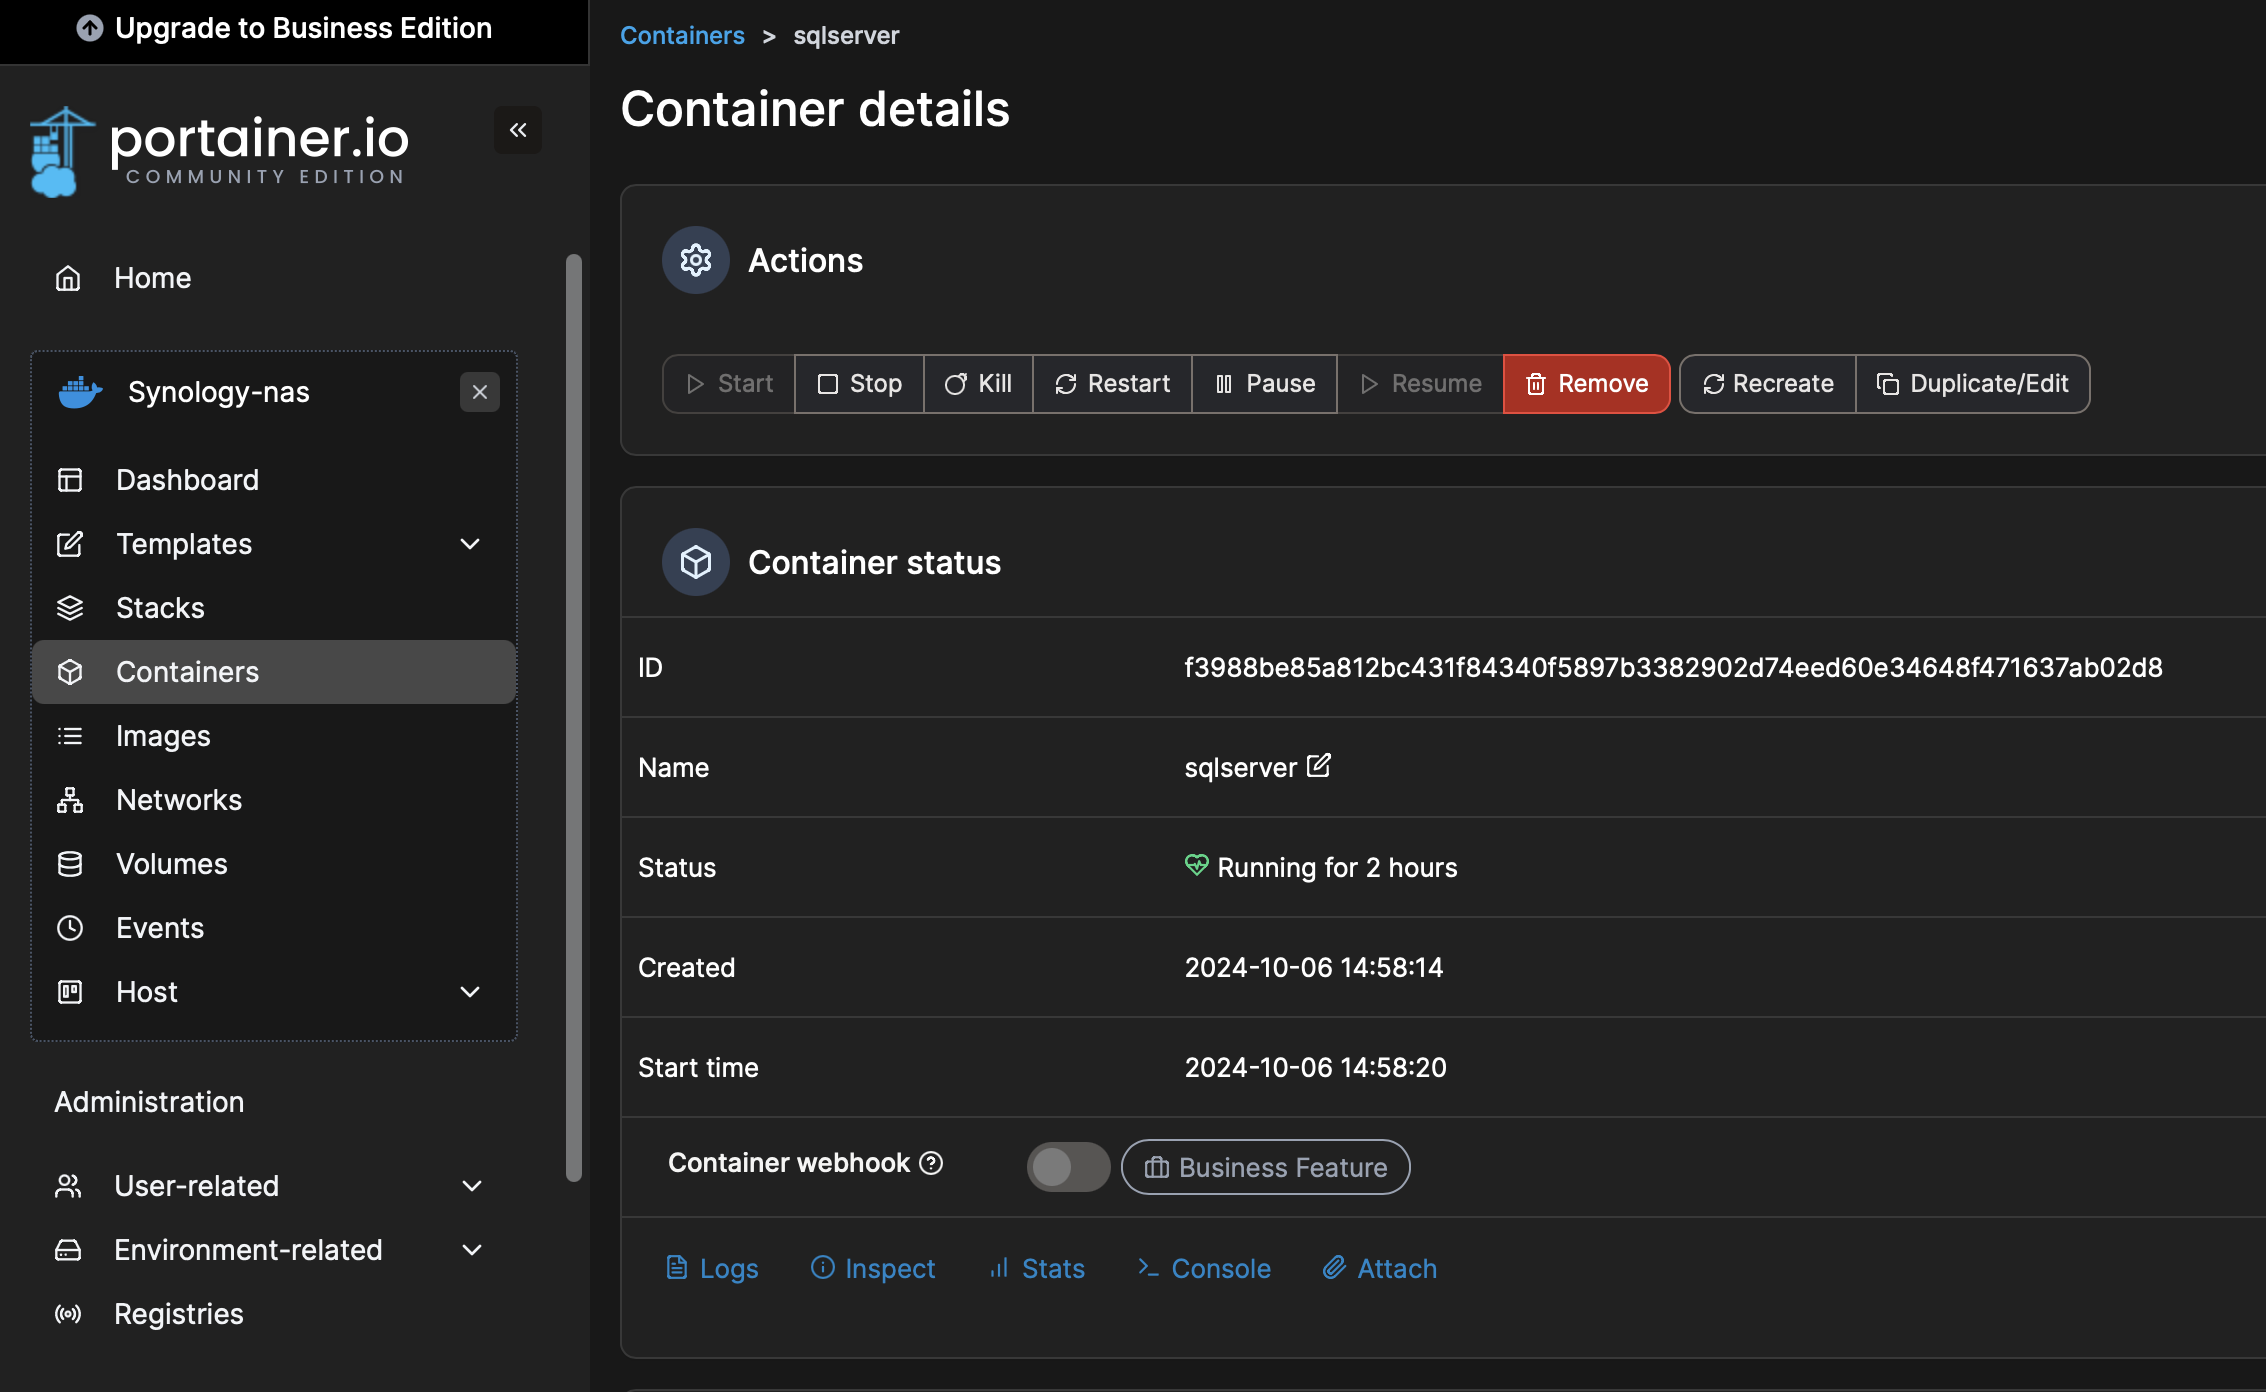
Few points:
If you get an issue with mssql user on your NAS, you will need to follow these steps:
Ensure that the sqlserver_storage directory has the correct permissions for the mssql user in the SQL Server container.
You may need to run a command on your Synology NAS to change/add the ownership of the directory.
Use the following command in a terminal (SSH into your Synology if needed):
sudo chown -R 10001:10001 /path/to/sqlserver_storageReplace /path/to/sqlserver_storage with the full path to your directory. The 10001 user ID typically corresponds to the mssql user in the SQL Server container.
After changing ownership, set appropriate permissions for the directory:
sudo chmod -R 770 /path/to/sqlserver_storage
Conclusion
With these steps, you’ve successfully set up SQL Server on Docker using your Synology NAS. This setup allows you to harness your NAS as a lightweight SQL Server instance for testing, development, or even small production workloads.
By leveraging Docker, the installation and maintenance are simple and flexible, making it easy to spin up or tear down your SQL Server instances.
Subscribe to my newsletter
Read articles from Khalil directly inside your inbox. Subscribe to the newsletter, and don't miss out.
Written by
