A minimalistic journey of rendering 3D models in Google maps by @googlemaps/js-api-loader' along with ionic framework (Angular 17) and THREE.JS
 Mustafa Iram
Table of contents
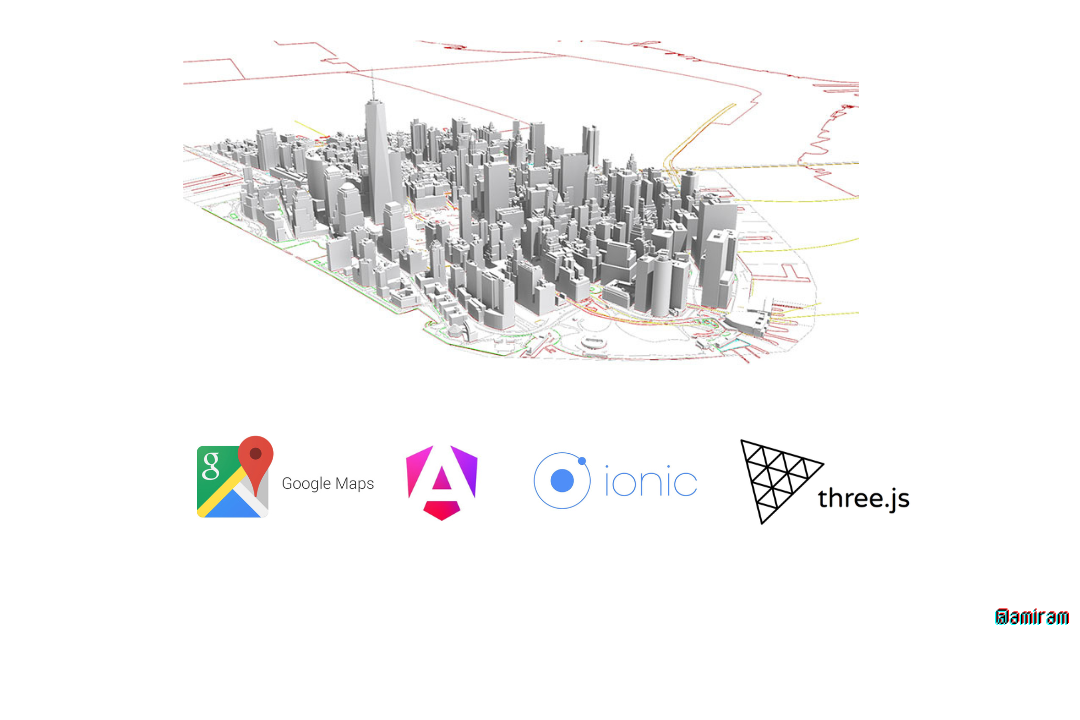
Integrating 3D models into Google Maps can significantly enhance user experiences, offering immersive and interactive views directly within maps. In this blog, we will explore how to use the Google Maps JavaScript API Loader along with Angular, Ionic, and Three.js to render 3D models within a Google Maps instance. By leveraging Three.js's WebGL-based rendering capabilities, we can seamlessly integrate 3D models into our map view, enabling dynamic and visually rich applications.
We’ll walk through setting up an Angular and Ionic project, configuring the Google Maps JS API Loader, and using Three.js to overlay 3D objects on a map. This guide is perfect for developers looking to combine the power of mapping and 3D rendering technologies in a cross-platform Ionic framework. Whether you're creating a geospatial visualization app or enhancing location-based services with interactive 3D elements, this integration provides an efficient solution. Let’s get started!
Getting started
- initialize an ionic app. Install Ionic CLI :
npm install -g @ionic/cli
- Create a New Ionic Angular App and navigate to project directory :
ionic start my-3d-google-map blank --type=angular
cd 3d-google-maps
- Generate page for implementing 3D models in google map:
ionic generate page google-maps
// import module in standalone component
import { ReactiveFormsModule } from '@angular/forms';

@Component({
  selector: 'app-home',
  templateUrl: './google-maps.page.html',
  styleUrls: ['./google-maps.page.scss'],
  standalone: true,
})
export class Googlemaps implements OnInit, {}
- Now install @types/google.maps and @googlemaps/js-api-loader with its npm :
npm i @googlemaps/js-api-loader
npm i @types/google.maps
- In the google-maps page html include the map reference and add styles to it:
<div class="ion-page" id="main-content">
  <ion-content [fullscreen]="true" class="ion-padding ion-text-center">
    //add map div here
    <div #mapRef class="maps" id="map"></div>
  </ion-content>
</div>
//add styles in the google-maps.css/scss file
.maps {
  width: 100%;
  height: 100%;
  overflow: hidden;
  position: relative;
}
- Now declare variables for initializing map:
import { ReactiveFormsModule } from '@angular/forms';

@Component({
  selector: 'app-home',
  templateUrl: './google-maps.page.html',
  styleUrls: ['./google-maps.page.scss'],
  standalone: true,
})
export class Googlemaps implements OnInit, {
  map: google.maps.Map;
  public mapOptions: google.maps.MapOptions;
  center: google.maps.LatLngLiteral = { lat: 37.7749, lng: -122.4194 }; //use custom center position
  @ViewChild('mapRef', { static: false }) mapRef!: ElementRef<HTMLDivElement>;
}
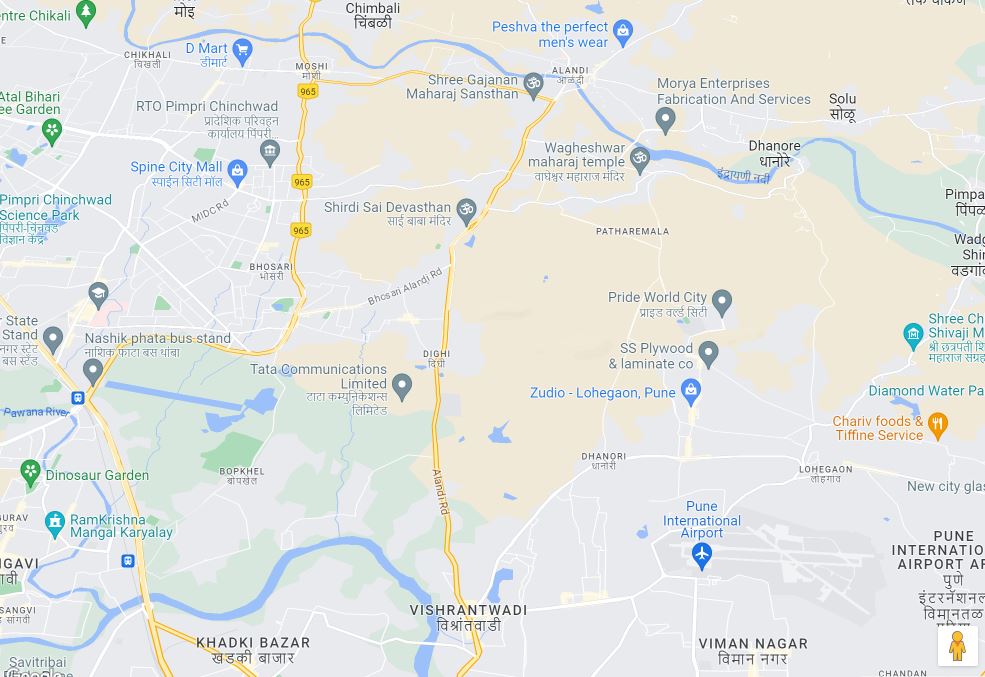
- Import maps libraries to initialize and use them in the map. These are the helper functions to import various libraries from map.
 // ** Map Loader API
 private loader = new Loader({
    region: 'US',
    language: 'en',
    version: 'beta',
    apiKey:  //use your own apiKey
  });

public async initializeMap(mapRef: ElementRef) {
    const { Map } = await this.importMapsLibrary('maps');
    this.map = new Map(mapRef.nativeElement, this.mapOptions);
  }

  private async importMapsLibrary(type: Library) {
    return (await this.loader.importLibrary(type)) as google.maps.MapsLibrary;
  }
- initialize mapOptions in the constructor and the map itself in the ngAfterViewInit( ):
  constructor() {
    this.mapOptions = {
      zoom: 18,
      minZoom: 5,
      maxZoom: 20,
      mapId: '7ed9fa6a25fc4b65', //use your own ID
      mapTypeId: 'roadmap',
      mapTypeControl: false,
      tilt: 90,
      heading: 0,
      center: {
        lng: 73.87,
        lat: 18.5195962,
      },
      disableDefaultUI: true,
      streetViewControl: true,
      keyboardShortcuts: false,
      disableDoubleClickZoom: true,
    };
  }

  ngOnInit() {}

  ngAfterViewInit(): void {
    this.initializeMap(this.mapRef); //pass the reference of the map here
  }
- Now your map has been initialized. Its time to add the 3D model in a certain latitude and longitude with the help of THREE.js and WebGL. Install three library:
npm install --save three

//Import in the class as a whole
import * as THREE from 'three';
- Now initialize a function for webGl overlay view in the map. Add scene, lights and camera to it. You can add your preferable settings there :
initWebGLOverlayView(map: google.maps.Map) {
//initialize scene, camera and renderer from THREE library
    let scene: THREE.Object3D<THREE.Object3DEventMap>,
      renderer: THREE.WebGLRenderer,
      camera: THREE.Camera,
      loader: GLTFLoader;
    const webGLOverlayView = new google.maps.WebGLOverlayView();
    //add webGL overlay view and setup lights and camera angles
    webGLOverlayView.onAdd = () => {
      scene = new THREE.Scene();
      camera = new THREE.PerspectiveCamera();
      const ambientLight = new THREE.AmbientLight(0xffffff, 4.3);
      ambientLight.position.set(0, 5, 0);
      ambientLight.castShadow; //optional
      scene.add(ambientLight);

      const directionalLight = new THREE.DirectionalLight(0xffffff, 2.75);
      directionalLight.position.set(4, 5, 10);
      directionalLight.castShadow;
      scene.add(directionalLight);
    };
     // Set it on the map
     webGLOverlayView.setMap(map);
  }
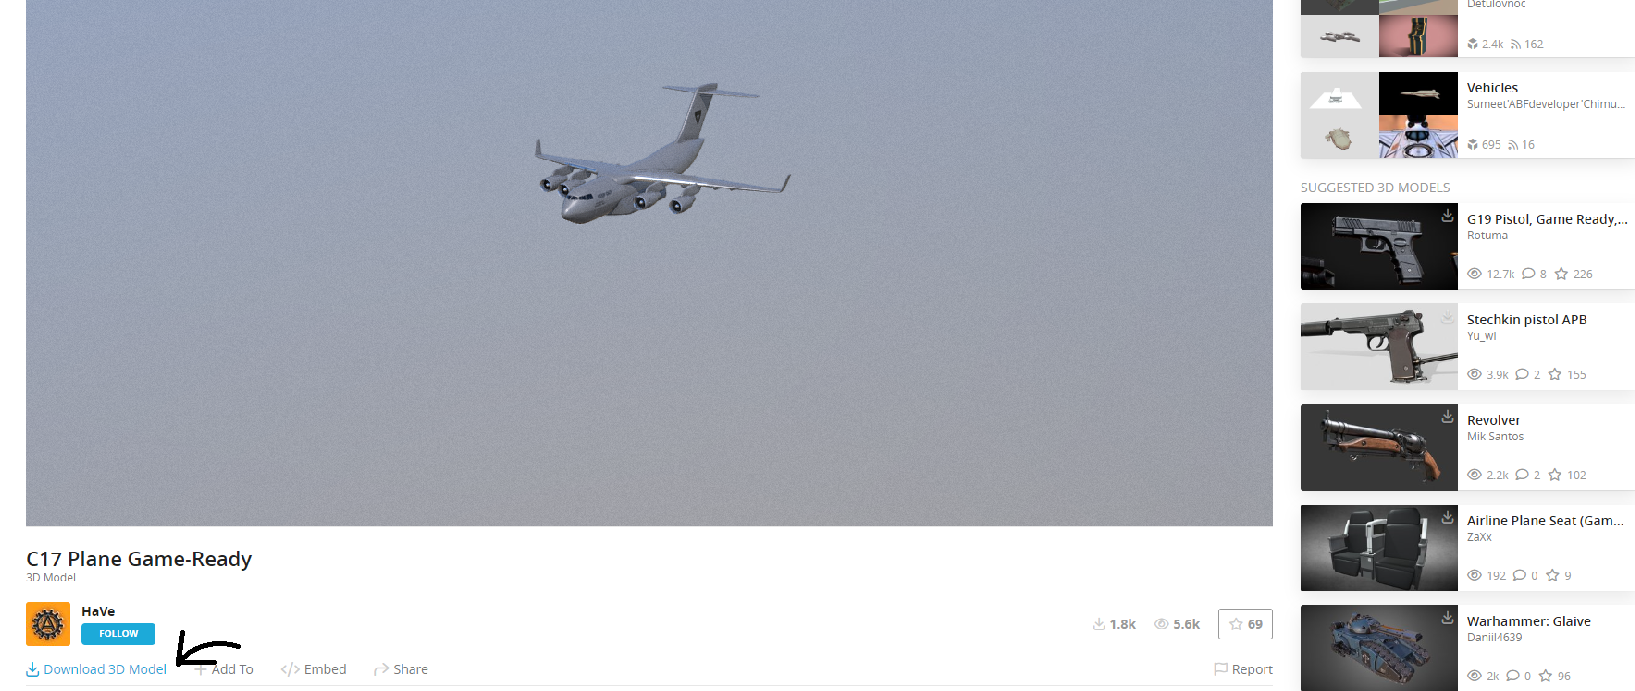
- Now you need to download a 3D model from any of the model warehouse. For an example Sketchfab has many of the free downloadable files. From there choose a model and select the .gltf file type for downloading. A zip file will be downloaded.
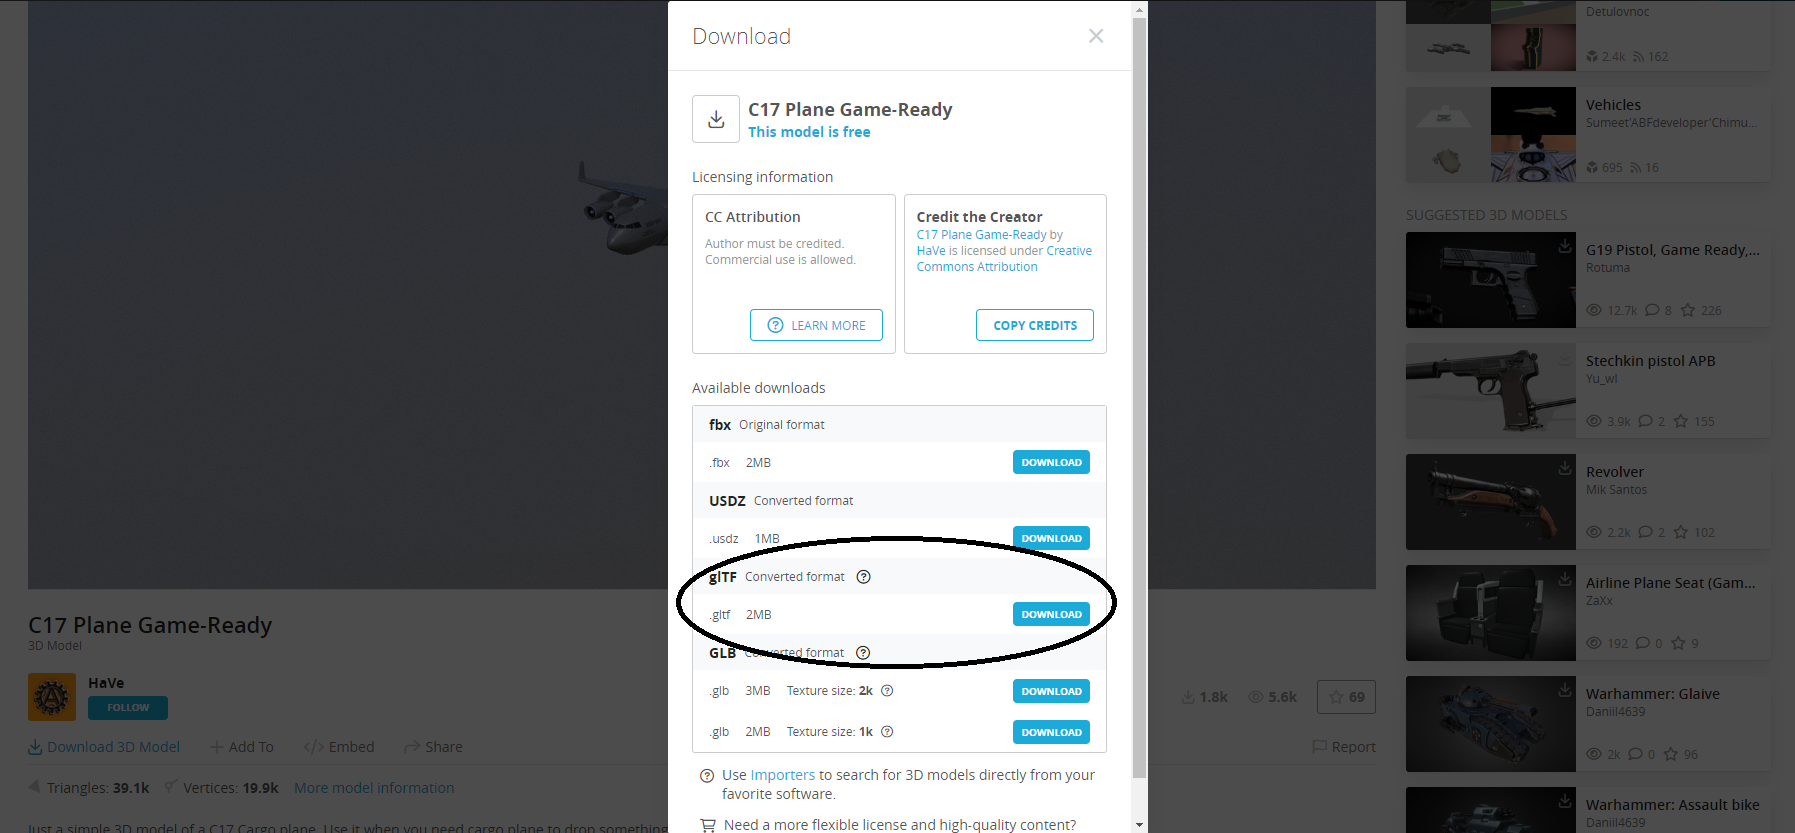
Unzip the file and add them in your assets folder.
Add the model by GLTFLoader and add scale, roughness and other modification as needed and set the model in the scene. Add animations in the map if needed.
 async initWebGLOverlayView(map: google.maps.Map) {
    let scene: THREE.Object3D<THREE.Object3DEventMap>,
      renderer: THREE.WebGLRenderer,
      camera: THREE.Camera,
      loader: GLTFLoader;
    const webGLOverlayView = new google.maps.WebGLOverlayView();

    webGLOverlayView.onAdd = () => {
      scene = new THREE.Scene();
      camera = new THREE.PerspectiveCamera();
      const ambientLight = new THREE.AmbientLight(0xffffff, 4.3);
      ambientLight.position.set(0, 5, 0);
      ambientLight.castShadow;
      scene.add(ambientLight);

      const directionalLight = new THREE.DirectionalLight(0xffffff, 2.75);
      directionalLight.position.set(4, 5, 10);
      directionalLight.castShadow;
      scene.add(directionalLight);

      loader = new GLTFLoader();
      //Add the 3D model from assets folder
      const source = './../../assets/c17_plane_game-ready/scene.gltf';
      loader.load(source, (gltf) => {
        const model = gltf.scene;
        model.traverse((child) => {
          if (child instanceof THREE.Mesh) {
            const material = child.material as THREE.MeshStandardMaterial;
            material.roughness = 0.8;
          }
        });
        gltf.scene.scale.set(2, 2, 2);
        gltf.scene.rotation.x = (90 * Math.PI) / 180; // Adjust pitch if necessary
        gltf.scene.rotation.y = (0 * Math.PI) / 180; // Adjust yaw for orientation
        gltf.scene.rotation.z = (0 * Math.PI) / 180; // Adjust roll if necessary
        scene.add(gltf.scene);
      });
    };
    webGLOverlayView.onContextRestored = ({ gl }) => {
      renderer = new THREE.WebGLRenderer({
        canvas: gl.canvas,
        context: gl,
        ...gl.getContextAttributes(),
      });

      renderer.autoClear = false;

     //Add animations if needed
       loader.manager.onLoad = () => {
         renderer.setAnimationLoop(() => {
           map.moveCamera({
           tilt: this.mapOptions.tilt!,
           heading: this.mapOptions.heading!,
            zoom: this.mapOptions.zoom!,
          });

           if (this.mapOptions.tilt! < 67.5) {
           this.mapOptions.tilt! += 0.5;
         } else if (this.mapOptions.heading! <= 360) {
             this.mapOptions.heading! += 0.2;
          } else {
            renderer.setAnimationLoop(null);
          }
        });
       };
    };
   webGLOverlayView.onDraw = ({ gl, transformer }) => {
      const latLngAltitudeLiteral = {
        lat: this.mapOptions.center?.lat,
        lng: this.mapOptions.center?.lng,
        // Set altitude from the map as needed.
        //Its basically the height from the land.
        altitude: 70,
      } as google.maps.LatLngAltitude;

      const matrix = transformer.fromLatLngAltitude(latLngAltitudeLiteral);
      camera.projectionMatrix = new THREE.Matrix4().fromArray(matrix);

      webGLOverlayView.requestRedraw();
      renderer.render(scene, camera);
      renderer.resetState();
    };

    webGLOverlayView.setMap(map);
  }
- Now add the function to initialize the webGl overlay.
  public async initializeMap(mapRef: ElementRef) {
    const { Map } = await this.importMapsLibrary('maps');
    this.map = new Map(mapRef.nativeElement, this.mapOptions);
    this.initWebGLOverlayView(this.map);
  }
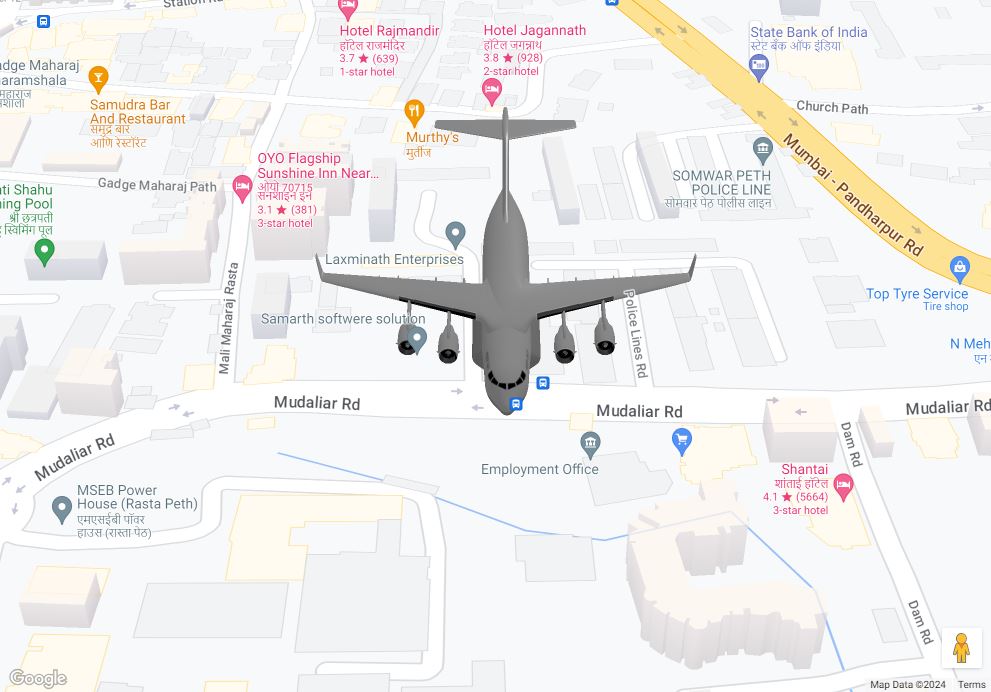
- You will get an overview like this:
ionic serve
My LinkedIn : https://www.linkedin.com/in/mustafa-iram-bab3a8221/
Subscribe and get in touch with my github:
Subscribe to my newsletter
Read articles from Mustafa Iram directly inside your inbox. Subscribe to the newsletter, and don't miss out.
Written by

Mustafa Iram
Mustafa Iram
Hi, this is Iram. I am a full time Software Engineer.