Headless Browser Test: What Is It and How to Do It?
 nstbrowser
What Is Headless Testing?
All you developers must be familiar with UI-driven testing. This ensures that our programs run properly for a long time. However, there are many problems with UI-driven testing. The one that bothers me the most is stability. Sometimes UI-driven tests cannot interact with the browser.
The answer to this problem is headless browser testing.
With headless browser testing, you perform end-to-end testing where the browser does not load the user interface of the application. Therefore, everything runs faster and the tests interact directly with the page, eliminating any possibility of instability. Your tests become more reliable, faster, and efficient.
What Does "Headless" Mean for Software?
Essentially, a "headless" solution is separating the frontend and backend of a system:
For example, you can change the software that powers a customer service chatbot (the backend) without changing the way the bot’s interface is presented to customers (the frontend). In traditional coupled systems, changes must be made through both — which is time-consuming, costly, and potentially risky.
As companies see the increased flexibility and scalability of headless solutions, their popularity is growing rapidly:
- E-commerce sites are separating the front-end presentation layer from the back-end commerce functions;
- CMS platforms have a separate customer-facing content layer that doesn’t disrupt their business infrastructure;
- Customer service automation platforms are developing AI virtual agents that sit behind customer-facing customer service chatbots or ticketing systems.
Do you have any wonderful ideas and doubts about web scraping and Browserless? Let's see what other developers are sharing on Discord and Telegram!
Advantages and Disadvantages of Headless Browsers
Headless browsers have significant advantages in performance, automation efficiency, and resource management, but they have certain limitations in debugging and simulating real user experience.
Advantages:
1. Faster performance:
No need to render a graphical interface, which reduces resource consumption, so the execution speed is usually faster than a browser with an interface, especially in web crawling and testing scenarios.
2. Low resource usage:
Headless browsers consume less memory and CPU and are suitable for large-scale automation tasks and parallel execution scenarios.
3. High efficiency of automation tasks:
Suitable for tasks such as web crawling, automated testing, simulating user operations, and often used in QA testing, SEO monitoring, data collection, etc.
4. Easy integration:
Headless browsers are often combined with automation tools such as Puppeteer, Selenium, Playwright, etc., and can be easily integrated into the continuous integration and delivery (CI/CD) process.
5. Cross-platform support:
Headless browsers support different operating systems and browser kernels, such as Chrome, Firefox, etc., and can be flexibly applied in various development and testing environments.
6. Highly concealed:
Headless browsers have no user interface, are suitable for automated tasks, and are not easy to discover, especially when crawling web pages, which can reduce the risk of being detected by websites.
Disadvantages:
1. Difficult debugging:
Because there is no GUI, the process of debugging headless browsers is more difficult than ordinary browsers. Developers cannot intuitively view the rendering status of web pages and usually need to rely on logs or screenshots.
2. Not completely consistent with the actual user experience:
Although headless browsers are similar to interface browsers in terms of functionality, they may not accurately simulate the interactive experience of real users in some scenarios (such as complex UI elements or animations).
3. Some websites detect headless browsers:
Some websites have anti-automation mechanisms that can identify and block requests from headless browsers, especially in data crawling scenarios where they may be blocked.
4. Unable to handle some front-end features:
Although headless browsers are powerful, they may not perform as well as interface browsers in some advanced front-end features (such as complex animations and 3D rendering).
5. Difficult for beginners:
For beginners who are new to automated testing or web crawling, the learning curve for configuring and using headless browsers is steep and may take more time to master.
When to Use Headless Browser Testing?
Headless browser testing is indeed a very useful tool, especially in scenarios where resources are limited or automated tasks need to be executed efficiently. You can use headless browser testing in the following situations:
1. Automated HTML interaction:
Test user interaction behaviors such as form submission, button clicks, and drop-down menu selections. With a headless browser, you can simulate these operations and verify whether the response is correct.
2. JavaScript execution testing:
Headless browsers can help test the JavaScript execution effect in web pages and verify the correctness of dynamic content. It is particularly suitable for applications with a large amount of client-side rendering logic.
3. Web Scraping:
Headless browsers can bypass simple anti-crawling mechanisms, load dynamic web content, and crawl data from web pages. Headless browsers are very efficient for crawling tasks that require complex front-end page rendering.
4. Network monitoring and performance testing:
Headless browsers can monitor network requests, loading time, etc., help analyze the performance bottlenecks of pages, and are suitable for website performance optimization and monitoring tasks.
5. Handle Ajax calls:
When a web page relies on Ajax to load data, a headless browser can capture and handle these requests and ensure that they are loaded and displayed correctly.
6. Generate web page screenshots:
In automated testing, generating page screenshots helps catch errors is used for document generation, and is suitable for visually checking page layout and content.
How to set up Selenium for headless testing with Browserless?
Step 1. Install Selenium dependencies
First, make sure you have Selenium installed in your development environment. You can install it with the following command:
pip install selenium
Step 2. Get the API key
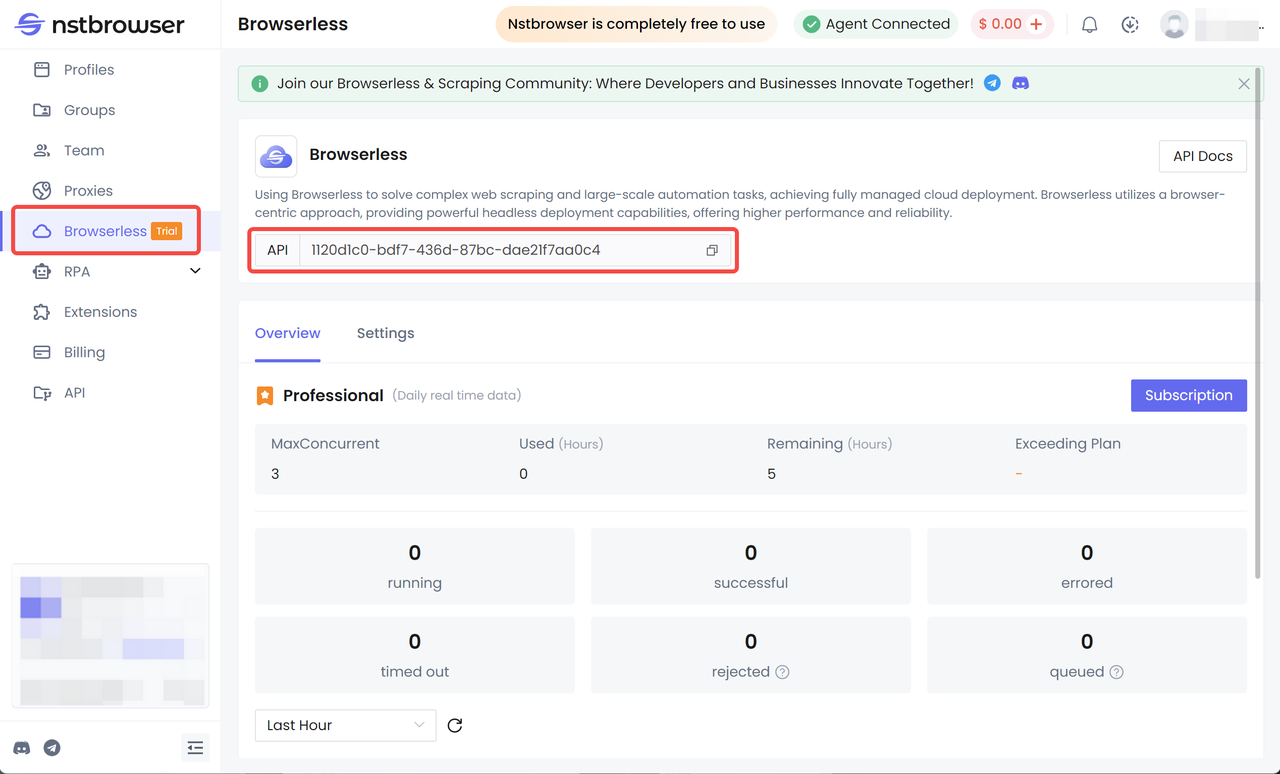
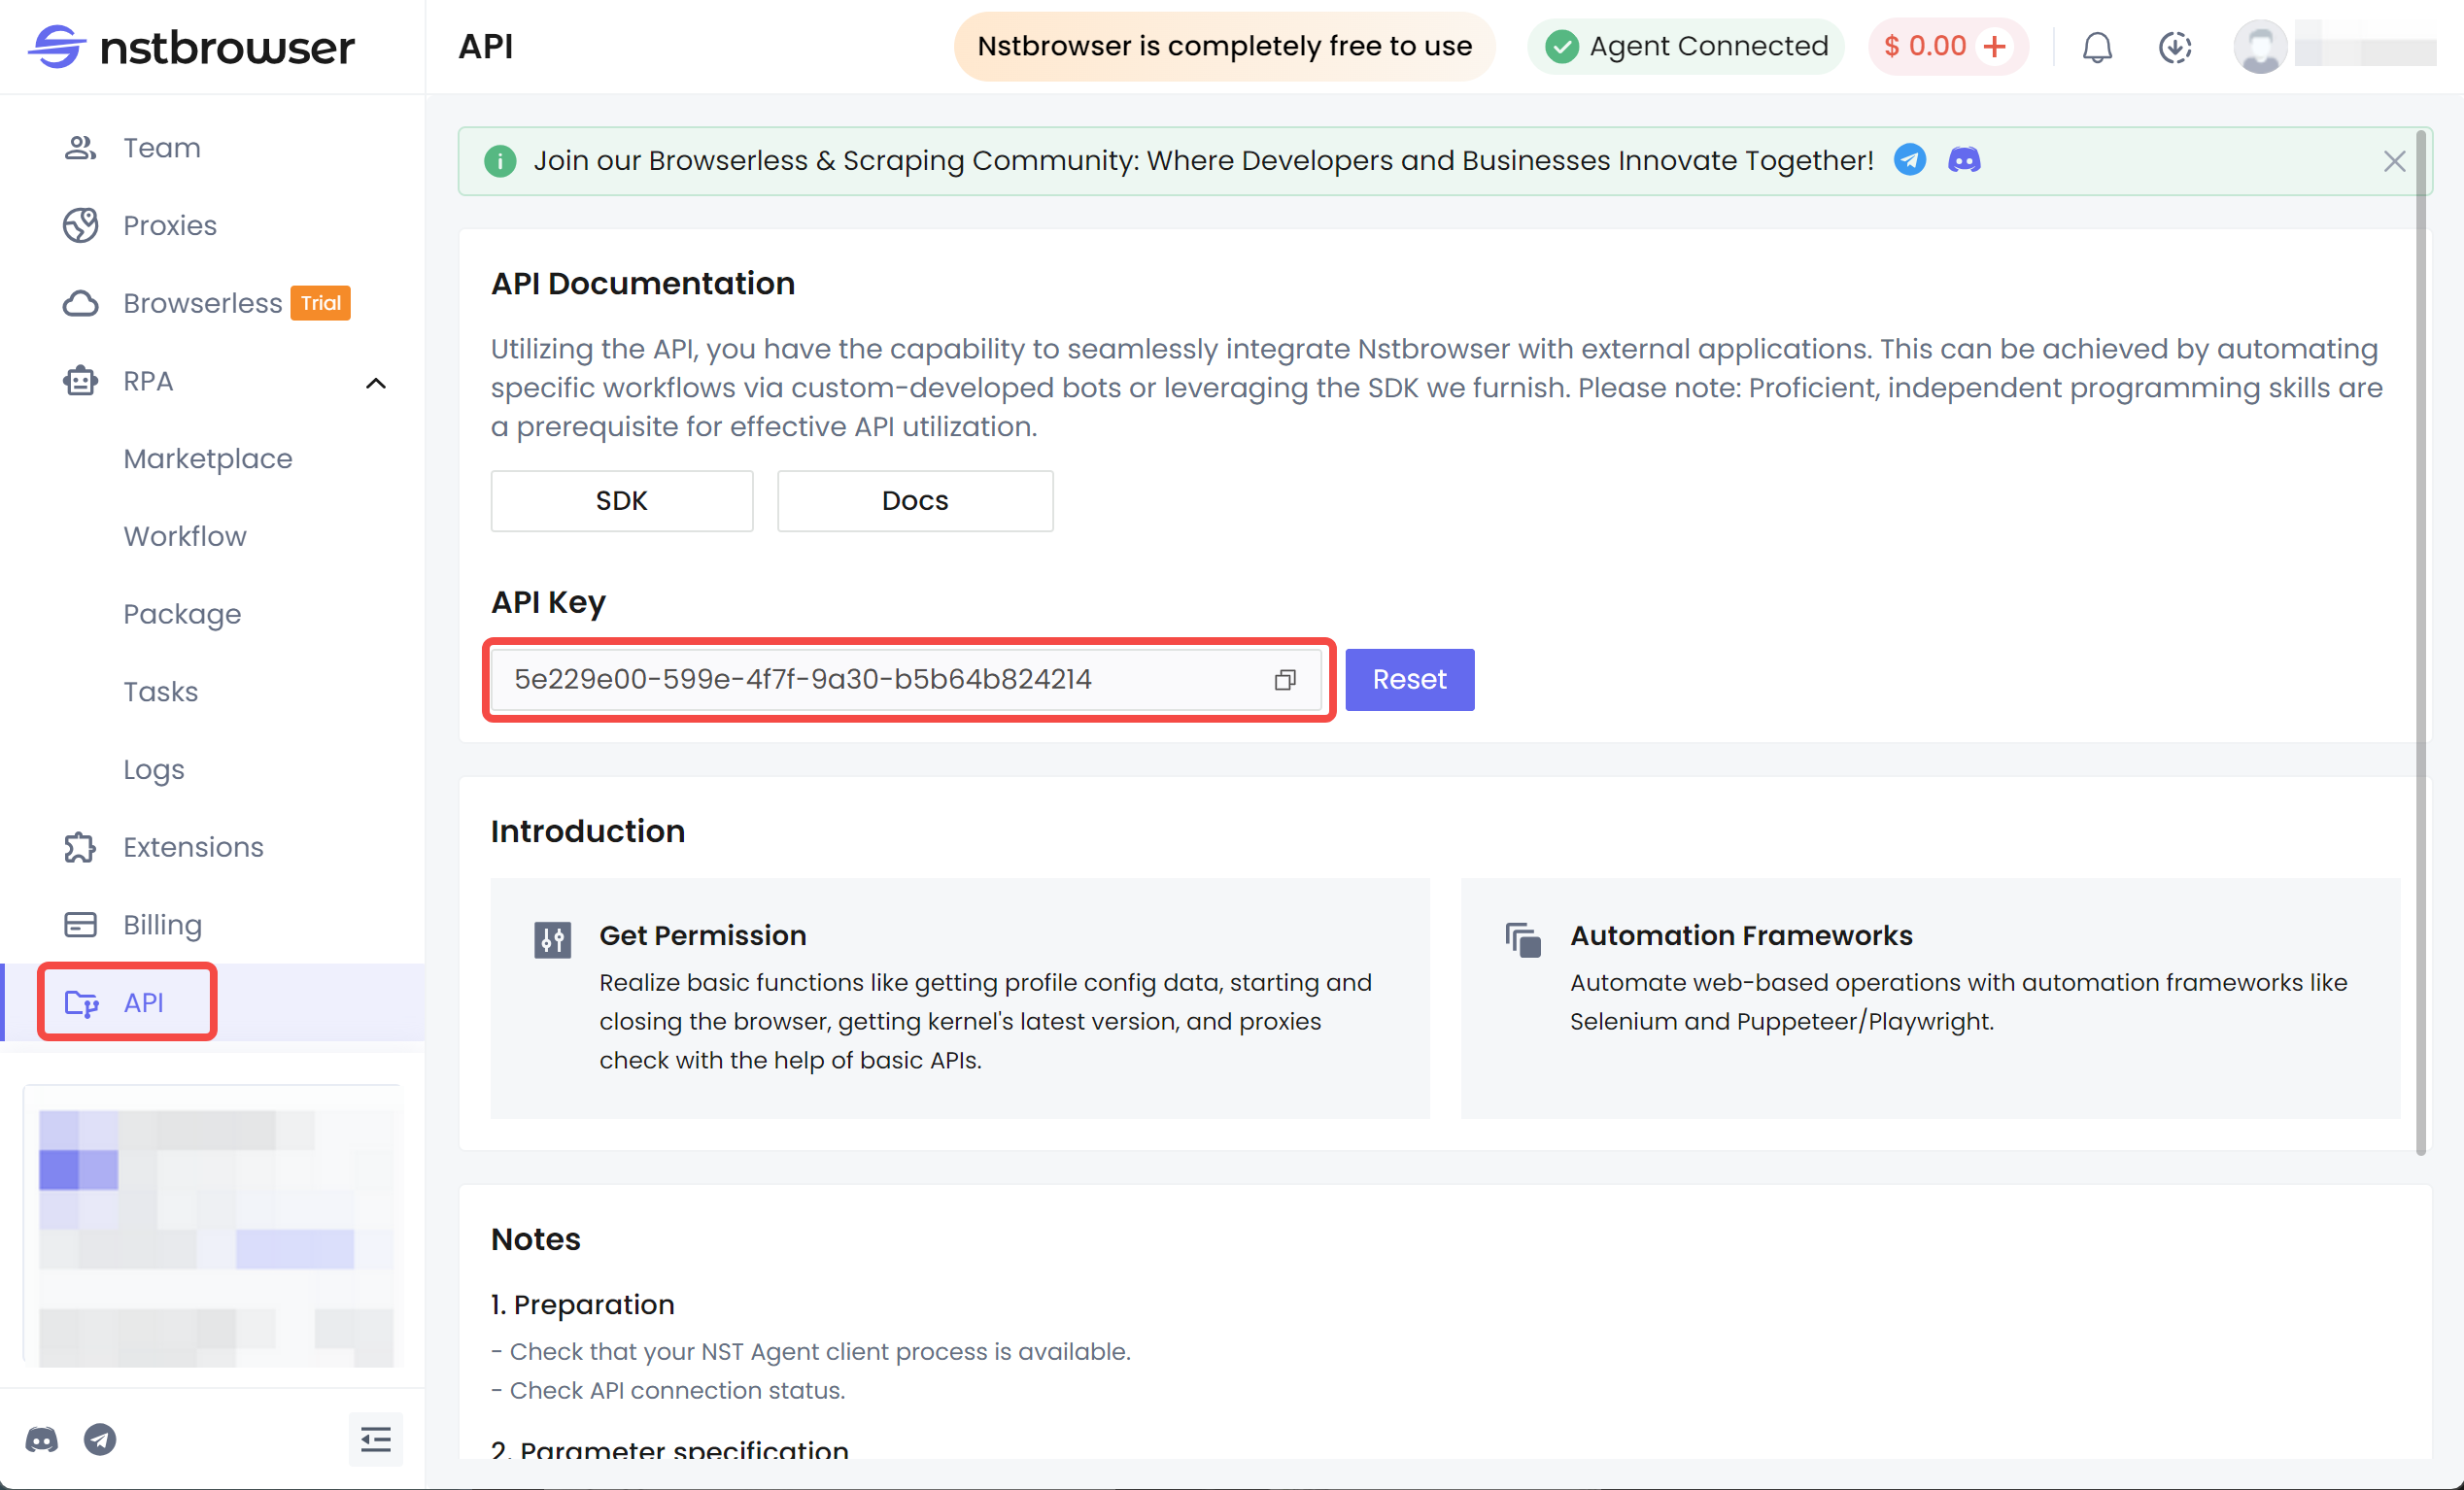
Nstbrowser provides cloud services that integrate Browserless. You need to get the corresponding API key from Nstbrowser. Log in to the Nstbrowser platform and find the Browserless API key from the control panel or get the API Key in the Browserless section of the client.

Step 3. Configure Selenium to integrate with Browserless
Selenium needs to use the Browserless API for headless browser testing. You can configure the command_executor of WebDriver to the WebSocket URL provided by Nstbrowser.
The following is a Python sample code showing how to use Browserless for Selenium headless browser testing:
from selenium import webdriver
from selenium.webdriver.chrome.options import Options

# Set Chrome browser options
chrome_options = Options()
chrome_options.add_argument('--headless')  # Enable headless mode
chrome_options.add_argument('--disable-gpu')  # If you are using Windows

# Nstbrowser's Browserless WebSocket URL
nstbrowser_url = 'wss://chrome.nstbrowser.com/webdriver?token=YOUR_NSTBROWSER_API_KEY'

# Set up remote WebDriver to connect to Nstbrowser's Browserless
driver = webdriver.Remote(
    command_executor=nstbrowser_url,
    options=chrome_options
)

# Visit the test webpage
driver.get("https://www.example.com")

# Print the webpage title
print(driver.title)

# Close the browser
driver.quit()
How to Set up Cypress for Headless Testing with Browserless?
Step 1. Register Nstbrowser and get the API key

Step 2. Install Cypress
npm install cypress
Step 3. Configure Cypress to connect to Browserless
Create or modify the Cypress configuration file cypress.json or cypress.config.js in the project root directory and add the Browserless configuration to the file. Specify the remote Browserless instance through the browser configuration option of Cypress:
{
  "browser": "chrome",
  "chromeWebSecurity": false,
  "baseUrl": "https://your-application-url.com",
  "video": false
}
Step 4. Set up Cypress to connect to your Browserless instance
Configure Cypress to connect to your Browserless cloud instance via an API key. In your test script, you can connect by:
- Setting an environment variable or using .env file to hold your API key:
CYPRESS_REMOTE_BROWSER_WS=ws://your-browserless-api-url
CYPRESS_API_KEY=your-api-key
Step 5. Run Cypress Tests
- Run the Cypress test script from the command line and make sure it connects to the Browserless instance:
npx cypress run --browser chrome --headless
This will leverage Nstbrowser's Browserless for headless testing, making testing more efficient and executing multiple browser instances over the cloud.
How to set up Puppeteer for headless testing with Browserless?
Configuring Puppeteer for headless testing with Browserless is very simple. You can integrate with Puppeteer through the Browserless API to avoid installing and running Chrome or Chromium locally.
Step 1. Install Puppeteer
First, make sure you have Node.js installed on your system. Then install Puppeteer in your project:
npm install puppeteer
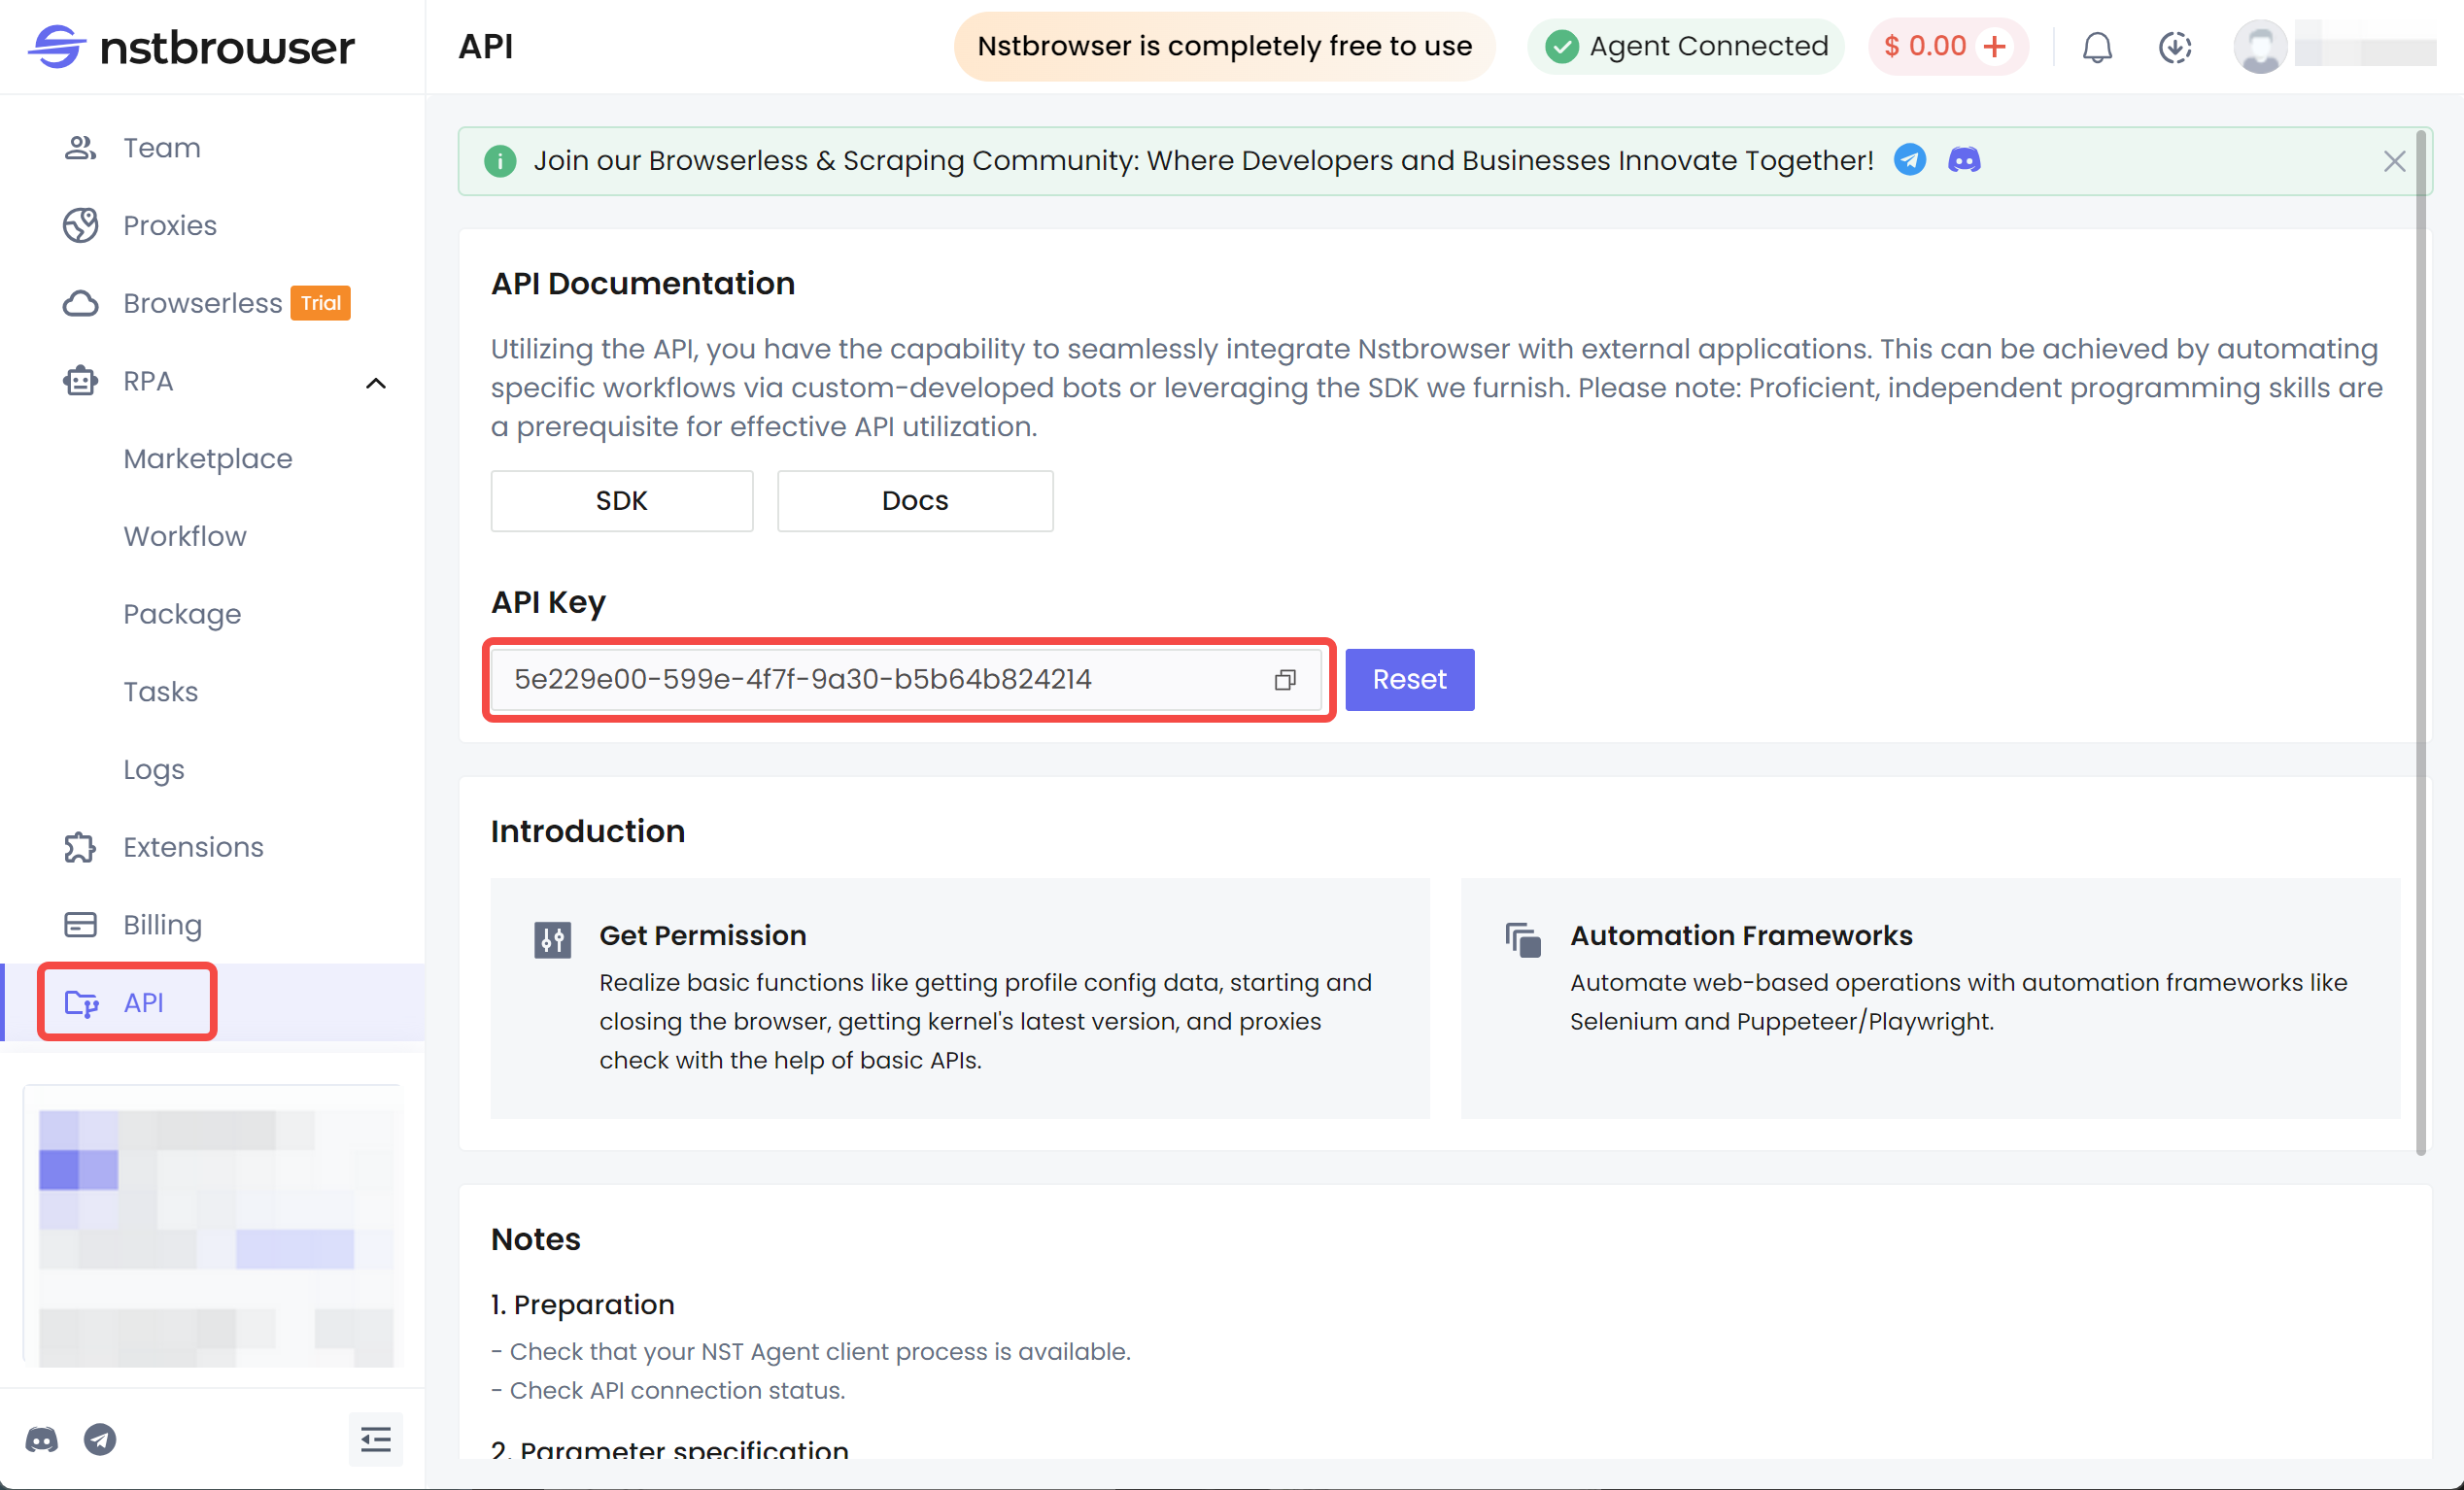
Step 2. Get the Browserless API key

Step 3. Configure Puppeteer Browserless with Nstbrowser
Puppeteer can connect to the headless browser service through a WebSocket URL. Here is a sample code of how to use Browserless for headless browser testing:
const puppeteer = require('puppeteer-core');

(async () => {
  // Browserless WebSocket URL
  const browser = await puppeteer.connect({
    browserWSEndpoint: 'wss://chrome.nstbrowser.com/webdriver?token=YOUR_NSTBROWSER_API_KEY'
  });

  // Open a new page
  const page = await browser.newPage();

  // Visit the website
  await page.goto('https://www.example.com');

  // Print the page title
  const title = await page.title();
  console.log(`Page title is: ${title}`);

  // Screenshot example
  await page.screenshot({ path: 'example.png' });

  // Close the browser instance
  await browser.close();
})();
Step 4. Execute the script
You can run this script through Node.js, which will perform headless browser testing through Nstbrowser's Browserless and perform the actions you specify. Here is the command to execute the script:
node your-script.js
Step 5. View the Nstbrowser dashboard
In the Nstbrowser dashboard, you can monitor the running status of the headless browser in real-time, including logs, API call counts, and detailed information about the browser instance. This is very helpful for debugging and optimizing automation tasks.
Additional notes:
- Puppeteer headless mode: In Puppeteer, it runs in headless mode (
headless: true) by default, that is, no user interface is displayed. If you need to switch toheadlessmode, you can set headless tofalse. - Advantages provided by Nstbrowser: With Browserless, you do not need to install a browser locally, and you can use its IP rotation, proxy, automatic block avoidance, and other features, which are very useful for large-scale automation tasks.
How to Set up Playwright for Headless Testing with Browserless?
Step 1. Register Nstbrowser and get an API key
Visit Nstbrowser to register your account and get an API key for integrating Browserless. This key will be used to connect to Nstbrowser's cloud-based headless browser cluster.

Step 2. Install Playwright
npm install playwright
Step 3. Configure Playwright to connect to Browserless
In the Playwright project, use the connect method provided by Playwright to configure it to connect to the Browserless cloud instance of Nstbrowser.
Create or modify a Playwright test script and add the Browserless WebSocket connection URL and API key to the script.
const { chromium } = require('playwright');

// Use the WebSocket URL and API key provided by Browserless
(async () => {
  const browser = await chromium.connect({
    wsEndpoint: 'wss://your-nstbrowserless-api-url?token=your-api-key'
  });

  const context = await browser.newContext();
  const page = await context.newPage();

  // Open the website you want to test
  await page.goto('https://your-application-url.com');

  // Perform actions on the page, such as clicking, typing, etc.
  await page.click('button#submit');

  // Close the browser
  await browser.close();
})();
Step 4. Run Playwright headless tests
Run your Playwright script in the terminal and make sure it is connected to the Nstbrowser's Browserless instance:
node your-playwright-script.js
Step 5. Concurrent testing and resource optimization
Playwright supports concurrent execution of tests in multiple browser instances. With Nstbrowser's Browserless cloud infrastructure, you can run multiple Playwright sessions simultaneously for efficient test automation:
const { chromium } = require('playwright');

(async () => {
  // Connect to Browserless and use multiple browser instances for concurrent testing
  const browser = await chromium.connect({
    wsEndpoint: 'wss://your-nstbrowserless-api-url?token=your-api-key'
  });

  // Create multiple browser contexts to parallelize testing
  const context1 = await browser.newContext();
  const context2 = await browser.newContext();

  const page1 = await context1.newPage();
  const page2 = await context2.newPage();

  await page1.goto('https://example1.com');
  await page2.goto('https://example2.com');

  // Execute page operations
  await page1.click('#button1');
  await page2.click('#button2');

  // Close the browser instance
  await browser.close();
})();
The Bottom Line
Headless browser testing is a faster, more reliable, and more efficient way to test web applications in browsers. In this article, you can easily learn:
- What does headless mean?
- Advantages and disadvantages of headless browsers
- How to use Browserless for headless testing?
To ensure minimal technical disruption while maximizing ROI, headless solutions are the best way to get ahead of the competition.
Subscribe to my newsletter
Read articles from nstbrowser directly inside your inbox. Subscribe to the newsletter, and don't miss out.
Written by
