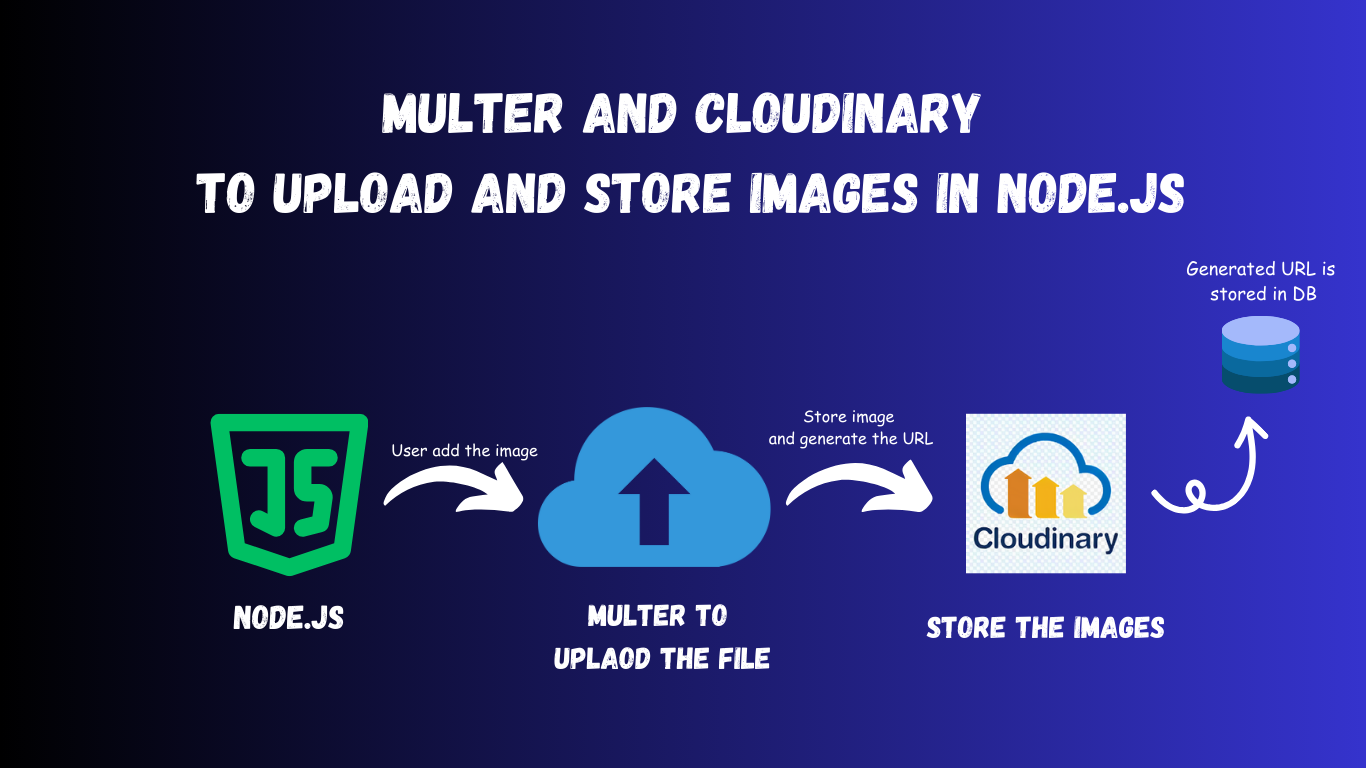
Multer and Cloudinary to Upload and Store Images in Node.js
 Prathamesh Pichkate
Uploading files, especially images, is a common requirement in web applications. This guide will walk you through the process of integrating file upload functionality using Multer in a Node.js application and storing the uploaded files on Cloudinary. By the end of this tutorial, you'll know how to:
Set up Multer to handle file uploads.
Implement Cloudinary for image storage.
Write the necessary code to make everything work seamlessly.
1. Understanding Multer and Installing It in Node.js
Multer is a middleware for handling multipart/form-data, which is primarily used for uploading files. It simplifies the process of handling file uploads in Node.js, making it easy to store files either in memory or on disk.
Installing Multer
To get started, install Multer via npm:
npm install multer
Once installed, Multer provides two storage options:
Disk Storage: Saves files to the disk.
Memory Storage: Stores files in memory as a buffer (useful when uploading to external services like Cloudinary).
In this blog, we will focus on Memory Storage since we plan to upload files to Cloudinary.
2. Steps to Upload Files Using Multer
Now, let's set up Multer in your Node.js project. We will configure it to only accept image files and limit the file size to 5MB.
Multer Code Setup
Here’s a breakdown of the key steps to upload files using Multer:
Import Multer and Path: We'll use Multer for handling file uploads and Path to check the file type.
Set Up Storage: We'll use
memoryStorageto store the image files in memory before uploading them to Cloudinary.File Filter: This ensures only specific file types (e.g.,
jpeg,jpg,png,gif) are uploaded.Initialize Multer: Set the file size limit (5MB) and apply the file filter.
import multer from "multer";
import path from "path";

// Set storage engine (using memory storage since we'll upload to Cloudinary)
const storage = multer.memoryStorage();

// File filter to allow only image files
const fileFilter = (req, file, cb) => {
  const fileTypes = /jpeg|jpg|png|gif/;
  const extname = fileTypes.test(path.extname(file.originalname).toLowerCase());
  const mimetype = fileTypes.test(file.mimetype);

  if (mimetype && extname) {
    return cb(null, true);
  } else {
    cb(new Error("Only images are allowed"));
  }
};

// Initialize multer upload
const upload = multer({
  storage,
  limits: { fileSize: 5 * 1024 * 1024 }, // 5MB limit
  fileFilter,
});

export default upload;
Key Points:
Memory Storage: Files are temporarily held in memory as a buffer, which makes it efficient for uploading to external storage services.
File Filter: Ensures only image files are accepted for upload.
File Size Limit: You can set limits to prevent excessively large files from being uploaded.
3. Integrating Cloudinary for Image Storage
Cloudinary is a popular cloud-based service that provides secure storage and image manipulation capabilities. We will use it to store images uploaded through Multer.
Installing Cloudinary
Install the Cloudinary SDK for Node.js:
npm install cloudinary dotenv
We also need to install dotenv to manage Cloudinary credentials securely.
Setting Up Cloudinary in Your Project
To integrate Cloudinary, follow these steps:
Install and Configure Environment Variables: Store your Cloudinary credentials (
cloud_name,api_key,api_secret) in a.envfile.Configure Cloudinary in Code: Initialize Cloudinary with the credentials stored in environment variables.
Create a Function to Upload Files to Cloudinary: This function takes the buffer from Multer’s memory storage and uploads it to Cloudinary.
import { v2 as cloudinary } from "cloudinary";
import dotenv from "dotenv";

dotenv.config();

// 1. Configure Cloudinary with credentials from environment variables
cloudinary.config({
  cloud_name: process.env.CLOUDINARY_CLOUD_NAME,
  api_key: process.env.CLOUDINARY_API_KEY,
  api_secret: process.env.CLOUDINARY_API_SECRET,
});

// 2. Function to upload file buffer to Cloudinary
const uploadToCloudinary = (buffer, folder = "users") => {
  return new Promise((resolve, reject) => {
    // Use Cloudinary's upload_stream to handle the buffer
    const uploadStream = cloudinary.uploader.upload_stream(
      { folder, resource_type: "image" },
      (error, result) => {
        if (error) {
          reject(error);
        } else {
          resolve(result.secure_url);
        }
      }
    );

    // Write the buffer to the upload stream
    uploadStream.end(buffer);
  });
};

export { uploadToCloudinary };
Key Points:
Cloudinary Configuration: The credentials are fetched from environment variables using
dotenv.Buffer Upload: We use Cloudinary’s
upload_streammethod to upload files directly from memory storage, which is perfect when using Multer’smemoryStorage.
4. Using Multer as Middleware in an Express Route
Now that we've set up both Multer and Cloudinary, let's integrate Multer middleware into an Express route. We’ll use Multer to handle the file upload, then pass the uploaded image to Cloudinary for storage.
Here’s how you can add the Multer middleware in a route that registers a user with a profile image:
Sample Route Setup with Multer Middleware
import { Router } from "express";
import upload from "../middleware/multer.middleware.js";
import { registerUser } from "../controllers/user.controller.js";

const router = Router();

// Authentication Route to Register User
router.post(
  "/register-user",
  upload.single("imageUrl"), // Use upload.single instead of upload.fields for single file upload
  registerUser
);

export default router;
Breakdown:
Multer Middleware:
upload.single('imageUrl')is used to handle single file uploads where"imageUrl"is the field name for the uploaded image in the request.Controller Function: After the image is uploaded, the
registerUserfunction will handle further logic like storing user data and image URL.
Conclusion
By following these steps, you can easily handle image uploads in your Node.js application using Multer and store them securely in Cloudinary. Here’s a quick recap:
Multer helps manage file uploads and ensures files meet certain criteria, like size and type.
Cloudinary stores the uploaded files securely and provides a URL to access them.
You can integrate both Multer and Cloudinary in Express routes to handle file uploads and image storage.
With this setup, you can now extend your application to support image uploads while leveraging Cloudinary’s powerful image management features!
Happy Coding!
Subscribe to my newsletter
Read articles from Prathamesh Pichkate directly inside your inbox. Subscribe to the newsletter, and don't miss out.
Written by

Prathamesh Pichkate
Prathamesh Pichkate
MERN STACK DEVELOPER