How To Protect your Website from a DDOS attack
 Anirudh Dayanand
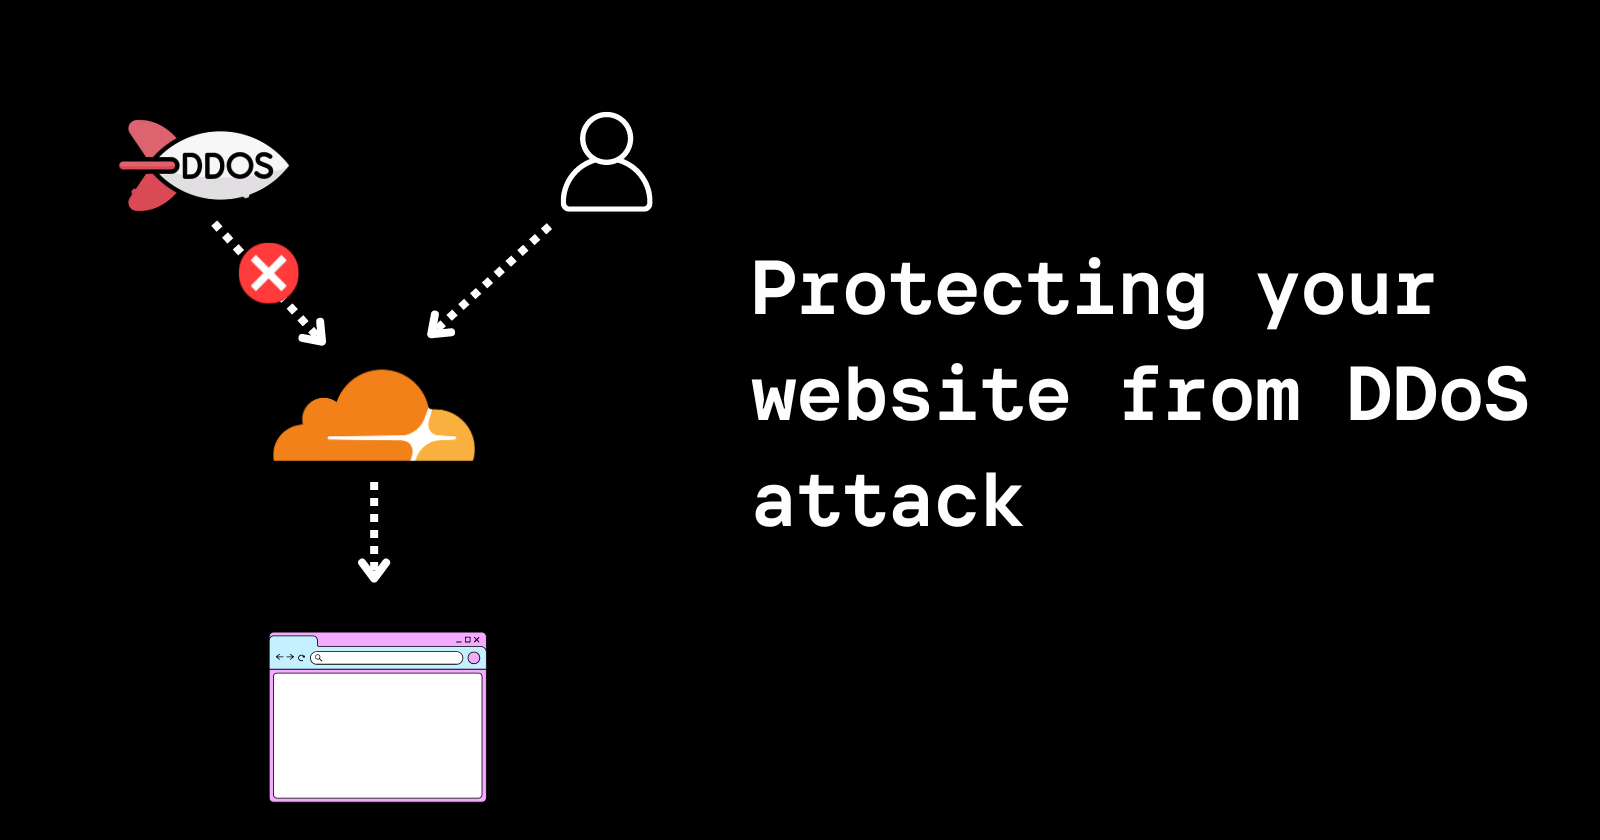
Distributed Denial of Service (DDoS) attacks can be devastating for websites, causing downtime and loss of revenue. Cloudflare offers robust protection against these attacks. This tutorial will guide you through the process of setting up Cloudflare to protect your website from DDoS attacks.
Step 1: Add Your Website to Cloudflare
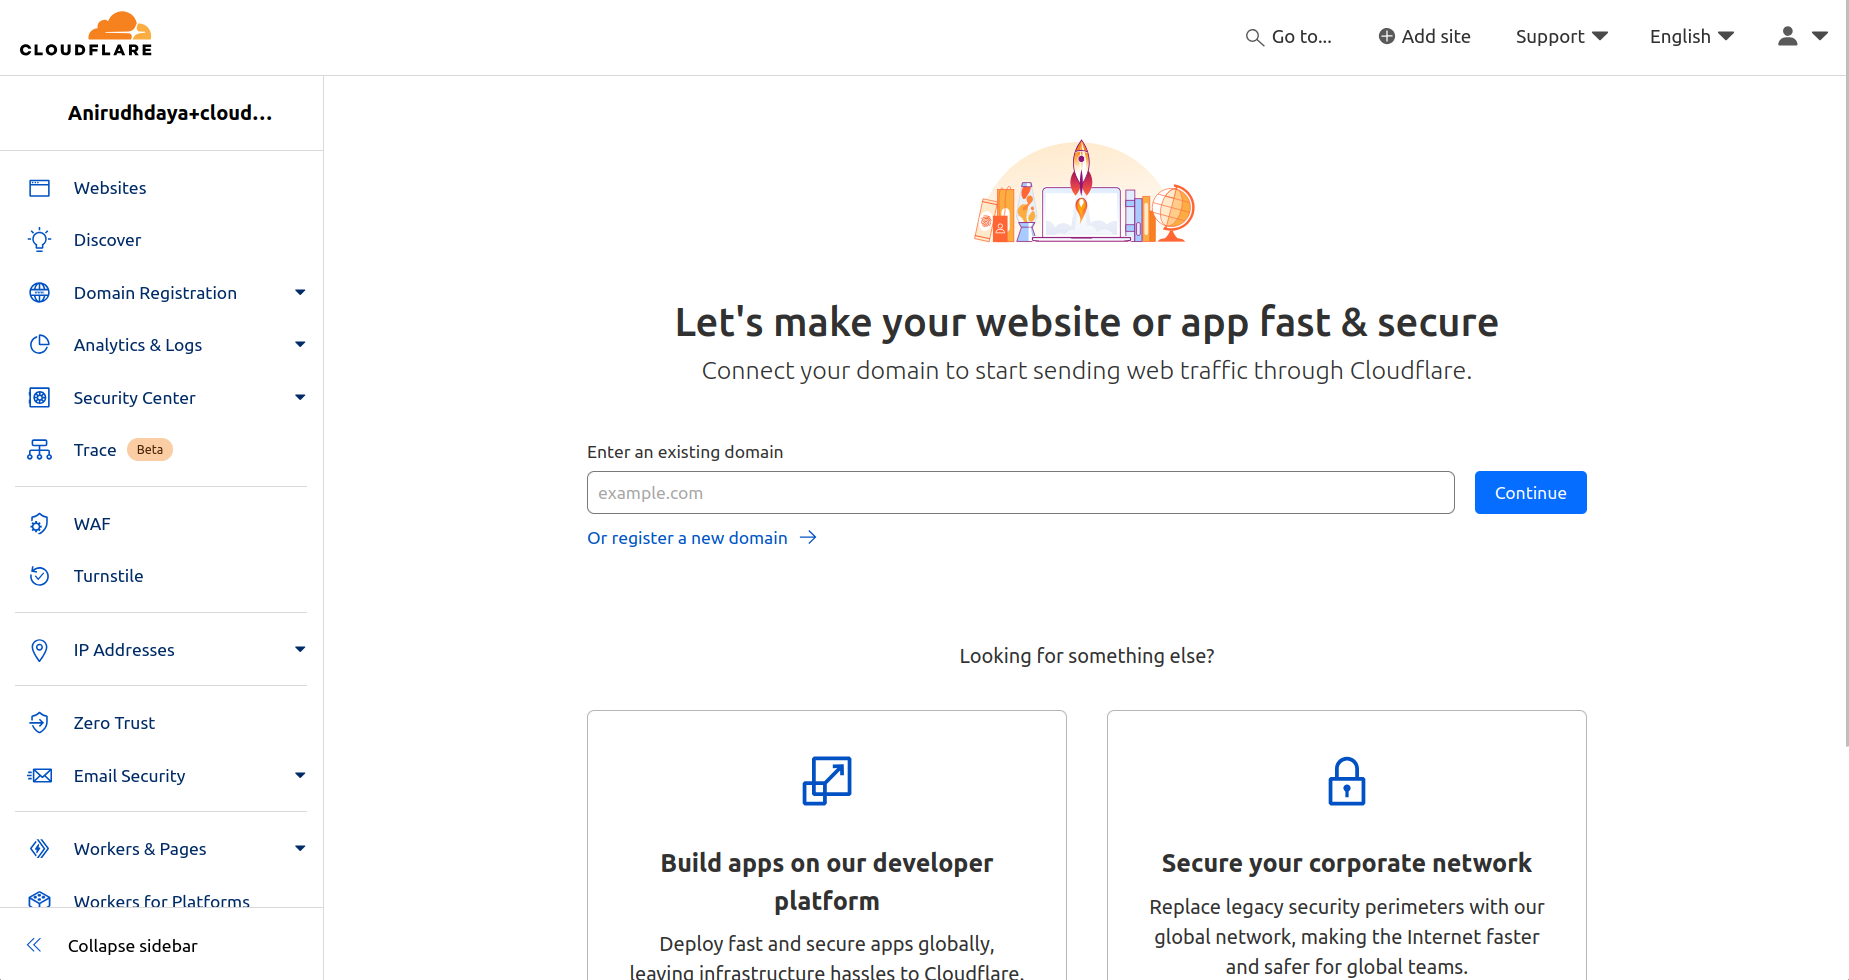
Log in to your Cloudflare account.
Click on the "Add a domain" button.
Enter your website's domain name and click "continue"
Select a plan (the Free plan offers basic DDoS protection).
Cloudflare will scan your DNS records. Review them and click "Continue."
Step 2: Update Your Domain's Nameservers
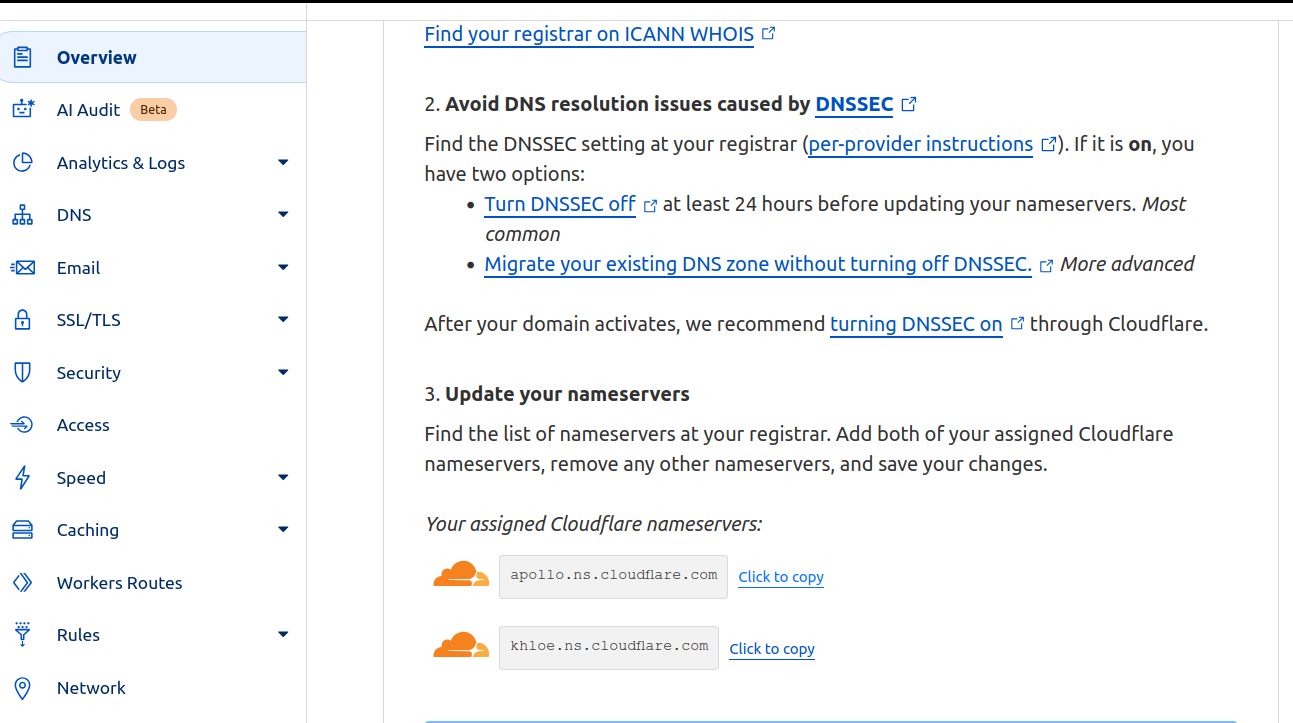
Cloudflare will provide you with new nameservers.
Log in to your domain registrar's website.
Find the nameserver settings for your domain.
Replace the existing nameservers with the ones provided by Cloudflare.
Save the changes.
Note: It may take up to 24 hours for the nameserver changes to propagate but usually it happens quickly.
Step 3: Enable Cloudflare Security Features
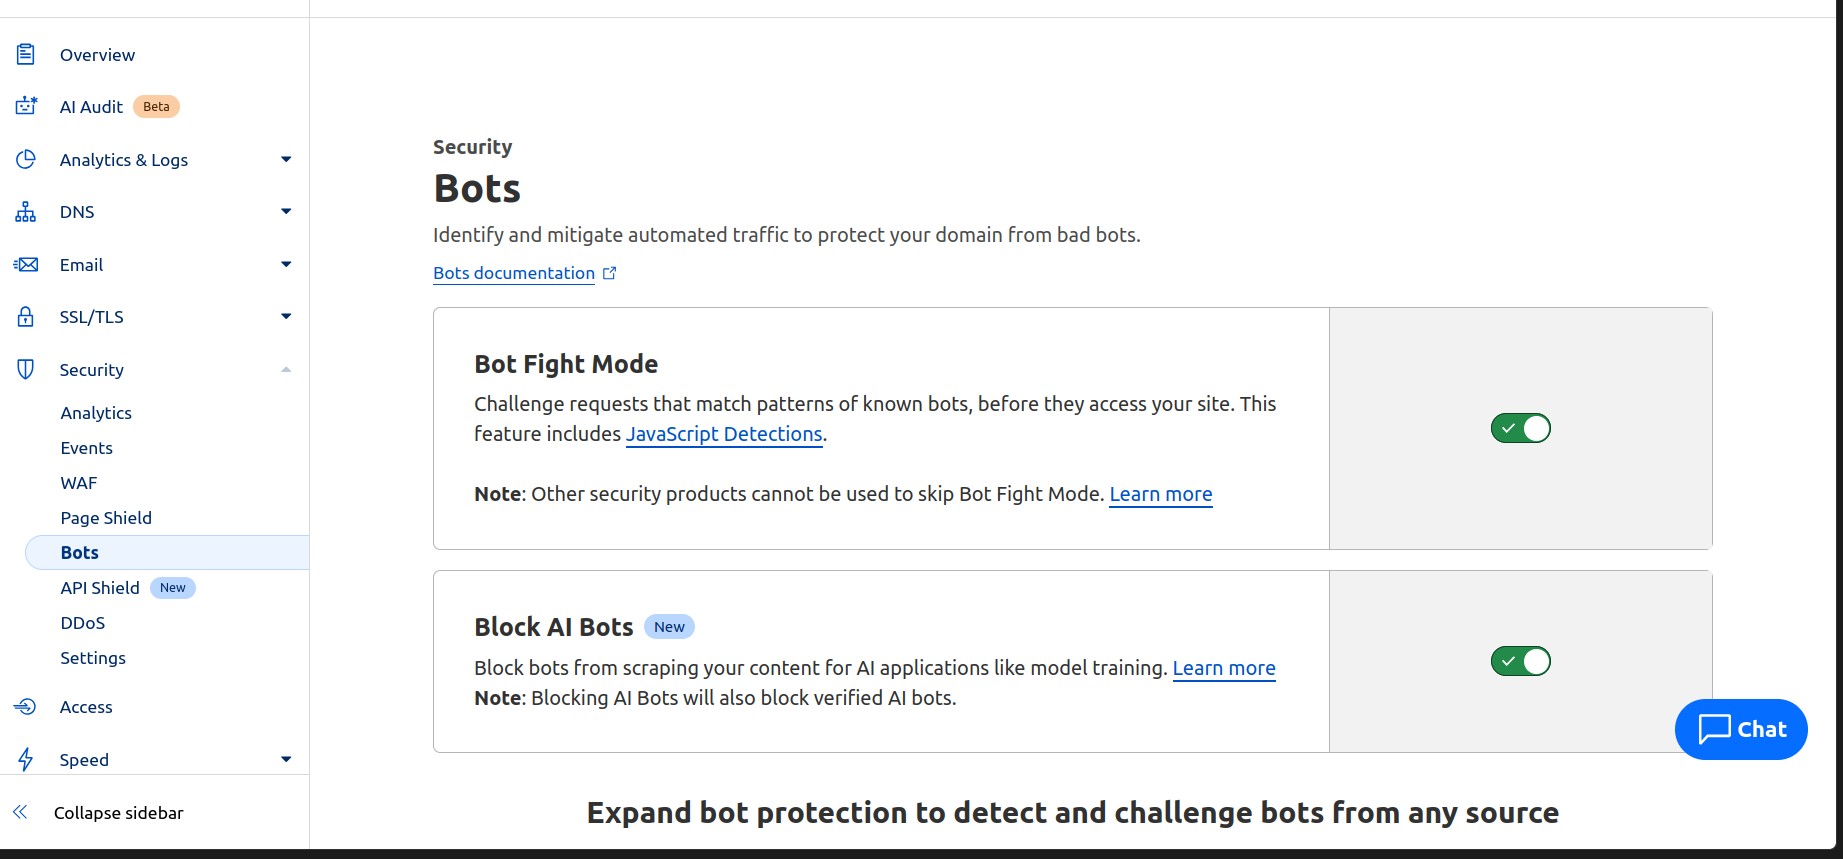
In your Cloudflare dashboard, go to the "Security" tab.
Under "Security Level," choose a setting. "Medium" is recommended for most websites. (settings section)
Enable "Bot Fight Mode" to Identify and mitigate automated traffic to protect your domain from bad bots. (in the bots section)
Turn on "Browser Integrity Check" to examine incoming HTTP headers. (in the settings section)
Step 4: Enable Rate Limiting
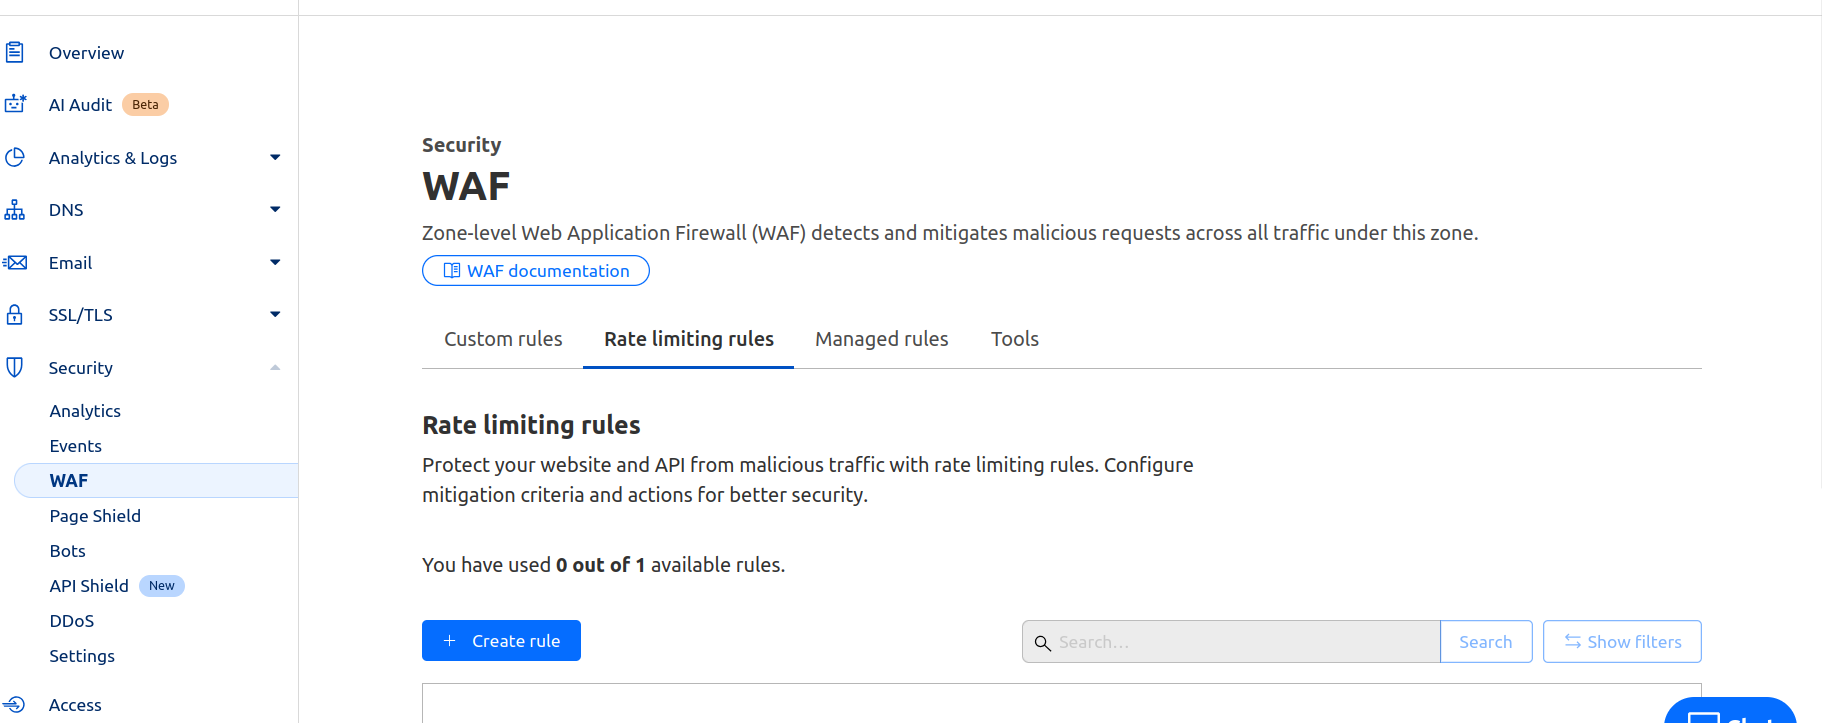
In the "Security" tab, find the "WAF" section and move to “Rate Limiting Rules“ section.
Click "Create Rate Limiting Rule."
Set up rules to limit the number of requests from a single IP address. Example rule: Block an IP if it makes more than 100 requests per minute.
Step 5: Configure DDoS Protection Settings
Go to the "DDoS" tab in your Cloudflare dashboard. By default there is an automatic DDoS protection that constantly analyzes traffic and generates real-time signatures to mitigate attacks across the network and application layers.
Review and adjust the HTTP DDoS attack protection settings.
Step 6: Monitor and Analyze Traffic
Use Cloudflare's Analytics tools to monitor your website's traffic.
Look for unusual patterns or spikes that might indicate an attack.
Review the "Security Events" log regularly to see blocked threats.
Additional Tips:
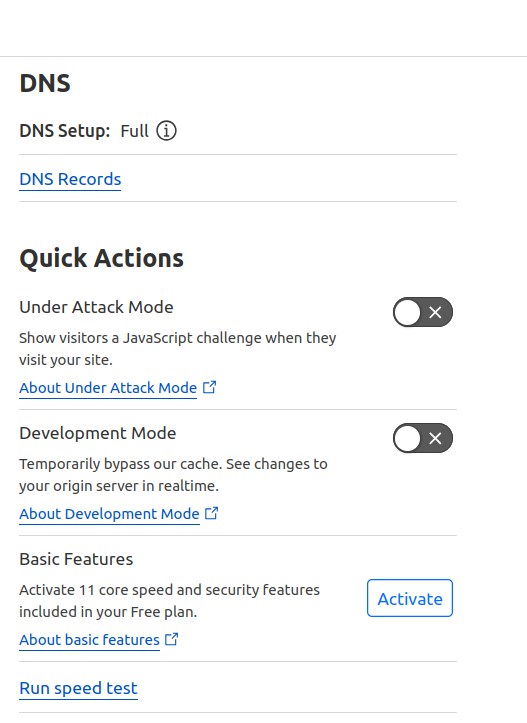
Use Cloudflare's "I'm Under Attack" mode during active DDoS attacks. (has some drawbacks when it’s always on)
Consider using Cloudflare Workers to create custom security rules.
By following these steps, you'll significantly improve your website's resilience against DDoS attacks. Remember, security is an ongoing process, so stay vigilant and keep your protections up to date.
Subscribe to my newsletter
Read articles from Anirudh Dayanand directly inside your inbox. Subscribe to the newsletter, and don't miss out.
Written by

Anirudh Dayanand
Anirudh Dayanand
I'm an automation enthusiast who loves building projects and sharing my experiences through part-time blogging. With a passion for DevOps and open-source tech, I'm always seeking new ways to contribute to the community. I'm also a machine learning enthusiast who enjoys expanding my knowledge in the field. Above all, I believe in learning in public and creating an environment that encourages growth and development.