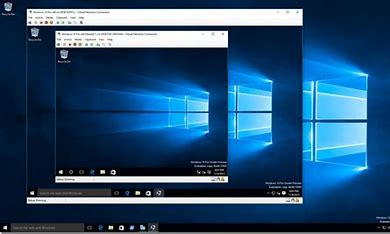
Step by Step Guide to Deploy and Connect to Window Virtual Machine in Azure
 Celestina Odili
What is Azure Virtual Machine
Azure virtual machines (VMs) are simulations of physical computer. They enable you to create dedicated compute resources in minutes which can be used just like a physical desktop or server machine. Azure VMs can be defined and deployed in several ways: The Azure portal, a script (using the Azure CLI or Azure PowerShell) or through an Azure Resource Manager template. This guide is through azure portals
How to Deploy Virtual Machines in Azure
Step1: Sign in to Azure Portal
Go to portal.azure.com and sign in with your email and password if you have already signed up.
. Otherwise sign up first to create an account and subscription. Click here for details on subscription and sign up.
Step 2: Create a Virtual machine
Once sign in is successful, you can create any needed resource. On the Home page Click on "Create a resource", select Virtual Machine and click create. Other ways to achieve this include clicking on virtual machine directly or use the search bar to search for virtual machine.
Step 3: Configure the Virtual Machine Basics.
For the basics tab, fill the basic setting of your VM. Select subscription, resource group or create a new one if you wish.
Follow the suggested naming convention and give and appropriate name to your VM. Here I choose ABC-Project as my VM name. select the region and availability options. Set the security type and
Choose the Image (The type and version of the OS) you want. Azure allow only Linus or windows OS. Pick a VM size based on the required CPU, memory, and storage. Set up administrator account by Creating username and password. This password will be used to connect to the VM after deployment. So, it is important you note the password. Configure networking, allow public inbound ports selection to Choose a suitable port option. Choosing SSH will enable connection to your VM through IP address while choosing RDP (Remote desktop Protocol) will enable connection through remote desktop connection. For my ABC-Project, I choose RDP3389. Finally, you need to Confirm licensing before you can proceed.
Step 4: Configure other Settings(optional)
You can customize the other tabs or apply their default settings. In ABC-Project, the default setting was used. The tabs include:
Disks
Networking
Management
Monitoring
Advanced
Tags
Step 5: Review and Create (Deploy) the Virtual Machine
On the review and create tab, review all your configuration and click on create to deploy the VM. If all the parameters are properly set, it will be verified, and the deployment process will start. Wait for the deployment process to complete and your VM is created. However, if it did not pass the verification, you will be notified about the error. Always read your notification because it usually points to the error and suggest the fix.
How to Connect to a virtual machine
Step 1: Sign in to Azure Portal.
If you did not logout after deploying the VM, skip this step
Step 2: Locate the virtual machine.
To locate the VM, search for virtual machine from the search bar and click on it. Then Click the VM name (ABC-Project) to open it and click on connect. Alternatively, you could click "go to resource" from the notification bar especially if you just deployed the VM. This will take you straight to the exact resource it is pointing to.
Step 3: Connect using the port selected while creating the VM.
For RDP port, download the RPD file, open the file, Check
"don’t ask me again for connection to this computer" in the pop menu and click connect. Input the password created during the set-up stage of the VM deployment when prompted for password. When alerted for certification verification, do not verify. Click yes to continue and wait for it to connect. Once connected, your VM is ready for use. you can Work on the VM like you would on a physical PC. Meanwhile basic Pc configuration should be done when connecting to the VM for the first time.
Subscribe to my newsletter
Read articles from Celestina Odili directly inside your inbox. Subscribe to the newsletter, and don't miss out.
Written by

Celestina Odili
Celestina Odili
Computer Scientist/ Cloud Engineer/DevOps Engineer / Technical writer


