Day 52 of 90 Days of DevOps Challenge: Your CI/CD Pipeline on AWS - Part 3 🚀 ☁
 Tushar Pant
Welcome to Day 52 of the 90 Days of DevOps Challenge! So far, you've connected your GitHub repository to AWS CodeBuild, automating the build process. Today, we’re taking things further by integrating AWS CodeDeploy to automate the deployment of your built application to an EC2 instance. By the end of this day, you'll have a fully automated pipeline that deploys changes to your EC2 instance whenever you push new code.
What is AWS CodeDeploy?
AWS CodeDeploy is a fully managed deployment service that automates the process of deploying applications to various compute services such as EC2, on-premise servers, Lambda functions, and Amazon ECS services. Whether you're deploying new software versions or updating configurations, CodeDeploy ensures reliable and automated deployments.
Why Use CodeDeploy?
Using CodeDeploy helps eliminate human error and downtime during the deployment process. It automatically manages the deployment of your applications and can roll back if something goes wrong, ensuring minimal disruption to your services.
Task 1: Read About the AppSpec File for CodeDeploy
The AppSpec file defines the deployment actions CodeDeploy should perform. It contains details about where to copy your application files, what scripts to run before and after deployment, and where to deploy the code on your EC2 instance. Before you proceed, let’s briefly go over the structure of an appspec.yaml file.
Structure of an appspec.yaml file:
version: 0.0
os: linux
files:
  - source: /index.html
    destination: /var/www/html

hooks:
  BeforeInstall:
    - location: scripts/install_dependencies.sh
      timeout: 300
      runas: root
  AfterInstall:
    - location: scripts/restart_nginx.sh
      timeout: 300
      runas: root
Version: Specifies the version of the AppSpec file format.
OS: Defines the operating system of the target instance.
Files: Specifies which files to copy from the source (GitHub/S3) to the destination (EC2 instance).
Hooks: Allows you to define custom lifecycle events, such as running scripts before and after the deployment process.
Task 2: Deploy the index.html File to an EC2 Instance Using NGINX
Let’s set up AWS CodeDeploy to deploy the index.html file from your GitHub repository to an EC2 instance running NGINX.
Step-by-Step Guide:
1. Set Up an EC2 Instance:
Launch a new EC2 instance (Amazon Linux 2).
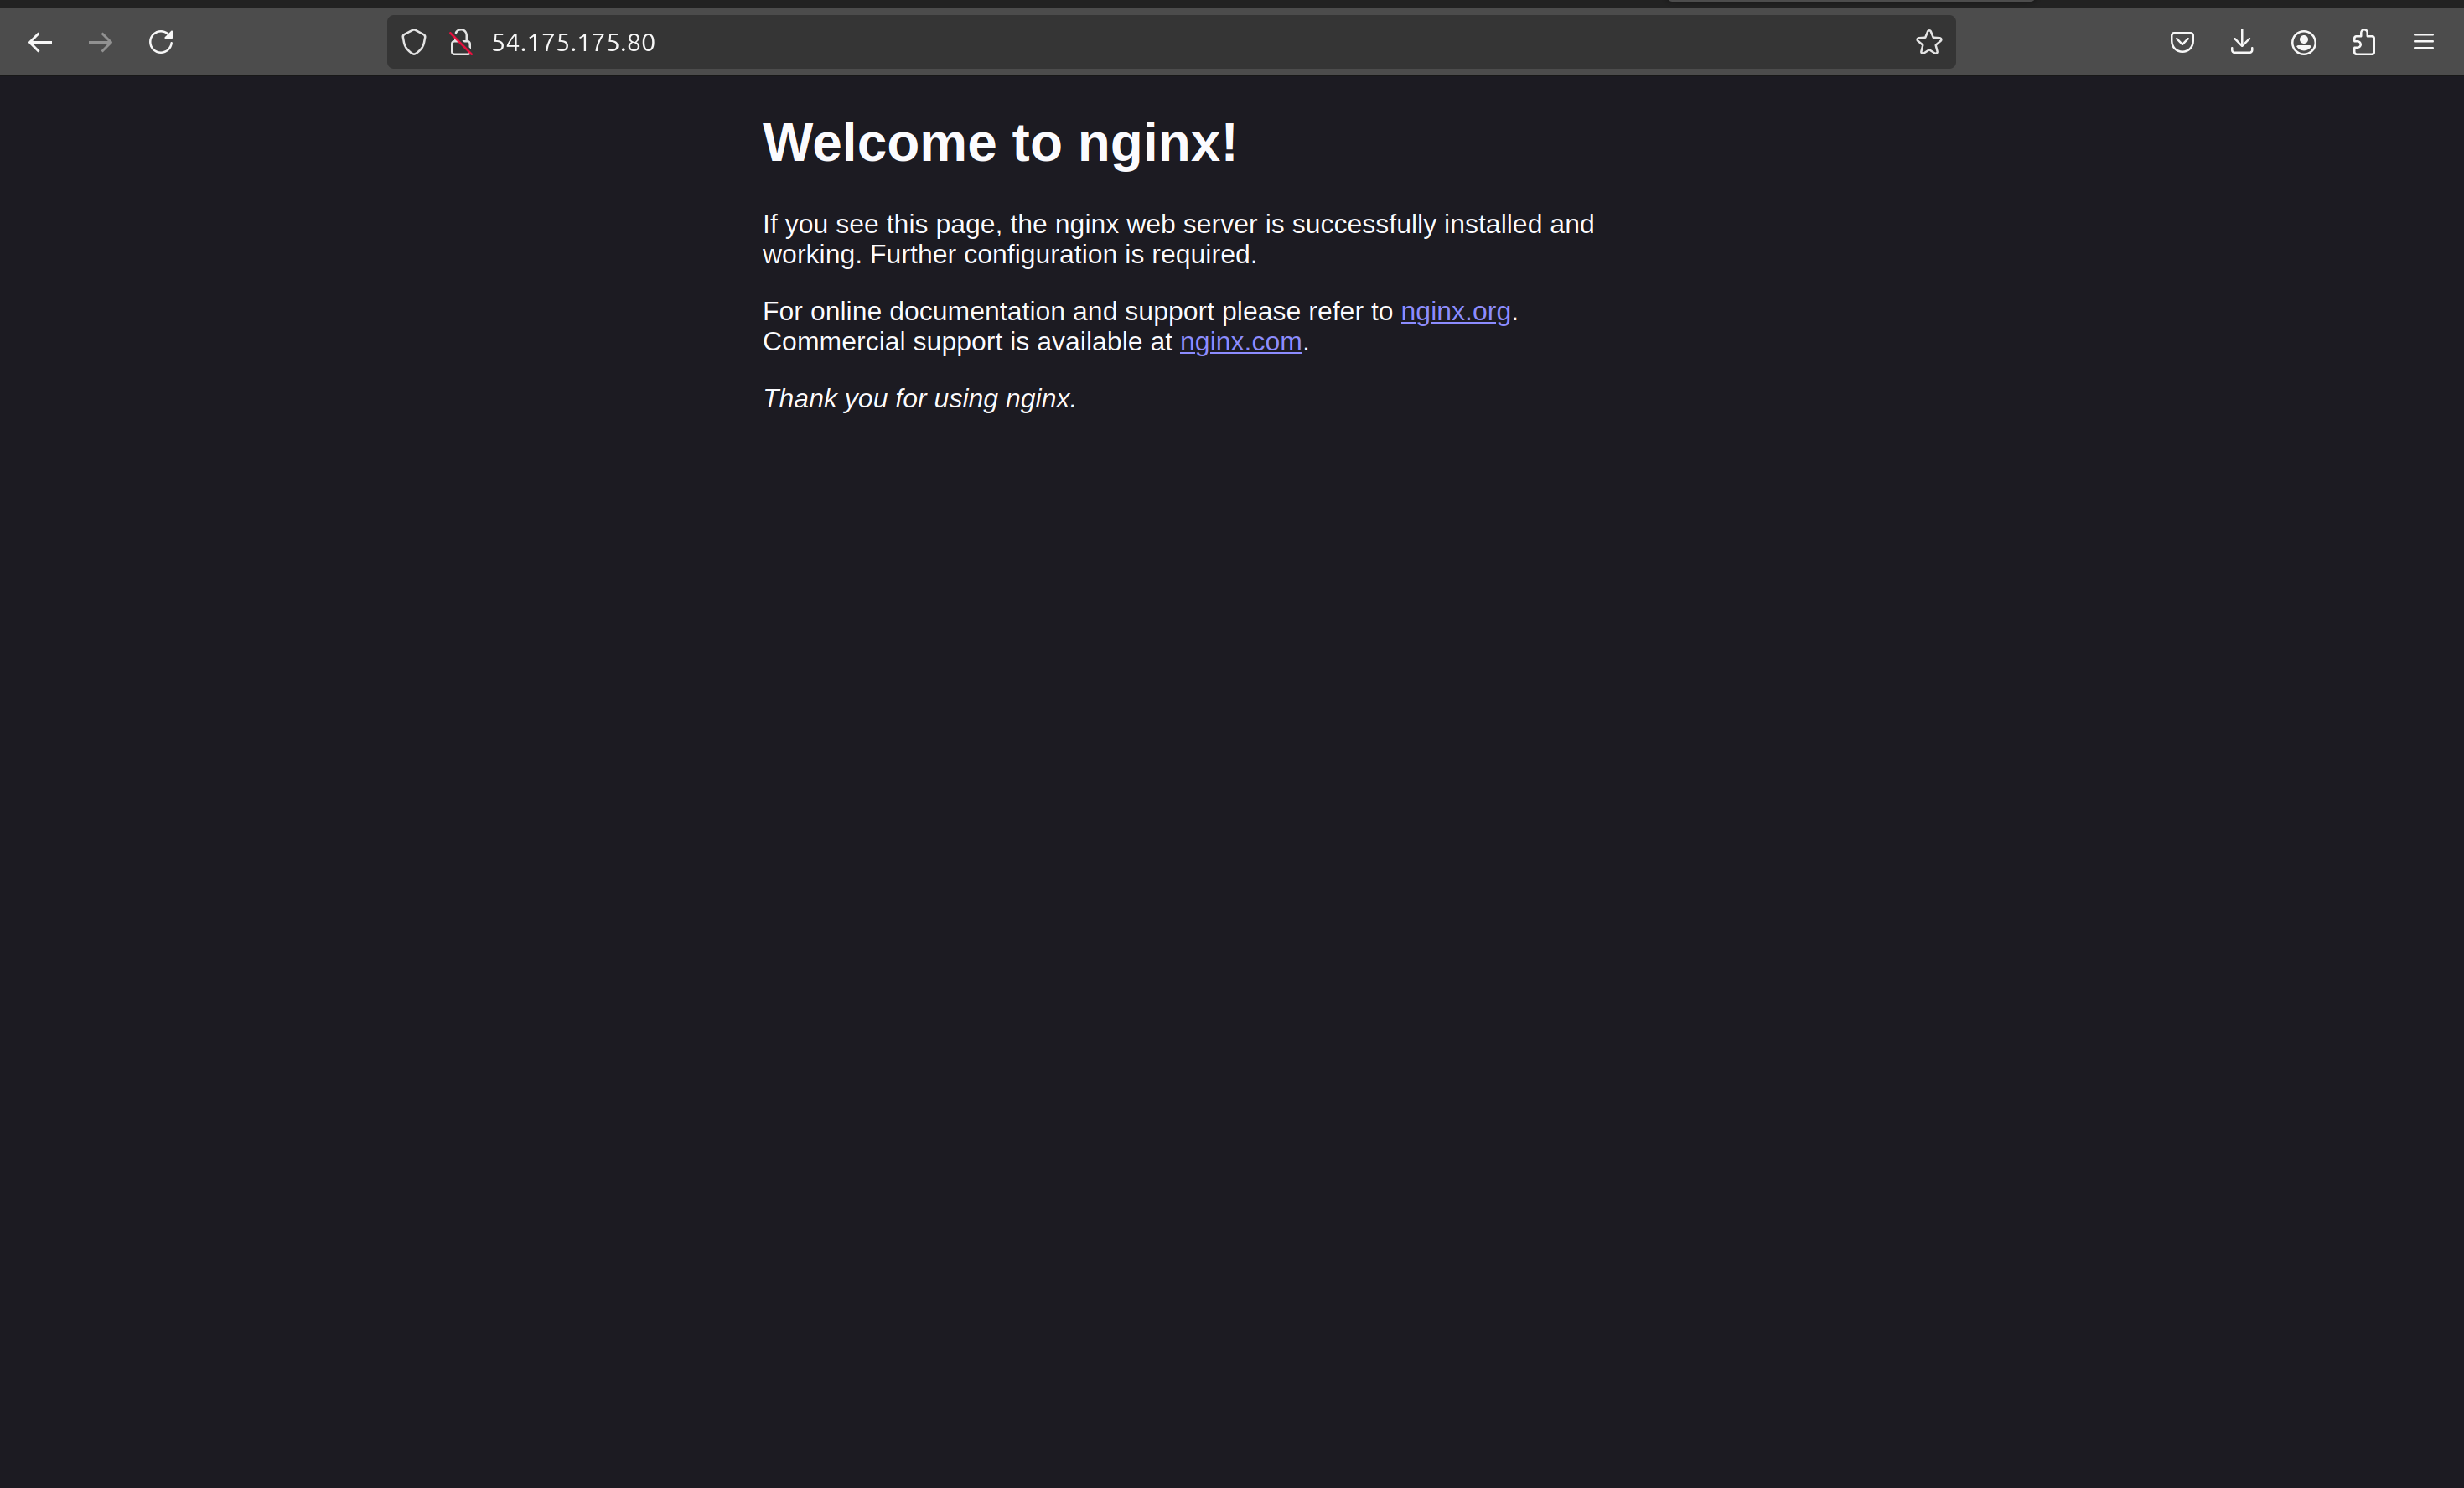
Install NGINX on the instance:
  sudo yum update -y
  sudo amazon-linux-extras install nginx1 -y
  sudo systemctl start nginx
  sudo systemctl enable nginx
Ensure that port 80 is open in the security group for HTTP traffic.
2. Install the CodeDeploy Agent on the EC2 Instance:
The CodeDeploy agent is responsible for managing the deployment process on your EC2 instance.
SSH into your EC2 instance and install the CodeDeploy agent:
  sudo yum update -y
  sudo yum install ruby wget -y
  cd /home/ec2-user
  wget https://aws-codedeploy-us-east-1.s3.amazonaws.com/latest/install
  chmod +x ./install
  sudo ./install auto
  sudo service codedeploy-agent start
Verify the agent is running:
sudo service codedeploy-agent status
3. Create the AppSpec File in Your GitHub Repository:
Create an
appspec.yamlfile in your GitHub repository:touch appspec.yamlAdd the following content to deploy the
index.htmlfile to the/var/www/htmldirectory on the EC2 instance:version: 0.0 os: linux files: - source: /index.html destination: /var/www/html hooks: AfterInstall: - location: scripts/restart_nginx.sh timeout: 300 runas: rootIn the same repository, create a folder called
scriptsand inside it, add therestart_nginx.shscript:mkdir scripts touch scripts/restart_nginx.shThe
restart_nginx.shscript should contain the following:#!/bin/bash sudo systemctl restart nginxMake sure to give the script executable permissions:
chmod +x scripts/restart_nginx.shCommit and push both the
appspec.yamlandrestart_nginx.shfiles to GitHub:git add appspec.yaml scripts/restart_nginx.sh git commit -m "Added appspec.yaml and restart_nginx.sh for CodeDeploy" git push origin main
4. Create a CodeDeploy Application:
In the AWS Management Console, navigate to CodeDeploy.
Click Create application.
Application name: Enter a name (e.g.,
ci-cd-deploy-app).Compute platform: Select EC2/On-premises.
5. Create a Deployment Group:
After creating the application, create a Deployment Group.
Deployment group name: Enter a name like
ci-cd-deployment-group.Service Role: Select an IAM role with CodeDeploy permissions (you may need to create one).
EC2 Instances: Choose your EC2 instance.
Enable Amazon EC2 Auto Scaling if needed, though it's optional.
6. Create a Deployment:
After the deployment group is set up, create a Deployment.
Revision type: Select GitHub.
Repository name: Enter your GitHub repository URL.
Branch/Commit ID: Choose the branch you want to deploy (e.g.,
main).Click Create deployment.
7. Verify the Deployment:
Once the deployment starts, CodeDeploy will automatically pull your code from GitHub, copy the
index.htmlfile to/var/www/html, and restart the NGINX server using therestart_nginx.shscript.You can check the status of the deployment in the CodeDeploy console.
After a successful deployment, visit your EC2 instance's public IP address in a browser. You should see your index.html file displayed.

Task 3: Finalizing the AppSpec File and Deployment Process
By adding the appspec.yaml file and scripts to your GitHub repository, you've automated the deployment process with AWS CodeDeploy. Now every time you push new changes to your GitHub repository, CodeDeploy will automatically deploy them to your EC2 instance.
What Have We Done So Far?
Today, you:
Set up AWS CodeDeploy and learned how to use the appspec.yaml file to define your deployment process.
Installed the CodeDeploy agent on your EC2 instance and deployed an
index.htmlfile using NGINX.Automated the deployment process by integrating your GitHub repository with CodeDeploy.
What’s Next?
Tomorrow, we’ll wrap up our CI/CD pipeline journey by adding AWS CodePipeline. CodePipeline will help us automate the entire process, from pulling the code from GitHub to deploying it on an EC2 instance. Stay tuned for the final day of building your CI/CD pipeline on AWS!
This blog outlines the steps involved in setting up AWS CodeDeploy and automating deployments from GitHub to an EC2 instance. By the end of this day, you've fully automated the deployment process, which is a crucial part of any DevOps pipeline!
Subscribe to my newsletter
Read articles from Tushar Pant directly inside your inbox. Subscribe to the newsletter, and don't miss out.
Written by

Tushar Pant
Tushar Pant
Cloud and DevOps Engineer with hands-on expertise in AWS, CI/CD pipelines, Docker, Kubernetes, and Monitoring tools. Adept at building and automating scalable, fault-tolerant cloud infrastructures, and consistently improving system performance, security, and reliability in dynamic environments.