Inktober... Naw... Huetober
 David Bates
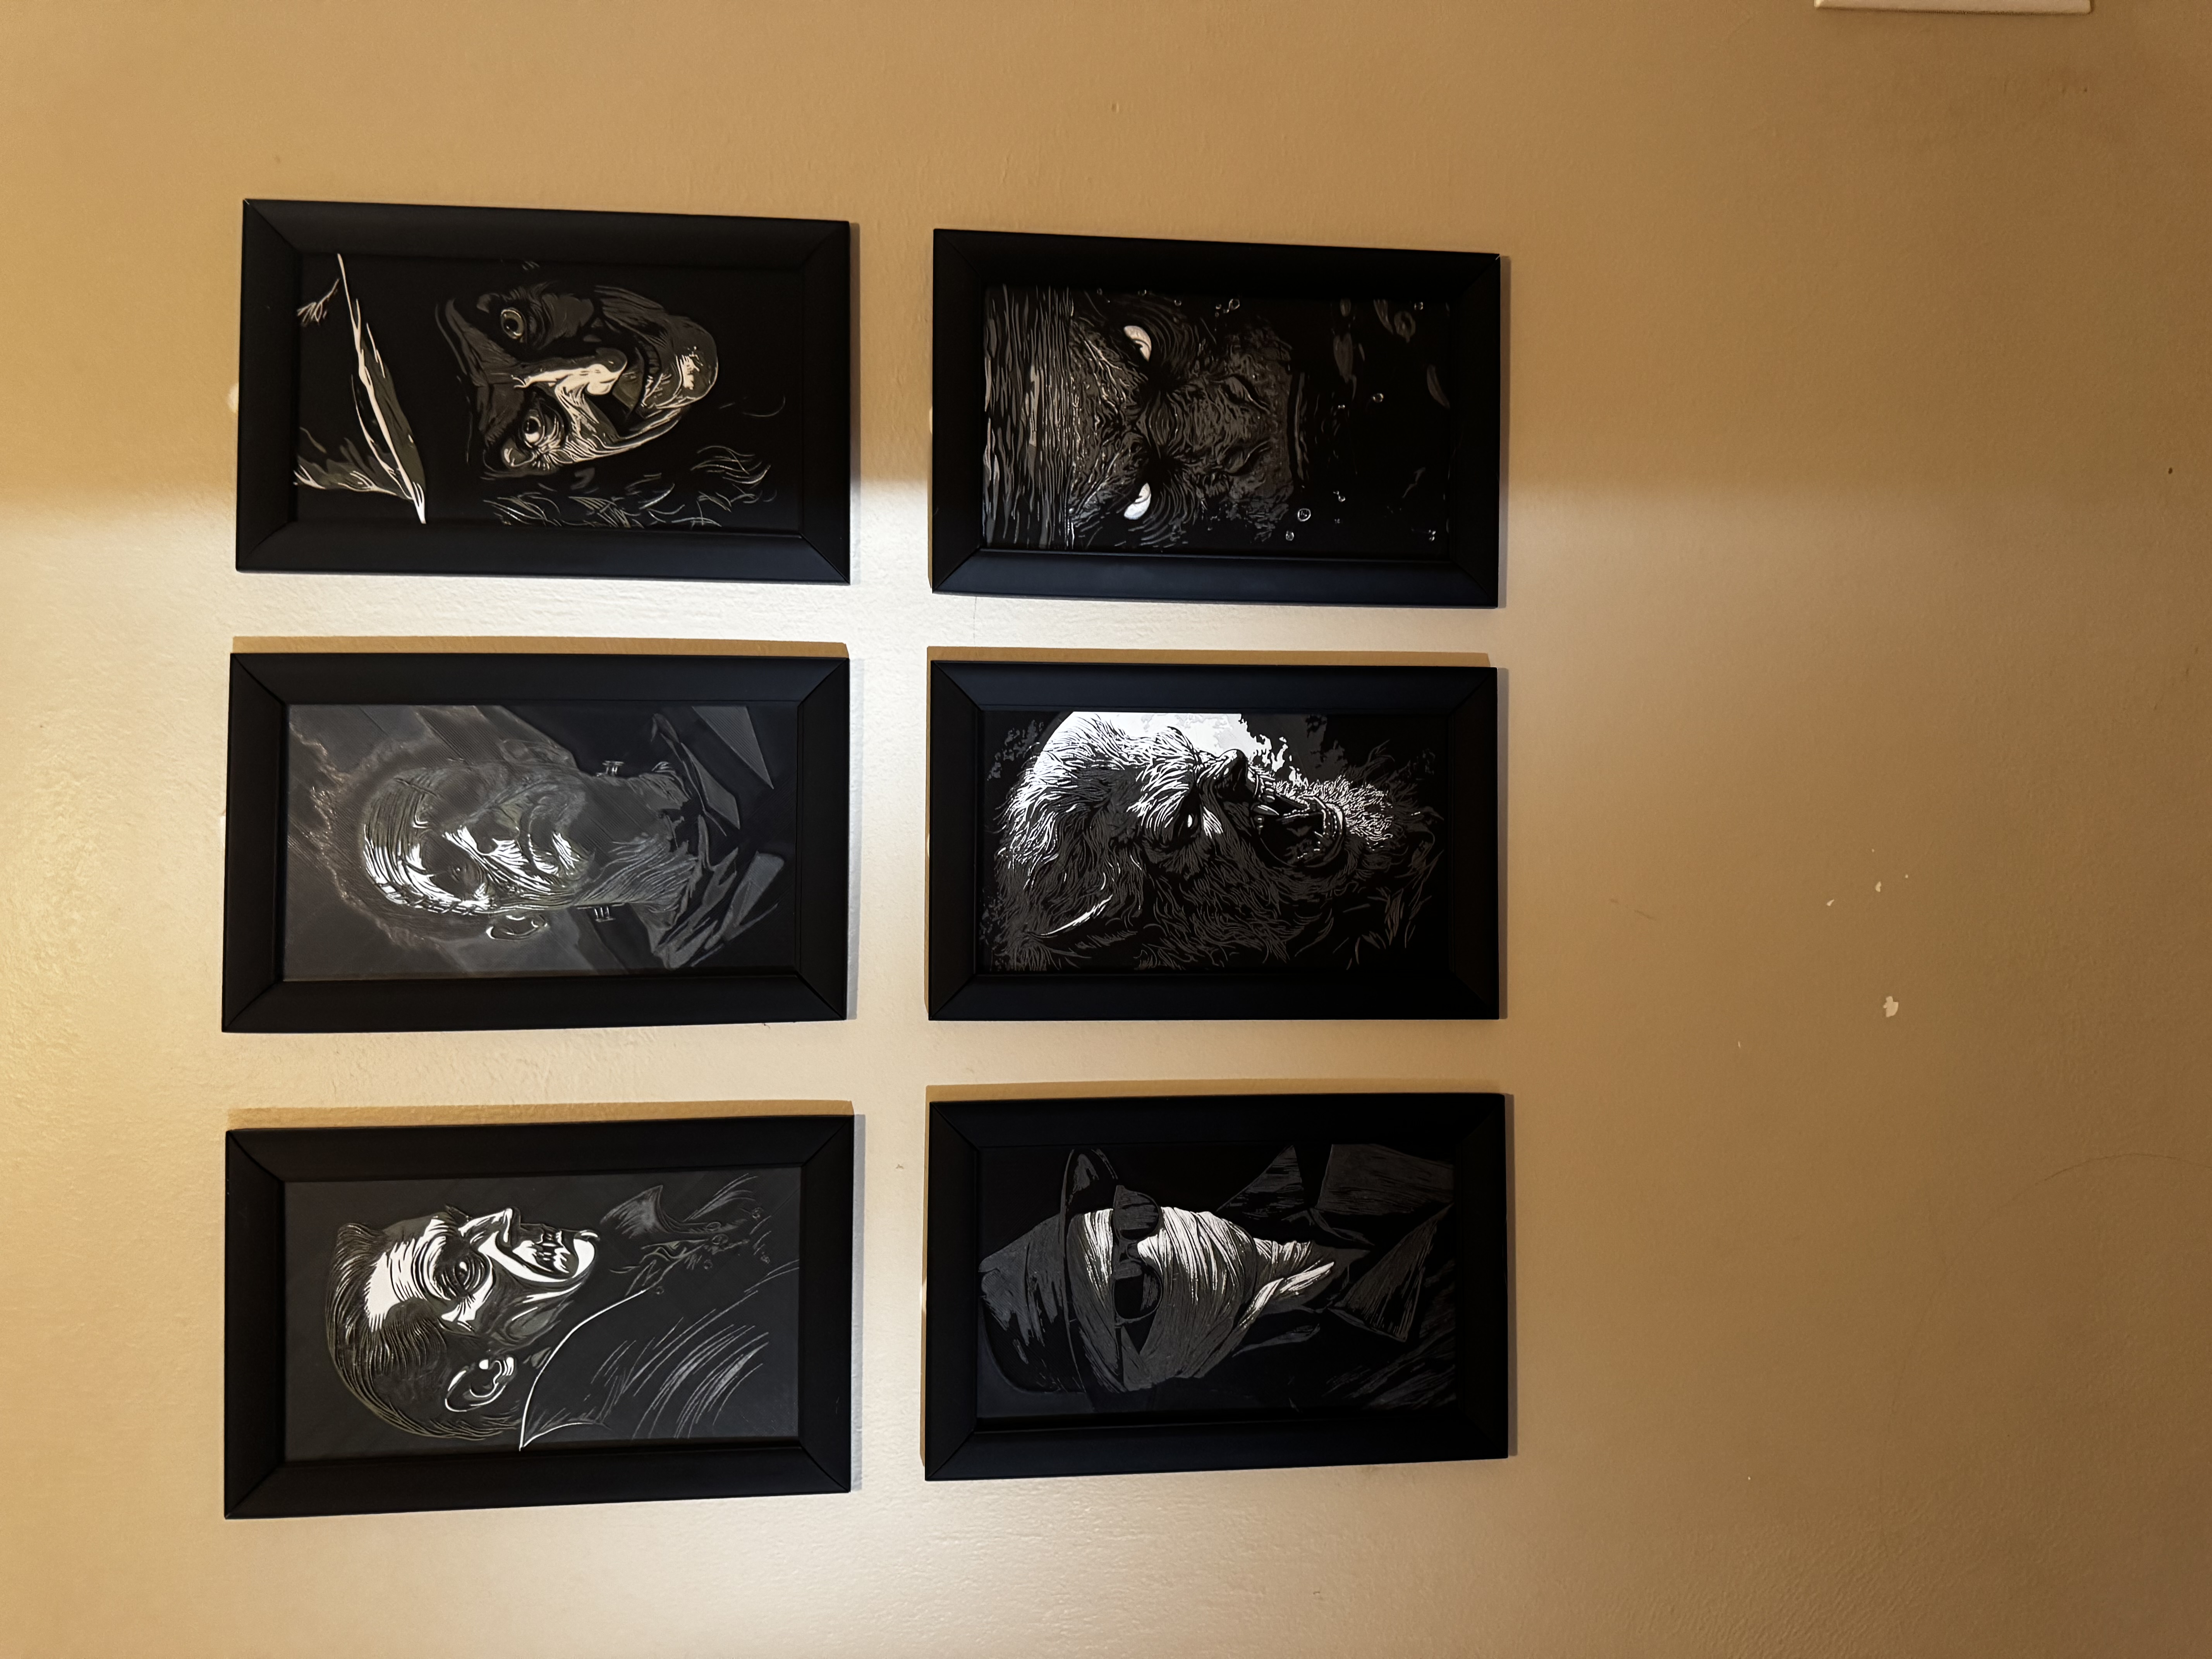
It’s spooky season, and I’m kicking off Inktober a little differently this year. I'm calling it "Huetober," and you’re in for a treat—literally.
For those unfamiliar, Inktober is a yearly challenge where artists create ink drawings based on daily prompts. It’s an awesome way to flex those creative muscles and maybe learn some new skills along the way. Over the years, I’ve used Inktober to dive into new creative mediums, from digital sculpting in Nomad to AI-generated art. This year, I’m exploring the exciting world of HueForge 3D (@hueforge).
HueForge is like a digital canvas for 3D printing. Imagine painting with filaments instead of inks. Sounds crazy, right? I’m working on a monster series inspired by Misfit Printing (@MisfitPrinting) Halloween portrait wall. I’ll be crafting and printing a unique monster every other day until I complete the wall.
Intrigued? Check out the first creation in the Huetober series—Drac!
Pretty impressive, right? I’ve even posted the model on Makerworld and Thangs, and you can download it to print yourself!
Creating these multi-layered prints is a fun process. I’ll share a quick breakdown to get you started:
Image Creation: First, I combine AI-generated art from Midjourney with some Photoshop magic to craft a spooky image of the classic monster.
HueForge Prep: I import the image into HueForge.
Layer Creation and Filament Assignment: This is the coolest part. I use HueForge to create the layers for the 3D print, and adjust the color scheme and settings for each filament… I want to make sure the right components POP!
Once that’s done, I export the model into Bambu Studio (HueForge includes a handy describe file with all the color change information). And now, here's where the real magic happens. Take a look at this brief tutorial from @neokoiprints:
The describe file tells me where to add the different filament stops. I've created this file so you can print this on any 3D printing machine. You don’t need to have a fancy AMS system or anything like that. Just follow the color change instructions, swap out the filaments, and voilà!
So, go ahead and make your own Huetober creation. Share your creations with me, and stay tuned for the next monster in the series. You can view all of my Monsters as I create them at my linktree.
I hope you have a spooktacular season!
Subscribe to my newsletter
Read articles from David Bates directly inside your inbox. Subscribe to the newsletter, and don't miss out.
Written by

David Bates
David Bates
David is driven by a passion for discovery and believes that innovation thrives on collaboration and continuous learning. As a recognized thought leader, he contributes to industry advancements through conferences, open-source projects and strategic partnerships. With over 15 years of experience, David has deep expertise in software development, cloud platforms, and designing cutting-edge systems. Known for mentoring fellow technical leaders, he plays a key role in fostering growth and excellence across the organization. Outside of work, David is a hands-on creator, enjoying 3D printing, CNC, laser cutting, and woodworking in the small town of Floyd, VA with his wife and four kids. His love for making reflects his innovative spirit—always exploring and pushing boundaries.