Contributing to Apache Airflow
 Aryan Khurana
Table of contents

Introduction
After contributing to WrenAI in the past, I wanted to challenge myself further this time around. That’s when I came across a repository from Apache Airflow, a platform designed for orchestrating complex workflows in large-scale environments. While exploring issues in the repo, I found one that caught my attention: Move the Light/Dark Mode Toggle to User Settings.
At first glance, this might seem like a minor feature change, but it’s far from trivial. Apache Airflow is a production-grade application used by thousands of users, including large-scale enterprises. Modifying a feature that touches the user experience of such a vast user base is no small task.
I decided to work on this issue because I wanted to push myself beyond my comfort zone. Taking on a challenge like this wasn’t just about solving a problem—it was about proving to myself that I’m not afraid to dive into complex projects, even when I’m unfamiliar with the codebase. Before this, I had no idea what Apache Airflow was or how it worked internally. However, once the maintainer assigned me the issue, I knew it was up to me to figure things out.
Getting Started
The first step was getting familiar with the codebase. Since Airflow is a large and established project, setting up the development environment was a significant task in itself. You can see this for yourself in the Contributor Quick Start Guide.
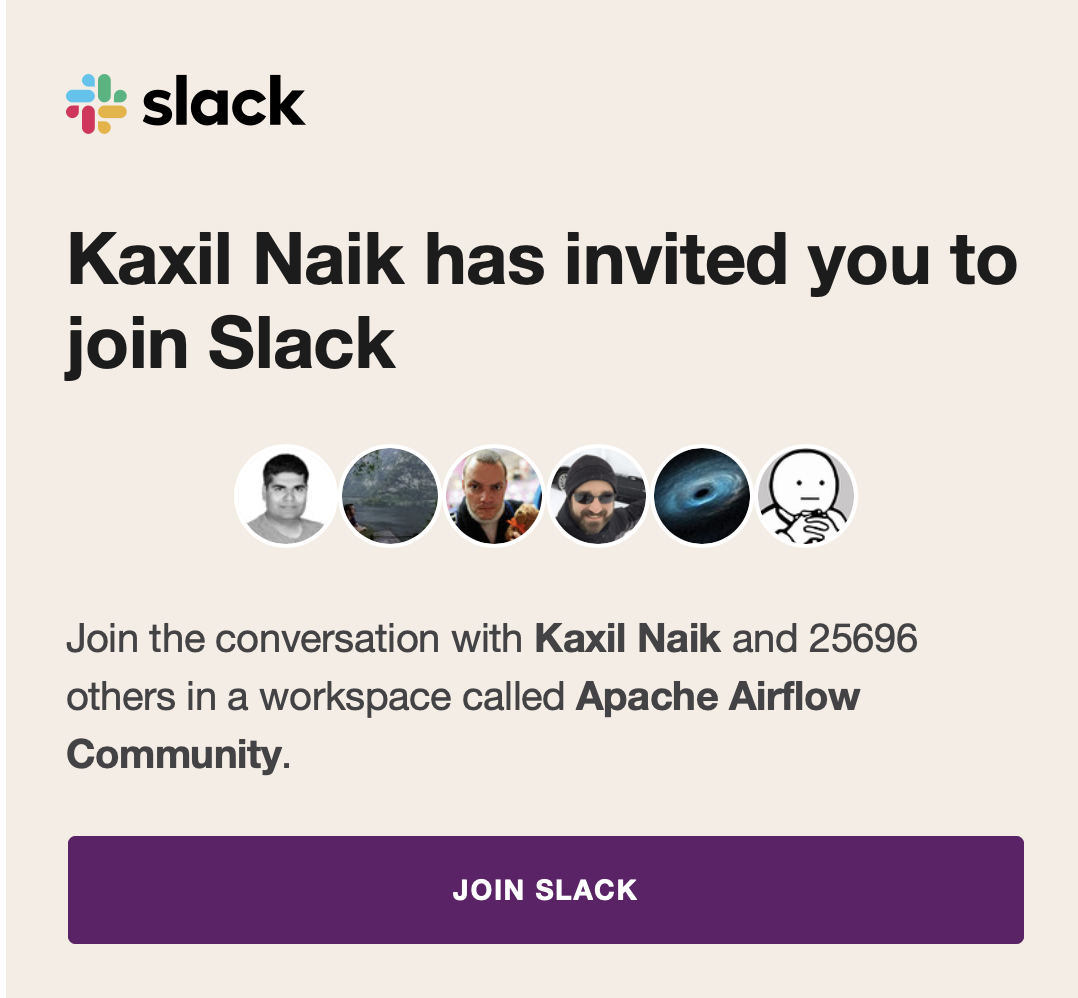
They also have a Slack community, and you can request to join it using this website: Apache Airflow Slack. Once you request access, they send you an email with the invite.

If you’ve read any of my previous blogs, you probably know how I am a huge fan of open-source communities. Of course, I went and said hi there as the first step.

Now that all of this was done, I was finally ready to proceed to understand how this project worked in the first place and what it even does. I read through the Contributing Documentation and the Quick Start Guide to get a better idea of where to start. They also had a Pull Request Guideline that I needed to read to understand what type of pull requests they expect from contributors.
Additionally, there was a comprehensive guide on how they want you to use Git while contributing to this project: Working with Git. To be very honest, this was overwhelming since I didn't want to make any mistakes; messing up here would mean a lot of issues for me, given the scale of this project. It's a monorepo that contains various provider packages. Finally, they provided a guide that walks you through the entire contributing workflow: Contribution Workflow.

I have already completed the first part of forking Airflow. Next, I will attempt to complete the second part, which is configuring the environment to run Airflow locally.
Setting up the Breeze container environment for Apache Airflow development involves several technologies and steps, but it is streamlined through the Breeze tool. The process uses Docker for containerization, ensuring a consistent development environment across different systems. Docker Compose helps manage multi-container applications, while Hatch serves as a modern Python project management tool. Breeze, installed via pipx (a tool for installing Python applications in isolated environments), automates the setup process. It initializes the environment with specified Python and database backend versions, building the necessary Docker images.
Inside Breeze, you interact with Airflow components like the webserver and scheduler, often using tmux for multiple terminal sessions. Using tmux to open multiple terminal sessions was very cool to me, as I had never seen something like this before. While the initial setup and image building can be time-consuming, especially on the first run, Breeze significantly simplifies the process of creating a consistent, reproducible Airflow development environment, abstracting away much of the complexity involved in manual setup.
I finally got the local setup to work, enabling me to see the frontend and understand the issue that was assigned to me.

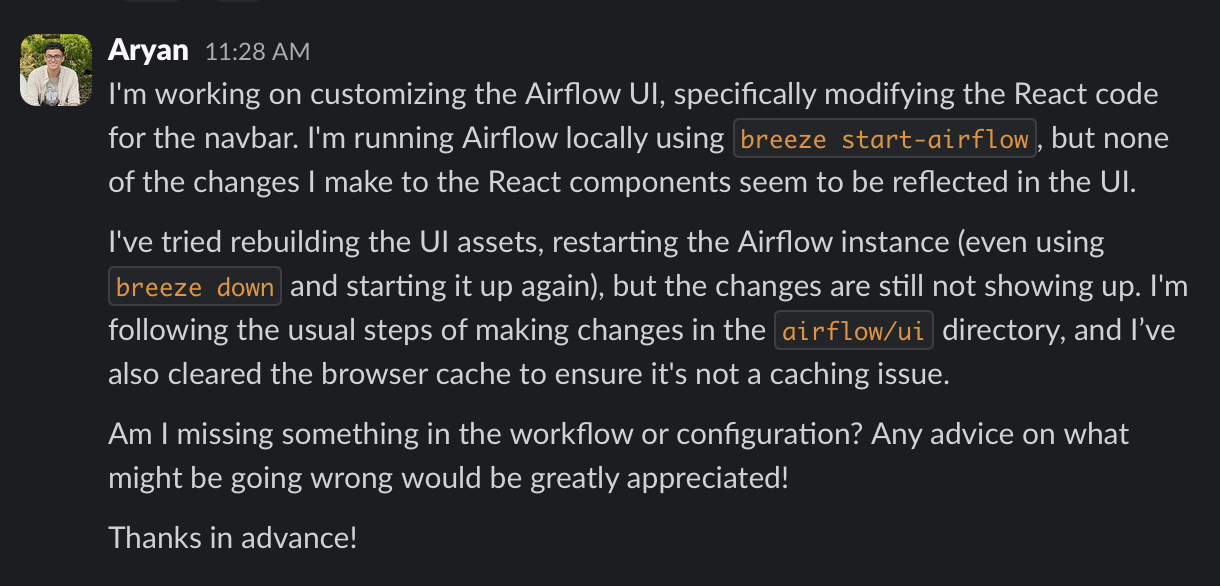
However, the challenge was that, to fix the issue, I needed to know how the code in the repo worked right now, which was difficult since the codebase was vast and I was not familiar with the local setup, even though I got it to work. Next, I had to spend a lot of time trying to understand how the local setup works and why, if I updated something in the code, it still didn’t show on the UI after restarting the server.
After several attempts, I decided to ask the community about this issue.

They were quick to reply and directed me to this documentation: Node Environment Setup, where they explained how to run the server in hot reload mode during development. I started following this guide.
The reason I initially struggled to understand their code was that they were in the process of migrating from Flask App Builder views to a pure React frontend and a Python FastAPI backend. Another challenge I encountered was that when you normally load the website using Breeze, it loads from the legacy Flask pages. However, my change was supposed to be for the new React-based UI.
So, I asked the community again for help, and they guided me. It turns out they are still migrating to the new UI, and you need to access it at http://localhost:28091/webapp instead of http://localhost:28080, which is the legacy UI.

This was not clearly documented yet, as they are still working on the updates for the new UI, but the community was able to assist me.
Making changes to the code
Once I completed the implementation of the icons, I realized that the maintainer had never mentioned the type of UI he wanted, what kind of menu he envisioned, or the design specifics. Unsure of how to proceed, I reached out to him in the GitHub issue comments for Airflow Issue #42823. He responded by mentioning that he had worked on a similar component before and that I could use that as my reference. This guidance was immensely helpful as I added some changes to my code based on what he had done previously.
Afterward, I followed the standard workflow for contributing to open-source projects. I created a new branch named issue-42823, fetched the latest changes from the upstream main branch, and rebased my branch on top of upstream/main. I then made my changes, committed them under a single commit message, and submitted a pull request detailing everything I had done. Funny thing is that I didn’t exactly follow the PR Guide provided by the project since my change was really small and many of the guidelines were for changes that needed testing or were adding some major functionality. My PR was able to pass all the CI tests regardless as I was not changing anything major anyways.
Here are the links to my issue and pull request:
Issue: Airflow Issue #42823
A day after I send in my Pull request, one of the maintainers merged it and just like that, we are done with another contribution.
Conclusion
I absolutely loved working with Apache Airflow because their community was great, and I learned a lot from the way their repository, documentation, and testing mechanisms are structured. Everything is really clear, and there’s a correct way of doing things. Since this repo had multiple changes on the main branch every time I returned to it, I also learned a lot about keeping up to date with the upstream and rebasing changes, which was a great learning experience. That’s all for today, and I hope you enjoyed reading this blog! 😊
Subscribe to my newsletter
Read articles from Aryan Khurana directly inside your inbox. Subscribe to the newsletter, and don't miss out.
Written by

Aryan Khurana
Aryan Khurana
I’m a recent grad who’s all about diving into the world of tech, science, and engineering, there’s always something new to learn, and I love that. Hackathons, open source, and building cool stuff with awesome people? That’s my jam. There’s nothing better than creating things that make a difference and having fun along the way.