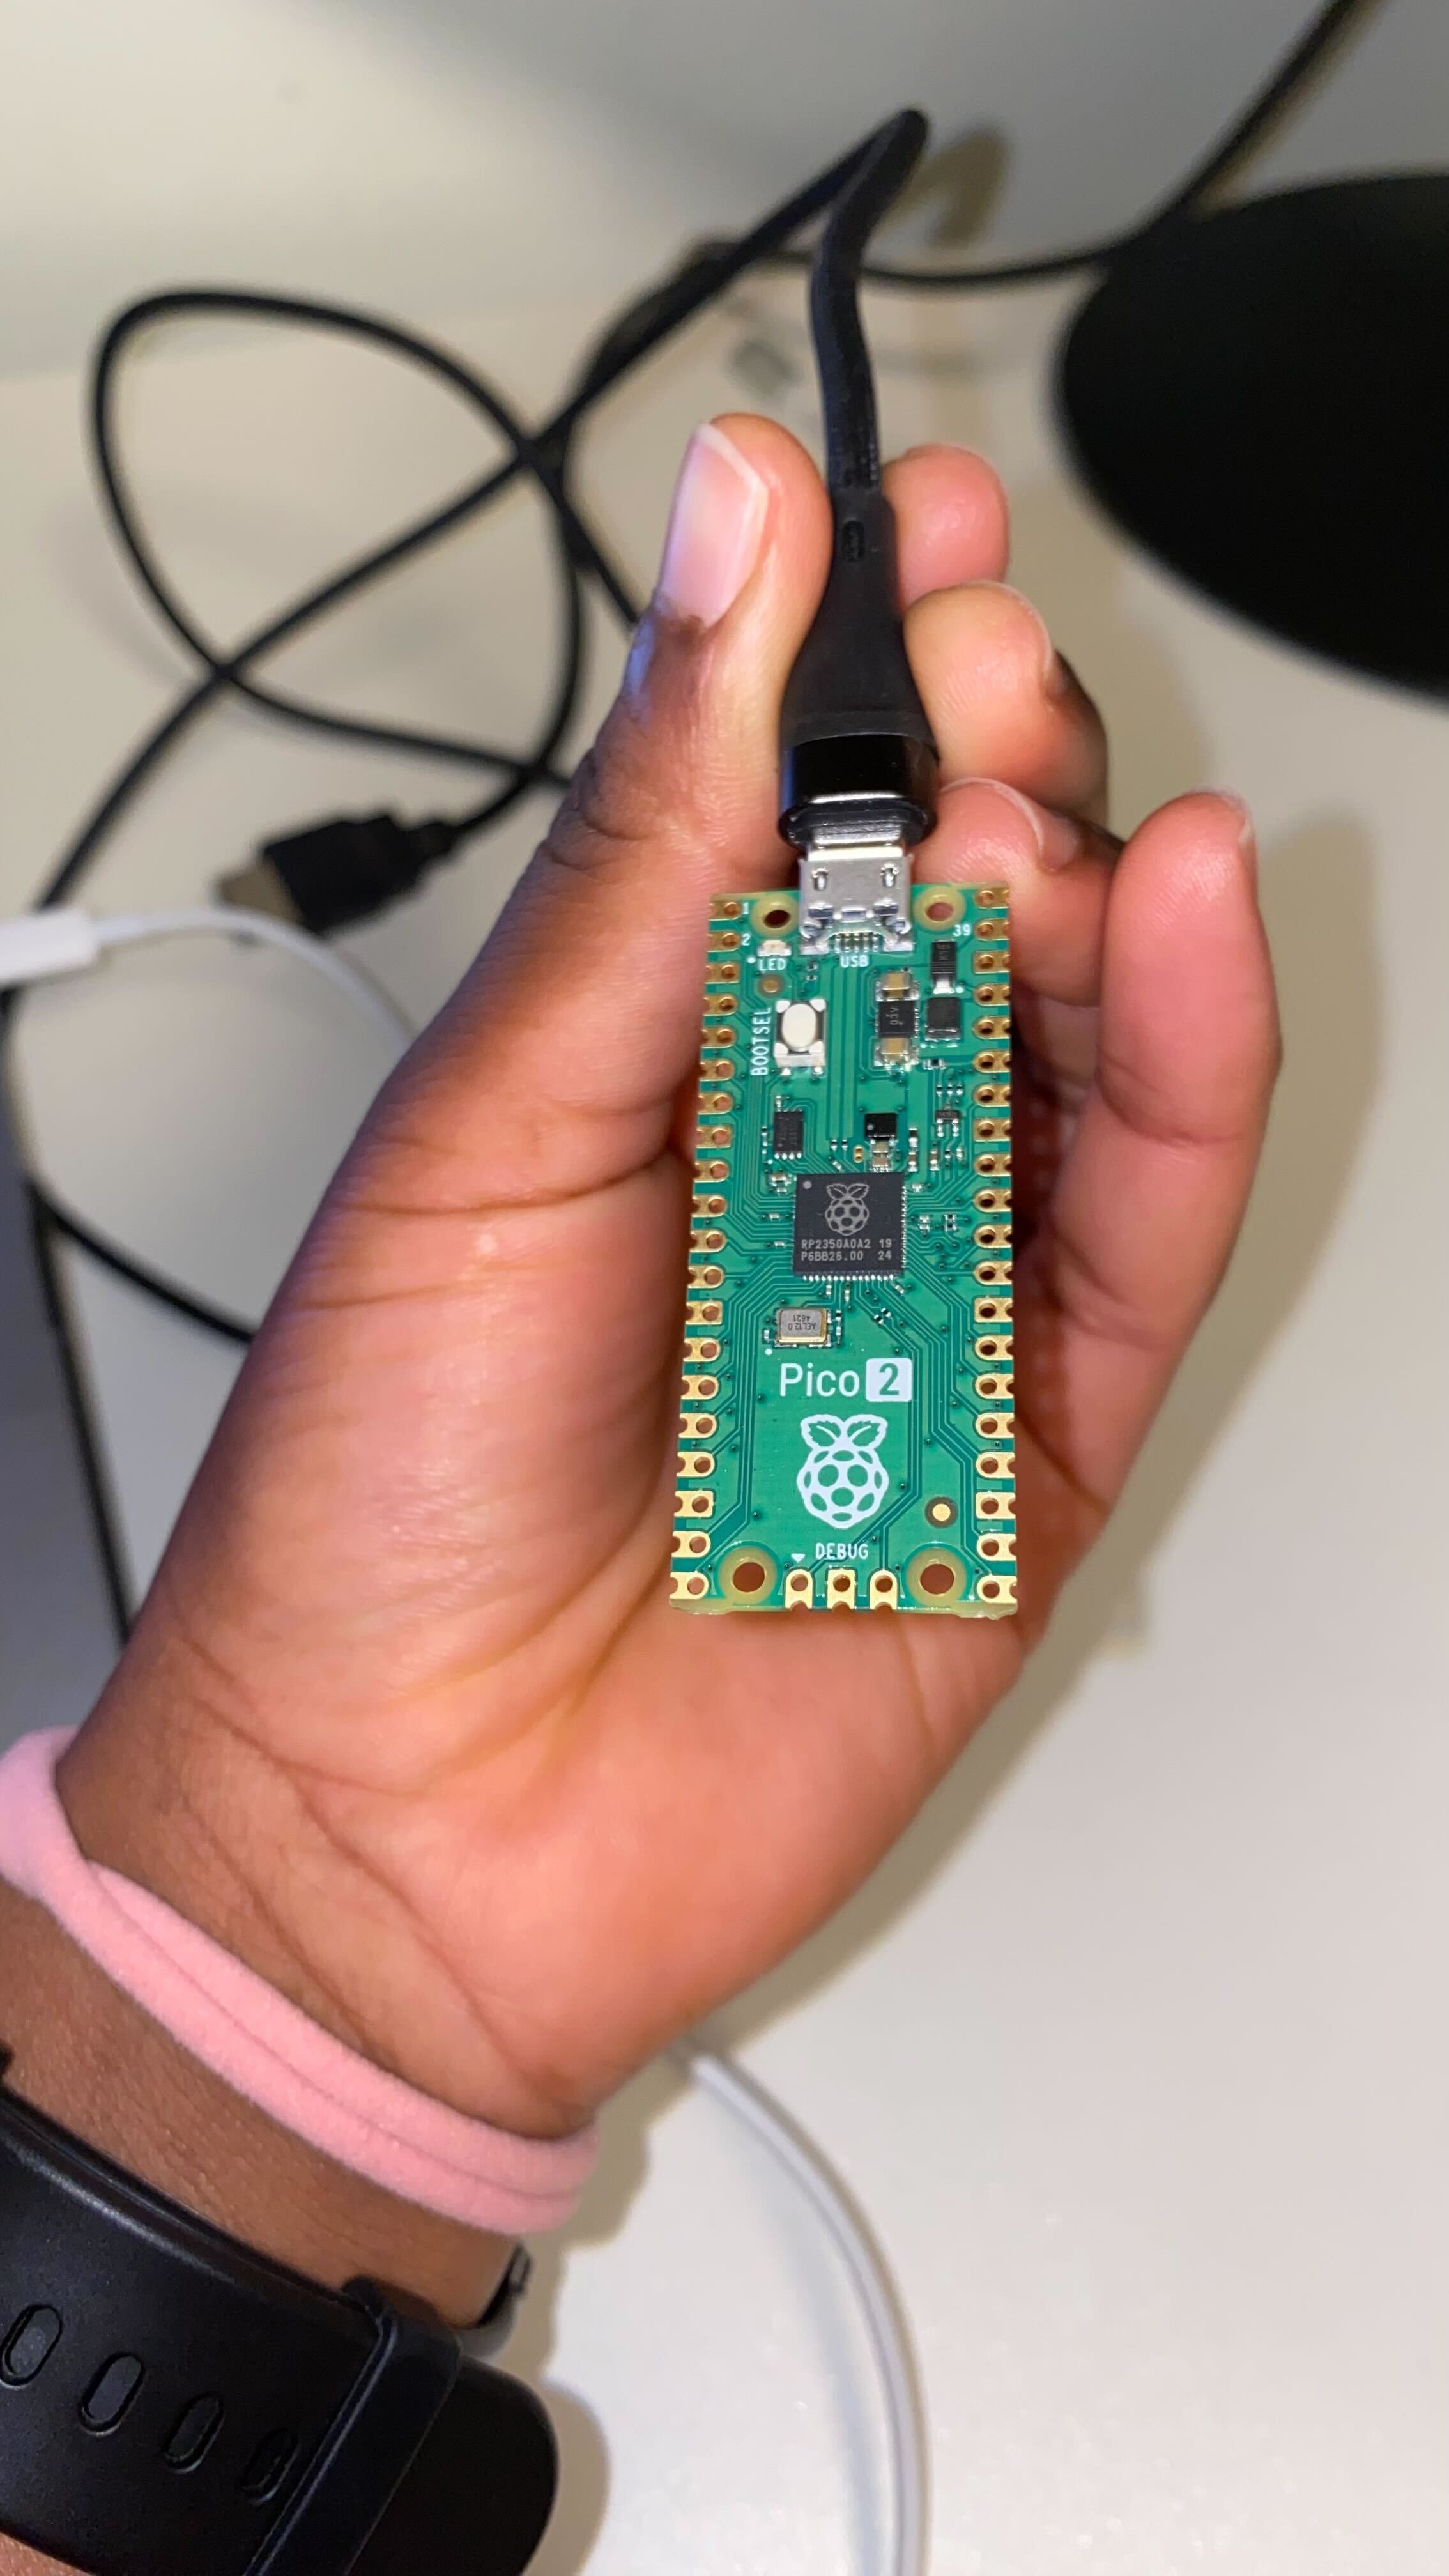
Rust And Pico2
 Nyakio Maina
So here’s the simple tutorial to build and flash a Rust application to the Pico 2 microcontroller
Step 1: Environment set-up
Clone the Pico SDK:
git clone https://github.com/raspberrypi/pico-sdkSet the
PICO_SDK_PATHenvironment variable:export PICO_SDK_PATH=/path/to/pico-sdkClone the picotool:
git clone https://github.com/raspberrypi/picotoolInstall dependencies:
On Mac:
brew install libusb pkg-configOn Linux:
sudo apt install libusb
(Don’t forget to have CMake installed as well!)
Set up picotool for building:
 cd picotool
 mkdir build
 cd build
 cmake ../
Build picotool using make:
make
Step 2: Adding targets
adding the targets needed for building for the ARM Cortex M33 cores:
rustup target add thumbv8m.main-none-eabihf
Step 3: Building and Blinking the LED
In this we’ll simply use the rp-hal-rp2350-public library to build an LED blinking example.
Clone the library:
 git clone https://github.com/thejpster/rp-hal-rp2350-public
 cd rp-hal-rp2350-public
Build the example for ARM Cortex M33 cores:
cargo build --example pwm_blink --target thumbv8m.main-none-eabihf --all-features
This compiles the pwm_blink example, preparing it to be flashed onto the Pico 2.
Step 4: Connect pico to your laptop and check info
Connected it using a USB cable while holding down the BOOTSEL button, and now it should be detected as a mass storage device.
check device information by running:
picotool info -d
Here’s a sample output from my Pico 2:
Device Information
 type:                 RP2350
 package:              QFN60
 chipid:               0x5fb123495dff26f0
 flash devinfo:        0x0c00
 current cpu:          ARM
 available cpus:       ARM, RISC-V
 default cpu:          ARM
 secure boot:          0
 debug enable:         1
 secure debug enable:  1
 flash size:           4096K
This confirms your Pico 2 is connected correctly and ready to be flashed.
Step 5: Flashing:)
Option 1: Flash Directly using
picotool:picotool load -t elf ./target/thumbv8m.main-none-eabihf/debug/examples/pwm_blinkHere’s a sample output:
 Family id 'rp2350-arm-s' can be downloaded in absolute space:
   00000000->02000000
 Loading into Flash: [==============================]  100%
Option 2: Convert the Binary to a
.uf2File:picotool makeuf2 -o output.uf2 ./target/thumbv8m.main-none-eabihf/debug/examples/pwm_blinkAfter generating the
.uf2file, simply drag and drop it onto your Pico 2’s bootloader drive.
Step 6: Rebooting the Pico 2
Once the application is loaded, reboot the device by running:
picotool reboot
Sample output:
The device was rebooted into application mode.
Now you should see the LED flashing! 🎉
And that’s it! You’ve successfully built and flashed your first Rust application to the Pico 2 microcontroller.
Subscribe to my newsletter
Read articles from Nyakio Maina directly inside your inbox. Subscribe to the newsletter, and don't miss out.
Written by

Nyakio Maina
Nyakio Maina
Software QA Engineer with knowledge and experience coding in javascript and typescript and learning Rust programming language