Setup OpenTelemetry Collector
 Ankita Lunawat
What is OpenTelemetry?
OpenTelemetry is an open-source framework that helps collect, process, and export telemetry data like metrics, traces, and logs from applications and infrastructure. It offers standardized tools that work with any vendor.
Key Components of Open Telemetry
Instrumentation Libraries:
Open Telemetry provides libraries for various programming languages that help instrument applications to collect telemetry data.
APIs and SDKs:
OpenTelemetry provides APIs to create telemetry data and SDKs to process and send that data. The APIs set standard ways to collect data, and the SDKs offer tools to manage it.
Exporters:
Exporters send the collected telemetry data to different backends and monitoring systems like Prometheus, Jaeger, Zipkin, New Relic, Datadog, and more. OpenTelemetry supports many exporters, giving you flexibility in how you use the telemetry data.
Collectors:
The OpenTelemetry Collector is a separate tool that can receive, process, and send out telemetry data. It helps gather and handle data in one place before sending it to other systems.
Semantic Conventions:
OpenTelemetry sets rules for describing telemetry data in a consistent way. This ensures uniformity across various telemetry data sources.
Features and Benefits of OpenTelemetry
Vendor-Agnostic: OpenTelemetry provides a standard way to collect and manage telemetry data without being dependent on specific monitoring vendors, reducing reliance on a single vendor and offering more choices for selecting backends.
Unified Observability: By supporting metrics, traces, and logs, OpenTelemetry offers a complete solution for observability, enabling developers and operators to understand system performance and behavior.
Wide Language Support: OpenTelemetry supports multiple programming languages, including Java, Python, Go, JavaScript, and more, making it suitable for diverse application ecosystems.
Extensibility: The modular architecture of OpenTelemetry allows users to extend its capabilities by adding custom instrumentation or integrating with other tools and systems.
Use Cases of Open Telemetry
- Distributed Tracing: Track requests across services to find bottlenecks and latency issues; Application Performance Monitoring (APM): Monitor performance and resource use with metrics and traces; Log Correlation: Link logs with traces and metrics for a full view of application behavior; Microservices Observability: Collect and analyze telemetry data to monitor and debug microservices.
How Open Telemetry Works?
Instrument Your Application:
Use OpenTelemetry libraries to instrument your code and generate telemetry data.
Collect Telemetry Data:
Use the Open Telemetry Collector or SDK to collect and process telemetry data.
Export Data:
Configure exporters to send data to observability backends or monitoring systems.
Analyze and Visualize:
Use monitoring tools to analyze and visualize telemetry data to understand system performance and health better.
Open Telemetry is becoming the industry standard for observability in cloud-native environments because it is flexible, can be extended, and has strong community support (HashiCorp Developer).
Let's begin with a hands-on lab to set up the OpenTelemetry Collector on Ubuntu using Prometheus and Grafana.
Install Open Telemetry Collector Agent on Ubuntu
Please run the below commands to install Otel Collector for receiving the metrics.
sudo apt update
Use the command below to download Open Telemetry. Here, we are downloading version 0.88.0. You can use the link above to download a specific version.
wget https://github.com/open-telemetry/opentelemetry-collector-releases/releases/download/v0.88.0/otelcol-contrib_0.88.0_linux_amd64.deb
Installing a package with below command.
sudo dpkg -i otelcol-contrib_0.88.0_linux_amd64.deb
Move the given path and move the yaml file.
cd /etc/otelcol-contrib
sudo mv config.yaml config_orig.yaml
open the below yaml file and add the code.
sudo vi /etc/otelcol-contrib/config.yaml
extensions:
  health_check:
  pprof:
    endpoint: 0.0.0.0:1777
  zpages:
    endpoint: 0.0.0.0:55679

receivers:
  otlp:
    protocols:
      grpc:
        endpoint: 0.0.0.0:4317
      http:
        endpoint: 0.0.0.0:4318

  opencensus:
    endpoint: 0.0.0.0:55678

  # Collect own metrics
  prometheus:
    config:
      scrape_configs:
      - job_name: 'otel-collector'
        scrape_interval: 10s
        static_configs:
        - targets: ['0.0.0.0:8888']
      - job_name: 'node-exporter'
        scrape_interval: 10s
        static_configs:
        - targets: ['0.0.0.0:9100']


  #Data source: metrics
  hostmetrics:
    collection_interval: 10s
    scrapers:
      # CPU utilization metrics
      cpu:
      # Disk I/O metrics
      disk:
      # File System utilization metrics
      filesystem:
      # CPU load metrics
      load:
      # Memory utilization metrics
      memory:
      # Network interface I/O metrics & TCP connection metrics
      network:
      # Paging/Swap space utilization and I/O metrics
      paging:


processors:
  batch:

exporters:
  logging:
    verbosity: detailed

  prometheusremotewrite:
    endpoint: http://localhost:9090/api/v1/write

service:

  pipelines:

    metrics:
      receivers: [otlp, prometheus, hostmetrics]
      processors: [batch]
      exporters: [prometheusremotewrite]

  extensions: [health_check, pprof, zpages]
Change the IP address (localhost) to the Prometheus server IP address in the Prometheus .yaml file, then reload the systemd daemon to recognize the new service after creating or modifying the service file.
sudo systemctl daemon-reload
Start and Enable the Open Telemetry Service.
sudo service otelcol-contrib start
sudo service otelcol-contrib enable
Verify that Open Telemetry is running.
sudo service otelcol-contrib status
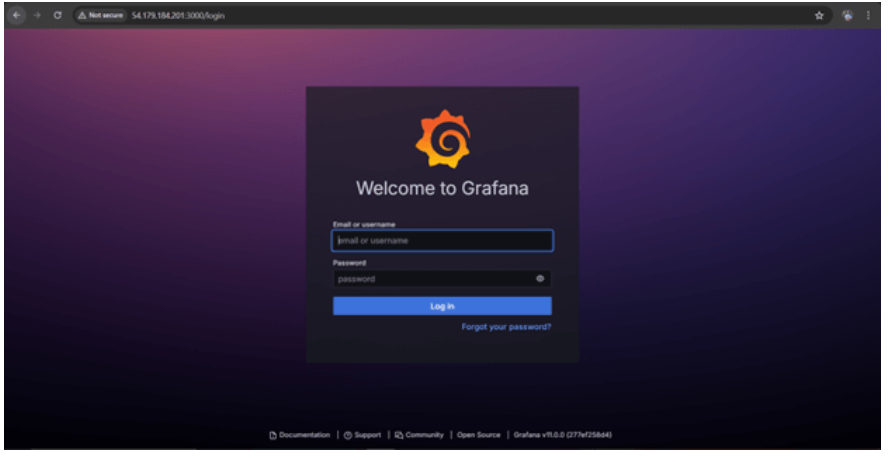
The Grafana service is now ready to run and can be accessed from any web browser using IP:3000.
http://your_ip:3000
You can now see the Grafana login page, and you need to log in using the default Grafana username and password.
Username – admin
password - admin
Now here you can see Home Dashboard page of Grafana.
Open Telemetry we have to add -1860 ,15983
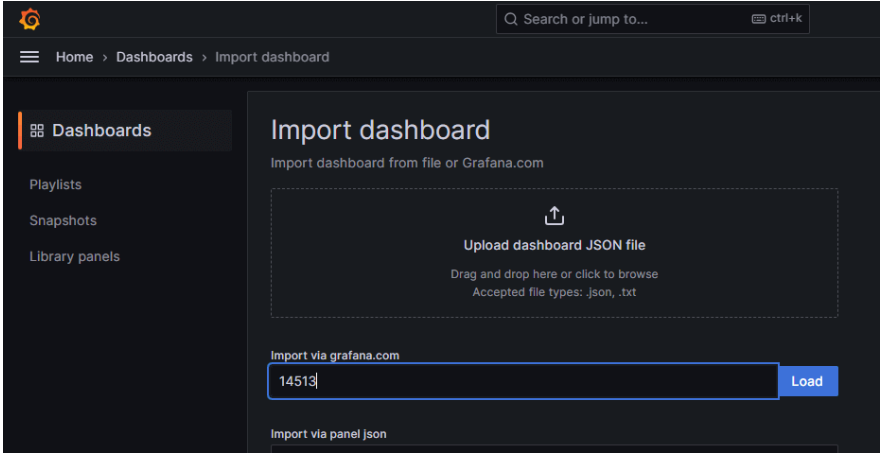
Now provide the name and select the prometheus Datasource and click on Import.
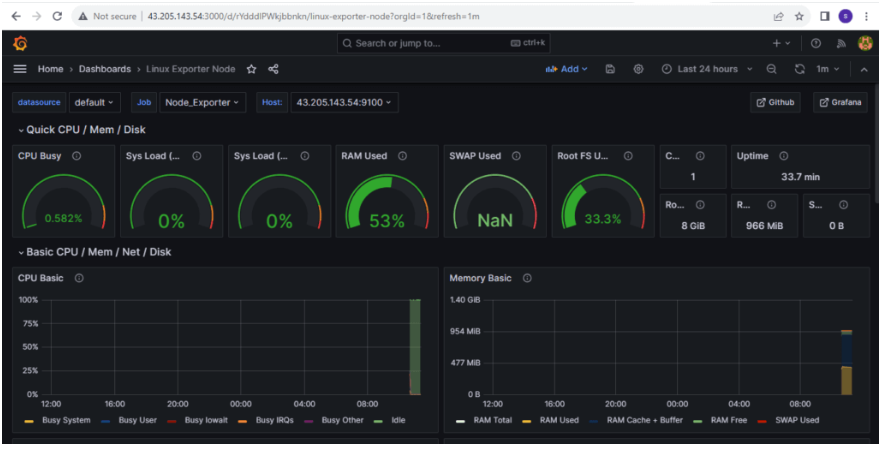
To Search all of the time series data points grouping by job count({name\=~".+"}) by (job).
Subscribe to my newsletter
Read articles from Ankita Lunawat directly inside your inbox. Subscribe to the newsletter, and don't miss out.
Written by
Ankita Lunawat
Ankita Lunawat
Hi there! I'm a passionate AWS DevOps Engineer with 2+ years of experience in building and managing scalable, reliable, and secure cloud infrastructure. I'm excited to share my knowledge and insights through this blog. Here, you'll find articles on: AWS Services: Deep dives into core AWS services like EC2, S3, Lambda, and more. DevOps Practices: Best practices for CI/CD, infrastructure as code, and automation. Security: Tips and tricks for securing your AWS environments. Serverless Computing: Building and deploying serverless applications. Troubleshooting: Common issues and solutions in AWS. I'm always eager to learn and grow, and I hope this blog can be a valuable resource for fellow DevOps enthusiasts. Feel free to connect with me on [LinkedIn/Twitter] or leave a comment below!