Deploy Cal.com with Dokploy
 Nathan De Pachtere
Be aware that Cal.com does not officially support deployment through Docker, as they mention in the documentation:
The Docker configuration for Cal is an effort powered by people within the community. Cal.com, Inc. does not provide official support for Docker, but we will accept fixes and documentation. Use at your own risk.
Requirements
Have a VPS: check this page https://docs.dokploy.com/en/docs/core/get-started/installation. If it’s your first time using Dokploy, go with Hostinger as they will install Dokploy for you on your VPS.
Have a domain: we are going to deploy under cal.yourdomain.com
Disclaimer
We are not using the template provided by Dokploy to self-host Cal.com because it is outdated.
Add a project to your Dokploy instance
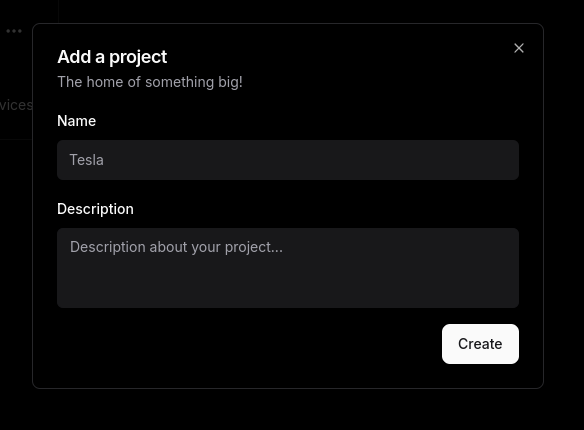
It's simple: go to the project section and click on Create Project.

Then, add a name and a description, click "Create," and enter the project by clicking on it.
Create and configure a service
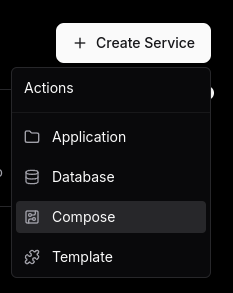
Inside your project, you can create a service by clicking "Create Service" in the top right corner.
Docker-compose
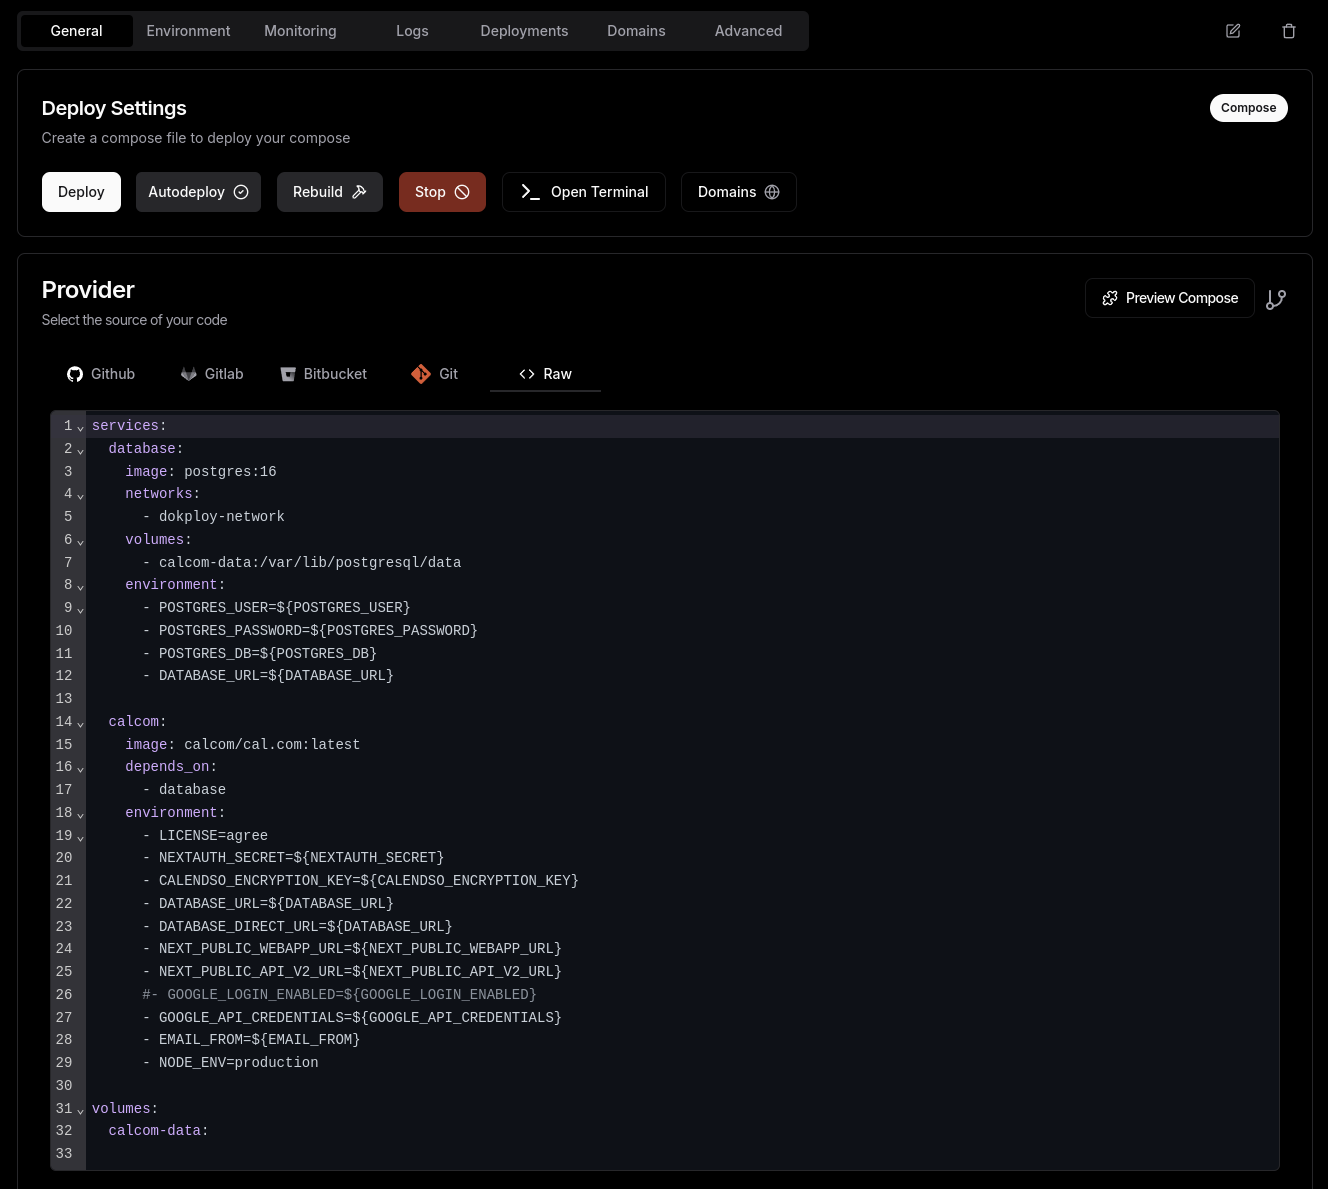
In the General tab, under Provider, click on Raw and then paste the code inside.
services:
  database:
    image: postgres:16
    networks:
      - dokploy-network
    volumes:
      - calcom-data:/var/lib/postgresql/data
    environment:
      - POSTGRES_USER=${POSTGRES_USER}
      - POSTGRES_PASSWORD=${POSTGRES_PASSWORD}
      - POSTGRES_DB=${POSTGRES_DB}
      - DATABASE_URL=${DATABASE_URL}

  calcom:
    image: calcom/cal.com:latest
    depends_on:
      - database
    environment:
      - LICENSE=agree
      - NEXTAUTH_SECRET=${NEXTAUTH_SECRET}
      - CALENDSO_ENCRYPTION_KEY=${CALENDSO_ENCRYPTION_KEY}
      - DATABASE_URL=${DATABASE_URL}
      - DATABASE_DIRECT_URL=${DATABASE_URL}
      - NEXT_PUBLIC_WEBAPP_URL=${NEXT_PUBLIC_WEBAPP_URL}
      - NEXT_PUBLIC_API_V2_URL=${NEXT_PUBLIC_API_V2_URL}
      #- GOOGLE_LOGIN_ENABLED=${GOOGLE_LOGIN_ENABLED}
      - GOOGLE_API_CREDENTIALS=${GOOGLE_API_CREDENTIALS}
      - EMAIL_FROM=${EMAIL_FROM}
      - NODE_ENV=production

volumes:
  calcom-data:
Your service interface should look like this. 🔽
Environment
Go to the Environment tab in your service and edit the environment variables to add this:
NEXTAUTH_SECRET=gRUQErxuNskUjVhR8TTerrzgnmm4VPx78e6PBaLCFQM= #generate it
CALENDSO_ENCRYPTION_KEY=acu16cfdadc1996h9c6df109ddc1e67c #generate it by running 'dd if=/dev/urandom bs=1K count=1 | md5sum'

CALCOM_HOST=cal.yourdomain.com
NEXT_PUBLIC_WEBAPP_URL=https://${CALCOM_HOST}

POSTGRES_USER=user #change it
POSTGRES_PASSWORD=password #change it
POSTGRES_DB=calendso #change it
DATABASE_HOST=database:5432
DATABASE_URL=postgresql://${POSTGRES_USER}:${POSTGRES_PASSWORD}@${DATABASE_HOST}/${POSTGRES_DB}

GOOGLE_API_CREDENTIALS={}
GOOGLE_LOGIN_ENABLED=false

EMAIL_FROM=notifications@yourdomain.com
EMAIL_FROM_NAME=yourname

EMAIL_SERVER_HOST=smtp-relay.gmail.com #change it
EMAIL_SERVER_PORT=587
Hit save, and you're all set for this section. It should look like this.🔽
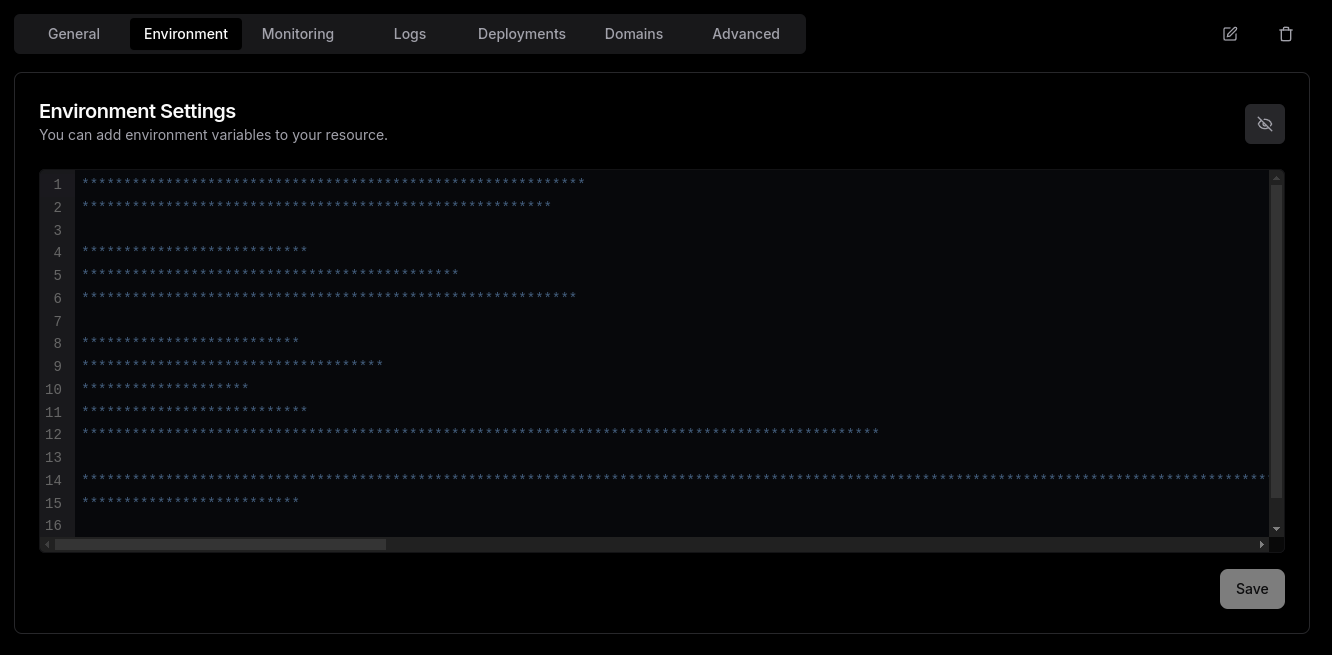
The CALENDSO_ENCRYPTION_KEY needs to be this size to enable 2FA for administrator access in the Cal app. You will see an orange banner at the top when connecting for the first time.
GOOGLE_API_CREDENTIALS and GOOGLE_LOGIN_ENABLED are variables used if you want to connect your Google Calendar to your Cal app. Just follow this tutorial to do it: https://cal.com/docs/self-hosting/apps/install-apps/google
Domain
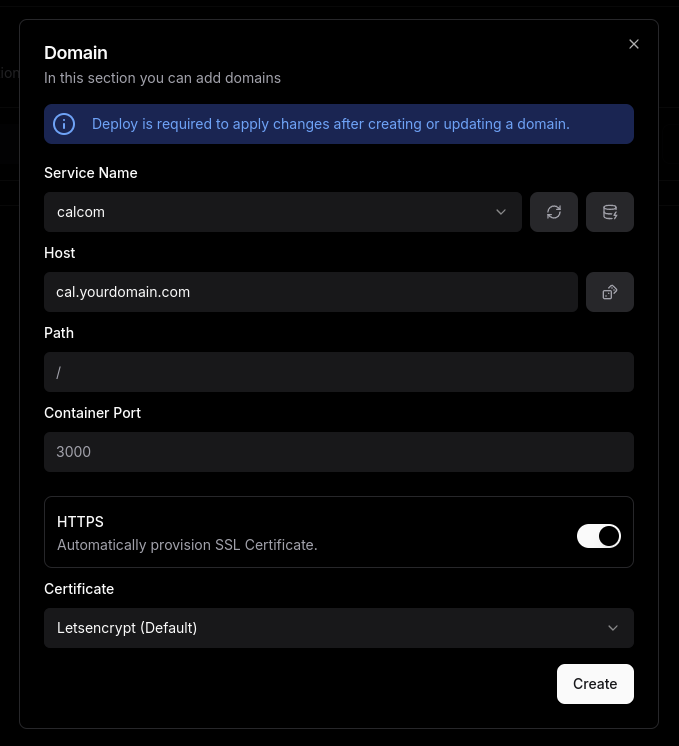
Go to the Domains tab and add your domain that matches the CALCOM_HOST in the environment.
The configuration is:
Service Name : calcom
Host : cal.yourdomain.com
Path : /
Container Port : 3000
HTTPS : ✅
Certificate : Letsencrypt
Then delete the default Traefik domain, as it's not needed.
Now, go to the DNS settings of your domain and add a record for your subdomain:
A — cal — <IP_of_your_VPS>
Deploy
Just go back to the General section inside your service and click Deploy. It might take some time for the first deployment because it downloads the Cal.com Docker image, which is 4GB in size. So, please be patient. Once it's deployed, go to cal.yourdomain.com and complete the setup.
Cheers ❤️
Subscribe to my newsletter
Read articles from Nathan De Pachtere directly inside your inbox. Subscribe to the newsletter, and don't miss out.
Written by
