Fetching Data from a Baserow Table Using Nuxt: A Step-by-Step Tutorial
 Costanza Casullo
In this tutorial, we’ll walk through fetching data from a Baserow table using Nuxt. We’ll use Nuxt 3, TypeScript, Axios and the Baserow API to display content from a Baserow database.
First of all, create an account on Baserow and add a simple table.
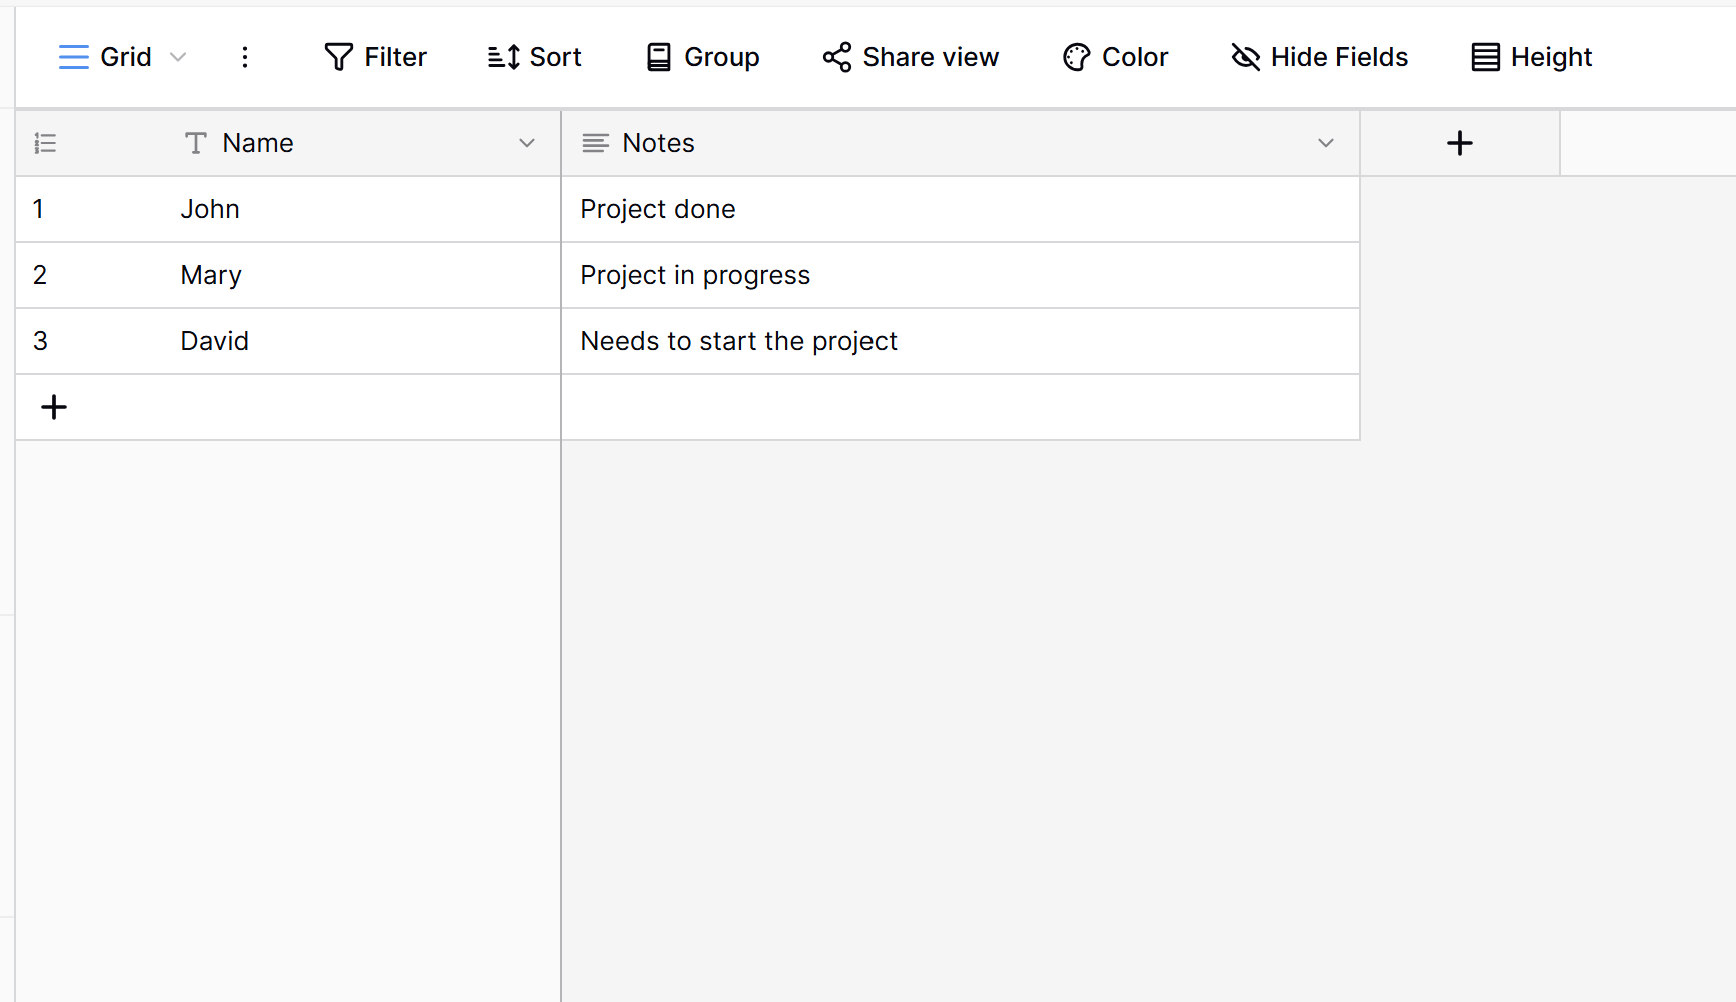
To get your Baserow API token, go to your dashboard → My settings → Database Tokens → Create new token. After you have created a new token, click on the 3 dots next to it to access it.
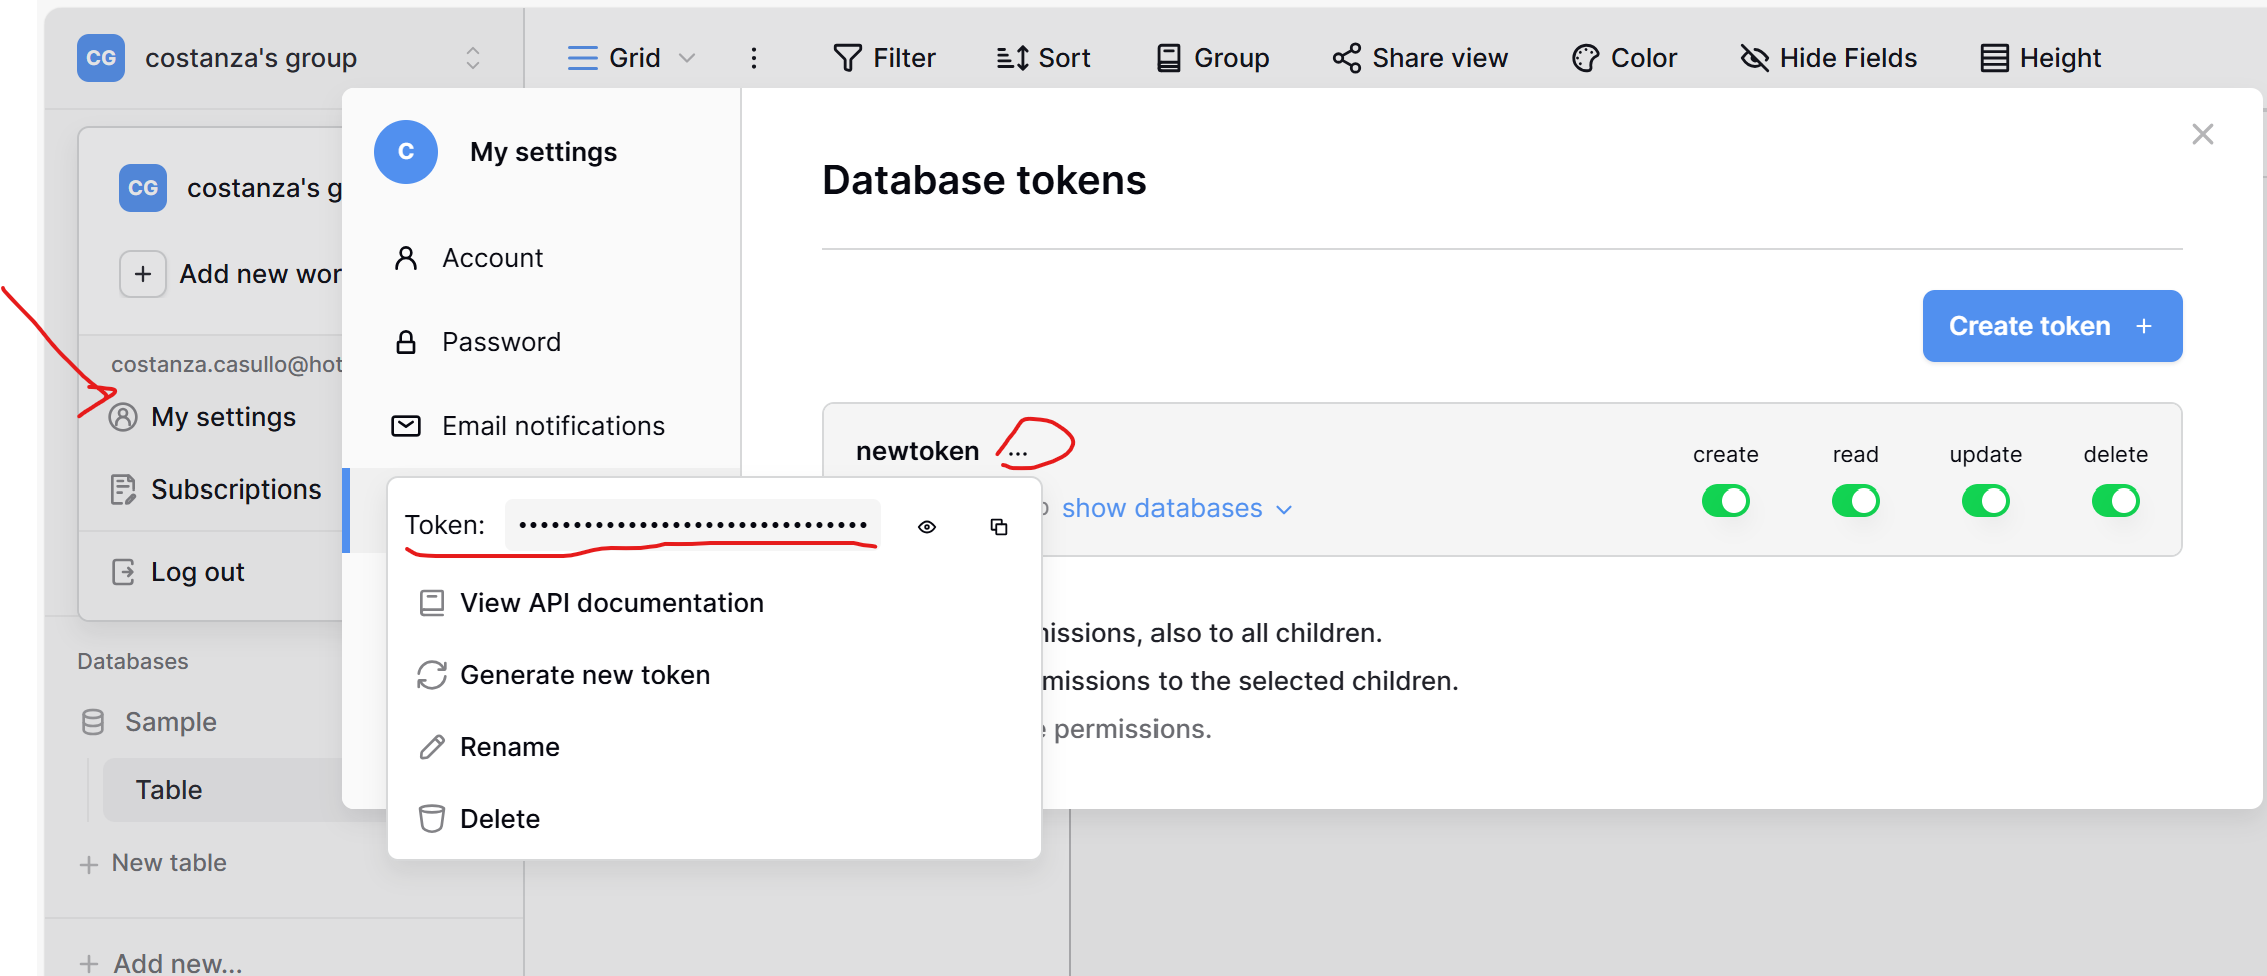
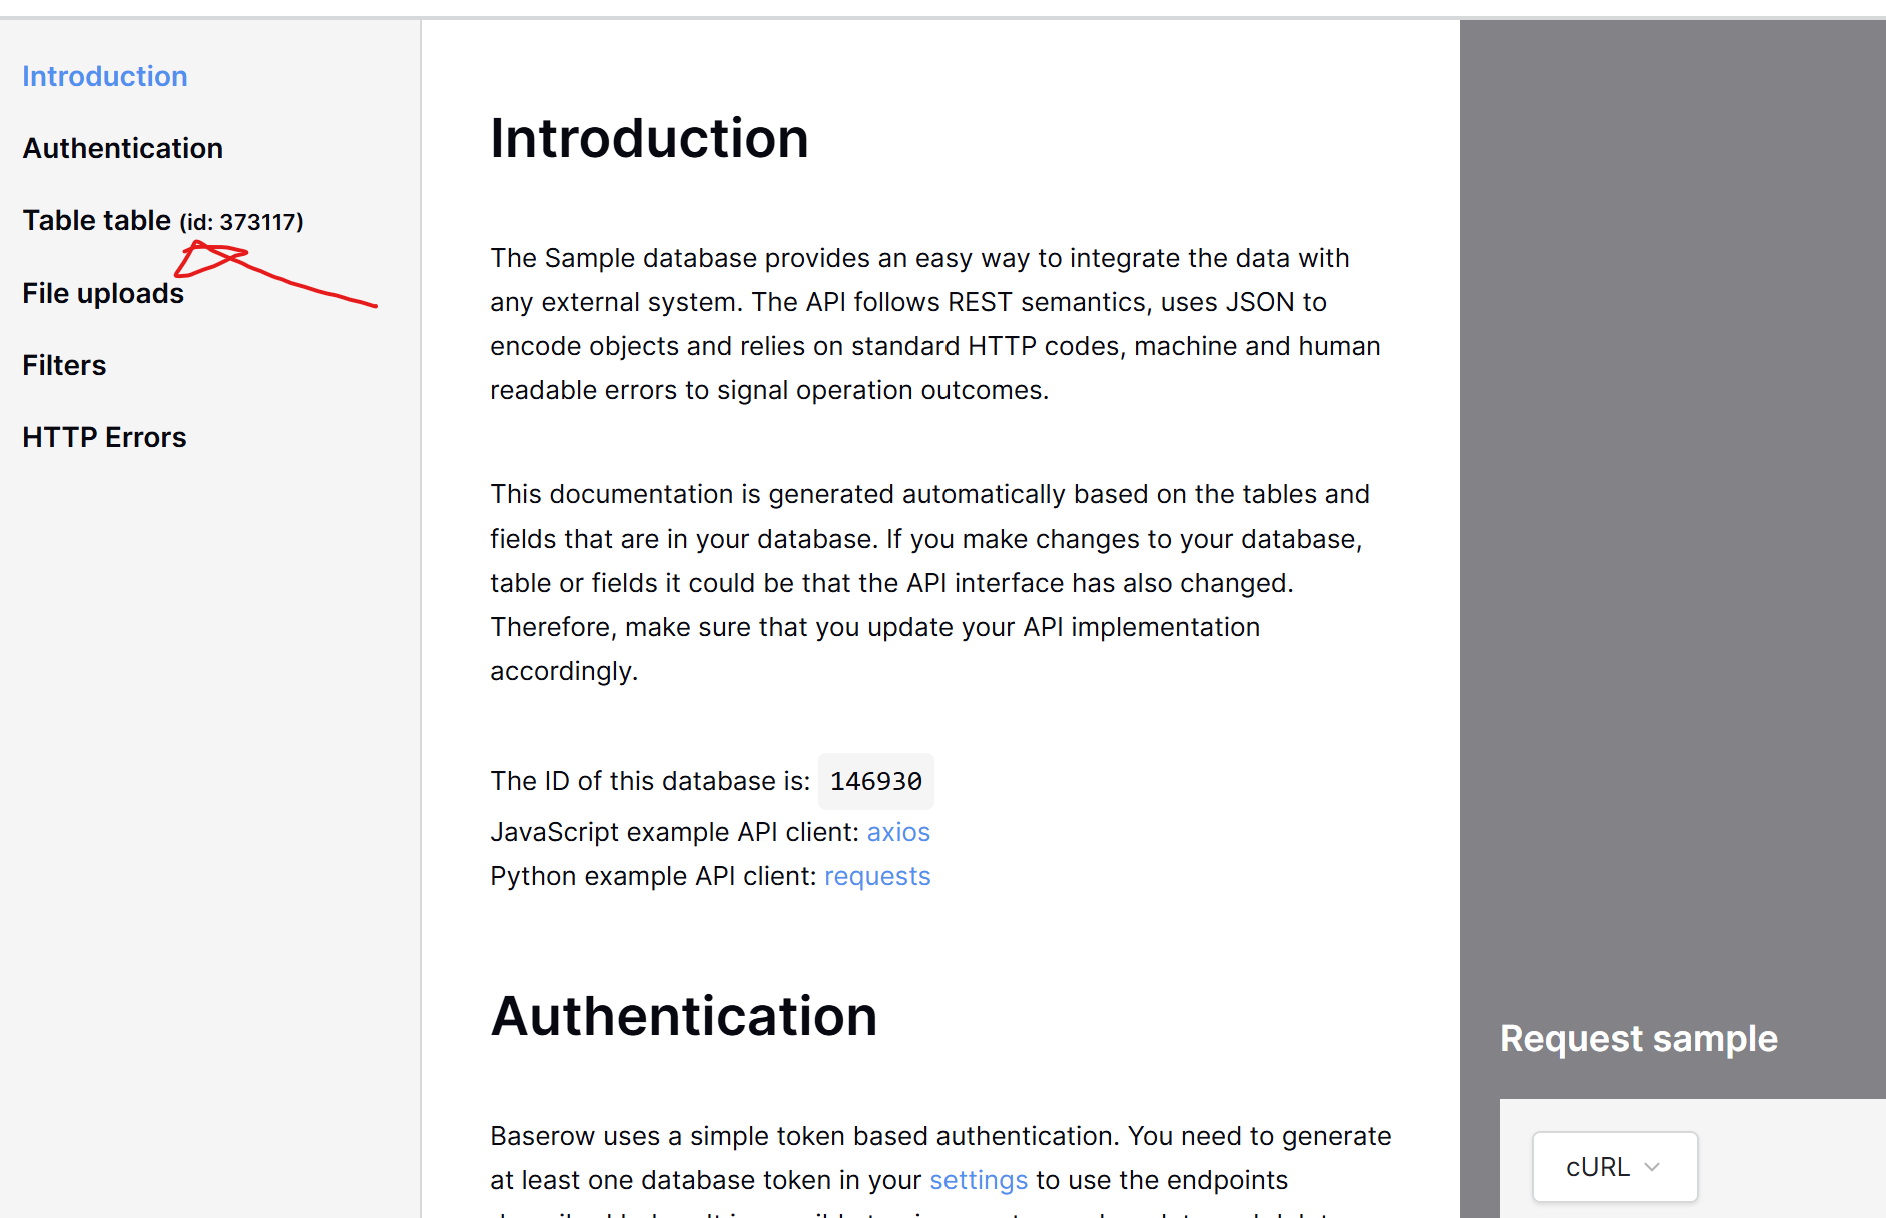
Now go to REST API documentation | Baserow and select the database you have just created. Mine is called “Sample”.
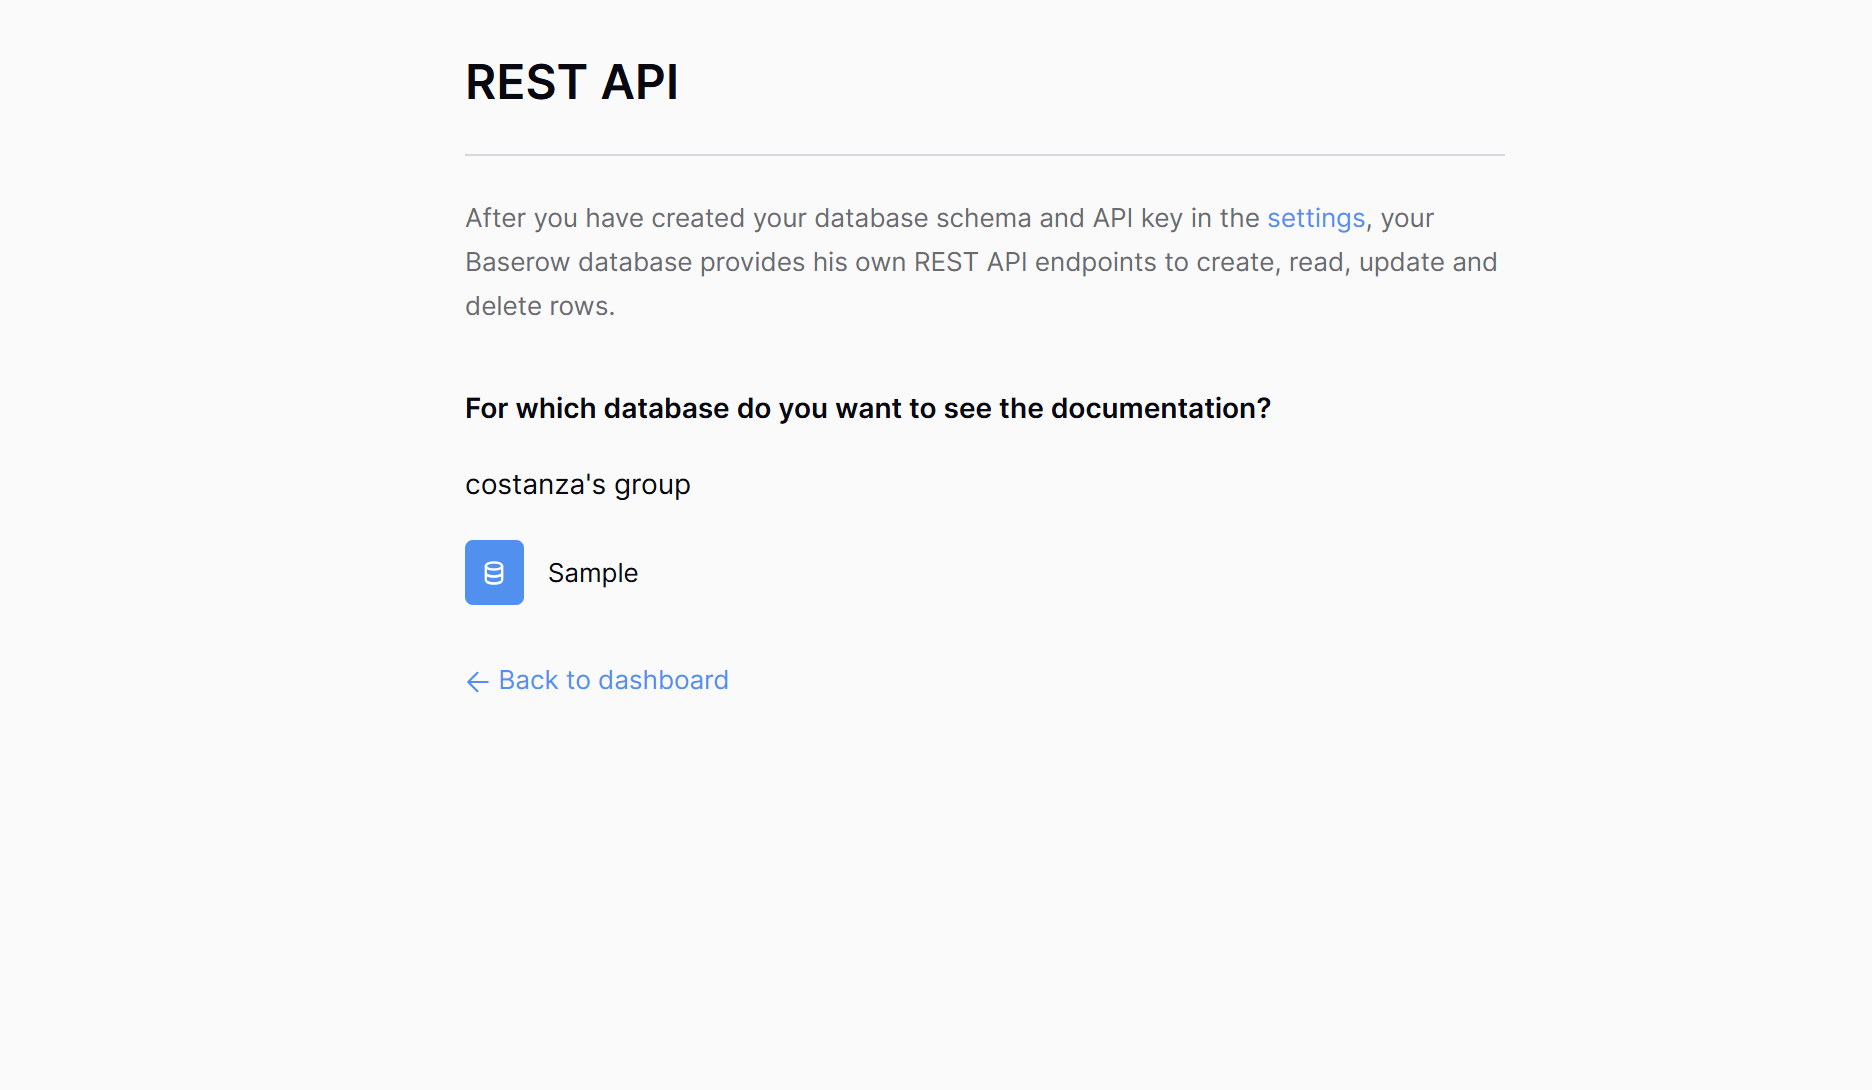
Now note down your table ID, we will need it later
Nuxt
Here's the folder structure we will use for this tutorial:
/my-nuxt-app
│
├── /composables
│   └── useFetchData.ts            # For fetching data from Baserow
│
├── /types
│   └── tableFields.ts              # Type definitions for Baserow data
│
├── /pages
│   └── index.vue                  # Main page to display the component
│
├── /public                        # Static files
├── /assets                        # Styles, images, and other assets
(not needed in this tutorial)
├── /components
    └── TableFields.vue            # Component showing the table data
├── nuxt.config.ts                 # Nuxt configuration file
├── package.json                   # Dependencies and scripts
└── tsconfig.json                  # TypeScript configuration
Step 1: Setting Up Nuxt with TypeScript
If you haven't already, start by creating a Nuxt app with TypeScript.
Open your terminal and run:
 npx nuxi@latest init nuxt-baserow
 cd nuxt-baserow
Install the necessary dependencies:
 npm install
 npm install axios
Now open the project in your code editor:
code .Create a
.envfile in the root folder# .env NUXT_API_TOKEN=THE TOKEN YOU GOT FROM BASEROW NUXT_API_URL=https://api.baserow.ioGo to
nuxt.config.tsand add TypeScript support if it's not already enabled:// nuxt.config.ts export default defineNuxtConfig({ typescript: { strict: true, }, components: true, runtimeConfig: { public: { apiToken: process.env.NUXT_API_TOKEN, // API token from .env apiUrl: process.env.NUXT_API_URL, }, }, devtools: { enabled: true }, });
In this setup:
apiToken: We store the Baserow API token as an environment variable for security.
apiUrl: The base URL for the Baserow API.
Step 2: Create Type Definitions
To keep your code clean and maintainable, we'll define the structure of the Baserow data. This allows us to take advantage of TypeScript’s type safety.
In the types folder, create a file tableField.ts:
// types/tableFields.ts
export interface TableRow {
  id: number;
  Name: string;
  Notes: string;
}

export interface ApiResponse {
  count: number;
  next: string | null;
  previous: string | null;
  results: TableRow[];
}
These types will help us later when we interact with the API.
Step 3: Create a Composable for Fetching Data
Nuxt’s composables allow us to define reusable functions. We’ll create a composable to fetch data from the Baserow API.
Create the useFetchData.ts composable inside the composables folder. Make sure to use your own table ID retrieved earlier from the Baserow API docs.
 import type { ApiResponse } from "~/types/tableFields";

 export const useFetchData = async () => {
   const config = useRuntimeConfig();
   const token = config.public.apiToken;
   const apiUrl = config.public.apiUrl;
   // Use fetch with the runtime config values
   const { data, error } = await useFetch<ApiResponse>(
     `${apiUrl}/api/database/rows/table/YOUR TABLE ID/?user_field_names=true`,
     {
       headers: {
         Authorization: `Token ${token}`,
       },
     }
   );

   return { data, error };
 };
This composable will handle the API request, returning the data and any errors.
Step 4: Create the component to display the data
In this step, we'll create a Vue component that utilizes our useFetchData composable to fetch and display data from a Baserow table.
<script setup lang="ts">
import { TableRow } from "~/types/tableField";
const { data, error } = await useFetchData();
</script>

<template>
  <div v-if="error">{{ error.message }}</div>
  <div v-else>
    <ul>
      <li v-for="row in data.results" :key="row.id">
        Name: {{ row.Name }} <br />
        Notes: {{ row.Notes }}
      </li>
    </ul>
  </div>
</template>
Step 5: Insert component in index.vue
Inside the pages folder, create index.vue:
 <template>
   <div>
     <h1>Baserow Table Data</h1>
     <TableData />
   </div>
 </template>

 <script>
 import TableData from "~/components/TableFields.vue";

 export default {
   components: {
     TableData,
   },
 };
 </script>
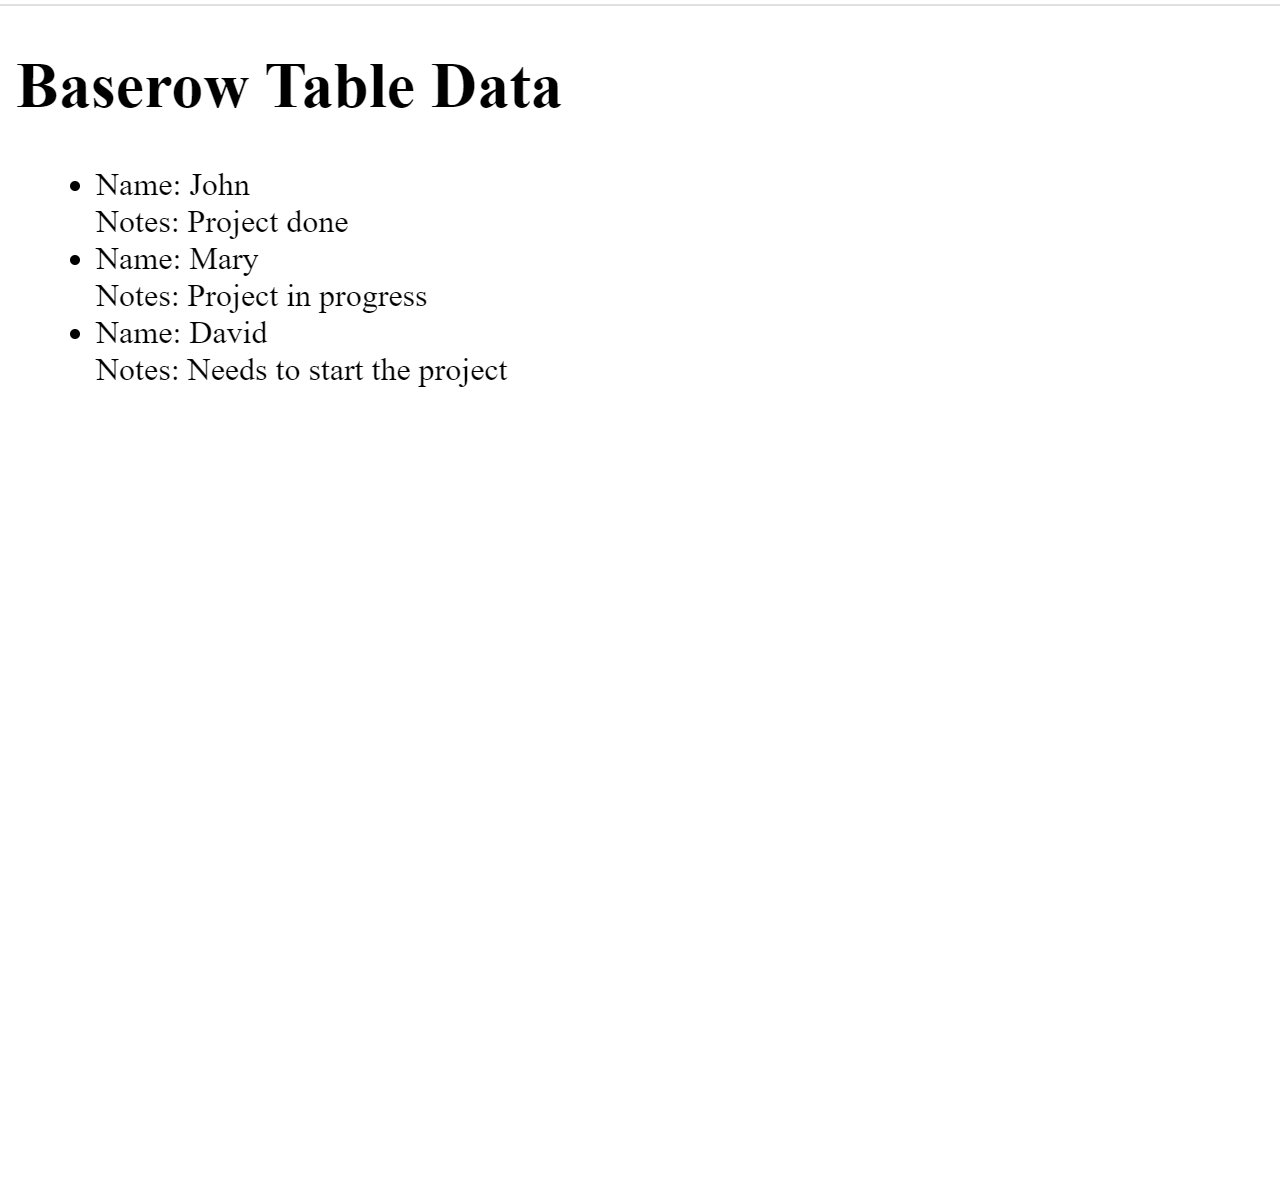
Restart your development server to ensure the environment variables are picked up.
npm run dev
Final Thoughts
This tutorial has walked you through the process of fetching data from a Baserow table using Nuxt. We utilized Nuxt composables to handle the API call and displayed the data on a page. By structuring the code properly and using TypeScript, we ensured that our project is maintainable and scalable for future needs.
Any ideas of how you might use Baserow in your own project?
Subscribe to my newsletter
Read articles from Costanza Casullo directly inside your inbox. Subscribe to the newsletter, and don't miss out.
Written by

Costanza Casullo
Costanza Casullo
🔧 I make websites for small businesses (though I don't think my clients would be interested in tech blog, but never underestimate anyone!) 🌱 As a curious person, I’m always eager to learn more about different technologies. To the point that sometimes I get lost and forget to stick to one thing. 💬 Does the internet really need another developer sharing her learnings on a blog? Probably not. But if you are reading this, maybe it does.