☑️Day 45: Learning Horizontal Pod Autoscaler (HPA) in Kubernetes🚀
 Kedar Pattanshetti
🔹Table of Contents :
Introduction
Setting Up the Environment for HPA
Task: Creating a Service and Deployment Using HPA
Creating the hpa.yaml File
Applying the YAML File
Testing the Service
Implementing Horizontal Pod Autoscaling
Simulating Load for Testing
Cleaning Up the Resources
Real-Time Scenario for HPA
Key Takeaways
✅Introduction
What is Horizontal Pod Autoscaler (HPA)?
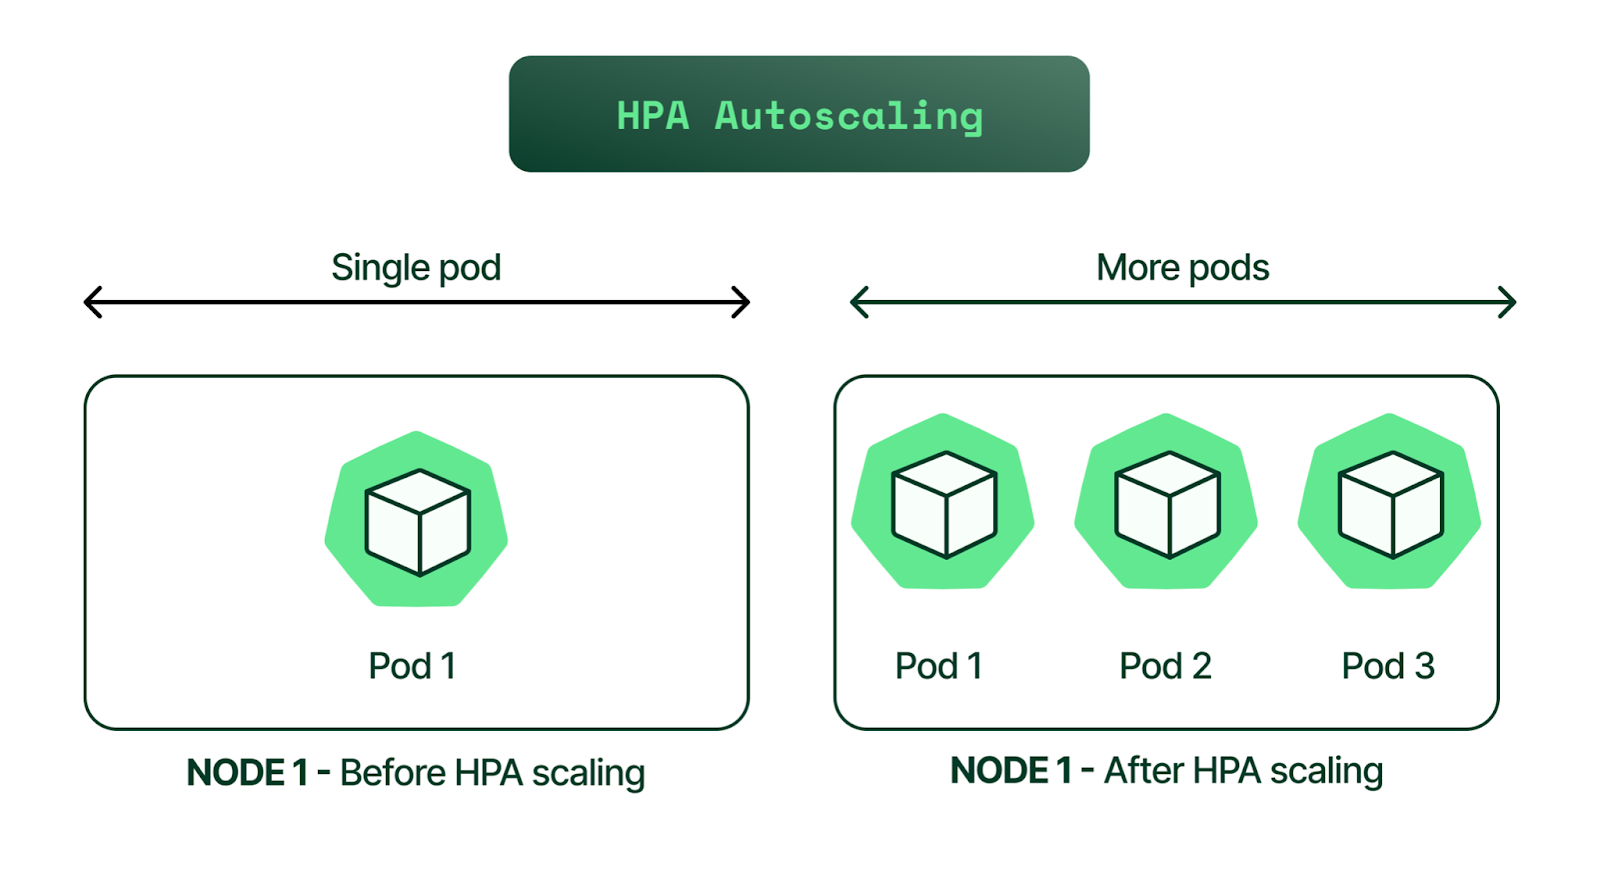
HPA is a Kubernetes feature that automatically adjusts the number of pod replicas in a deployment, replica set, or stateful set.
It scales the workload based on observed metrics like CPU utilization or custom metrics.
Helps in managing workloads dynamically, ensuring applications are highly available while optimizing resource usage.
Why Use HPA?
Dynamic Scaling: Automatically adds or removes pods based on traffic or resource demand.
Cost Efficiency: Optimizes resource usage to prevent over-provisioning.
High Availability: Ensures sufficient resources are allocated to handle spikes in traffic or demand.
✅Setting Up the Environment for HPA
Check Nodes:
kubectl get nodes- This command helps you verify that the Kubernetes cluster is up and running.
Install the Metrics Server:
The Metrics Server is a component needed by HPA to collect CPU and memory metrics.
Download the components file:
wget https://github.com/kubernetes-sigs/metrics-server/releases/latest/download/components.yamlEdit the
components.yamlfile:vim components.yamlAdd the following arguments under the
argssection for the metrics server:- /metrics-server --kubelet-preferred-address-types=InternalIP,Hostname,InternalDNS,ExternalDNS,ExternalIPApply the modified configuration:
kubectl apply -f components.yamlVerify the metrics server is running:
kubectl get pods -n kube-system | grep metrics-server
✅Task: Creating a Service and Deployment Using HPA
- Create a YAML file (hpa.yaml):
The file should include both service and deployment configurations, separated by
---in the YAML to define multiple objects in a single file.apiVersion: apps/v1 kind: Deployment metadata: name:hpa-deploy spec: selector: matchlabels: run: hpa-app template: metadata: labels: run: hpa-app spec: containers: - name: hpa-app image: docker9447/hpa:v1 ports: - containerPort: 80 resources: limits: cpu: 500m requests: cpu: 200m --- apiVersion: v1 kind: Service metadata: name: lb-service labels: run: hpa-app spec: selector: run: hpa-app ports: - port: 80 type: LoadBalancerApply the YAML File:
kubectl apply -f hpa.yamlCheck All Resources:
kubectl get allTest the Service:
curl <external_ip_of_service>
✅Implementing Horizontal Pod Autoscaling
Autoscale the Deployment:
kubectl autoscale deployment hpa-deploy --cpu-percent=50 --min=1 --max=10- This command sets up autoscaling with a target CPU utilization of 50%, with a minimum of 1 replica and a maximum of 10 replicas.
View the HPA Status:
kubectl get hpa
✅Simulating Load for Testing
Generate Load Using BusyBox:
kubectl run -i --tty load-generator --rm --image=busybox:1.28 --restart=Never -- /bin/sh -c "while sleep 0.01; do wget -q -O- http://lb-service; done"- This command runs a busybox container to simulate traffic to the service.
Monitor the Scaling Activity:
watch "kubectl get pods"watch "kubectl get hpa"
✅Cleaning Up the Resources
Delete the HPA:
kubectl delete hpa hpa-deployRemove the Service and Deployment:
kubectl delete -f hpa.yamlDelete the Cluster (If Using EKS):
eksctl delete cluster --name eks
✅Real-Time Scenario for HPA
E-commerce Websites: Automatically scale pods during sales events or promotional periods to handle increased traffic.
SaaS Applications: Scale up resources when more users access the service and scale down during off-peak hours.
✅Key Takeaways
HPA helps in automating scaling based on real-time metrics.
It ensures applications remain responsive under varying loads.
Proper configuration and testing of HPA are essential for optimized resource utilization.
🚀Thanks for joining me on Day 45! Let’s keep learning and growing together!
Happy Learning! 😊
#90DaysOfDevOps
Subscribe to my newsletter
Read articles from Kedar Pattanshetti directly inside your inbox. Subscribe to the newsletter, and don't miss out.
Written by
