AWS Networking for Developers
 Gedion Daniel
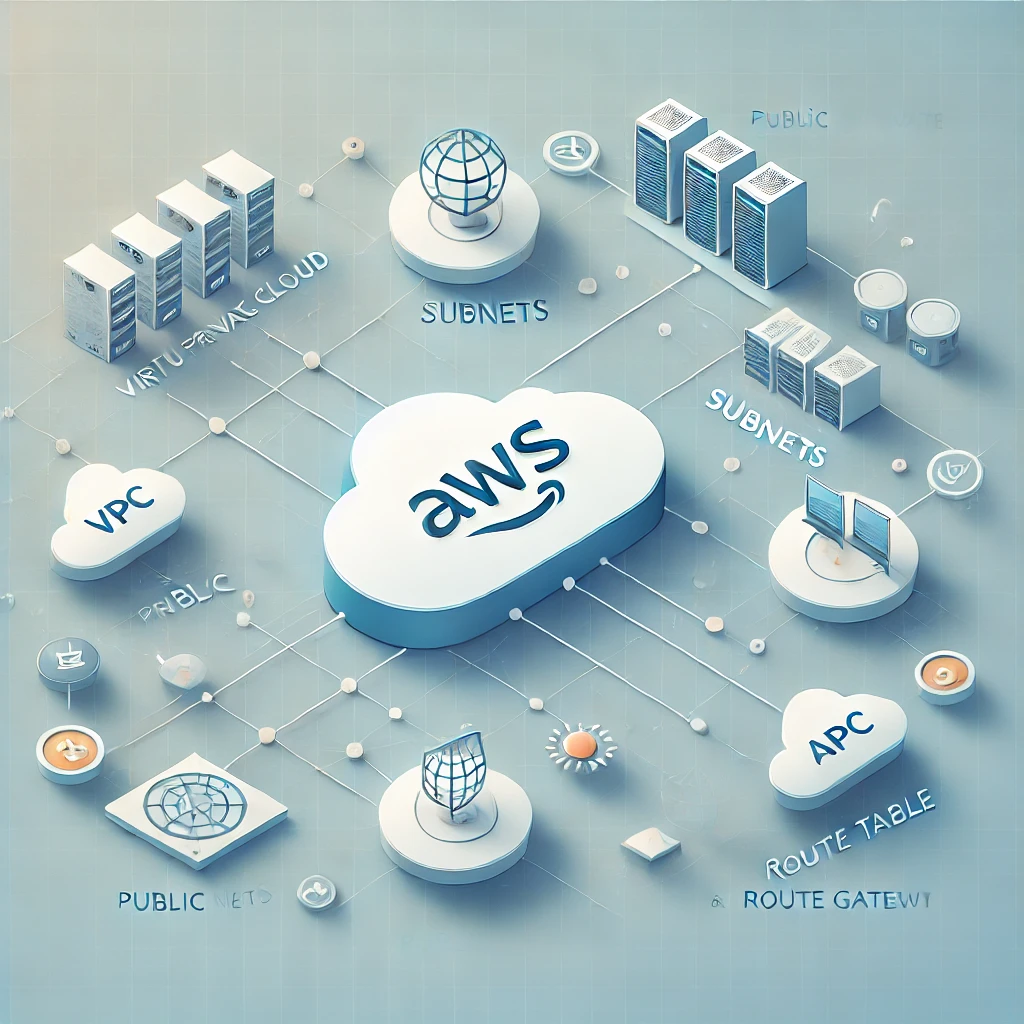
As a developer, understanding AWS networking is essential for building secure and scalable applications. In this blog, we’ll walk through how to set up a basic network in AWS, including creating a Virtual Private Cloud (VPC), setting up public and private subnets, launching an EC2 instance, and configuring routing and gateways for internet access.
Step 1: Create a VPC (Virtual Private Cloud)
A VPC is a private network in AWS where you can launch your resources, like EC2 instances, in an isolated environment.
Go to VPC Console:
- Open the AWS Management Console and navigate to the VPC service.
Create a New VPC:
Click on "Create VPC."
Give your VPC a name (e.g.,
MyVPC).Set the IPv4 CIDR block (e.g.,
10.0.0.0/16), which defines the IP range your VPC will use.Click "Create."
Now, you have a VPC, which is your own private network space in the AWS cloud.
Step 2: Create Subnets (Public and Private)
A subnet is a range of IP addresses within your VPC. You can create public subnets (which allow access to the internet) and private subnets (which don’t have internet access).
Create a Public Subnet:
In the VPC console, click on "Subnets" and then "Create Subnet."
Select your VPC (e.g.,
MyVPC).Choose an Availability Zone (e.g.,
us-east-1a).Set the IPv4 CIDR block (e.g.,
10.0.1.0/24for the public subnet).Name it something like
PublicSubnet.Click "Create."
Create a Private Subnet:
Repeat the same steps, but this time set the IPv4 CIDR block to something different (e.g.,
10.0.2.0/24).Name it
PrivateSubnet.Click "Create."
Now, you have two subnets: one public and one private. Resources in the public subnet will be accessible from the internet, while those in the private subnet will remain isolated.
Step 3: Create an Internet Gateway
An Internet Gateway (IGW) is needed to allow traffic from your public subnet to access the internet.
Create an Internet Gateway:
In the VPC console, click on "Internet Gateways" and then "Create Internet Gateway."
Name it (e.g.,
MyIGW).Click "Create."
Attach the Internet Gateway to Your VPC:
Select your newly created Internet Gateway and click "Attach to VPC."
Choose your VPC (
MyVPC) and attach it.
Step 4: Configure Route Tables
Route tables define how traffic is directed within your VPC. You’ll create a route table for your public subnet that allows internet access.
Create a Public Route Table:
In the VPC console, go to "Route Tables" and click "Create Route Table."
Name it (e.g.,
PublicRouteTable).Select your VPC (
MyVPC).Click "Create."
Add a Route for Internet Access:
Select your route table, go to the "Routes" tab, and click "Edit routes."
Add a new route with the destination
0.0.0.0/0(this means all traffic).In the target, select your Internet Gateway (
MyIGW).Save the changes.
Associate the Route Table with Your Public Subnet:
Go to the "Subnet Associations" tab.
Select your public subnet (
PublicSubnet) and associate it with the route table.
Step 5: Launch an EC2 Instance
An EC2 instance is a virtual machine that you can run in your VPC.
Launch a New EC2 Instance:
Go to the EC2 console and click "Launch Instance."
Choose an Amazon Machine Image (AMI) (e.g., Amazon Linux).
Choose an instance type (e.g., t2.micro for free tier).
Under Network, select your VPC (
MyVPC).Under Subnet, select your public subnet (
PublicSubnet).Enable Auto-assign Public IP to give your instance internet access.
Launch your instance.
Now, your EC2 instance is running in the public subnet with internet access.
Step 6: Test Internet Access
Once your EC2 instance is up and running, connect to it using SSH.
Connect via SSH:
- In the EC2 console, select your instance, click "Connect," and follow the instructions to connect via SSH.
Test Internet Access:
- Once connected, run a command like
pinggoogle.comto check if the instance can access the internet.
- Once connected, run a command like
Step 7: Secure Your Private Subnet
You can place sensitive resources like databases in the private subnet, where they won’t have direct internet access. Resources in the private subnet can communicate with the public subnet, allowing your EC2 instances to act as intermediaries.
That’s it! You’ve now set up a basic AWS network with a VPC, public and private subnets, an EC2 instance, and routing for internet access.
Subscribe to my newsletter
Read articles from Gedion Daniel directly inside your inbox. Subscribe to the newsletter, and don't miss out.
Written by

Gedion Daniel
Gedion Daniel
I am a Software Developer from Italy.