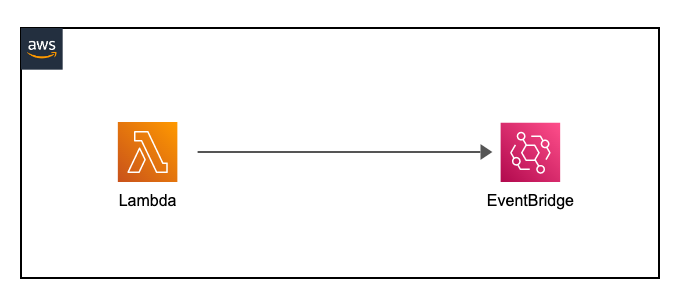
Deploying a Serverless Application with AWS Lambda and EventBridge: A Detailed Guide Day 30 of my 90 -Day Devops Journey
 Abigeal Afolabi
Welcome to day 30! This guide details creating a serverless application using Node.js, AWS Lambda, and EventBridge, triggered by S3 file uploads.
Before You Begin:
AWS Account: You need an active AWS account.
IAM User with Permissions: Create an IAM user with sufficient permissions. Avoid using root credentials. The user needs
permissions to access S3 (reading objects), Lambda (creating functions, invoking functions), and EventBridge (creating rules and
targets). A well-defined policy minimizing permissions is crucial for security. Use the AWS console's IAM service to create a user
and attach a policy granting these permissions.
Step 1: Create the S3 Bucket
Navigate to the S3 console: Access the AWS Management Console and go to the S3 service.
Create bucket: Click "Create bucket."
Bucket name: Choose a globally unique name (e.g.,
your-unique-name-eventbridge-bucket). It must be lowercase and globally unique. Avoid periods (.) in the name.Region: Select a region geographically close to your users.
Object Ownership: Choose "Bucket owner enforced."
Versioning: Consider enabling versioning for data protection.
Encryption: Enable server-side encryption (SSE-S3 or SSE-KMS) to protect your data at rest.
Block Public Access: Crucially, ensure "Block all public access" is enabled. This prevents unauthorized access to your bucket.
Tags (Optional): Add tags for organization and cost allocation.
Create bucket: Click "Create bucket."
Step 2: Create the Lambda Function (Node.js)
Navigate to the Lambda console: Go to the AWS Lambda service.
Create function: Click "Create function."
Author from scratch: Choose this option.
Function name: Use a descriptive name (e.g.,
processS3Upload).Runtime: Select Node.js 16.x (or a compatible version).
Permissions:
Create a new role: Choose this option.
Role name: Give it a descriptive name (e.g.,
lambda_s3_eventbridge_role).Policy: Create a custom policy or use a managed policy and add necessary permissions. The policy must grant permissions to:
s3:GetObject(to read objects from S3)logs:CreateLogGroup,logs:CreateLogStream,logs:PutLogEvents(to write logs to CloudWatch)
Code:
   const AWS = require('aws-sdk');
   const s3 = new AWS.S3();

   exports.handler = async (event) => {
       try {
           const record = event.Records[0];
           const bucketName = record.s3.bucket.name;
           const key = decodeURIComponent(record.s3.object.key.replace(/\+/g, ' ')); // Decode URL-encoded key

           console.log(`File ${key} uploaded to bucket ${bucketName}`);

           const params = { Bucket: bucketName, Key: key };
           const data = await s3.getObject(params).promise();
           // Process the file data from data.Body.  Example:
           const fileContent = data.Body.toString();
           console.log(`File content: ${fileContent}`); // Or perform more complex processing

           return { statusCode: 200, body: 'File processed successfully' };
       } catch (error) {
           console.error('Error processing file:', error);
           return { statusCode: 500, body: 'Error processing file' }; // Handle errors appropriately
       }
   };
- Create function: Click "Create function."
Step 3: Create the EventBridge Rule
Navigate to the EventBridge console: Go to the AWS EventBridge service.
Create rule: Click "Create rule."
Name: Give it a name (e.g.,
s3FileUploadRule).Event source: Select "AWS Events."
Event pattern: Use this JSON pattern (replace with your bucket name):
   {
       "source": ["aws.s3"],
       "detail-type": ["Object Created"],
       "detail": {
           "bucket": {
               "name": ["your-unique-name-eventbridge-bucket"]
           }
       }
   }
Target:
Choose a target: Select "Lambda function."
Select function: Choose your Lambda function (
processS3Upload).
Create rule: Click "Create rule."
Step 4: Test the Setup
Upload a file to your S3 bucket.
Check CloudWatch Logs for your Lambda function. You should see logs indicating successful execution.
Step 5: Verify CloudWatch Logs
Go to the CloudWatch console.
Navigate to Logs.
Find the log group for your Lambda function.
Verify that the logs show the event details (bucket name, file name) and the output of your Lambda function.
Additional Enhancements:
Error Handling: The improved Lambda code includes error handling. Consider adding more robust error handling and logging.
Dead-Letter Queue (DLQ): Configure a DLQ for your EventBridge rule to handle failed events.
Asynchronous Processing: For long-running tasks, use SQS or another asynchronous mechanism to avoid Lambda timeouts.
Security Best Practices: Regularly review and update IAM permissions to ensure least privilege access.
Subscribe to my newsletter
Read articles from Abigeal Afolabi directly inside your inbox. Subscribe to the newsletter, and don't miss out.
Written by

Abigeal Afolabi
Abigeal Afolabi
🚀 Software Engineer by day, SRE magician by night! ✨ Tech enthusiast with an insatiable curiosity for data. 📝 Harvard CS50 Undergrad igniting my passion for code. Currently delving into the MERN stack – because who doesn't love crafting seamless experiences from front to back? Join me on this exhilarating journey of embracing technology, penning insightful tech chronicles, and unraveling the mysteries of data! 🔍🔧 Let's build, let's write, let's explore – all aboard the tech express! 🚂🌟 #CodeAndCuriosity


