Securely Connect Your Linux System to an AWS EC2 Instance Using SSH
 Abhishek Prajapati
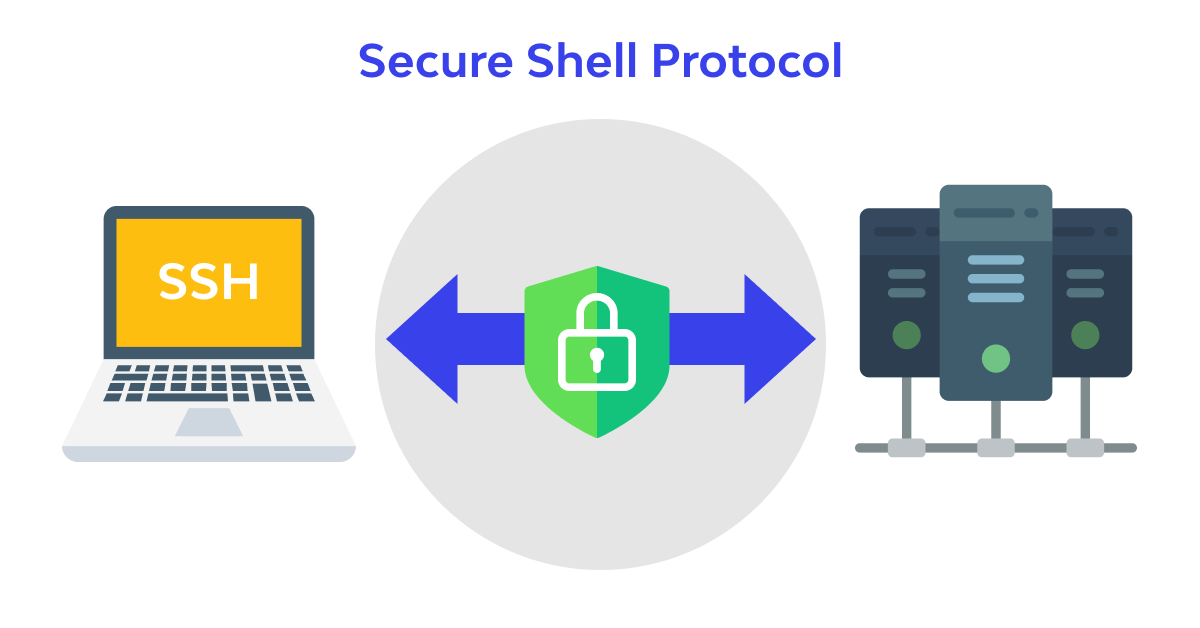
SSH (Secure Shell) is a protocol that allows secure communication and data sharing between computers over an unsecured network. In this guide, we'll walk through the process of creating an AWS EC2 instance from scratch and connecting to it via SSH from your Linux system.
Step 1: Launch an EC2 Instance
Go to the EC2 Service: Navigate to the EC2 service in your AWS console.
Click the “Launch Instance” Button: This will start the process of setting up a new instance.
Enter Instance Details:
Give your instance a name.
Select an instance type based on your requirements.
Generate a Key Pair:
Click the option to generate a key pair. This key pair will be used to securely connect to your instance.
Enter the necessary details (name, file format) and click "Create Key Pair."
A file (with a
.pemextension) will be downloaded to your system. This is your private key and will be used later to connect to the instance.
Launch Your Instance:
Once everything is set, click the Launch Instance button.
Your instance will be created, and you can check its status in the EC2 Dashboard.
Get Your Instance’s Public DNS:
- Once the instance is running, click on Connect to view the details, including the public DNS. This is important because it will be used to connect via SSH.
Step 2: Generating a Key Pair Locally for SSH
Now, we’ll generate an SSH key pair on your Linux system that will allow you to connect securely.
Generate SSH Keys: Run the following command to generate a new RSA key pair:
ssh-keygen -t rsa -b 4096The
-tflag specifies the algorithm (RSA in this case).The
-b 4096option defines the key length (4096 bits).
After running the command, it will show the location of the generated public key file, something like: /home/your-username/.ssh/id_rsa.pub
You can also navigate to this location to check the file manually.
Step 3: Copy the Public Key to the AWS Instance
Once your local SSH key pair is generated, you’ll need to upload the public key to your EC2 instance.
Use SCP to Copy the Key: Run this command to copy your public key file to the AWS instance. Replace the DNS and key file with your own:
scp -i "linux_aws_key.pem" ~/.ssh/id_rsa.pub ubuntu@ec2-184-73-48-79.compute-1.amazonaws.com:~/.ssh/authorized_keysscpis a secure file copy command.-i "linux_aws_key.pem"is the path to the private key you downloaded from AWS.ubuntu@ec2-184-73-48-79.compute-1.amazonaws.comis your instance’s public DNS (replace it with yours).
This command copies your local public key to the authorized_keys file on the remote instance, allowing you to authenticate using your key.
Step 4: Connect to Your AWS Instance via SSH
Now that your public key is copied to the instance, you can connect to it securely using SSH.
SSH Into the Instance: Use the following command to log into your AWS instance:
ssh ubuntu@ec2-184-73-48-79.compute-1.amazonaws.comReplace the public DNS with the actual DNS of your instance. If everything is set up correctly, you should be connected to your AWS instance!
Final Thoughts
By following these steps, you’ve successfully created an AWS EC2 instance and securely connected to it using SSH from your Linux system. From here, you can explore and manage your instance, run applications, or set up a web server. This secure connection ensures that data exchanged between your system and the instance is encrypted and safe from unauthorized access.
If you have any questions or run into any issues, feel free to drop them in the comments!
Subscribe to my newsletter
Read articles from Abhishek Prajapati directly inside your inbox. Subscribe to the newsletter, and don't miss out.
Written by

Abhishek Prajapati
Abhishek Prajapati
I am a passionate Software Engineer with over two years of experience in the tech industry, specializing in Full Stack Development and DevOps practices. Currently, I work on innovative projects in the automotive sector, where I develop and automate solutions that enhance user experience and streamline operations. With a keen interest in cloud technologies, automation, and infrastructure management, I am dedicated to mastering the DevOps landscape. I believe in simplifying complex concepts and sharing practical insights to help others in their learning journeys. Join me as I document my experiences, challenges, and triumphs in the world of DevOps!