🚨 How to Send Email Reports When Automation Fails: A Step-by-Step Guide
 Hardik Chotaliya
📢 Introduction
In the fast-paced world of QA testing, maintaining a seamless workflow is crucial. But what happens when automation fails? 🚨 Without instant notifications, stakeholders may remain unaware, delaying fixes and risking project deadlines.
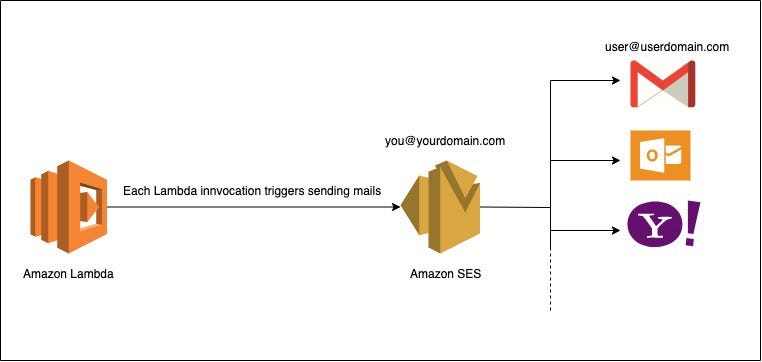
As a QA engineer, I’ve found that automating failure notifications is a game-changer. This blog demonstrates how to send automated email reports using AWS SES and Node.js, ensuring real-time updates for faster resolutions.
💡 Whether you're part of a distributed team or working asynchronously, this guide will help you integrate email automation into your QA process for better efficiency and collaboration.
🌟 Why Automate Failure Notifications?
Manually monitoring automation failures is inefficient and prone to delays. Automating email notifications provides:
✅ Instant Updates: Alert stakeholders and developers in real-time.
✅ Time Savings: Eliminate manual reporting processes.
✅ Better Collaboration: Structured, actionable reports improve team communication.
✅ Faster Resolutions: Immediate insights into failures enable quick debugging.
You can also check this Blog
Step-by-Step Guide to Sending Emails on Automation Failures
🛠️ Step 1: Set Up AWS SES
AWS Simple Email Service (SES) offers a cost-effective way to send automated emails.
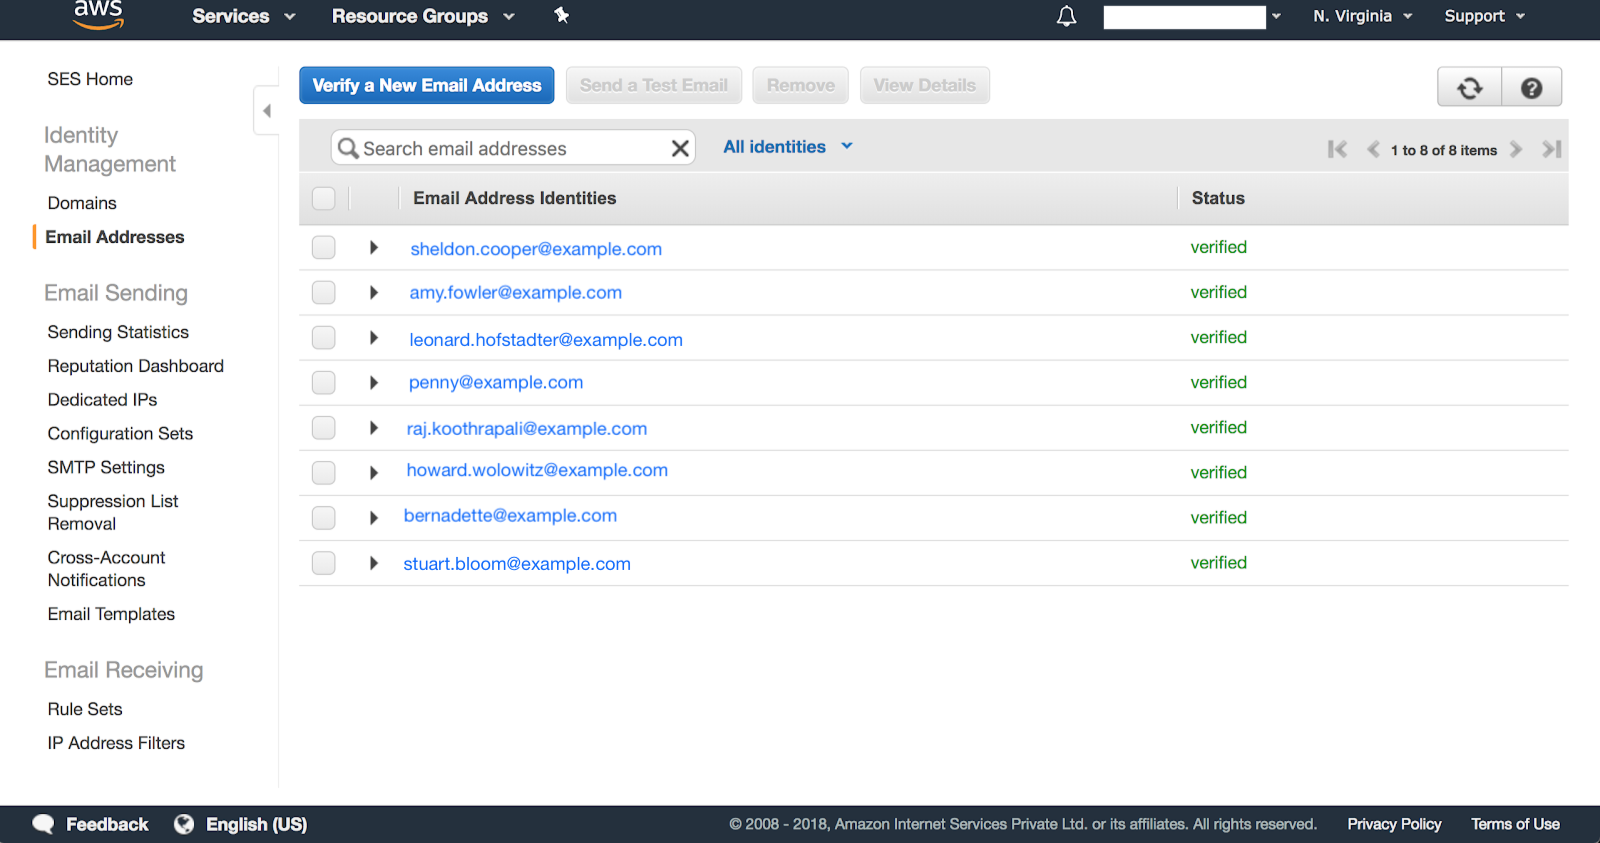
Create an AWS SES Account: Sign up for AWS and access the SES dashboard.
Verify Your Email or Domain: Verify the sender email or domain for sending emails via SES. Follow AWS documentation for guidance.
Configure Sending Limits: AWS restricts sending by default. Request a limit increase if needed.


Screenshot of the AWS SES dashboard showing email verification and configuration options
💻 Step 2: Install AWS SDK in Node.js
To interact with AWS SES, install the AWS SDK for Node.js:
npm install @aws-sdk/client-ses
npm install aws-sdk-js-codemod

// In Package.json for Reference
"dependencies": {
    "@aws-sdk/client-ses": "^3.666.0",
    "aws-sdk-js-codemod": "^2.3.2"
}
This library enables seamless integration of SES into your automation framework.
📝 Step 3: Create the Email Script
Here's a basic Node.js script to send email reports upon test failures. The script includes:
Retrieving information from the failed test.
Sending an email with detailed failure information and a report link.
//email-script.js
import { SESClient, SendEmailCommand } from '@aws-sdk/client-ses';
import { EMAIL_RECIPIENTS, EMAIL_SENDER } from './configs/emailConfig.js';
const buildStatusFailed = process.argv[2] == 0;
const buildName = process.argv[3];
const baseUrl = process.argv[4] || '';
const reportUrl = process.argv[5];
const sesClient = new SESClient({ region: 'eu-asia-1' });
const params = {
Source: EMAIL_SENDER,
Destination: {
ToAddresses: EMAIL_RECIPIENTS,
},
Message: {
Subject: {
Data: `🚨 Automation Failure Report: ${buildName} 🚨`,
Charset: 'UTF-8',
},
Body: {
Html: {
Data: `<html>
<head>
<style>
body {
font-family: Arial, sans-serif;
line-height: 1.6;
background-color: #f4f4f4;
padding: 0 20px;
}
.email-container {
background-color: #ffffff;
padding: 20px;
border-radius: 5px;
box-shadow: 0px 0px 10px rgba(0, 0, 0, 0.1);
max-width: 600px;
margin: auto;
}
.header {
font-size: 18px;
font-weight: bold;
color: #333333;
margin-bottom: 20px;
text-align: center;
}
.info {
margin-bottom: 20px;
}
.info span {
font-weight: bold;
}
.footer {
margin-top: 20px;
color: #888888;
font-size: 12px;
}
.button {
display: block;
width: fit-content;
margin: 20px auto;
background-color: #007BFF;
color: white;
padding: 10px 20px;
text-decoration: none;
border-radius: 5px;
font-weight: bold;
}
.button:hover {
background-color: #0056b3;
}
</style>
</head>
<body>
<div class="email-container">
<div class="header">🚨 Automation Failure Report for Build [${buildName}] 🚨</div>
<p>Dear QA Team & Manager,</p>
<p>We encountered a failure during the Automation Schduler run for the following build:</p>
<div class="info">
<ul>
<li><span>Build Name:</span> ${buildName}</li>
<li><span>Base URL:</span> ${baseUrl || 'N/A'}</li>
<li><span>Failure Timestamp:</span> ${new Date().toLocaleString()}</li>
<li><span>Failure Reason:</span> Please review the below report for details</li>
</ul>
</div>
<p>Please review the full Automation Report and take necessary action by clicking the button below:</p>
<a href="${reportUrl}" class="button">View Report</a>
<p>We are actively investigating the issue and will provide an update as soon as possible. If you have any questions or need further clarification, feel free to reach out to the Automation Team.</p>
<div class="footer">
<p>Best Regards,</p>
<p>The Automation Team</p>
<p>Email: <a href="mailto:${EMAIL_SENDER}">${EMAIL_SENDER}</a></p>
<p><small>Please note: This is an automated email. Do not reply directly to this message.</small></p>
</div>
</div>
</body>
</html>`
}
}
}
};
const sendEmail = async () => {
try {
const data = await sesClient.send(new SendEmailCommand(params));
console.log('Email sent successfully', data);
} catch (err) {
console.error('Error sending email', err);
}
};
/* If you want to run For specific Suite only */
//if (buildStatusFailed && 'E2E-Test-Scheduler'.includes('E2E-Test-Scheduler')) {
// await sendEmail();
//}
if (buildStatusFailed) {
sendEmail();
}
This script is designed to:
Retrieve information from the failed build (build name, report URL, base URL).
Send an email with detailed failure information, such as the timestamp and a link to the full report.
🎨 Step 4: Customize the Email Content
Ensure your email is concise and actionable:
Subject: Clear and action-oriented subject lines are essential.
- Example:
🚨 Automation Failure: Build [${buildName}] - Immediate Attention Required
- Example:
Body: Include:
Build name and error summary.
Timestamp and failure context.
Link to the detailed test report.
Call-to-Action: Add a clear link or button to the report.

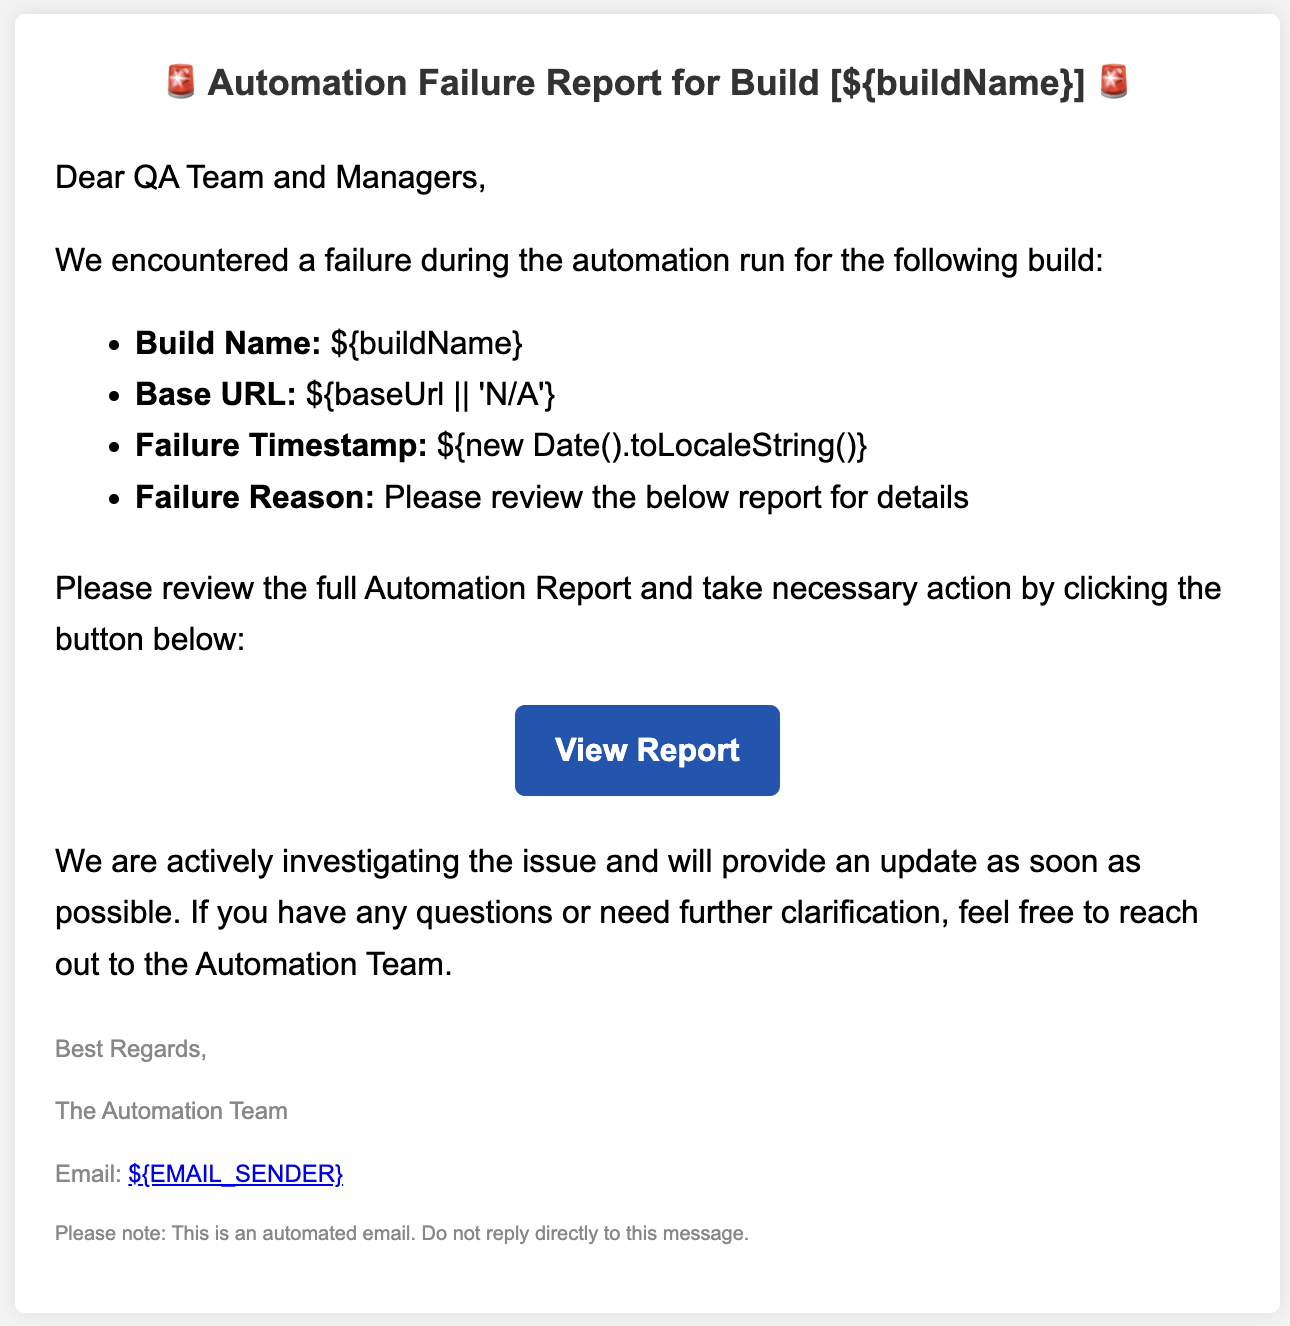
Visual mockup of the email layout, including subject, body, and call-to-action button.
🔄 Step 5: Execute the Script When Automation Fails
Integrate the script with your CI/CD pipeline to automatically trigger it on failures. Pass required parameters, like build name and report URL, via command-line arguments.
Example Trigger Command:
node email-script.js
👥 Step 6: Notify Stakeholders
Maintain a list of stakeholders in a configuration file or environment variables. Ensure emails are sent to all relevant parties, such as QA leads, developers, and project managers.
// emailConfig.js
const EMAIL_RECIPIENTS = [
  'manager@example.com',
  'qa-team@example.com',
];
const EMAIL_SENDER = 'automation@yourdomain.com';

export { EMAIL_RECIPIENTS, EMAIL_SENDER };
This configuration will send the email to the specified recipients each time the automation suite fails.
🚦 How to Run or Trigger the Script?
To test the script manually:
node email-script.js
For the framework inclusion of the script run, you have to place it in the YAML file as shown below,
version: 0.2

env:
  variables:
    BROWSERSTACK_USER: Userkey
    BROWSERSTACK_KEY : PassKey

phases:
  install:
    runtime-versions:
      nodejs: 20
      java: corretto17

  pre_build:
    commands:
      # Move to Automation directory if req
      - cd wdio-automation

      # Installation of all required packages.
      - npm install

  build:
    commands:
      - npm run test

  post_build:
    commands:
      - echo Build completed on `date`
      - ls -lrt src/test/
      - aws s3 sync test-report/allure-report s3://cucumbertesting/wdio-automation/$CODEBUILD_BUILD_ID/report --only-show-errors
      - REPORT_URL=https://uniquekey.cloudfront.net/wdio-automation/$CODEBUILD_BUILD_ID/report/index.html
      - echo Report URL $REPORT_URL
      - node email-script.js $CODEBUILD_BUILD_SUCCEEDING $BUILD_NAME $URL_SET $REPORT_URL
You can also check this Blog
🎯 Conclusion
Automating failure notifications is a vital part of maintaining QA integrity. By using AWS SES and Node.js, you can streamline communication, minimize downtime, and empower your team to resolve issues quickly.
💬 Have questions or additional tips? Share them in the comments below! Don’t forget to subscribe for more QA insights and automation guides.
Subscribe to my newsletter
Read articles from Hardik Chotaliya directly inside your inbox. Subscribe to the newsletter, and don't miss out.
Written by

Hardik Chotaliya
Hardik Chotaliya
👩💻 Automation QA Engineer || SDET ||✍🏼 Tech Blogger || WebdriverIO, JavaScript, TypeScript || based in 🇮🇳 || 🤓 Life-long learner ||Love ☕ & 🏏