How to Write a Pull Request (PR) That Stands Out in GSSoC 💥
 Armaan Singh
One of the most important things you’ll need to do as a contributor is to write clear, effective pull requests (PRs). These PRs communicate your contributions to the maintainers, making it easier for them to review and merge your code. But how do you make sure your PR stands out and gets noticed?
Here’s a tried-and-tested framework that you can follow to write PRs that not only get accepted but also leave a lasting impression on reviewers.
1️⃣ Address the Issue Clearly
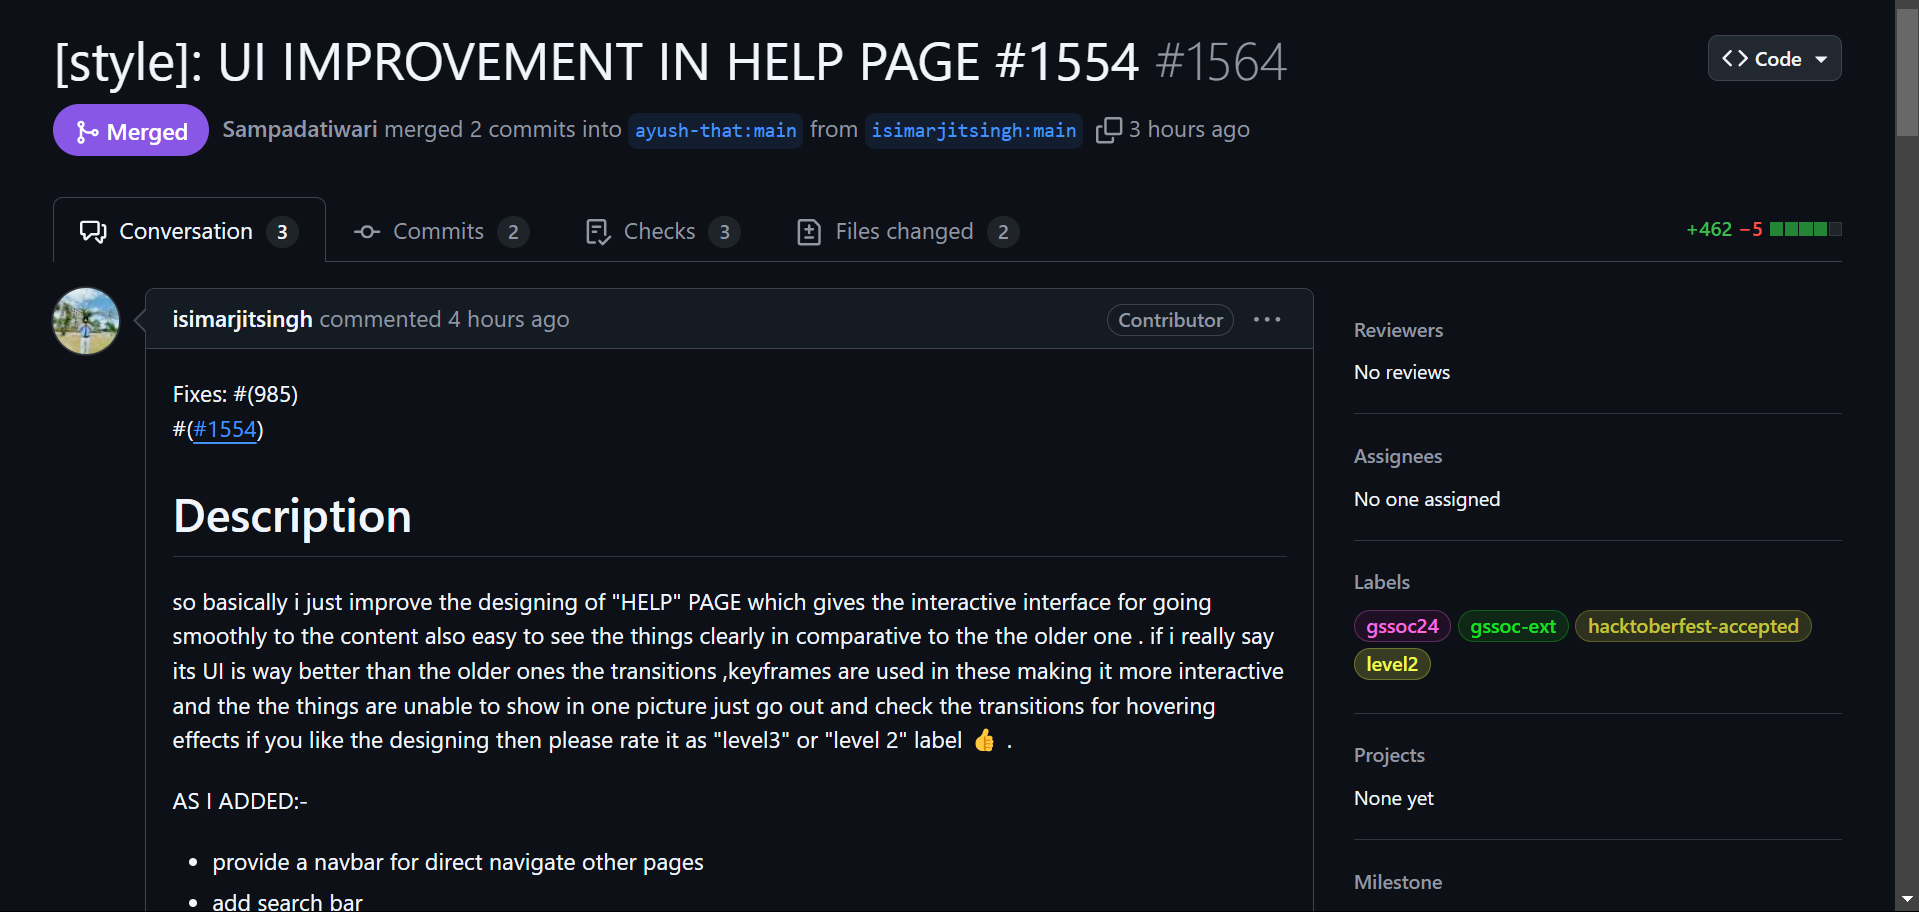
The first step to writing a standout PR is to identify and address the issue or feature you worked on. This could be fixing a bug, improving a feature, or adding something entirely new. Always mention the issue number or feature name you're solving, as this connects your PR directly to the problem being tracked in the project’s issue list.
For example, start with:
Issue #42: Bug in login feature
Feature Request #58: Implement Dark Mode
Mentioning the issue number helps the reviewers easily understand what part of the project you're improving.
2️⃣ Keep the Title Clear and Concise
Your PR title is the first thing reviewers will see, so make it short, to the point, and descriptive. It should answer the question: What exactly is this PR doing?
Fix: Bug in Login Form 🐞
Feature: Add Dark Mode 🌙
Avoid vague titles like “fixed it” or “PR for project.” Be clear and direct, so that even at a glance, it’s obvious what problem you’ve tackled.

3️⃣ Explain How You Solved It
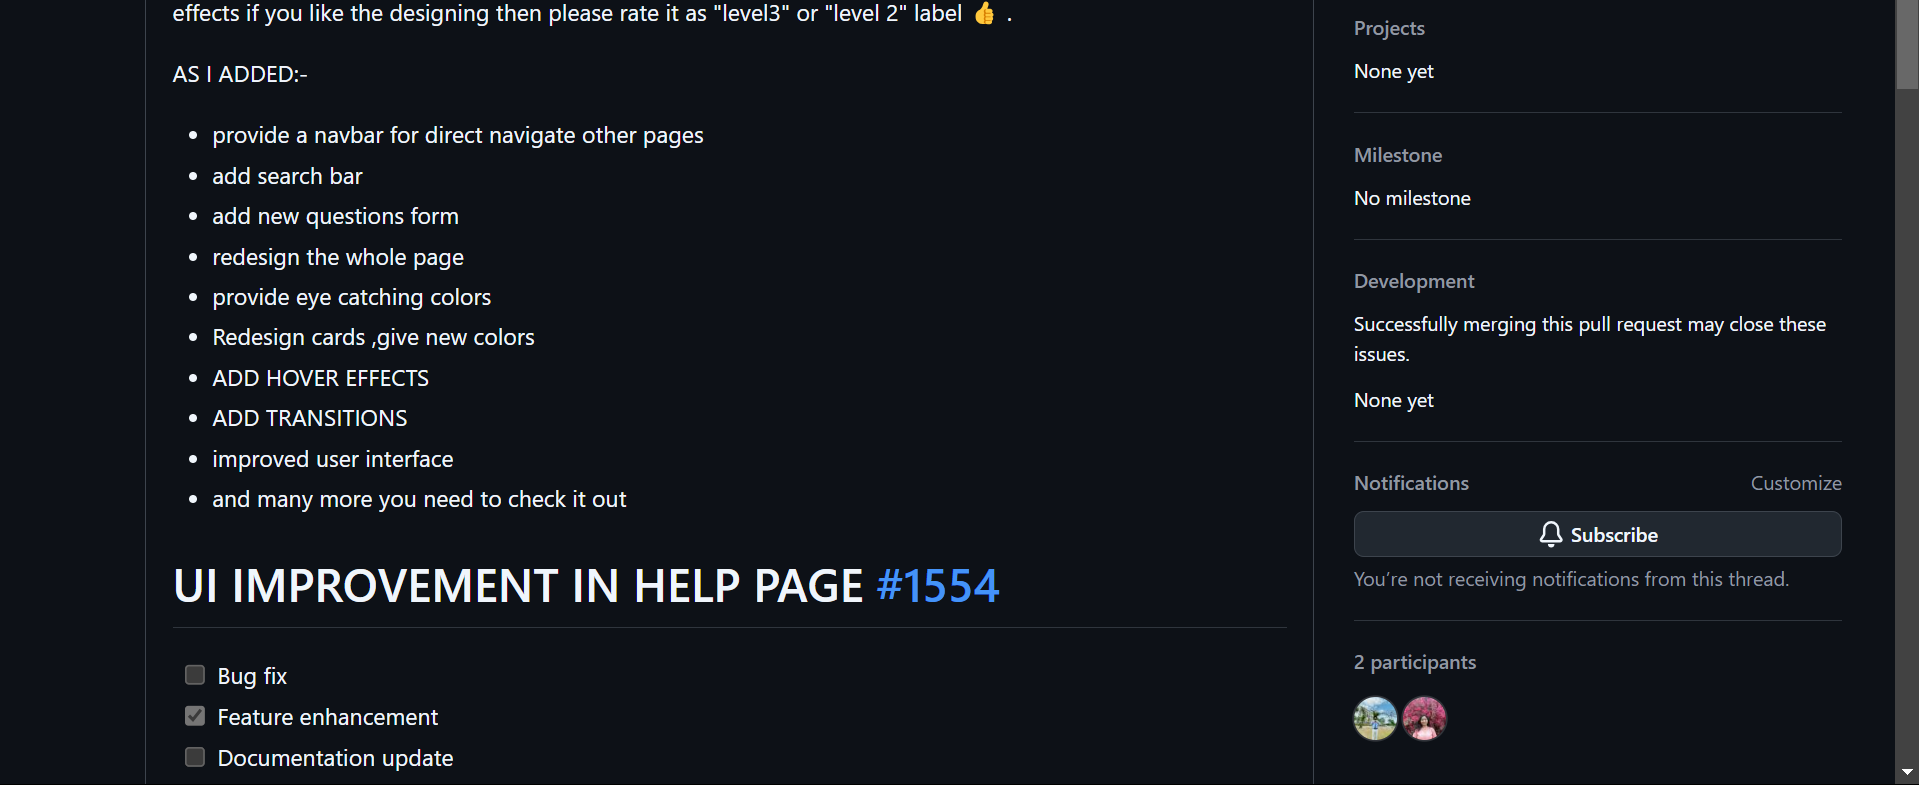
Once you’ve identified the issue, it’s time to explain how you solved it. This is the meat of your PR, so it’s important to be clear and organized. Did you add new features, fix bugs, or optimize performance? Use bullet points to break down your solution in an easy-to-digest manner.
For example:
Added a new dark mode switch in the settings page 🌑
Fixed broken form validation in the login page 🛠️
Refactored the CSS for better mobile responsiveness 📱
By breaking it down like this, you make it easier for the reviewer to understand your approach, even if they aren’t familiar with the specifics of the issue.

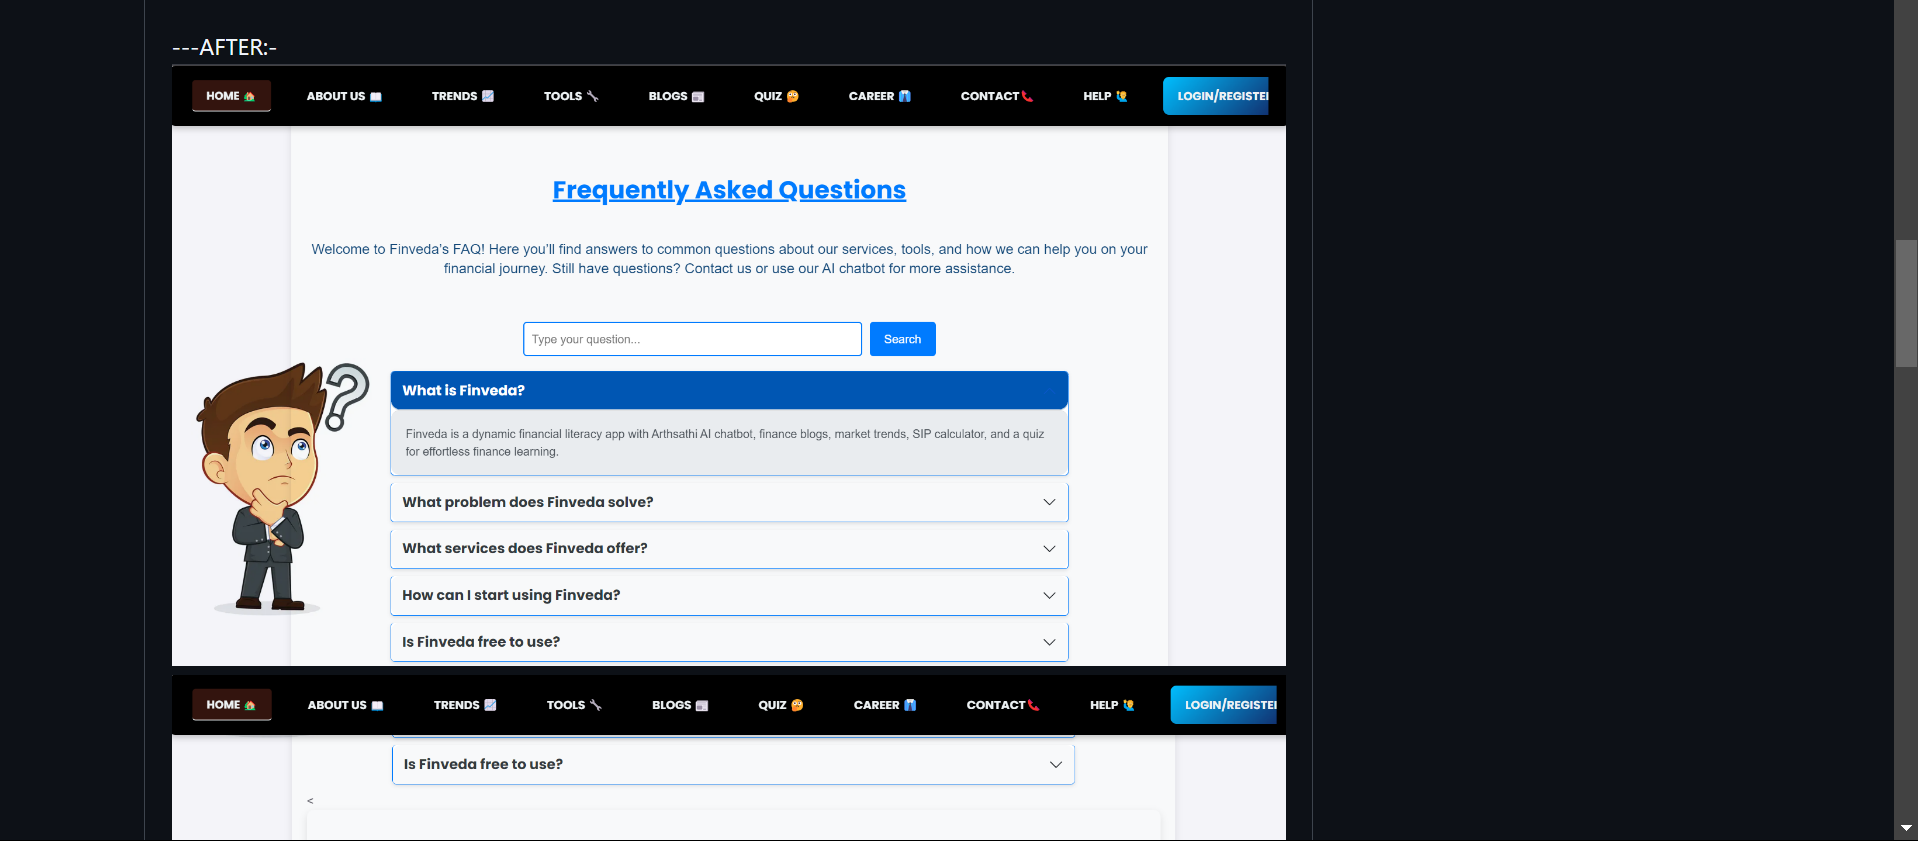
4️⃣ Add Before and After Screenshots 👀
A picture is worth a thousand words, and when it comes to PRs, screenshots can save a lot of back-and-forth. Include before and after screenshots of the part of the application you’ve worked on. This helps the reviewer quickly see the impact of your changes without having to pull the code and test it on their own.
For instance:
Before: Broken layout on mobile.
After: Fixed layout with proper alignment.

5️⃣ Mention the Technology You Used
Make sure to highlight the technology you used in the PR. Whether it’s a specific framework, language, or tool, mention it briefly so that the reviewers understand the context of your code. This is especially helpful in larger projects where multiple technologies are in use.
For example:
Tech used: React, Tailwind CSS, JavaScript ⚛️
Backend changes: Node.js, Express 🛠️
This also shows that you have a good understanding of the tech stack and how your solution fits into the overall project.
Remember, the goal is to make life easier for the reviewers while showcasing your contributions.
Happy coding and keep contributing! ❤️
Shoutout to Simarjit Singh for the inspiration and screenshots for the post!
Stay updated with my articles ....
📩 Subscribe to Newsletter, 👨🏻💻 LinkedIn, 🌍 Personal Website, and 📸 Instagram,🎬 YouTube
Subscribe to my newsletter
Read articles from Armaan Singh directly inside your inbox. Subscribe to the newsletter, and don't miss out.
Written by

Armaan Singh
Armaan Singh
Aspiring Cloud Engineer ☁️ | DevOps Enthusiast 🧑💻 | Top #250 Contributor @GSSoC 🌍 | HTML | CSS | JS | React | C++ | Building Impactful Projects & Solving Real-World Problems 🚀