How to Set Up Q-Consultation Lite: A Step-by-Step Guide for Developers
 Sayantani Deb
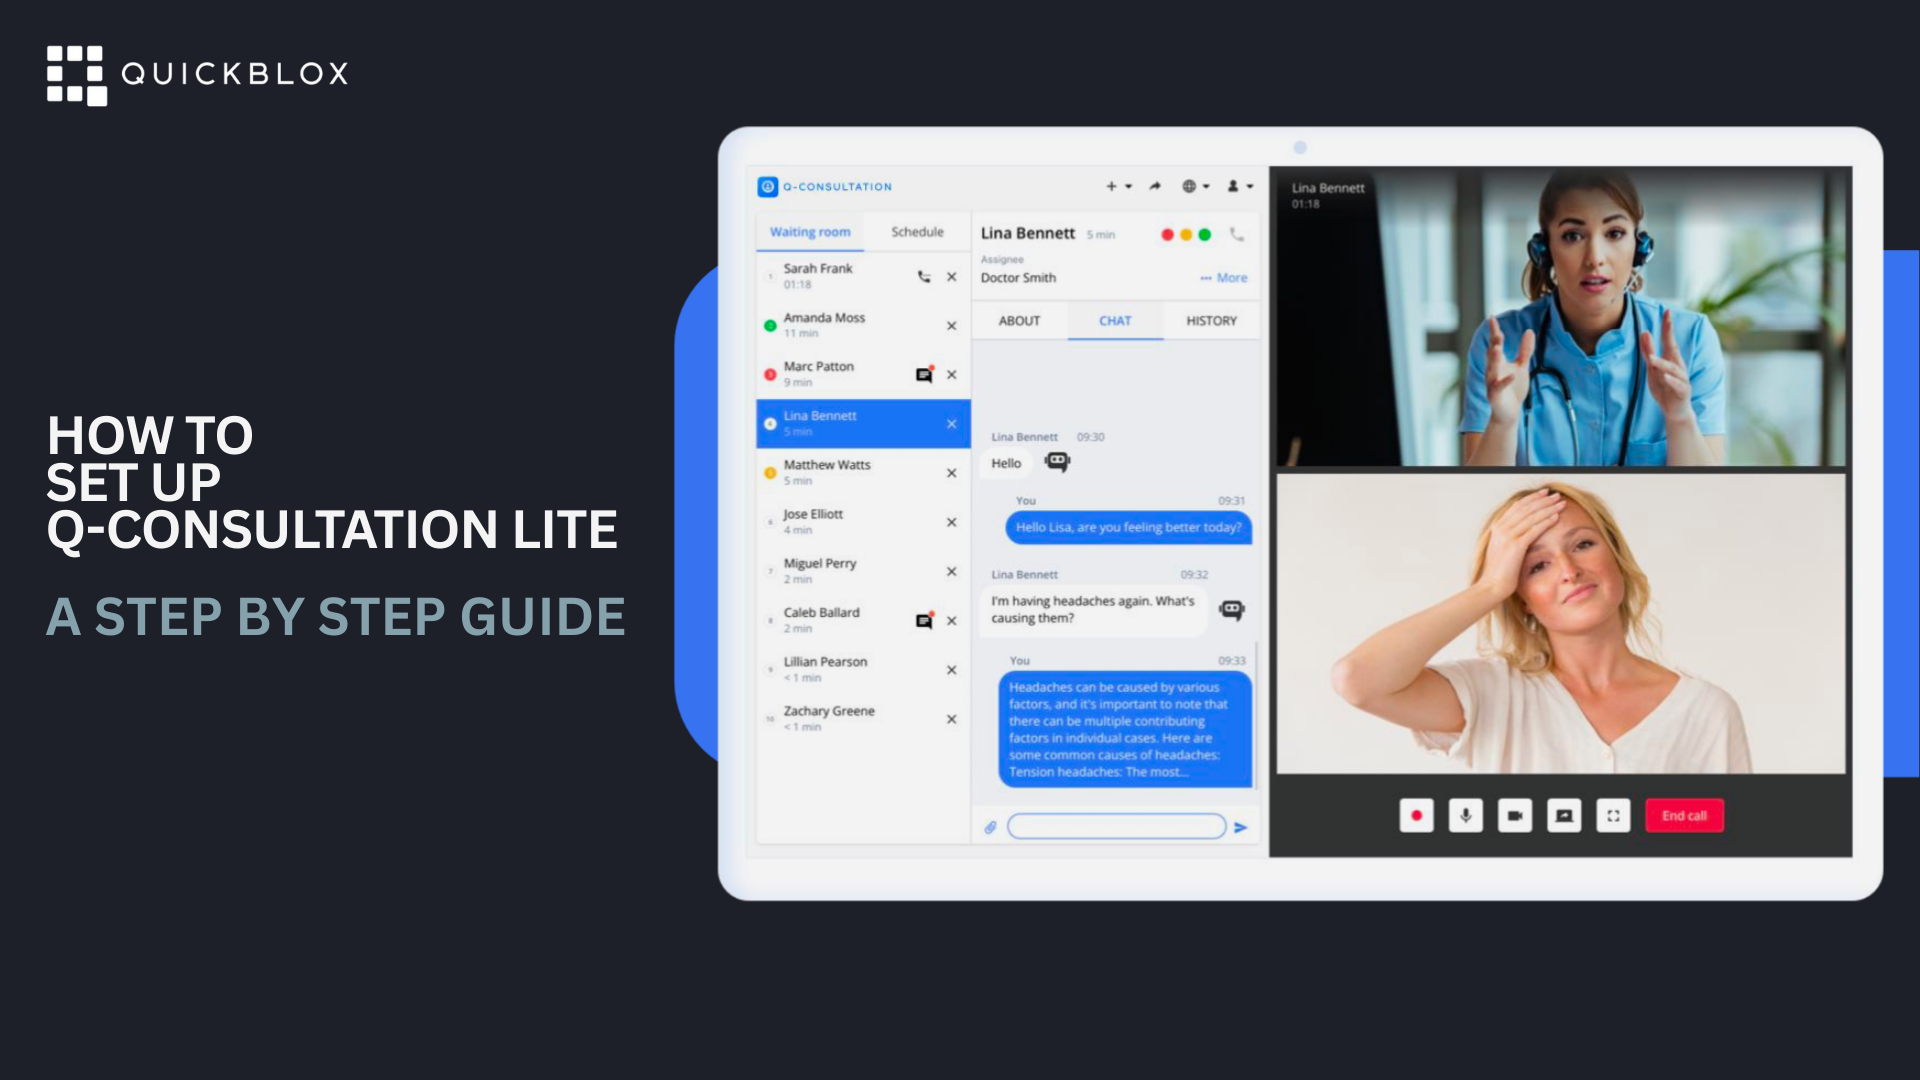
In this guide, you’ll learn how to quickly set up Q-Consultation Lite, a versatile consultation platform built on QuickBlox. Follow these steps to have the platform up and running efficiently, whether you’re a developer or a business professional.
Step 1: Clone the Q-Consultation Repository
Begin by cloning the Q-Consultation repository from GitHub. Run the following command in your terminal:
git clone https://github.com/QuickBlox/q-consultation.git
This will download the project files to your local environment.
Step 2: Register for a QuickBlox Account
Next, you need to have a QuickBlox account. If you don’t already have one, sign up here: https://admin.quickblox.com/signup.
If you already have an account, you can skip this step.
Step 3: Create a QuickBlox Application
After registering your QuickBlox account, you will need to create an application in the QuickBlox admin panel. This application will allow you to connect the Q-Consultation app to the QuickBlox server. Follow these steps:
Log in to your QuickBlox account: https://admin.quickblox.com/signin.
On the main page, click the + sign to add a new application.
Fill in the required fields: App Title and App Type, then click Create App.
Once the app is created, you will be redirected to the Overview page of your new application. Here, you’ll find the application credentials necessary to connect the Q-Consultation application to the QuickBlox server.We will use these credentials in the upcoming steps.
Step 4: Install Dependencies
Next, navigate to the project directory and install the necessary dependencies using Yarn:
cd q-consultation
yarn
This step ensures that all required packages are installed for the project to function properly.
Step 5: Initialize Configuration
For a quick configuration setup, use the following command to generate default environment settings:
yarn init:config
This will automatically create a configuration file with placeholder values that you can later update with your credentials.
Or manually Add the .env File (Alternative to Step 5)
Alternatively, if you prefer to set up the environment manually, follow these steps:
Create a
.envfile in the root directory of the project.Add the following environment variables to the file and input your credentials:
 # [Required] QuickBlox application Id
 QB_SDK_CONFIG_APP_ID=-1
 # [Required] QuickBlox application Auth Key
 QB_SDK_CONFIG_AUTH_KEY=""
 # [Required] QuickBlox application Auth Secret
 "QB_SDK_CONFIG_AUTH_SECRET=""
 # [Required] QuickBlox account key
 QB_SDK_CONFIG_ACCOUNT_KEY=""
 # Should QuickBlox JS SDK work in debug mode (logging enabled)
 QB_SDK_CONFIG_DEBUG=false
 # QuickBlox JS SDK custom API endpoint
 QB_SDK_CONFIG_ENDPOINT_API="api.quickblox.com"
 # QuickBlox JS SDK custom chat endpoint
 QB_SDK_CONFIG_ENDPOINT_CHAT="chat.quickblox.com"
 # [Optional if you use QuickBlox Basic Plan] QuickBlox JS SDK custom ICE servers
 QB_SDK_CONFIG_ICE_SERVERS=[]
 # QuickBlox account owner email
 QB_ADMIN_EMAIL=""
 # QuickBlox account owner password
 QB_ADMIN_PASSWORD=""
 # [Required if you need integration with your API] Bearer token
 BEARER_TOKEN=""
 # [Required if you need AI features] OpenAI API Key
 OPENAI_API_KEY=""
 # Enable AI Quick answer feature
 AI_QUICK_ANSWER=true
 # Enable AI Suggest provider feature
 AI_SUGGEST_PROVIDER=true
 # Enable AI Record analytics feature
 AI_RECORD_ANALYTICS=true
 # Enable AI Rephrase feature
 AI_REPHRASE=false
 # Enable AI Translate feature
 AI_TRANSLATE=false
 # Chat widget with Assistant for provider
 PROVIDER_ASSISTANT_ID=-1
 # Application name
 APP_NAME="Q-Consultation"
 # Application description
 APP_DESCRIPTION="Q-Consultation"
 # Enable redux-logger
 ENABLE_REDUX_LOGGER=false
 # Display the version
 DISPLAY_VERSION=false
 # URL of the client application. Used by Share Link modal. (If not set, then Share Link will not be displayed in the application)
 CLIENT_APP_URL="https://localhost:3001"
 # URL API.
 SERVER_APP_URL="http://localhost:4000"
 # Enable Guest Client
 ENABLE_GUEST_CLIENT=true
 # Enable History page
 HAS_HISTORY=true
 # Enable Provider page
 HAS_PROVIDER_LIST=true
 # Enable change language
 HAS_CHANGE_LANGUAGE=true
 # Default language (en / ua)
 DEFAULT_LANGUAGE="en"
 # File upload limit in bytes
 FILE_SIZE_LIMIT=10485760
 # Available for upload expansion files
 FILE_EXTENSIONS_WHITELIST="gif jpeg jpg mov mp4 png csv docx pdf pptx txt xls xlsx zip webm heic heif"
This file will ensure that the application is correctly configured to interact with QuickBlox services.
Step 6: Initialize the Database Schema
After configuring the environment, initialize the database schema by running:
yarn init:schema
This command sets up the required database structure for your application.
Step 7: Create Users
Once the schema is in place, you can create user accounts directly from the Admin dashboard:
Navigate to QuickBlox Application → Users → Create User.
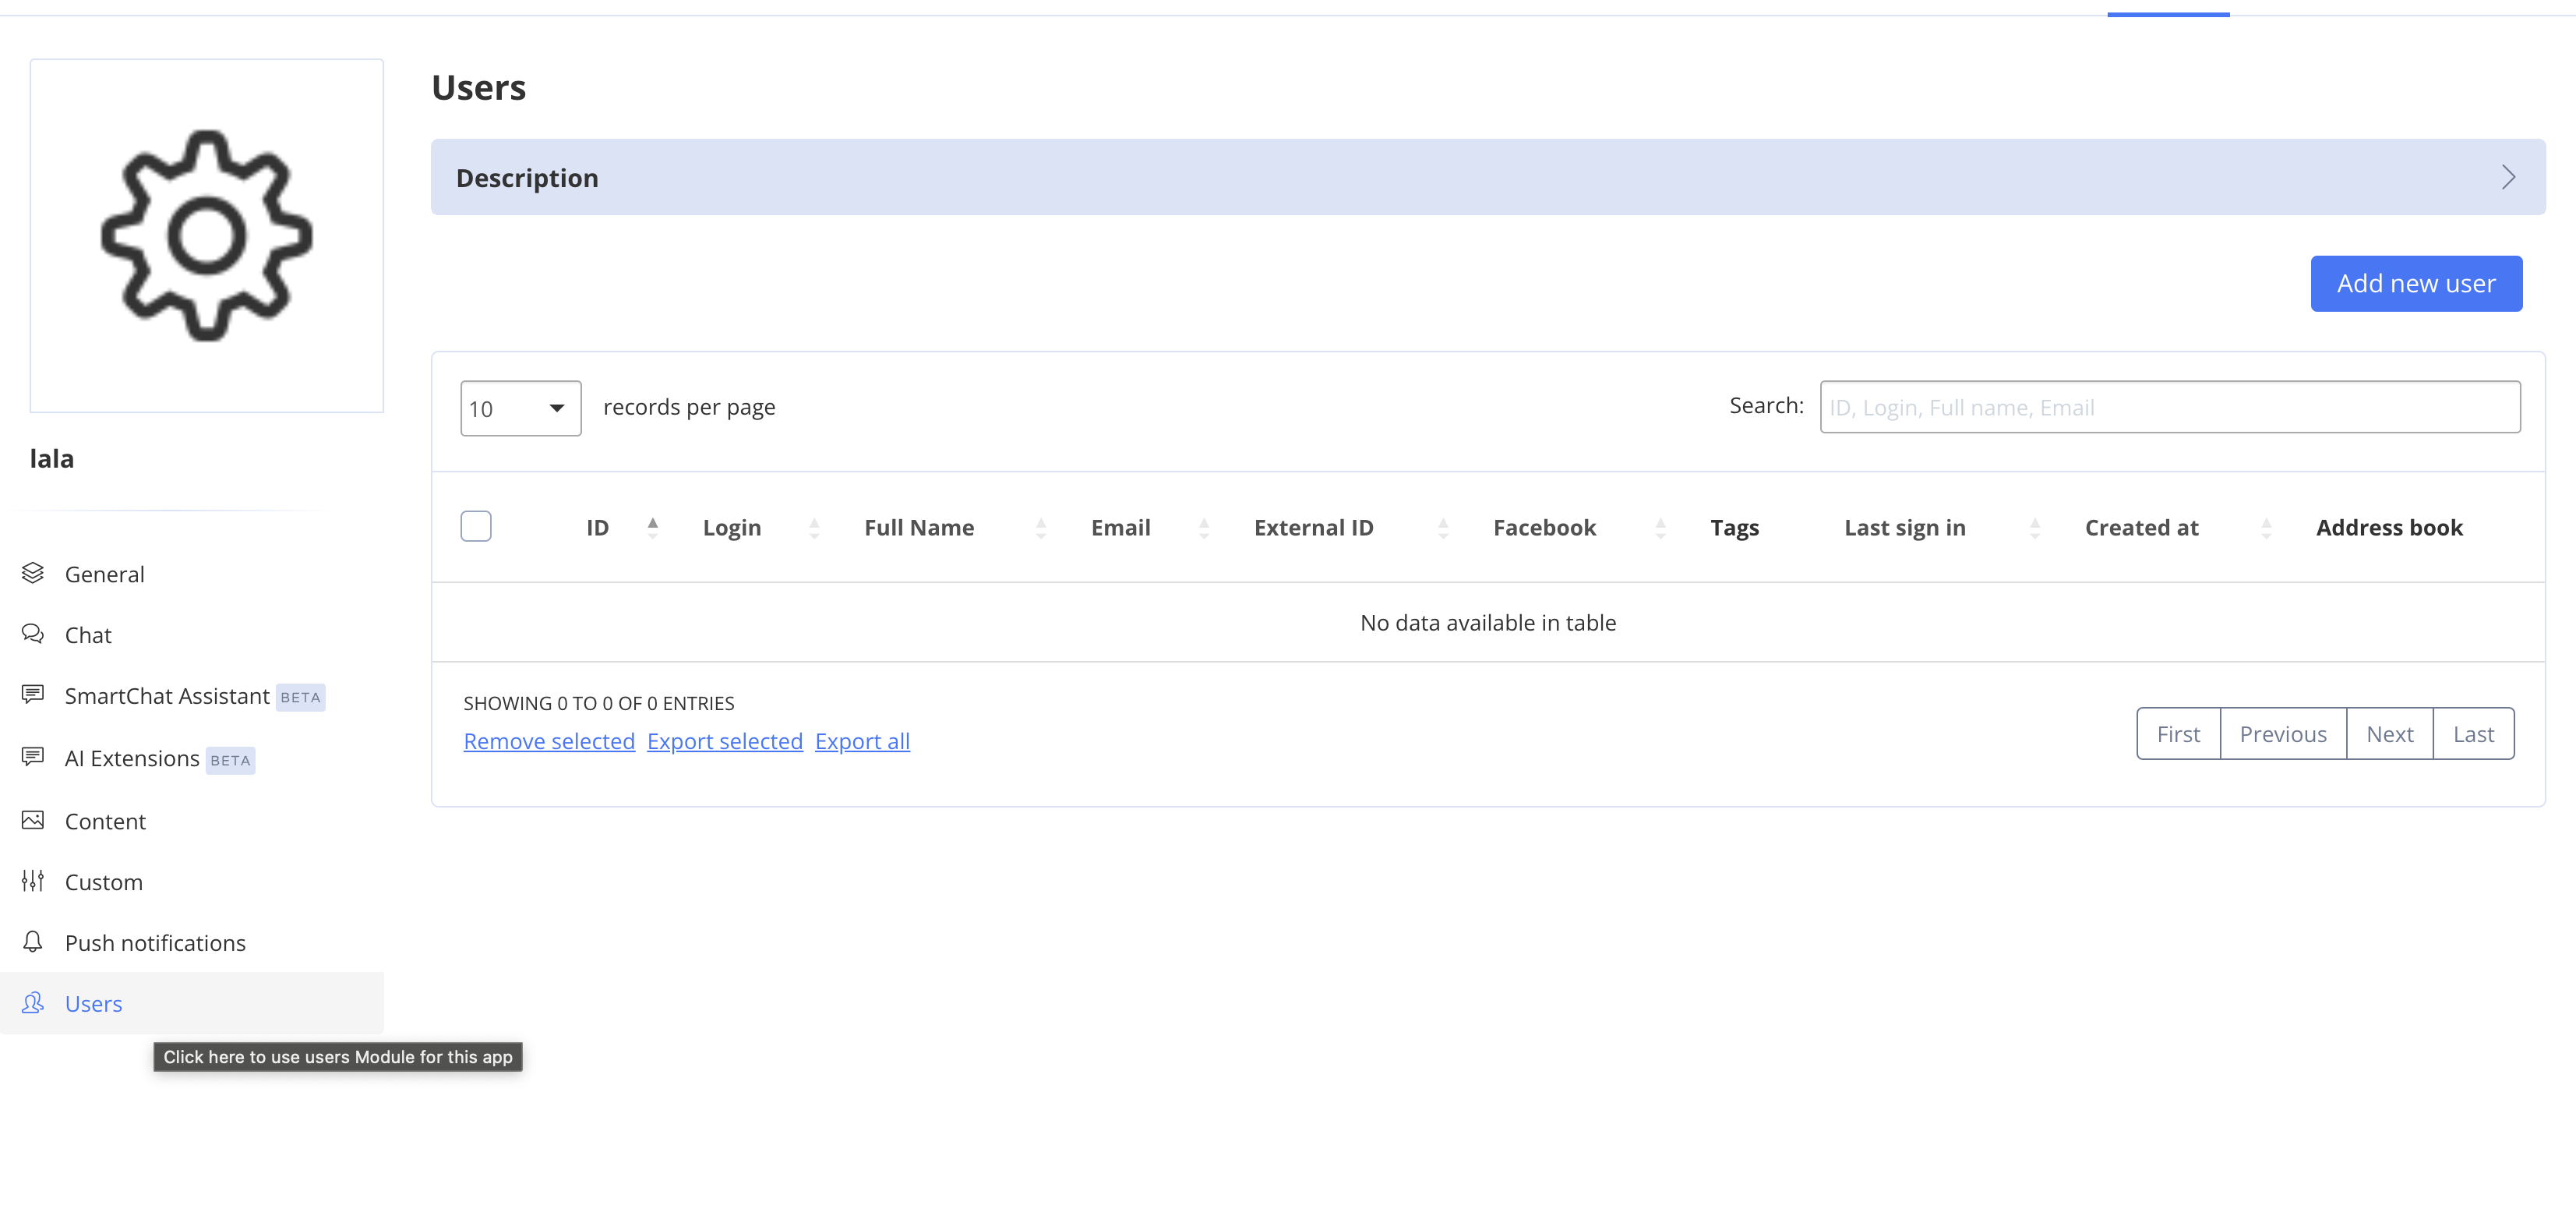
Assign the tag "provider" to designate a user as a provider
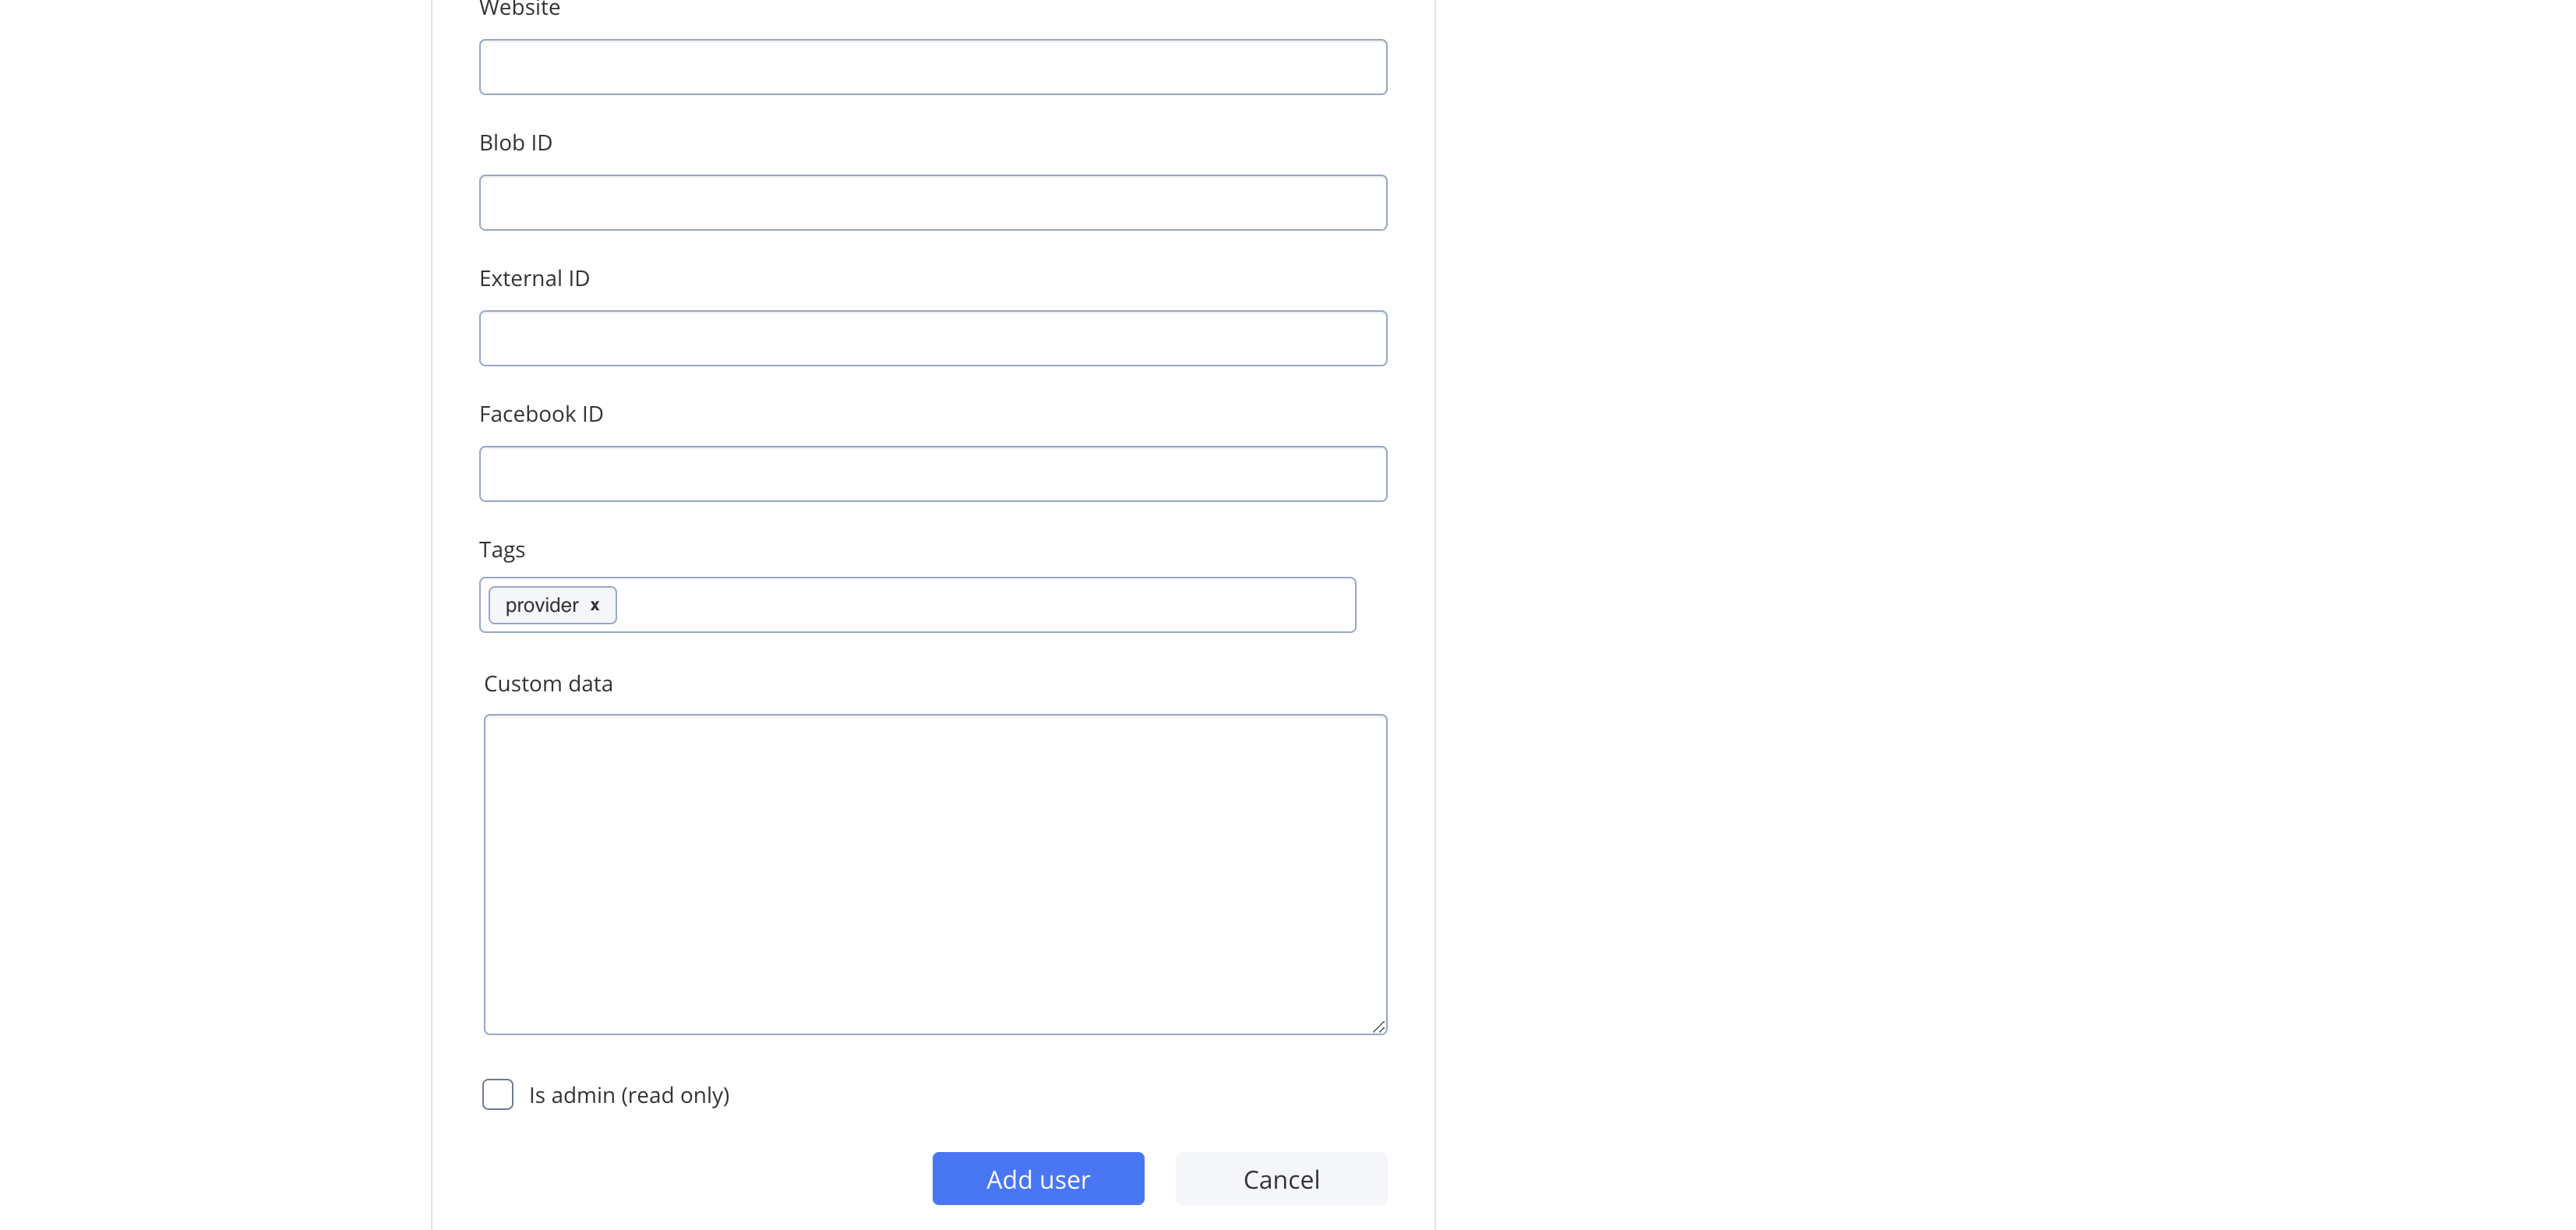
.
Save the user profile.
Default users will automatically be categorized as clients. This allows for managing both providers and clients effectively.
Step 8: Start the Development Server
Now that the setup is complete, start the development server by running:
yarn dev
Once the server starts, the application will automatically open in your browser at the following URLs:
- Provider view:
https://localhost:3000
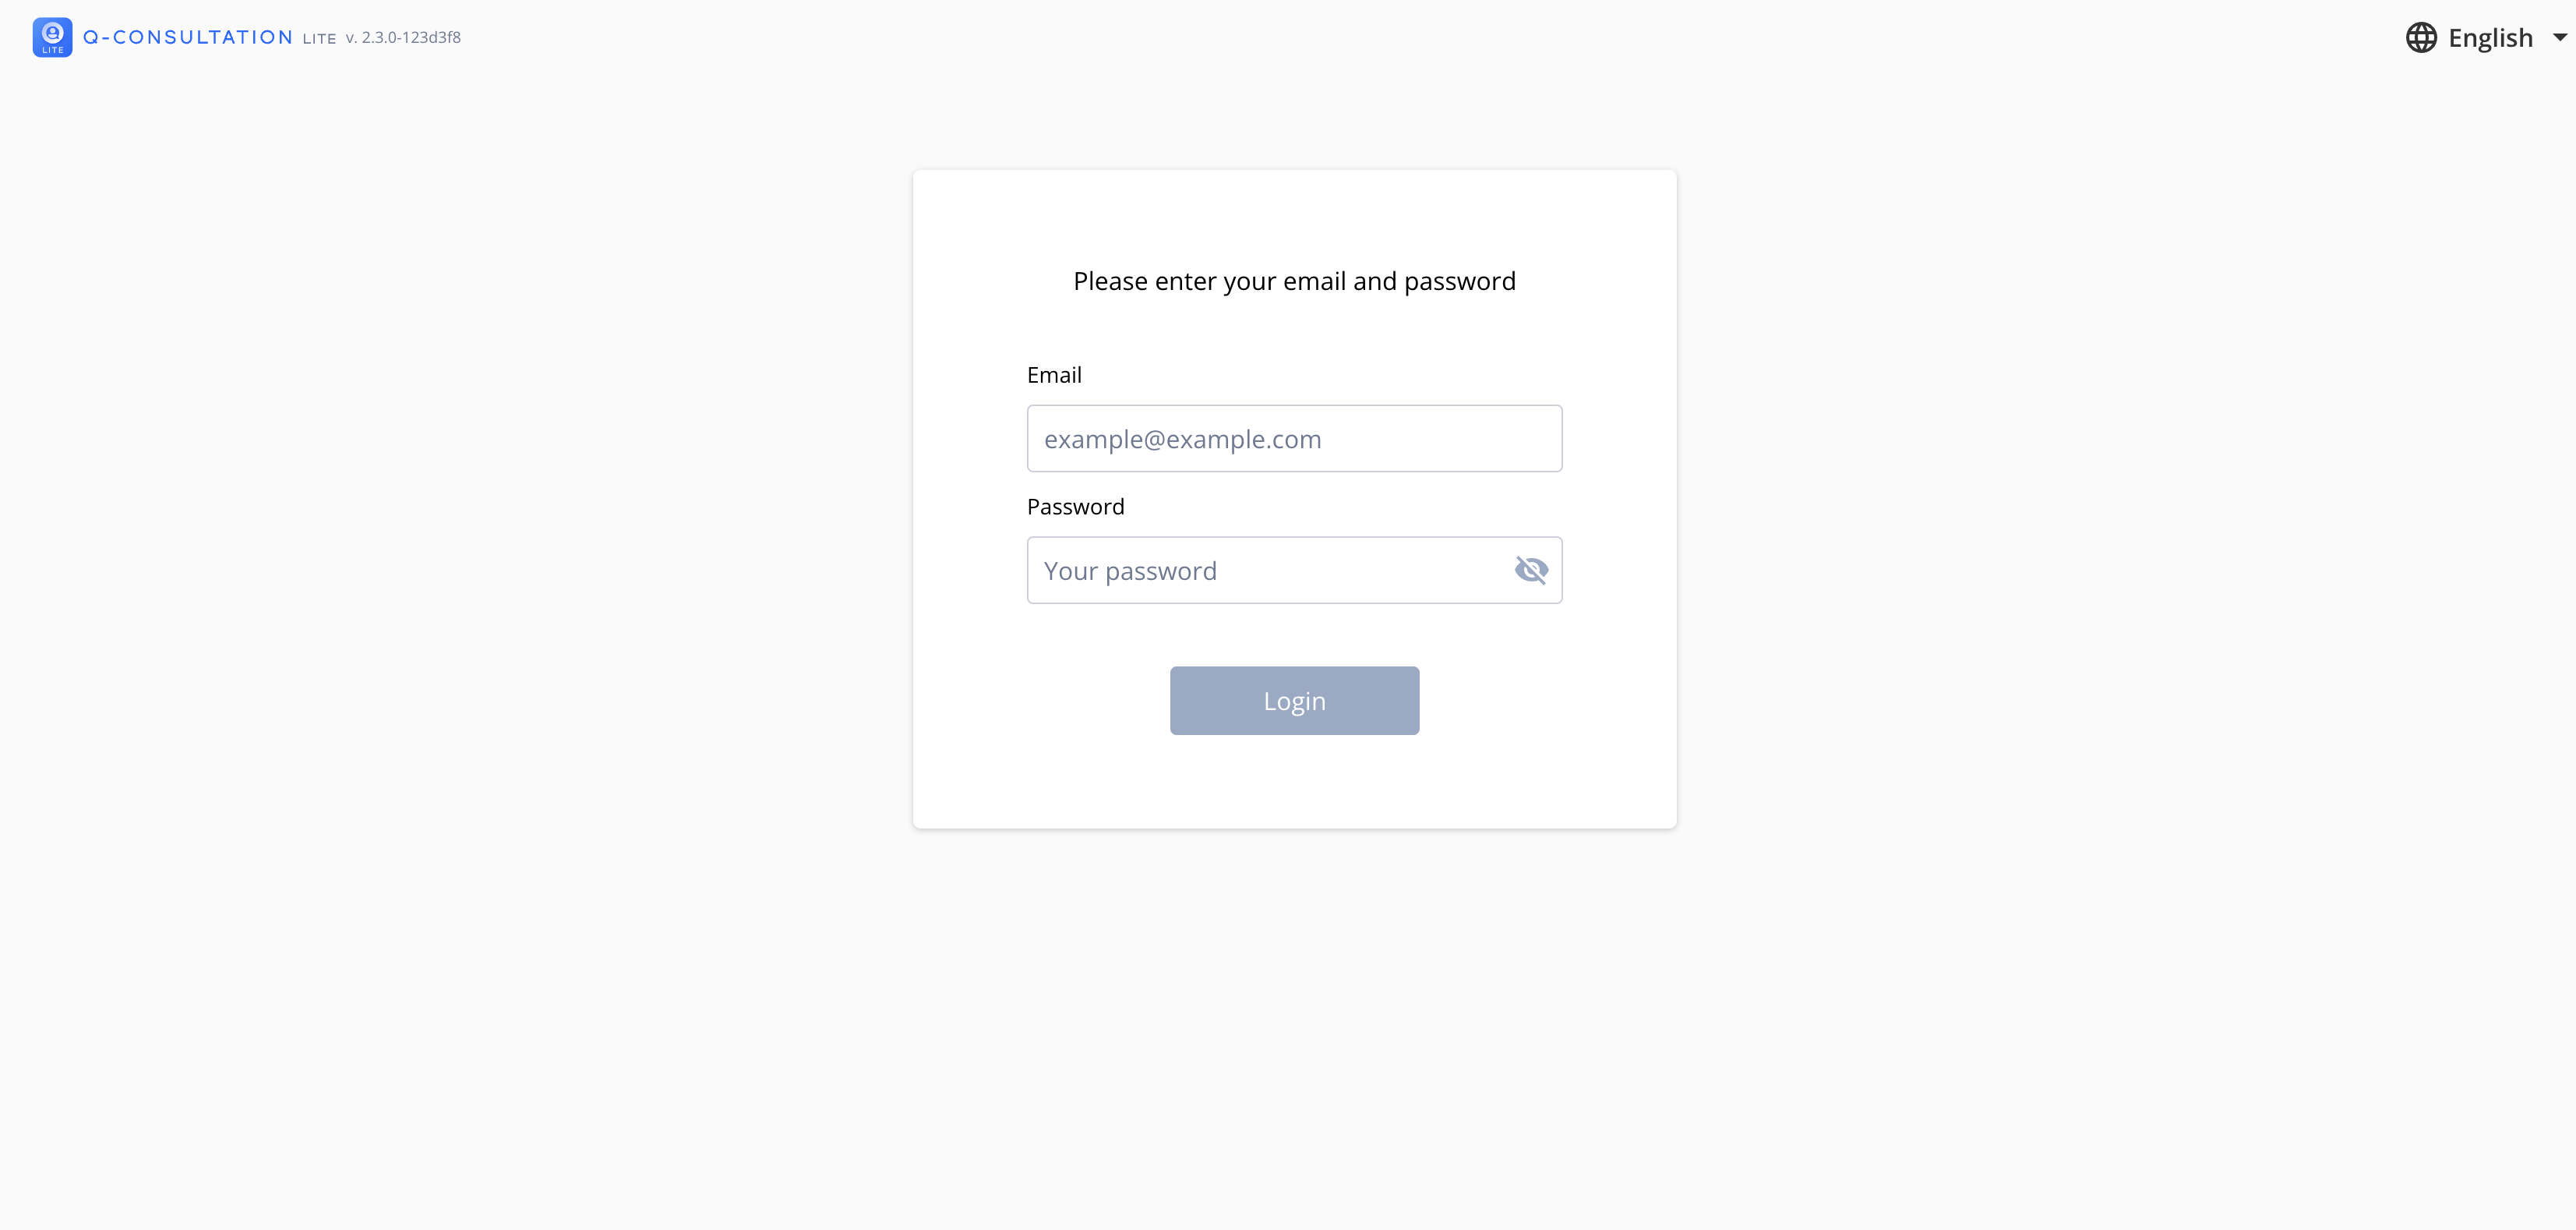
- Client view:
https://localhost:3001
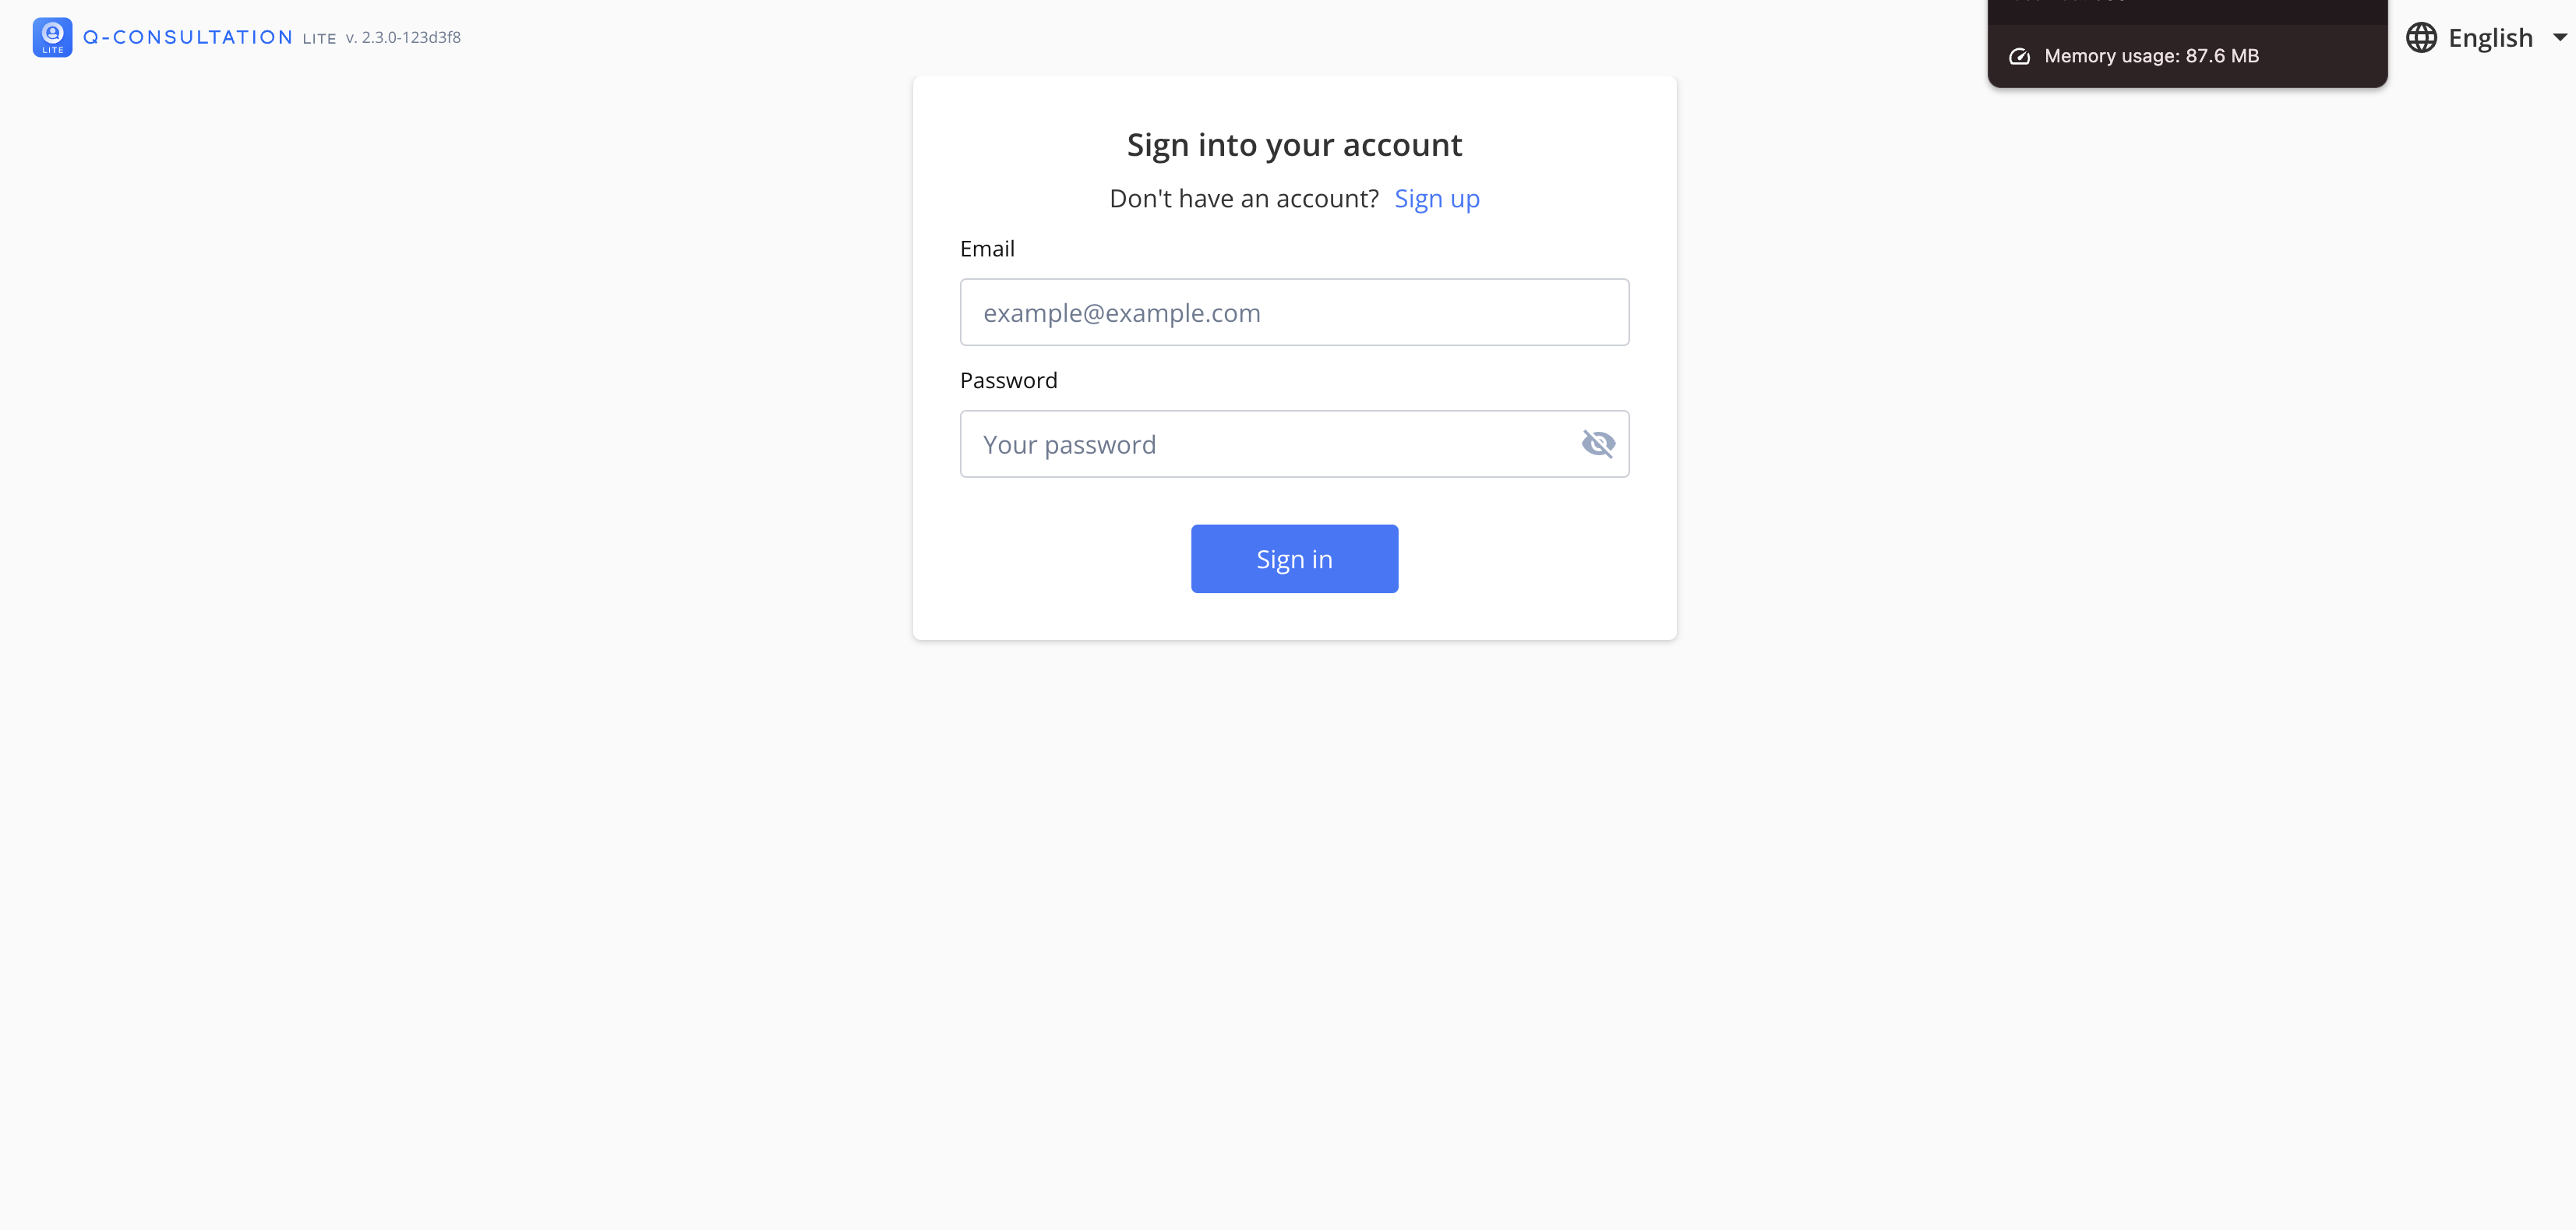
Any changes you make to the code will trigger automatic page reloads, enabling efficient testing and development.
Key Features to Customize
AI Features: Enable AI-powered capabilities like quick answers, provider suggestions, and analytics by configuring the OpenAI API keys in your
.envfile.Multiple Language Support: Easily switch between languages with built-in language support.
User Roles: Flexibly assign user roles for providers and clients, tailoring the platform to your specific needs.
Conclusion
By following these steps, you’ll have Q-Consultation Lite set up and ready to customize white label telehealth services according to your requirements. The platform provides a powerful foundation for teleconsultation services, whether in healthcare, professional services, or customer communication.
Stay tuned for advanced tutorials on integrating AI features and further platform customizations.
Subscribe to my newsletter
Read articles from Sayantani Deb directly inside your inbox. Subscribe to the newsletter, and don't miss out.
Written by

Sayantani Deb
Sayantani Deb
A Javascript Porgrammer who loves to build cool projects in the weekends!