Easy Installation of MicroK8s on Hetzner Servers
 Max Skybin
Among the many Kubernetes distributions I work with daily, Canonical's MicroK8s offers a lightweight and straightforward way to run clusters. When combined with Hetzner's affordable and robust cloud infrastructure, it becomes one of my favorite solutions for developers and system administrators.
However, I've found that integrating MicroK8s with Hetzner's Cloud Controller Manager (CCM) and leveraging Hetzner's Load Balancer service isn't as straightforward as it should be, mainly due to limited documentation. This process really should be well-documented, but until now, there hasn't been an end-to-end guide to walk you through setting up a high-availability MicroK8s cluster on Hetzner Cloud, configuring the Hetzner CCM, and deploying a load-balanced application with TLS termination. Without further ado, let's dive in!
Note: This guide provides manual steps for clarity. For production environments, consider automating these steps using tools like Terraform, Ansible, or custom scripts to ensure consistency and repeatability.
Prerequisites
Before you begin, ensure you have:
A Hetzner Cloud account with API access.
The Hetzner CLI (
hcloud) installed and configured on your local machine.SSH keys set up for passwordless authentication to your servers.
Basic knowledge of Kubernetes and command-line operations.
Creating and Configuring Servers
Setting Up a Private Network
Creating a private network in Hetzner Cloud ensures secure and efficient communication between your cluster nodes.
# Create a private network
hcloud network create --name hc_private --ip-range 10.44.0.0/16

# Add a subnet to the network
hcloud network add-subnet hc_private \
  --network-zone eu-central \
  --type server \
  --ip-range 10.44.0.0/24
This sets up a network named hc_private with an IP range suitable for our cluster.
Creating Cluster Nodes
Provision three servers to form a high-availability MicroK8s cluster. Adjust the server type (cx22) according to your needs.
# Create three servers and attach them to the private network
for i in {1..3}; do
  hcloud server create \
    --type cx22 \
    --name node-$i \
    --image ubuntu-24.04 \
    --ssh-key default \
    --network hc_private
done
Wait for the servers to be provisioned and note their private IP addresses.
Configuring Host Resolution
MicroK8s relies on proper name resolution between nodes. This is best handled by DNS, but for testing purposes, to prevent issues with pod placement and cluster communication, update the /etc/hosts file on each node.
Edit
/etc/hostson each node:sudo nano /etc/hostsComment out the existing local hostname resolution:
#127.0.1.1 node-1 node-1Add the private IP addresses and hostnames of all nodes:
 10.44.0.3 node-1
 10.44.0.4 node-2
 10.44.0.2 node-3
Replace the IP addresses with the actual private IPs of your nodes assinged during server instantiation.
Save and close the file.
Repeat these steps on each node to ensure consistent host resolution.
Installing MicroK8s
Preconfiguring for External Cloud Provider
It's crucial to inform MicroK8s during installation that it will use an external cloud provider. This allows Kubernetes components like the kubelet to integrate correctly with Hetzner's services.
Create the
microk8s-config.yamlfile:# microk8s-config.yaml version: 0.2.0 extraKubeletArgs: --cloud-provider: external addons: - name: ha-cluster - name: helm3 - name: rbac--cloud-provider: externaltells kubelet to defer cloud provider functions to an external controller.ha-clusteraddon enables high availability features.
Copy the configuration file the location where installer can find it:
 sudo mkdir -p /var/snap/microk8s/common/
 sudo cp microk8s-config.yaml /var/snap/microk8s/common/.microk8s.yaml
Installing Microk8s and Essential Tools
Install MicroK8s and other necessary tools on each node.
# Install MicroK8s
sudo snap install microk8s --classic

# Add the current user to the 'microk8s' group
sudo usermod -a -G microk8s $USER

# Apply new group membership
newgrp microk8s

# Install kubectl
sudo snap install kubectl --classic

# Install Helm
sudo snap install helm --classic
Optionally, install K9s for cluster management:
wget https://github.com/derailed/k9s/releases/download/v0.32.5/k9s_Linux_amd64.tar.gz
tar -xzf k9s_Linux_amd64.tar.gz
sudo mv k9s /usr/local/bin/
rm k9s_Linux_amd64.tar.gz
Configure User Account for K8S Management
On node-1, initialize the MicroK8s cluster.
Retrieve the Kubernetes configuration:
 mkdir ~/.kube
 microk8s config > $HOME/.kube/config
Set permissions for the kubeconfig file:
 chmod 700 $HOME/.kube
 chmod 600 $HOME/.kube/config
Verify Cluster Health
Verify the node status:
kubectl get nodes
The output should list node-1 with a Ready status, i.e.:
NAME     STATUS   ROLES    AGE     VERSION
node-1   Ready    <none>   8m34s   v1.30.5
Joining New Nodes to the Cluster for High Availability
On node-1, generate a join token:
microk8s add-node
This command outputs a join command and token.
On node-2 and node-3, join the cluster using the provided command.
microk8s join <node-1-ip>:25000/<token>
After joining, verify all nodes are part of the cluster:
kubectl get nodes
You should see all three nodes listed with a Ready status. Since we joined these nodes as masters, at this point microk8s will automatically move the cluster into HA configuration.
Configuring CoreDNS
Certain services might require name resolution within the cluster. If you are seeing in container logs error messages regarding DNS resolution, especially around cluster node names, it’s a good indicator that you might need DNS configured.
Install coredns add-on
microk8s enable corednsTake a note of coredns service ClusterIP address
 kubectl get svc -n kube-system

 NAME       TYPE        CLUSTER-IP      EXTERNAL-IP   PORT(S)                  AGE
 kube-dns   ClusterIP   <CLUSTER-IP>   <none>        53/UDP,53/TCP,9153/TCP   70m
On every cluster node edit kubelet configuration and add the following lines
 sudo vi /var/snap/microk8s/current/args/kubelet

 --cluster-dns=<CLUSTER-IP>
 --cluster-domain=cluster.local
Restart microk8s services
 microk8s stop
 microk8s start
Integrating with Hetzner Cloud Resources
Deploying Hetzner Cloud Controller Manager (CCM)
The Hetzner CCM allows Kubernetes to interact with Hetzner Cloud resources.
Create a Kubernetes secret with your Hetzner API token:
 kubectl -n kube-system create secret generic hcloud \
   --from-literal=token=<HETZNER_PROJECT_API_KEY>
Replace
<HETZNER_PROJECT_API_KEY>with your actual API token.Add the Hetzner Helm repository and update:
 helm repo add hcloud https://charts.hetzner.cloud
 helm repo update
Install the Hetzner CCM using Helm:
 helm install hcloud-cloud-controller-manager hcloud/hcloud-cloud-controller-manager \
   --namespace kube-system
Verify the CCM pods are running:
 kubectl -n kube-system get pods | grep hcloud

 hcloud-cloud-controller-manager-6df5f97677-fkb25   1/1     Running   0          21h
Check that nodes are annotated with the Hetzner provider:
kubectl get nodes -o custom-columns=NAME:.metadata.name,PROVIDERID:.spec.providerIDThe
PROVIDERIDshould now showhcloud://followed by the server ID, i.e.:NAME PROVIDERID node-1 hcloud://54547374 node-2 hcloud://54547376 node-3 hcloud://54547428
Setting Up Load Balancer with TLS Termination
Deploying a Test Nginx Application
Deploy a sample Nginx application to test the setup.
Create the deployment manifest
nginx-deployment.yaml:apiVersion: apps/v1 kind: Deployment metadata: name: nginx-deployment spec: replicas: 3 selector: matchLabels: app: nginx template: metadata: labels: app: nginx spec: containers: - name: nginx image: nginx:latest ports: - containerPort: 80Apply the deployment:
kubectl apply -f nginx-deployment.yamlVerify the pods are running:
 kubectl get pods -l app=nginx

 NAME                                READY   STATUS    RESTARTS   AGE
 nginx-deployment-5c7bb7f4fc-7tpf5   1/1     Running   0          19h
 nginx-deployment-5c7bb7f4fc-kktkm   1/1     Running   0          19h
 nginx-deployment-5c7bb7f4fc-vfpzz   1/1     Running   0          19h
Configuring the Hetzner Load Balancer
Create and configure a Hetzner Load Balancer to distribute traffic to your cluster nodes.
Create the load balancer:
 hcloud load-balancer create \
   --name load-balancer-1 \
   --type lb11 \
   --location hel1
Attach the load balancer to your private network:
 hcloud load-balancer attach-to-network \
   --network hc_private \
   load-balancer-1
Add each node as a target to the load balancer:
 for node in node-1 node-2 node-3; do
   hcloud load-balancer add-target \
     --server $node \
     --use-private-ip \
     load-balancer-1
 done
Verify the load balancer targets:
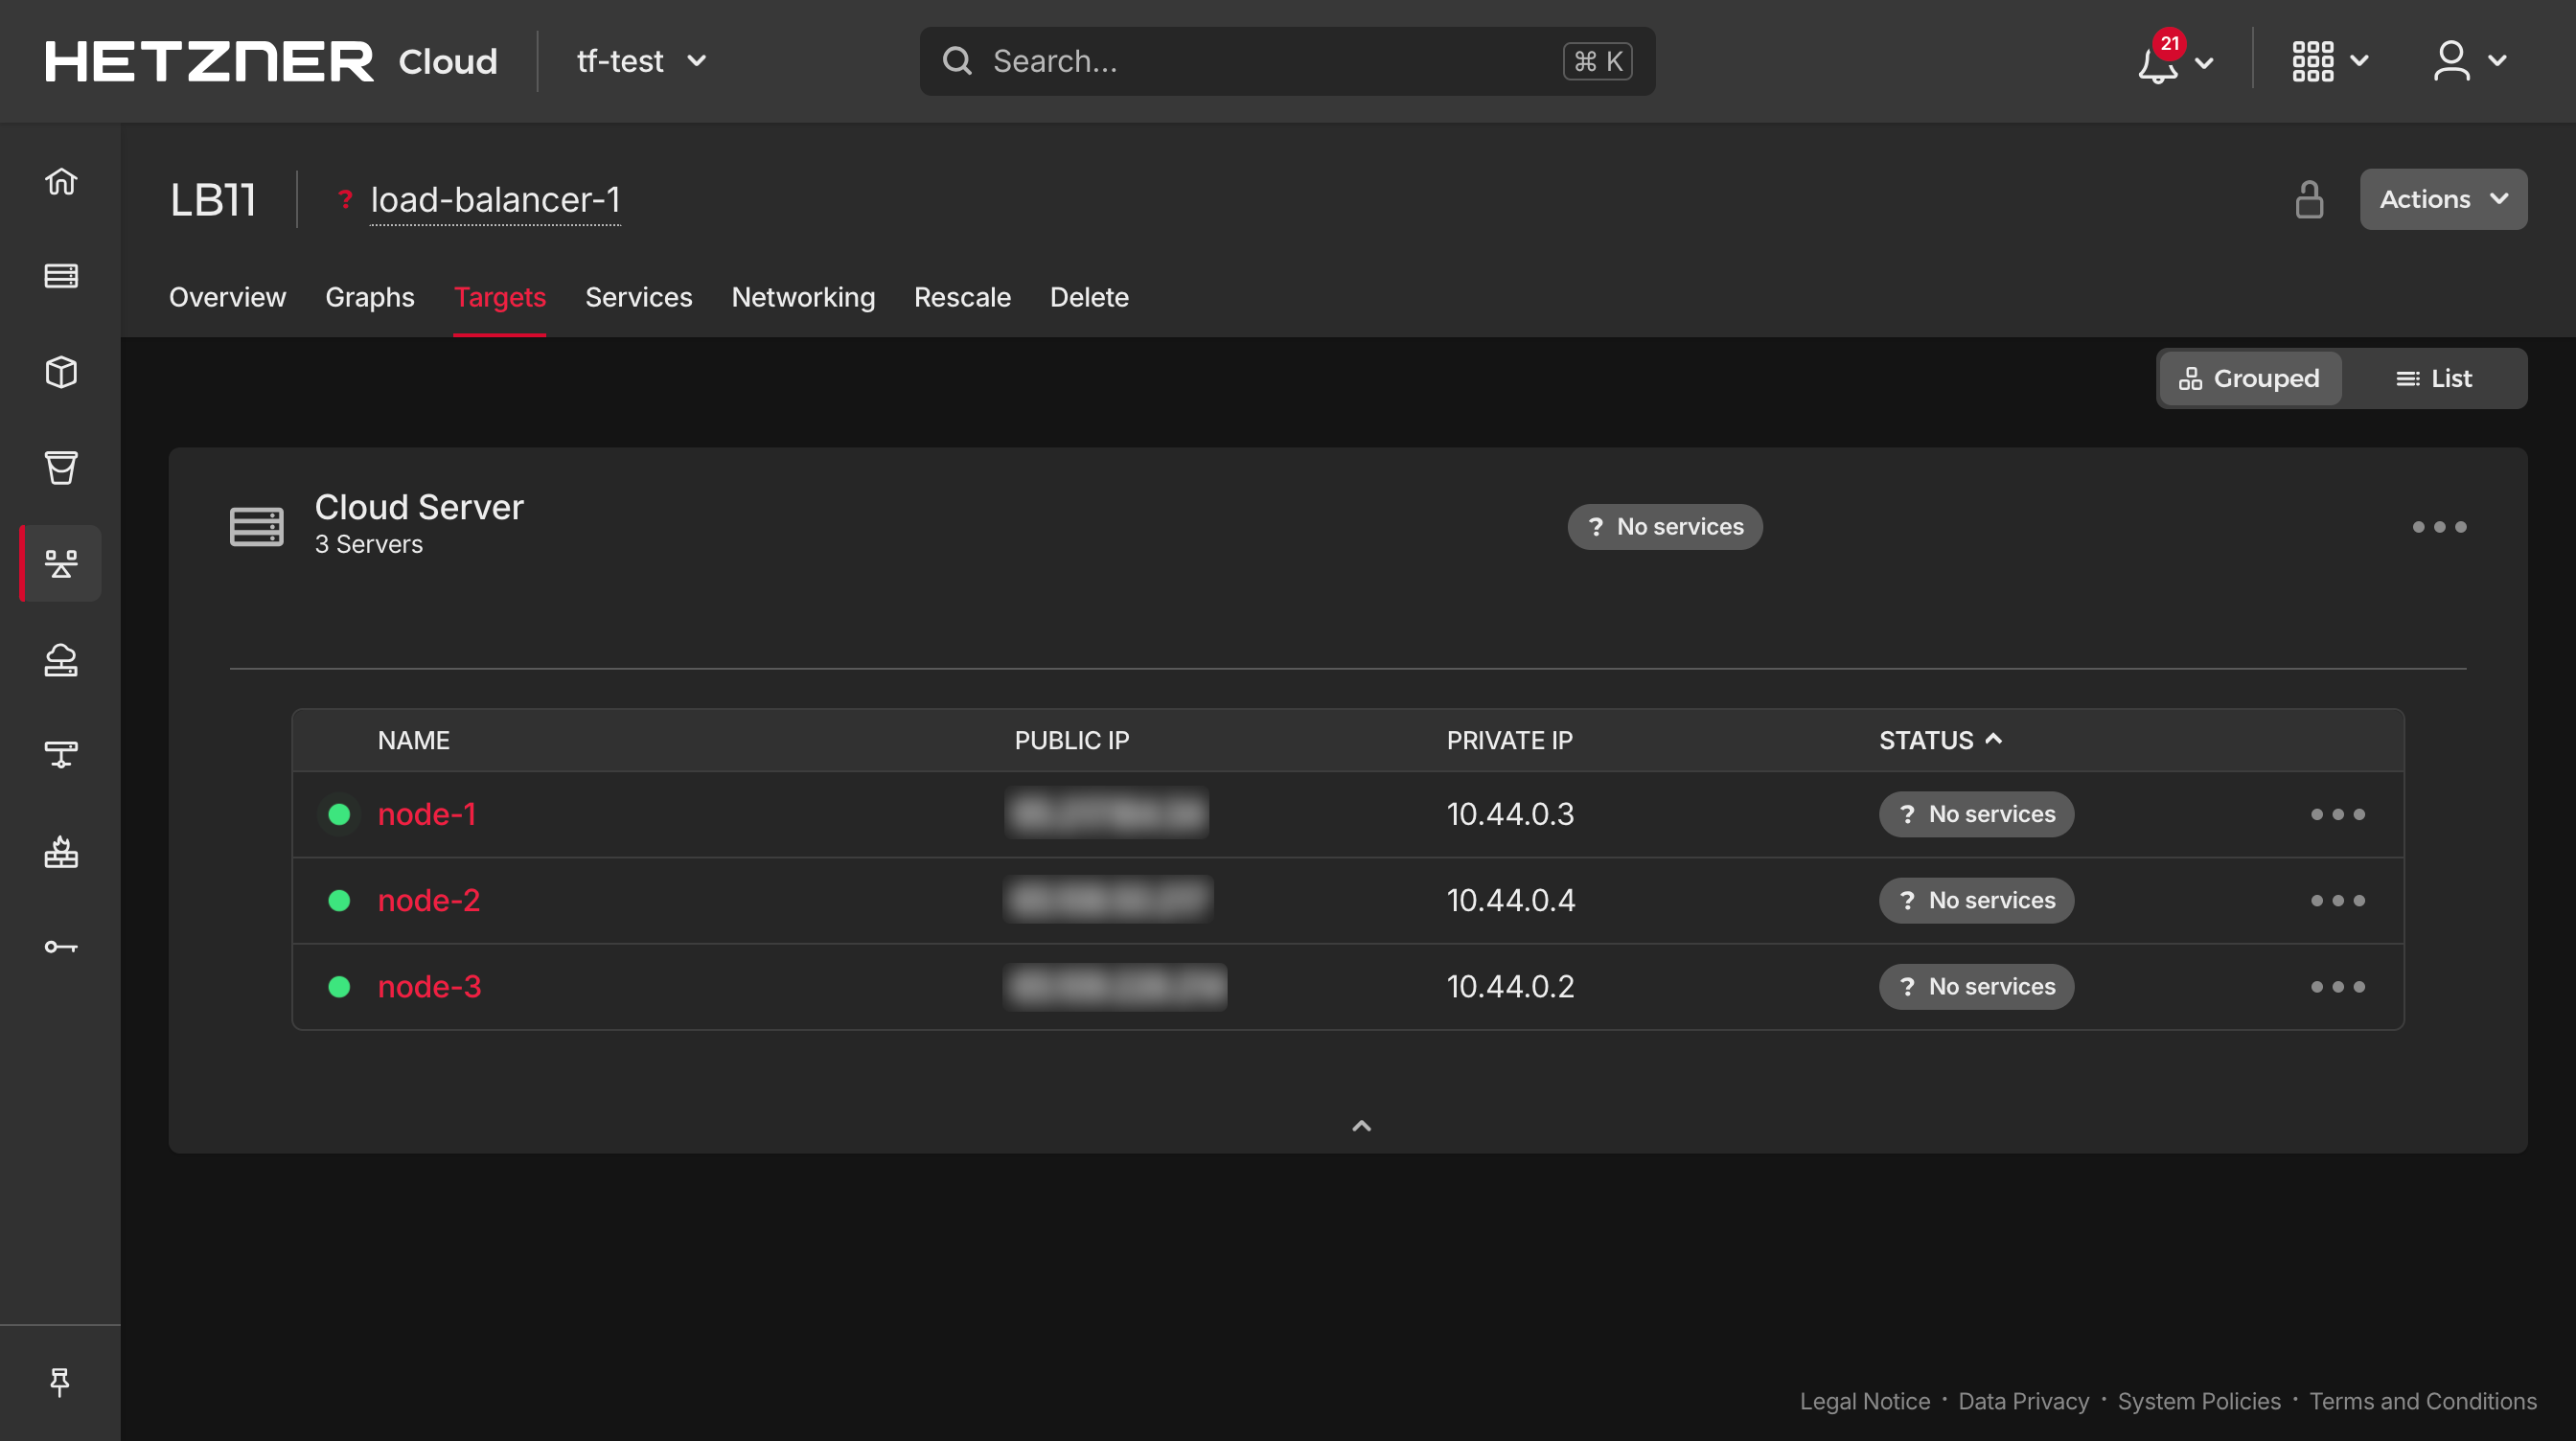
hcloud load-balancer describe load-balancer-1Ensure all nodes are listed as targets. You can also check these in the Hetzner cloud console.

Creating a LoadBalancer Service with TLS
Set up a Kubernetes Service of type LoadBalancer to integrate with the Hetzner Load Balancer.
Ensure you have a TLS certificate in Hetzner Cloud:
- If you don't have one, you can create a certificate via the Hetzner Cloud Console or use their API. Hetzner automates certificate creation for you using Let's Encrypt.
Create the service manifest
nginx-service.yaml:apiVersion: v1 kind: Service metadata: name: nginx-service annotations: load-balancer.hetzner.cloud/location: hel1 load-balancer.hetzner.cloud/use-private-ip: "true" load-balancer.hetzner.cloud/name: load-balancer-1 load-balancer.hetzner.cloud/http-certificates: <CERTIFICATE_NAME> load-balancer.hetzner.cloud/http-redirect-http: "true" load-balancer.hetzner.cloud/protocol: https spec: selector: app: nginx ports: - port: 443 targetPort: 80 protocol: TCP type: LoadBalancerReplace
<CERTIFICATE_NAME>with the name of your certificate.Apply the service:
kubectl apply -f nginx-service.yamlWait for the external IP to be assigned:
 kubectl get service nginx-service

 NAME            TYPE           CLUSTER-IP       EXTERNAL-IP     PORT(S)         AGE
 nginx-service   LoadBalancer   10.152.183.151   <IPV6>,<IPV4>   443:30635/TCP   174m
The
EXTERNAL-IPfield should populate with the public IPs of the load balancer.Verify the service is accessible:
Open a browser and navigate to
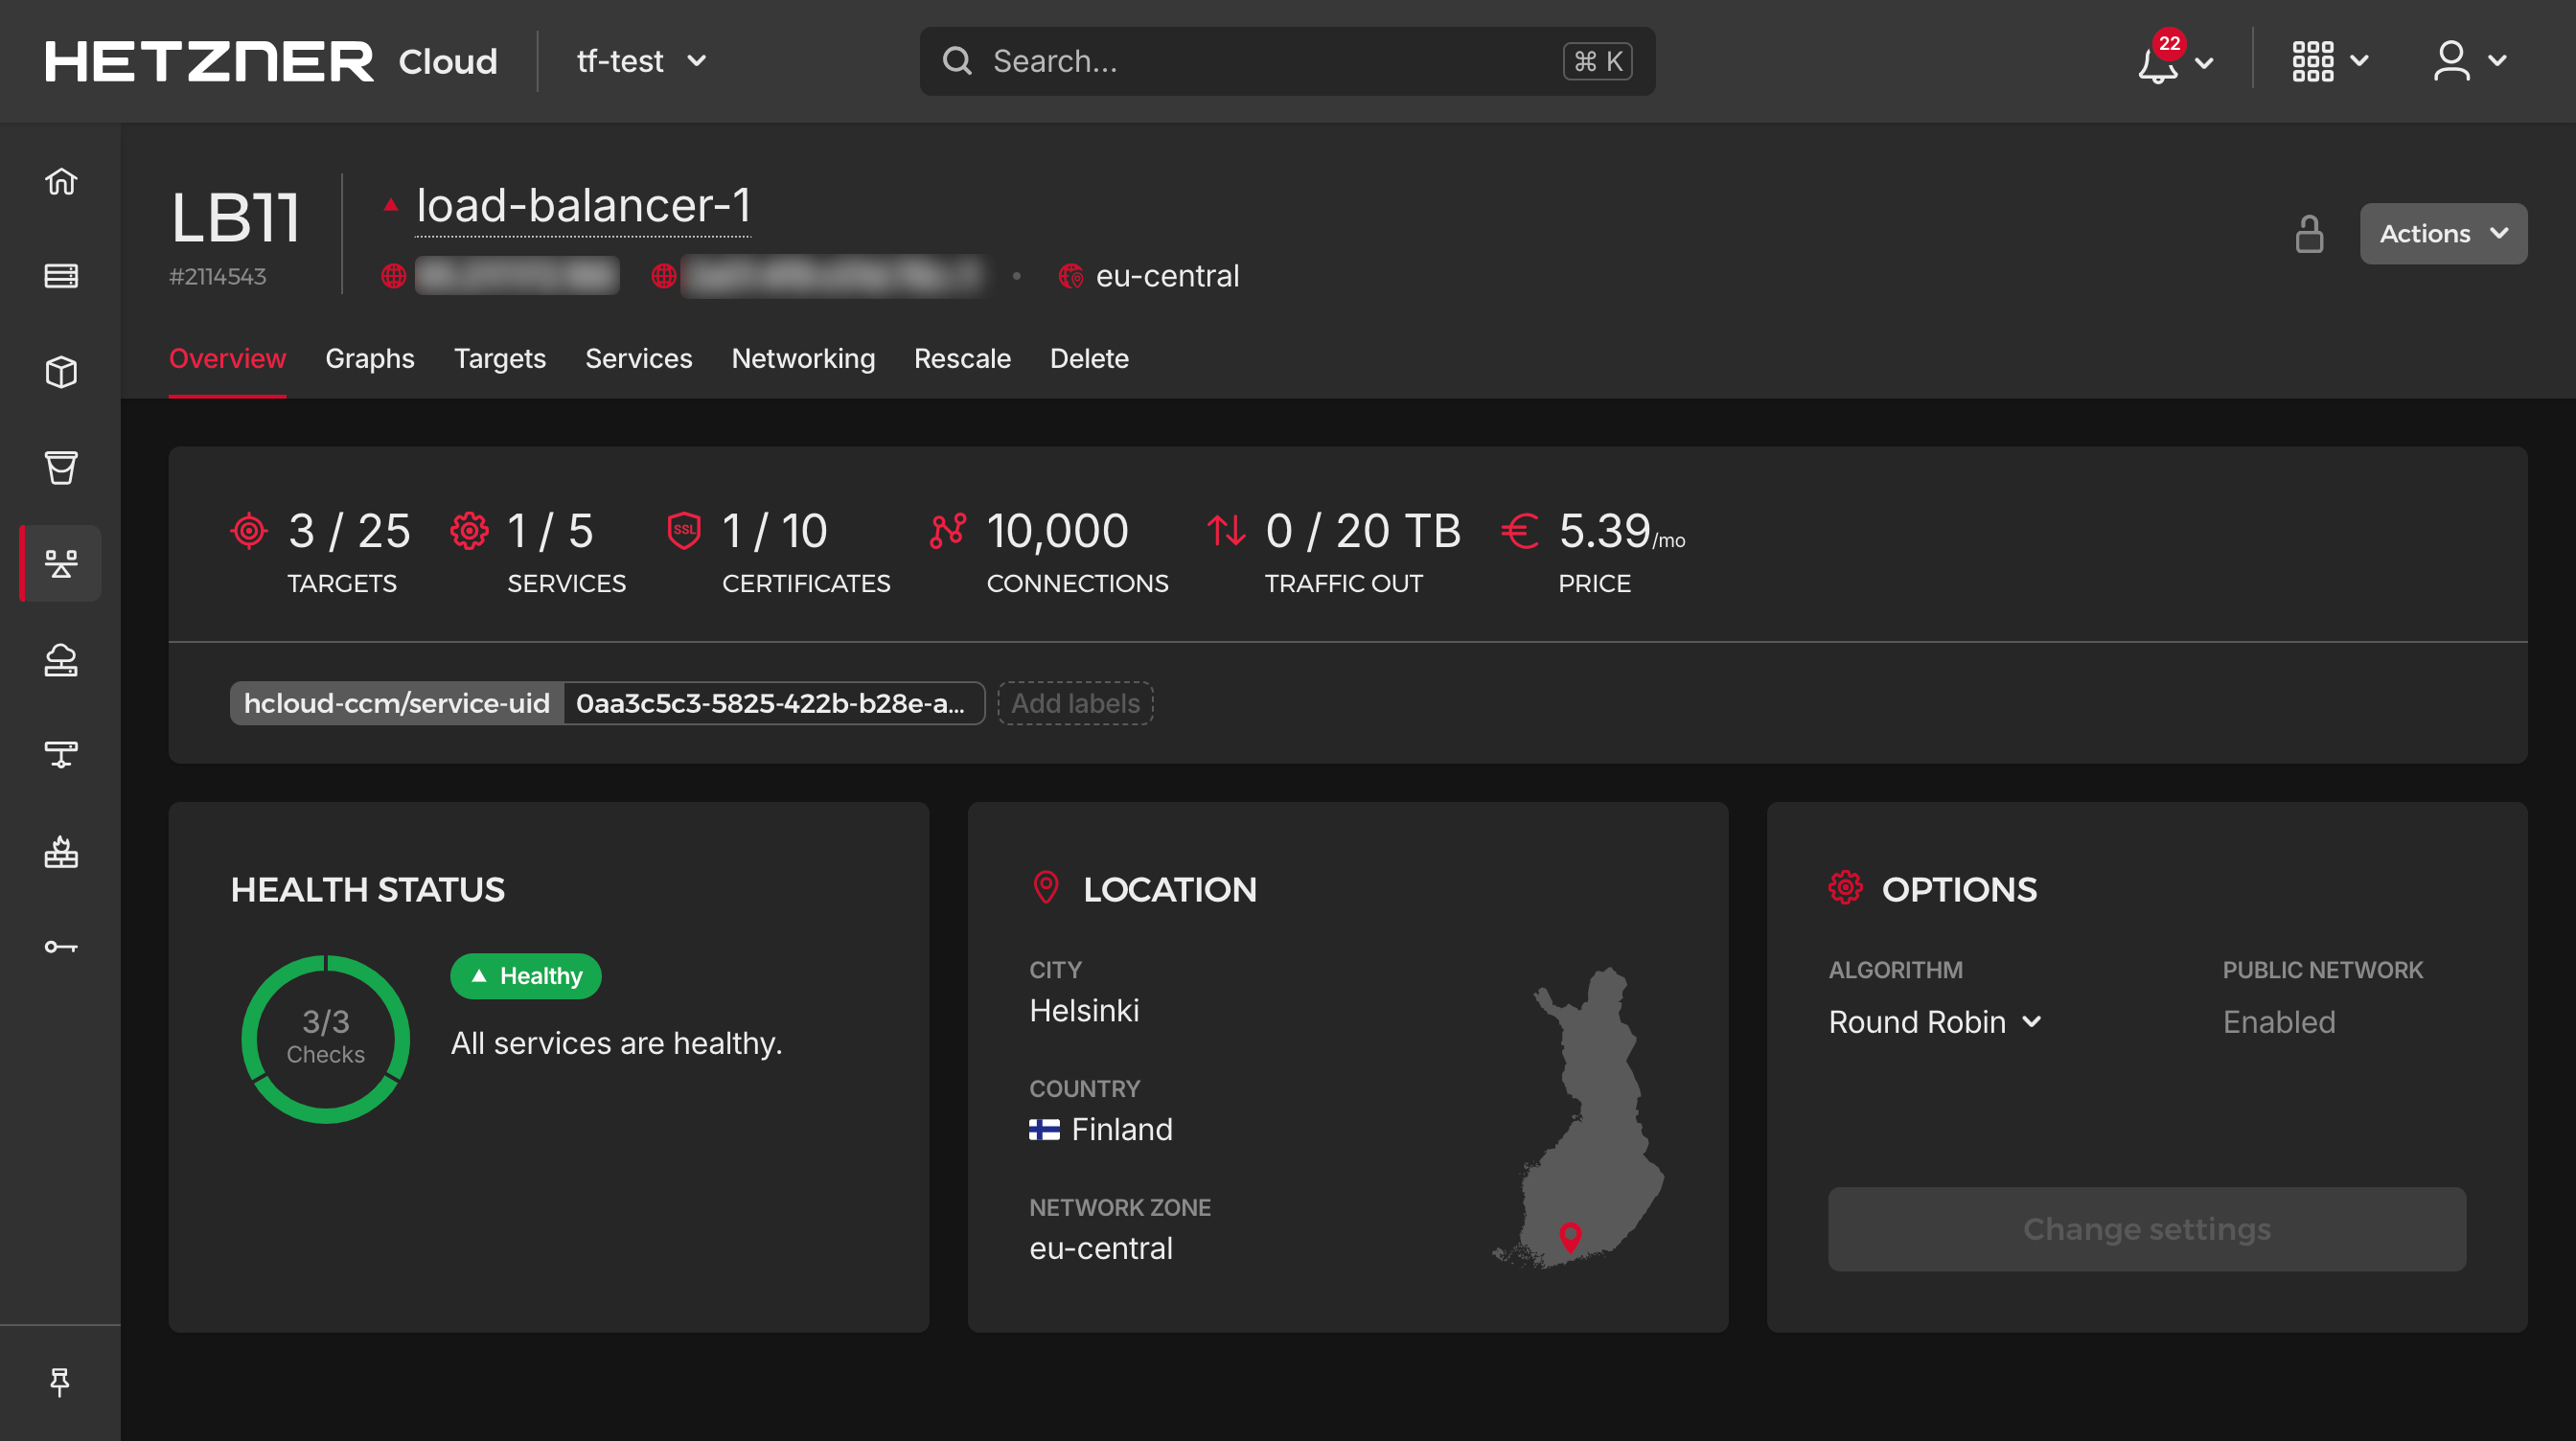
https://<EXTERNAL-IP>. You should see the default Nginx welcome page, secured with TLS.You can also validate the service in the Hetzner cloud console UI

Configuring DNS Records
Point your domain to the Hetzner Load Balancer's public IP.
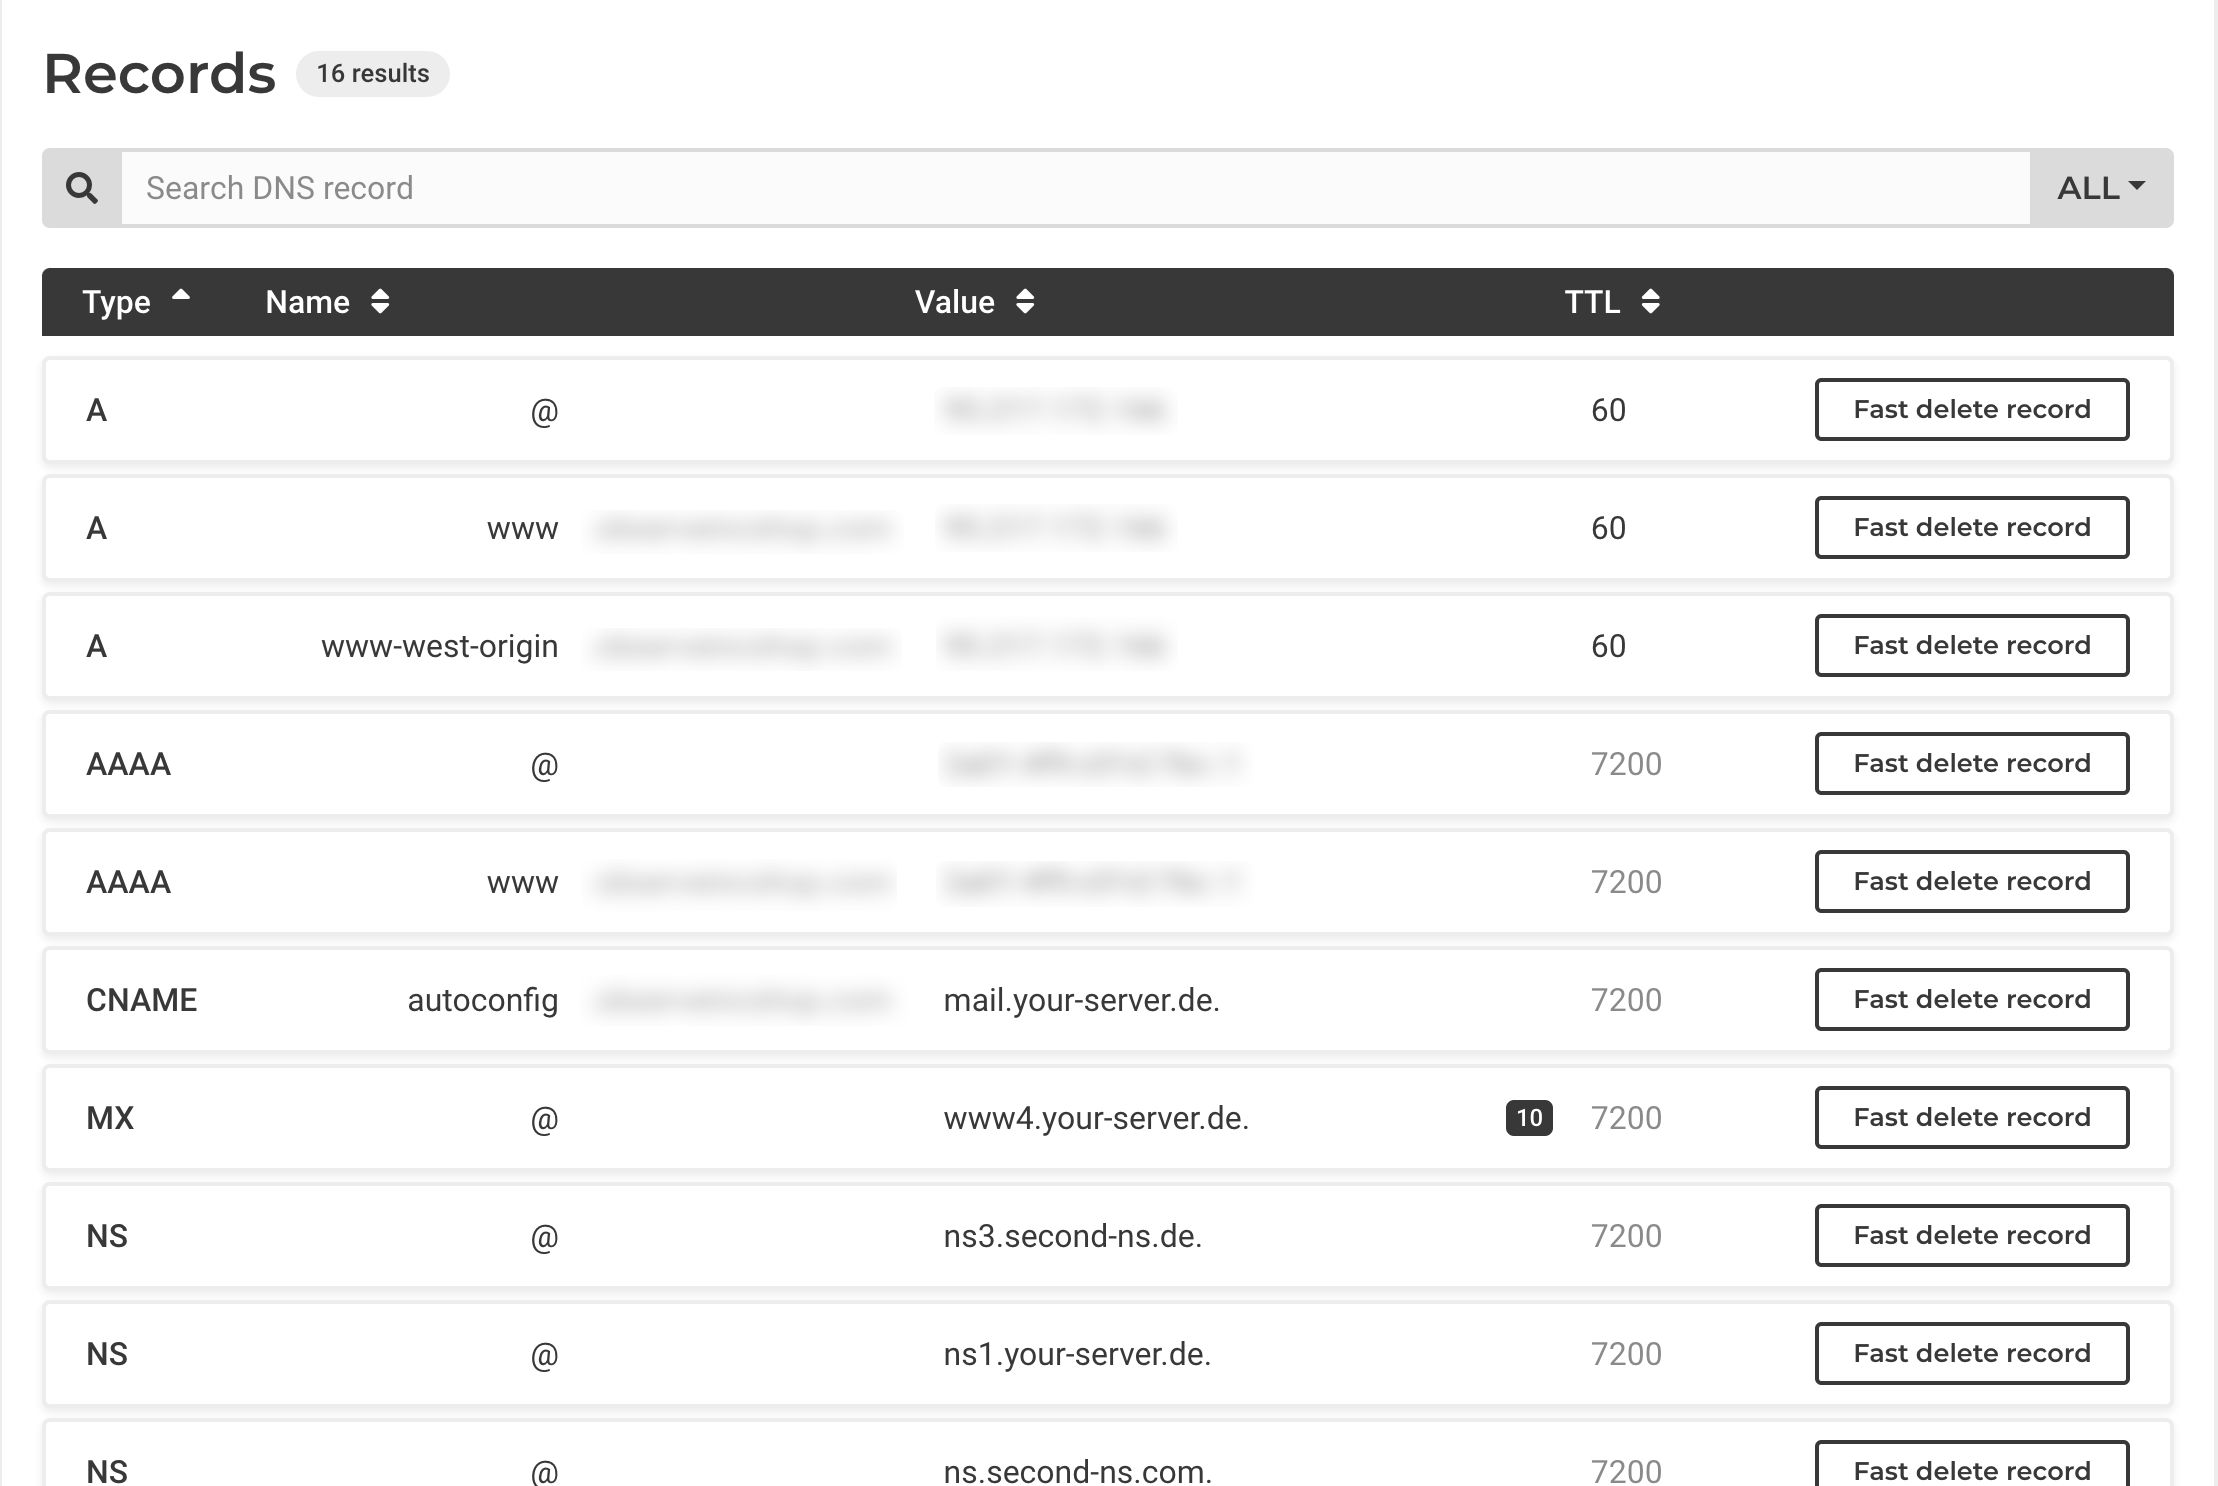
In your DNS provider's console (Hetzner or otherwise), create A and AAAA records:
To configure your domain to point to the Load Balancer, create DNS records by adding an A record for IPv4, setting the hostname to yourdomain.com and the value to your Load Balancer's IPv4 address. If you're using IPv6, also add an AAAA record with the same hostname and set the value to your Load Balancer's IPv6 address.

Verify DNS propagation:
Use
digor an online DNS checker to ensure your domain resolves to the correct IP addresses.dig yourdomain.com +shortTest accessing your application via the domain:
Navigate to
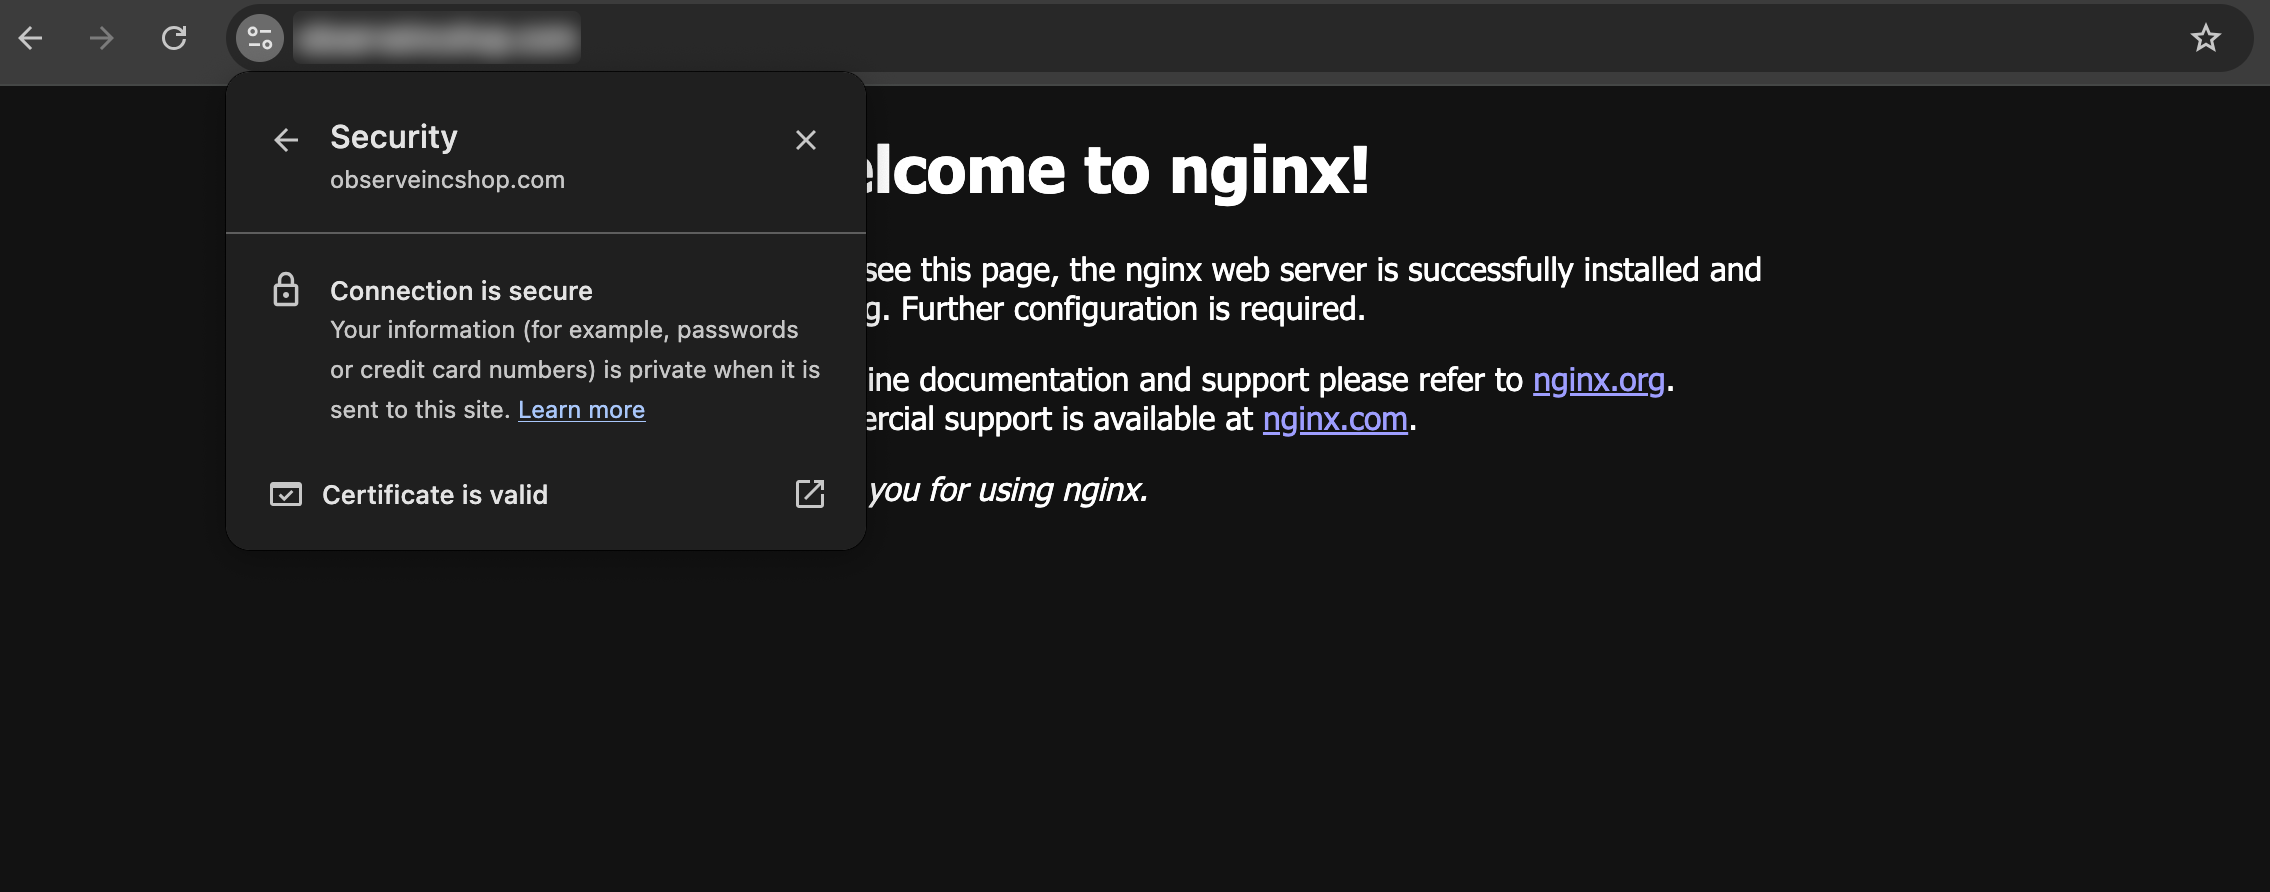
https://yourdomain.comand verify that:The site loads the Nginx welcome page.
The TLS certificate is valid and matches your domain.
HTTP traffic is redirected to HTTPS (if configured).

Conclusion
You have successfully set up a high-availability MicroK8s cluster on Hetzner Cloud, integrated the Hetzner Cloud Controller Manager, and deployed a load-balanced application with TLS termination. This setup provides a robust foundation for running production workloads.
Next Steps:
Automate Deployment: Use tools like Terraform and Ansible to automate the provisioning and configuration process.
Monitoring and Logging: Implement monitoring solution like Observe. Full disclosure - I work for the company.
Scaling: Explore horizontal and vertical scaling options to handle increased load.
Security: Implement network policies and secure your cluster according to best practices.
Additional Resources:
By following this guide, you not only get a functional Kubernetes cluster but also gain insights into integrating cloud services with Kubernetes distributions like MicroK8s. This knowledge can be extended to other cloud providers and Kubernetes setups, enhancing your capabilities as a system administrator or DevOps engineer.
Subscribe to my newsletter
Read articles from Max Skybin directly inside your inbox. Subscribe to the newsletter, and don't miss out.
Written by
