Posting data to a BaseRow Table Using Nuxt: A Step-by-Step Tutorial
 Costanza Casullo
In the previous article, I walked you through the process of fetching data from a Baserow table using Nuxt. We utilized Nuxt composables to handle the API call and displayed the data on a page.
Please go back to the previous article if it’s your first time using BaseRow or you are a beginner. Otherwise, this second post about POSTING data will not make sense.
Modified folder structure
Compared to the folder structure outlined in the previous article, I have added one more composable called usePostData.ts
/my-nuxt-app
│
├── /composables
│   ├── useFetchData.ts            # For fetching data from Baserow
│   └── usePostData.ts             # For posting data to Baserow
│
├── /types
│   └── tableFields.ts              # Type definitions for Baserow data
│
├── /pages
│   └── index.vue                  # Main page to display the component
│
├── /public                        # Static files
├── /assets                        # Styles, images, and other assets
│
├── /components
│   └── TableFields.vue            # Component showing the table data
│
├── nuxt.config.ts                 # Nuxt configuration file
├── package.json                   # Dependencies and scripts
└── tsconfig.json                  # TypeScript configuration
Composable to post data
The usePostData function is designed to facilitate posting new data entries to the Baserow API.
// Create a new function to post data to Baserow API
export const usePostData = async (newRow: TableRow) => {
  const config = useRuntimeConfig();
  const token = config.public.apiToken;
  const apiUrl = config.public.apiUrl;
The function accepts a parameter newRow of type TableRow, which is imported from the ~/types/tableFields file.
// types/tableFields.ts
export interface TableRow {
  id: number;
  Name: string;
  Notes: string;
}

export interface ApiResponse {
  count: number;
  next: string | null;
  previous: string | null;
  results?: TableRow[];
}
Utilising the useFetch composable, it sends a POST request to the Baserow API endpoint.
After the fetch operation, the function returns an object containing data and error.
// Post data to the Baserow API
  const { data, error } = await useFetch<TableRow>(
    `${apiUrl}/api/database/rows/table/373117/?user_field_names=true`,
    {
      method: "POST",
      headers: {
        Authorization: `Token ${token}`,
        "Content-Type": "application/json",
      },
      body: JSON.stringify(newRow),
    }
  );

  return { data, error };
};
Here’s how it works:
import type { TableRow } from "~/types/tableFields";

// Create a new function to post data to Baserow API
export const usePostData = async (newRow: TableRow) => {
  const config = useRuntimeConfig();
  const token = config.public.apiToken;
  const apiUrl = config.public.apiUrl;

  // Post data to the Baserow API
  const { data, error } = await useFetch<TableRow>(
    `${apiUrl}/api/database/rows/table/373117/?user_field_names=true`,
    {
      method: "POST",
      headers: {
        Authorization: `Token ${token}`,
        "Content-Type": "application/json",
      },
      body: JSON.stringify(newRow),
    }
  );

  return { data, error };
};
Using the composable in the component
Now that we have a composable with a function to POST data, we need to use it in our component.
The component in the previous article utilized the useFetchData composable to retrieve data from the Baserow API by calling a function defined within that composable.
Now that we are making POST requests, we need 2 things:
1 A form to submit the new data
2 The new data to be immediately displayed on the screen
<script setup lang="ts">
import { type TableRow, type ApiResponse } from "~/types/tableFields";
import { useFetchData } from "~/composables/useFetchData";
import { usePostData } from "~/composables/usePostData";

// Use useState to manage shared state
const data = useState<ApiResponse | null>("apiData", () => null);
const error = useState<string | null>("apiError", () => null);
const newRow = useState<TableRow>("newRow", () => ({
  id: 0, // Placeholder ID for the new row
  Name: "", // Name field for user input
  Notes: "", // Notes field for user input
}));

// Function to fetch data from the API
const fetchData = async () => {
  const { data: fetchedData, error: fetchError } = await useFetchData();
  if (fetchError.value) {
    error.value = fetchError.value.message; // Store the error message if fetch fails
  } else if (fetchedData.value) {
    data.value = fetchedData.value as ApiResponse; // Update the state with fetched data
  }
};

// Initial data fetch
await fetchData();

// Function to handle submission of new data
const handleSubmit = async () => {
  if (newRow.value) {
    const { data: postData, error: postError } = await usePostData(
      newRow.value
    );
    if (postError.value) {
      error.value = postError.value.message; // Store the error message from the post request
    } else {
      const postedRow = postData.value as TableRow;
      console.log("Posted data:", postedRow);
      newRow.value.Name = "";
      newRow.value.Notes = "";
      await fetchData(); // Re-fetch updated data after successful submission
    }
  } else {
    console.error("newRow is null");
  }
};
</script>

<template>
  <div v-if="error">{{ error }}</div>
  <div v-else>
    <ul>
      <li v-for="row in data?.results ?? []" :key="row.id">
        Name: {{ row.Name }} <br />
        Notes: {{ row.Notes }}
      </li>
    </ul>

    <form @submit.prevent="handleSubmit">
      <input v-model="newRow.Name" placeholder="Enter name" required />
      <input v-model="newRow.Notes" placeholder="Enter notes" required />
      <button type="submit">Submit</button>
    </form>
  </div>
</template>
Let’s examine the component:
1 It includes a form for users to input newRow using v-model
<!-- Form for inputting new data to be posted -->
    <form @submit.prevent="handleSubmit">
      <input v-model="newRow.Name" placeholder="Enter name" required />
      <!-- Input for Name -->
      <input v-model="newRow.Notes" placeholder="Enter notes" required />
      <!-- Input for Notes -->
      <button type="submit">Submit</button>
      <!-- Button to submit the form -->
    </form>
2 When you initialise a newRow with useState , it automatically reacts to what has been submitted through the form, making the new data appear on the screen
// Use useState to manage shared state
const data = useState<ApiResponse | null>("apiData", () => null);
const error = useState<string | null>("apiError", () => null);
const newRow = useState<TableRow>("newRow", () => ({
  id: 0, // Placeholder ID for the new row
  Name: "", // Name field for user input
  Notes: "", // Notes field for user input
}));
Wrapping up
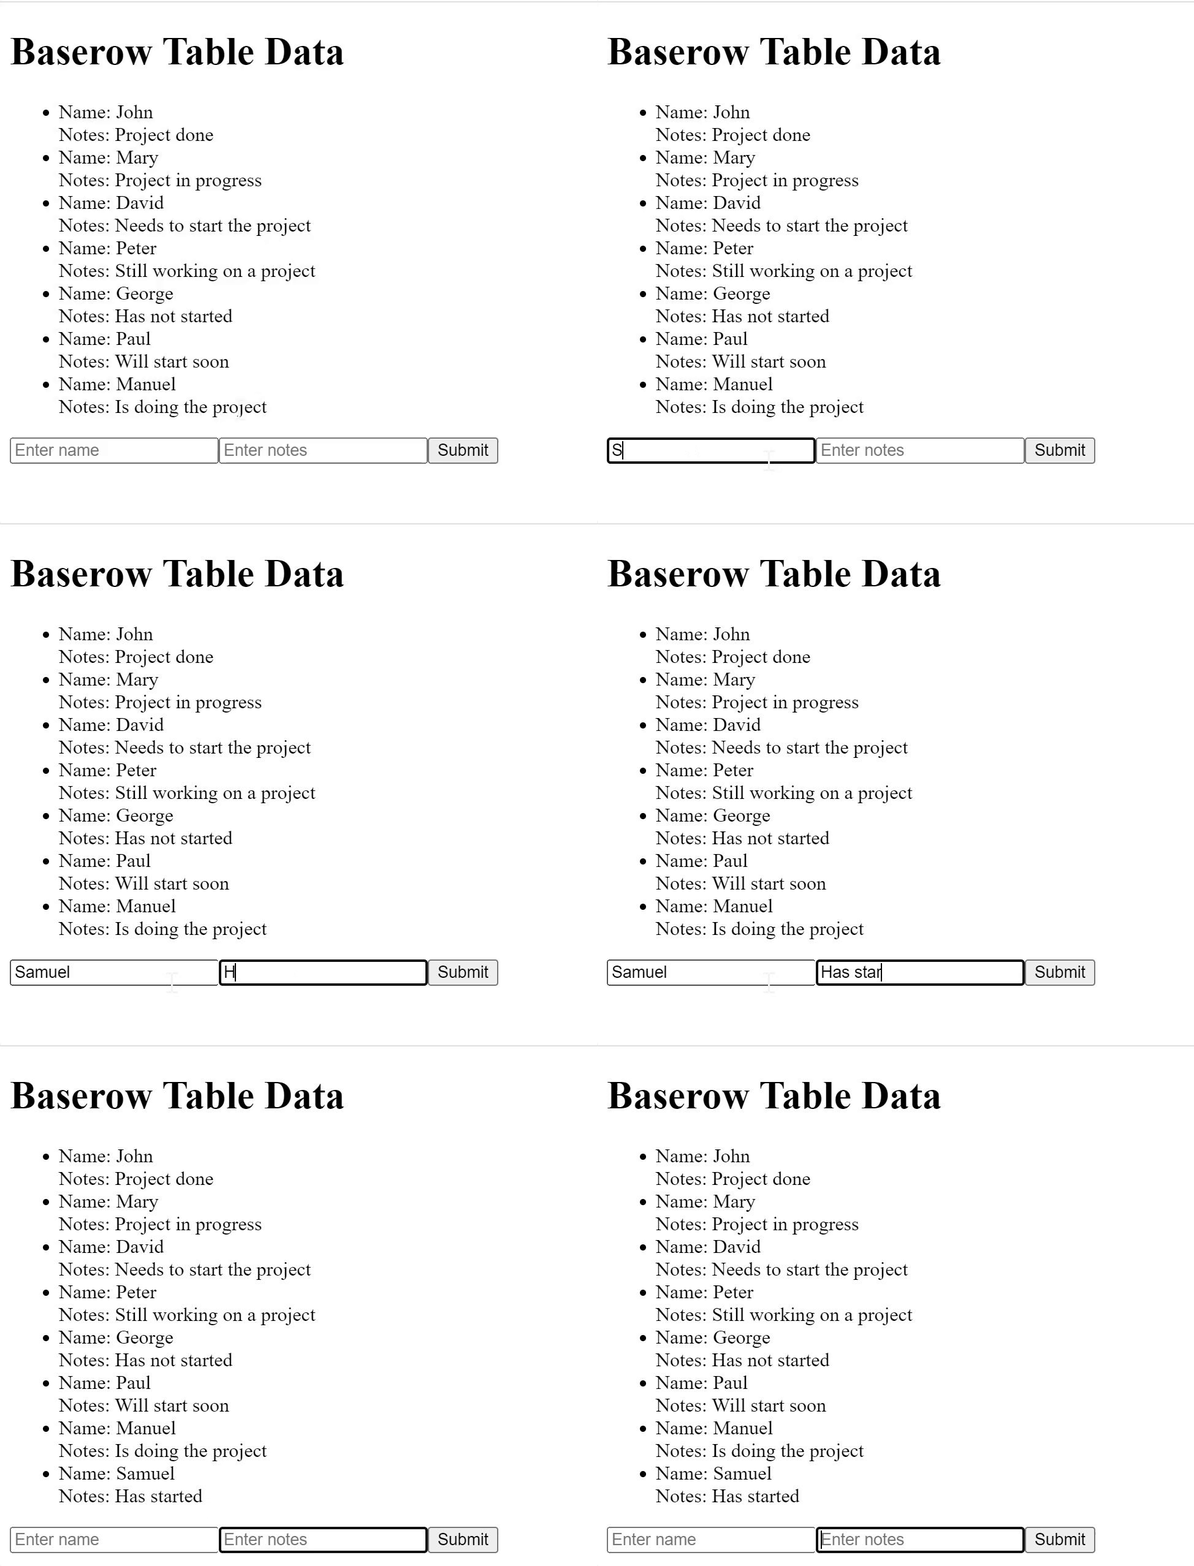
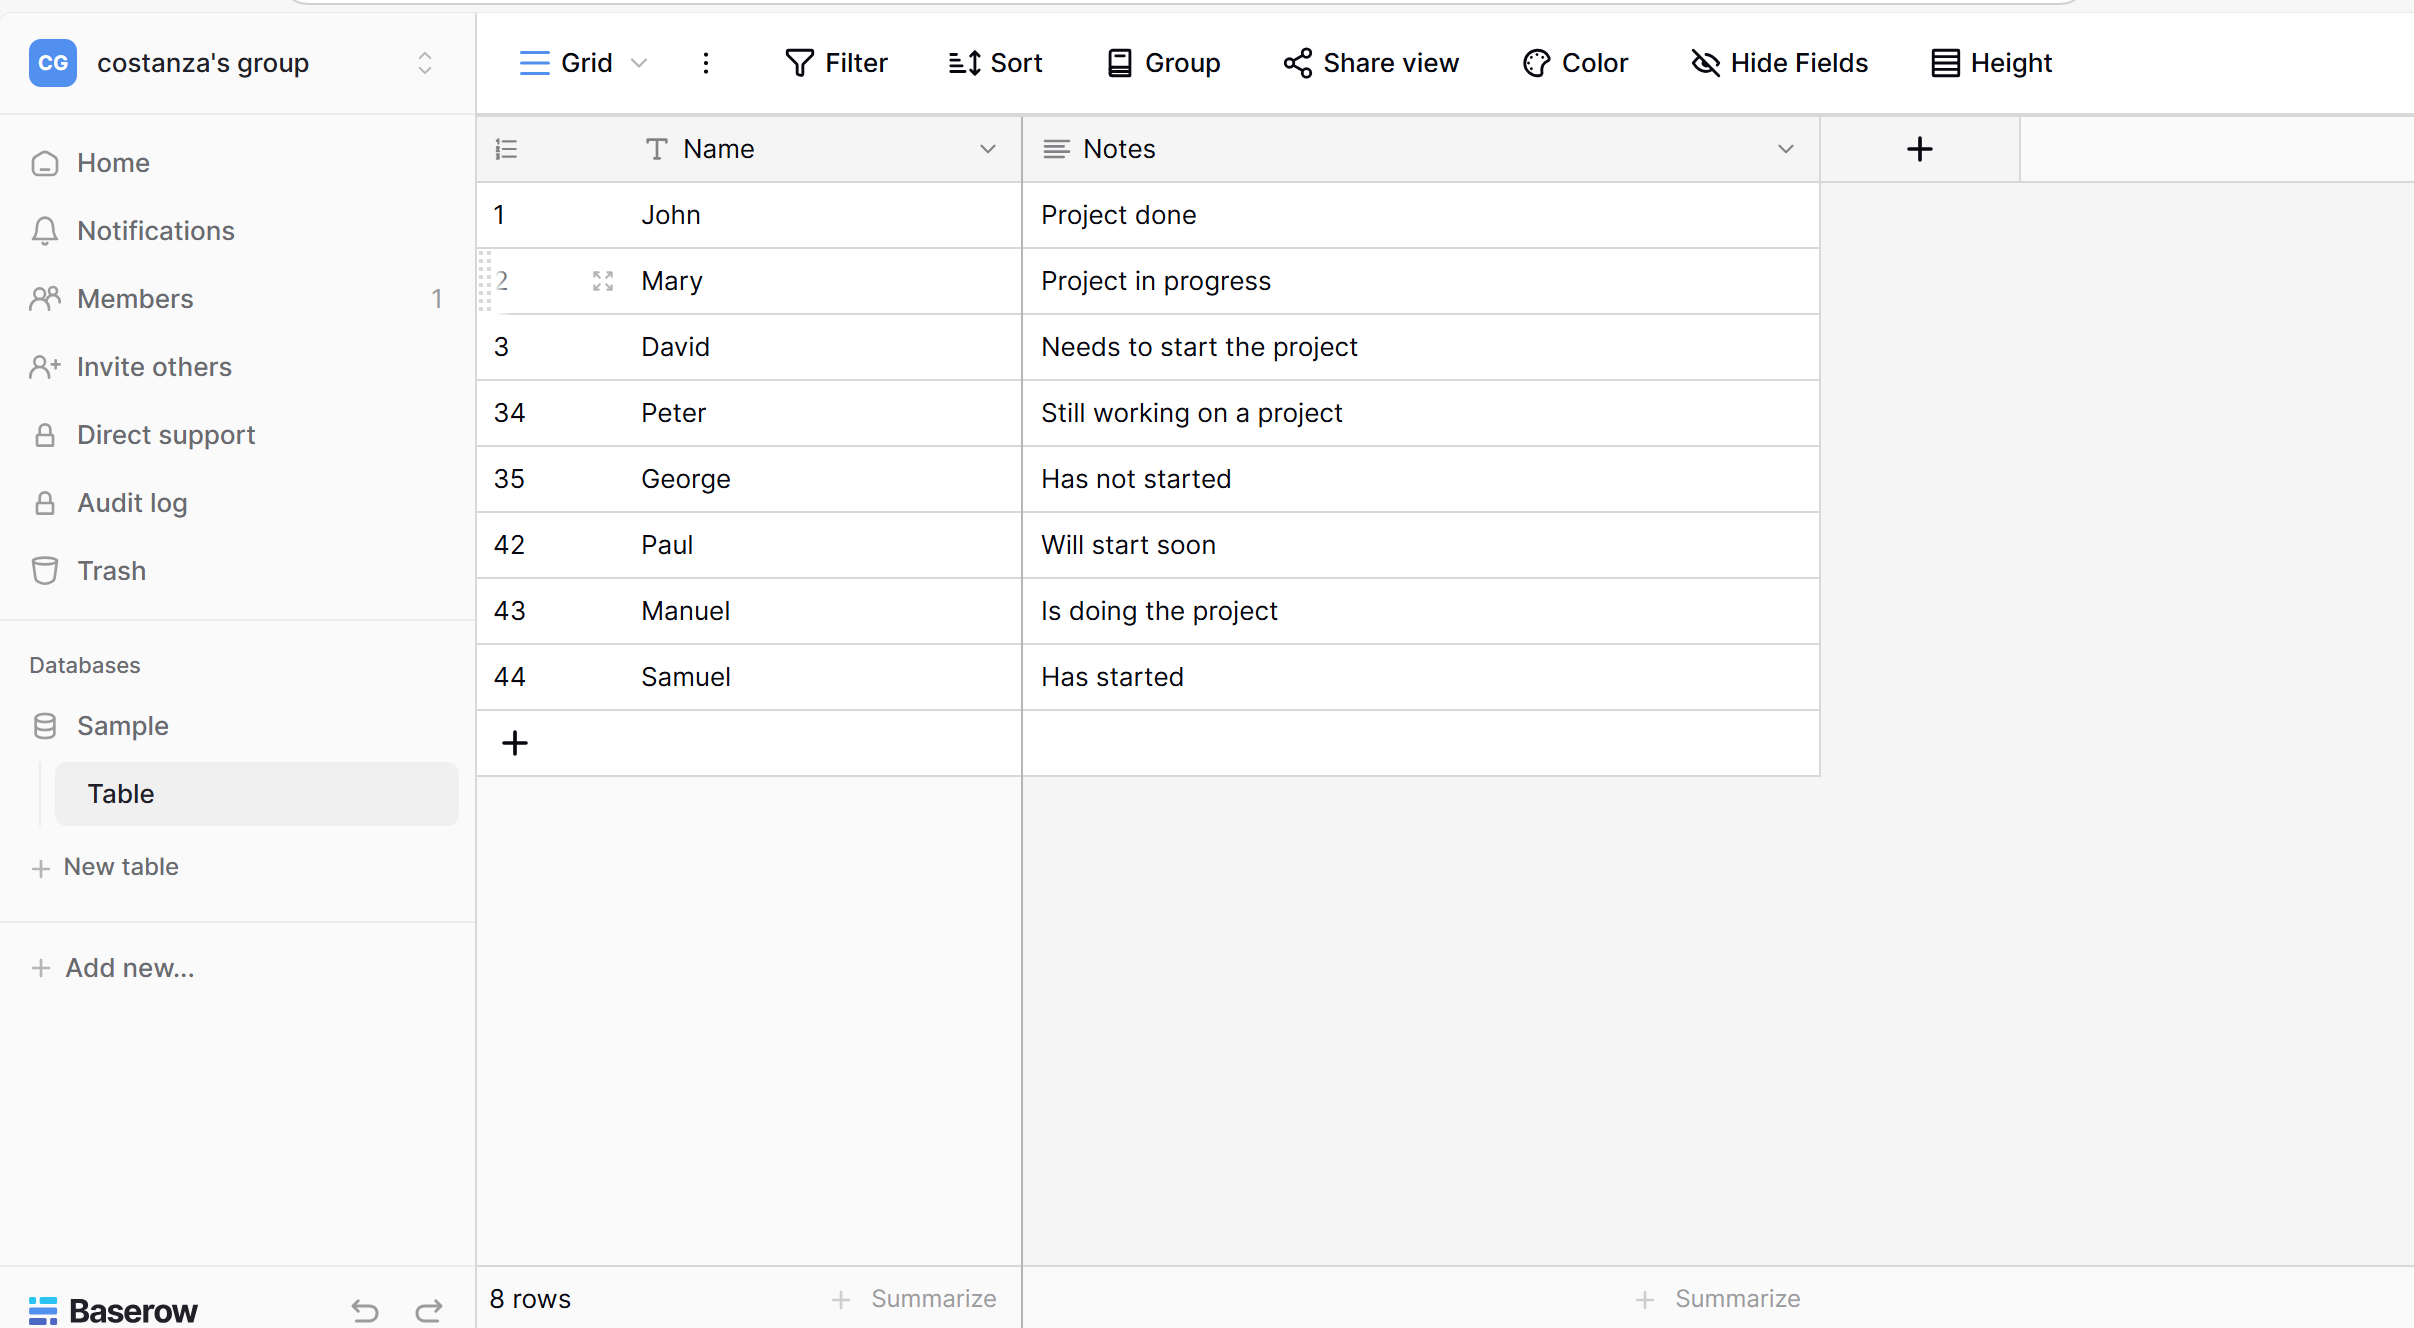
Let’s see how it all works together.


Extra - Polling data
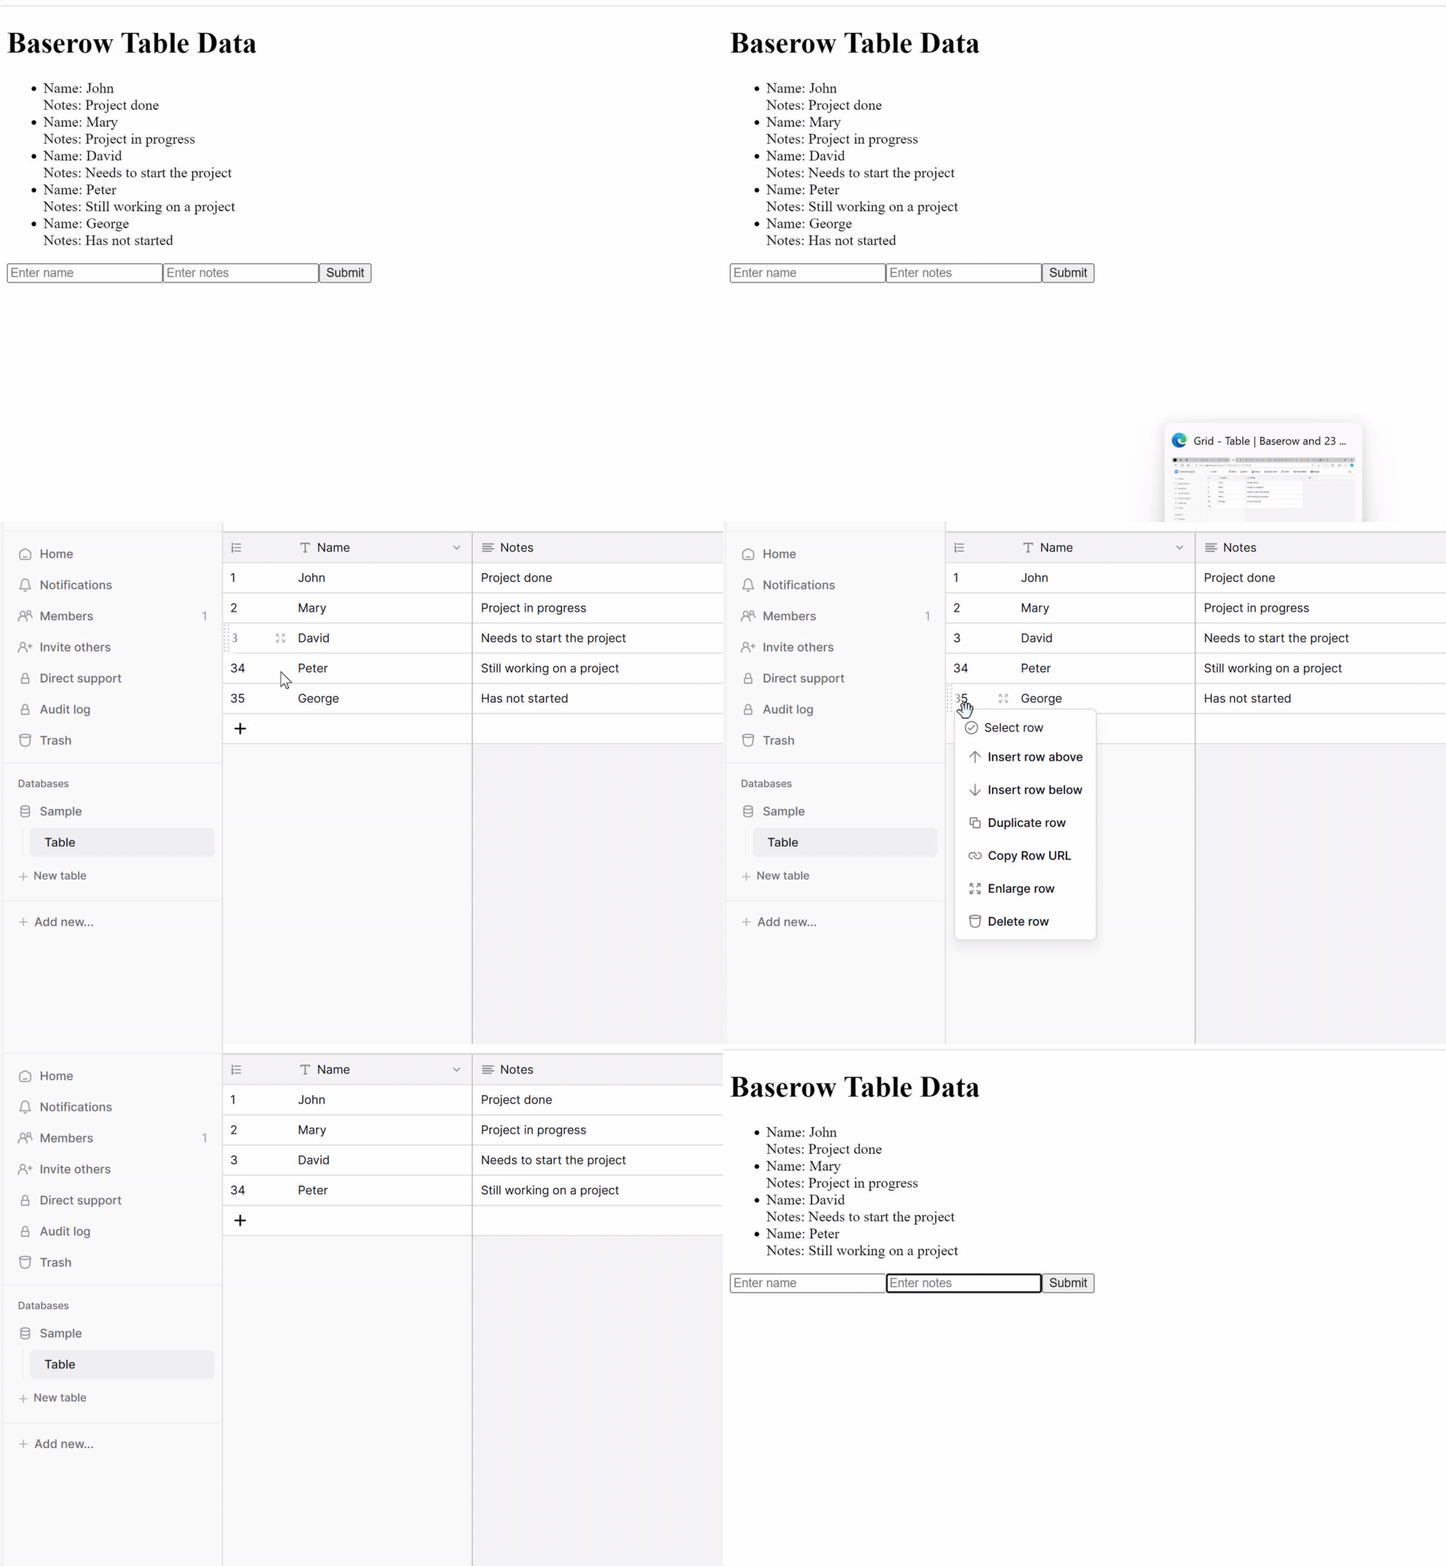
Now let’s say you are modifying the BaseRow Table itself and you want the new data to display on the webpage without having to refresh it, this is where polling comes in.
Disclaimer: Implementing a polling mechanism is a straightforward way to keep your component updated with changes made in the BaseRow interface. If performance becomes a concern with frequent polling, consider using WebSocket for real-time data synchronization.
Let’s create a composable to fetch the data from BaseRow every few seconds:
// ~/composables/usePolling.ts
import { ref, onMounted, onUnmounted } from "vue";

export const usePolling = (fetchData: () => Promise<void>, interval: number) => {
  const isPolling = ref(false);
  let pollingInterval: ReturnType<typeof setInterval> | null = null;

  const startPolling = () => {
    isPolling.value = true;
    pollingInterval = setInterval(fetchData, interval);
  };

  const stopPolling = () => {
    isPolling.value = false;
    if (pollingInterval) {
      clearInterval(pollingInterval);
      pollingInterval = null;
    }
  };

  onMounted(startPolling);
  onUnmounted(stopPolling);

  return { isPolling };
};
Updated Component Using the Polling Composable
Now you can modify your existing component to use the usePolling composable.
<script setup lang="ts">
import { type TableRow, type ApiResponse } from "~/types/tableFields";
import { useFetchData } from "~/composables/useFetchData";
import { usePostData } from "~/composables/usePostData";
import { usePolling } from "~/composables/usePolling";

// Use useState to manage shared state
const data = useState<ApiResponse | null>("apiData", () => null);
const error = useState<string | null>("apiError", () => null);
const newRow = useState<TableRow>("newRow", () => ({
  id: 0, // Placeholder ID for the new row
  Name: "", // Name field for user input
  Notes: "", // Notes field for user input
}));

// Function to fetch data from the API
const fetchData = async () => {
  const { data: fetchedData, error: fetchError } = await useFetchData();
  if (fetchError.value) {
    error.value = fetchError.value.message; // Store the error message if fetch fails
  } else if (fetchedData.value) {
    data.value = fetchedData.value as ApiResponse; // Update the state with fetched data
  }
};

// Initial data fetch
await fetchData();

// Use polling composable to fetch data every 5 seconds
usePolling(fetchData, 5000);

// Function to handle submission of new data
const handleSubmit = async () => {
  if (newRow.value) {
    const { data: postData, error: postError } = await usePostData(
      newRow.value
    );
    if (postError.value) {
      error.value = postError.value.message; // Store the error message from the post request
    } else {
      const postedRow = postData.value as TableRow;
      console.log("Posted data:", postedRow);
      newRow.value.Name = "";
      newRow.value.Notes = "";
      await fetchData(); // Re-fetch updated data after successful submission
    }
  } else {
    console.error("newRow is null");
  }
};
</script>

<template>
  <div v-if="error">{{ error }}</div>
  <div v-else>
    <ul>
      <li v-for="row in data?.results ?? []" :key="row.id">
        Name: {{ row.Name }} <br />
        Notes: {{ row.Notes }}
      </li>
    </ul>

    <form @submit.prevent="handleSubmit">
      <input v-model="newRow.Name" placeholder="Enter name" required />
      <input v-model="newRow.Notes" placeholder="Enter notes" required />
      <button type="submit">Submit</button>
    </form>
  </div>
</template>
Explanation of the Composable
Reusable Logic: The
usePollingcomposable takes afetchDatafunction and a polling interval as parameters, making it reusable for any fetch operation.Lifecycle Hooks: It starts polling when the component mounts and stops polling when the component unmounts, ensuring proper resource management.
Polling Control: You can easily adjust the polling interval or change the fetch function without modifying your component code.

Can you guess what the next tutorial will be about?
Subscribe to my newsletter
Read articles from Costanza Casullo directly inside your inbox. Subscribe to the newsletter, and don't miss out.
Written by

Costanza Casullo
Costanza Casullo
🔧 I make websites for small businesses (though I don't think my clients would be interested in tech blog, but never underestimate anyone!) 🌱 As a curious person, I’m always eager to learn more about different technologies. To the point that sometimes I get lost and forget to stick to one thing. 💬 Does the internet really need another developer sharing her learnings on a blog? Probably not. But if you are reading this, maybe it does.