☑️Day 50: Creating a Multi-Node Jenkins Pipeline with SSH Keys🚀
 Kedar Pattanshetti
🔹Table of Contents :
Introduction
Generating SSH Keys
Configuring Jenkins for Multi-Node Pipeline
Creating a Multi-Node Pipeline
Real-World Scenarios for Multi-Node Pipelines
Commands Used
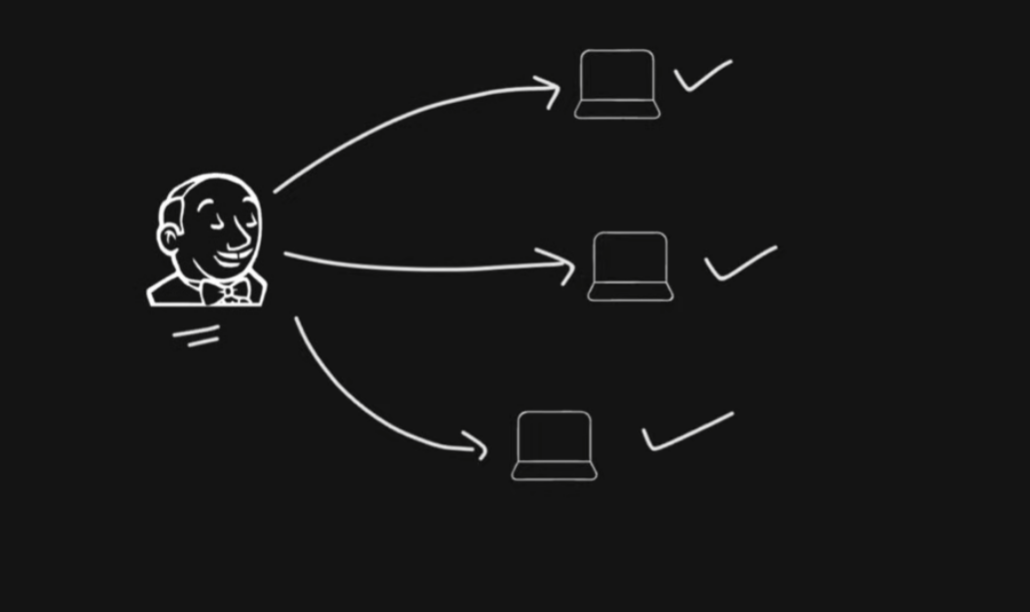
Today, I explored setting up a multi-node Jenkins pipeline, which involves running jobs on different Jenkins agents using SSH keys for authentication. This setup is beneficial for distributing workloads and executing jobs on multiple machines, allowing better resource management and scaling.
✅1. What is a Multi-Node Jenkins Pipeline?
In Jenkins, a multi-node pipeline allows jobs to run on different nodes (machines). Nodes can be either the master Jenkins server or other configured agent nodes.
Useful for running builds and deployments on various environments, managing load, or using specialized hardware.
✅2. Setup: Configuring SSH for Jenkins Multi-Node Pipeline
To establish communication between the Jenkins master node and the agent nodes, SSH keys are used for secure authentication. Here's how I set up the multi-node pipeline step by step:
✅3. Steps to Create SSH Keys and Configure Agent Node
Step 1: Generate SSH Keys
On the Jenkins master server (or any machine acting as the master node), generate SSH keys using the following command:
ssh-keygen -t rsa -b 2048This command creates a public-private key pair. Save the keys in the default location (
~/.ssh/id_rsafor the private key and~/.ssh/id_rsa.pubfor the public key).
Step 2: Add the Public Key to the Agent Node
Copy the public key (
id_rsa.pub) to the agent node's~/.ssh/authorized_keysfile. This allows the master node to authenticate without a password:ssh-copy-id -i ~/.ssh/id_rsa.pub user@agent-node-ipAlternatively, you can manually copy the contents of the
id_rsa.pubfile and append it to the~/.ssh/authorized_keysfile on the agent node.
Step 3: Test SSH Connection
Verify the SSH connection from the master to the agent node:
ssh user@agent-node-ipEnsure you can connect without being prompted for a password, confirming the SSH key-based authentication is working.
✅4. Configuring Jenkins for Multi-Node Pipeline
Step 1: Add a New Node in Jenkins
In the Jenkins dashboard, go to
Manage Jenkins>Manage Nodes and Clouds>New Node.Configure the new node with the following details:
Node name: A unique name for the agent node.
Remote root directory: The workspace path on the agent machine.
Launch method: Select "Launch agent via SSH" and provide the agent's IP address, username, and SSH private key.
Step 2: Configure the Multi-Node Pipeline
Create a new pipeline job in Jenkins.
Use a pipeline script with stages that specify different nodes for execution. Example:
  pipeline {
      agent any
      stages {
          stage('Hello World on Master') {
              agent { label 'master' }
              steps {
                  echo 'Hello from the master node!'
              }
          }
          stage('Hello World on Agent') {
              agent { label 'agent-node' }
              steps {
                  echo 'Hello from the agent node!'
              }
          }
      }
  }
The above pipeline specifies separate stages that run on the master and the agent node.
✅5. Running a Demo Job: Hello World
Step 1: Create the Pipeline
- Set up a simple "Hello World" job in Jenkins with the pipeline script provided above.
Step 2: Execute the Job
- Run the pipeline and observe the console output. You should see messages printed from both the master and the agent node.
✅6. Key Commands Used
Generate SSH Keys:
ssh-keygen -t rsa -b 2048Copy SSH Public Key:
ssh-copy-id -i ~/.ssh/id_rsa.pub user@agent-node-ipVerify SSH Connection:
ssh user@agent-node-ip
7. Real-World Scenarios for Multi-Node Jenkins Pipelines
Load Distribution: Running jobs on different nodes prevents overloading the master server and improves performance.
Environment-Specific Tasks: Deploying code to various environments (e.g., development, staging, production) by configuring dedicated nodes for each.
Specialized Hardware: Using nodes with specific hardware configurations for tasks like machine learning or video processing.
8. Additional Notes
It's essential to ensure that the agent node has the necessary software and permissions to execute the tasks defined in the pipeline.
SSH keys need to be managed securely to prevent unauthorized access.
🚀Thanks for joining me on Day 50! Let’s keep learning and growing together!
Happy Learning! 😊
#90DaysOfDevOps
Subscribe to my newsletter
Read articles from Kedar Pattanshetti directly inside your inbox. Subscribe to the newsletter, and don't miss out.
Written by
