Deploying Your Contracts to the Core Blockchain Made Easy! 🌟 🚀
 Akshaya Gangatharan
So, you’ve got your smart contract ready, and you're itching to get it live on the Core blockchain! 🎉 In this article, we'll guide you through the necessary steps to deploy your contracts directly to Core.
If you’ve been following along from our previous articles, you should already have a Hardhat project set up with deployment scripts ready to roll. But if you don’t have a Hardhat setup yet, don’t worry; we’ll cover that too!
What is Core Blockchain?
Core is the Layer-1 blockchain that vibes with Bitcoin while being super EVM-compatible.Core is stepping up Bitcoin's game in the DeFi world through non-custodial Bitcoin staking.
The coolest thing about Core is its Satoshi Plus consensus mechanism. It’s a mix of Delegated Proof of Work (DPoW) , Delegated Proof of Stake (DPoS) and Non-custodial Bitcoin Staking. This setup not only involves Bitcoin miners in keeping smart contracts secure but also lets them earn extra income with CORE tokens. Basically, it makes Bitcoin even stronger without hogging block space or taking away from miners’ main job of protecting the Bitcoin network. 🔒✨
Setting Up Your Hardhat Project
If you haven’t set up Hardhat yet, don’t sweat it! Here’s how you can quickly get started:
Install Node.js : Make sure you have Node.js installed on your machine. You can download it from nodejs.org.
Initialize Your Project: Open your terminal and create a new directory for your project:
 mkdir my-core-project
 cd my-core-project
Install Hardhat: Inside your project directory, run:
 npm init -y
 npm install --save-dev hardhat
Create a Hardhat Project: Initialize a new Hardhat project by running:
npx hardhatFollow the prompts to create a basic sample project.
Install Dependencies: You’ll need some additional dependencies for working with Ethereum and the EVM. Install them using:
npm install --save-dev @nomiclabs/hardhat-ethers @nomiclabs/hardhat-waffle
Adding Core to MetaMask
Before deploying your contracts, you’ll need to add the Core testnet or mainnet to your MetaMask wallet. Here’s how to do it:
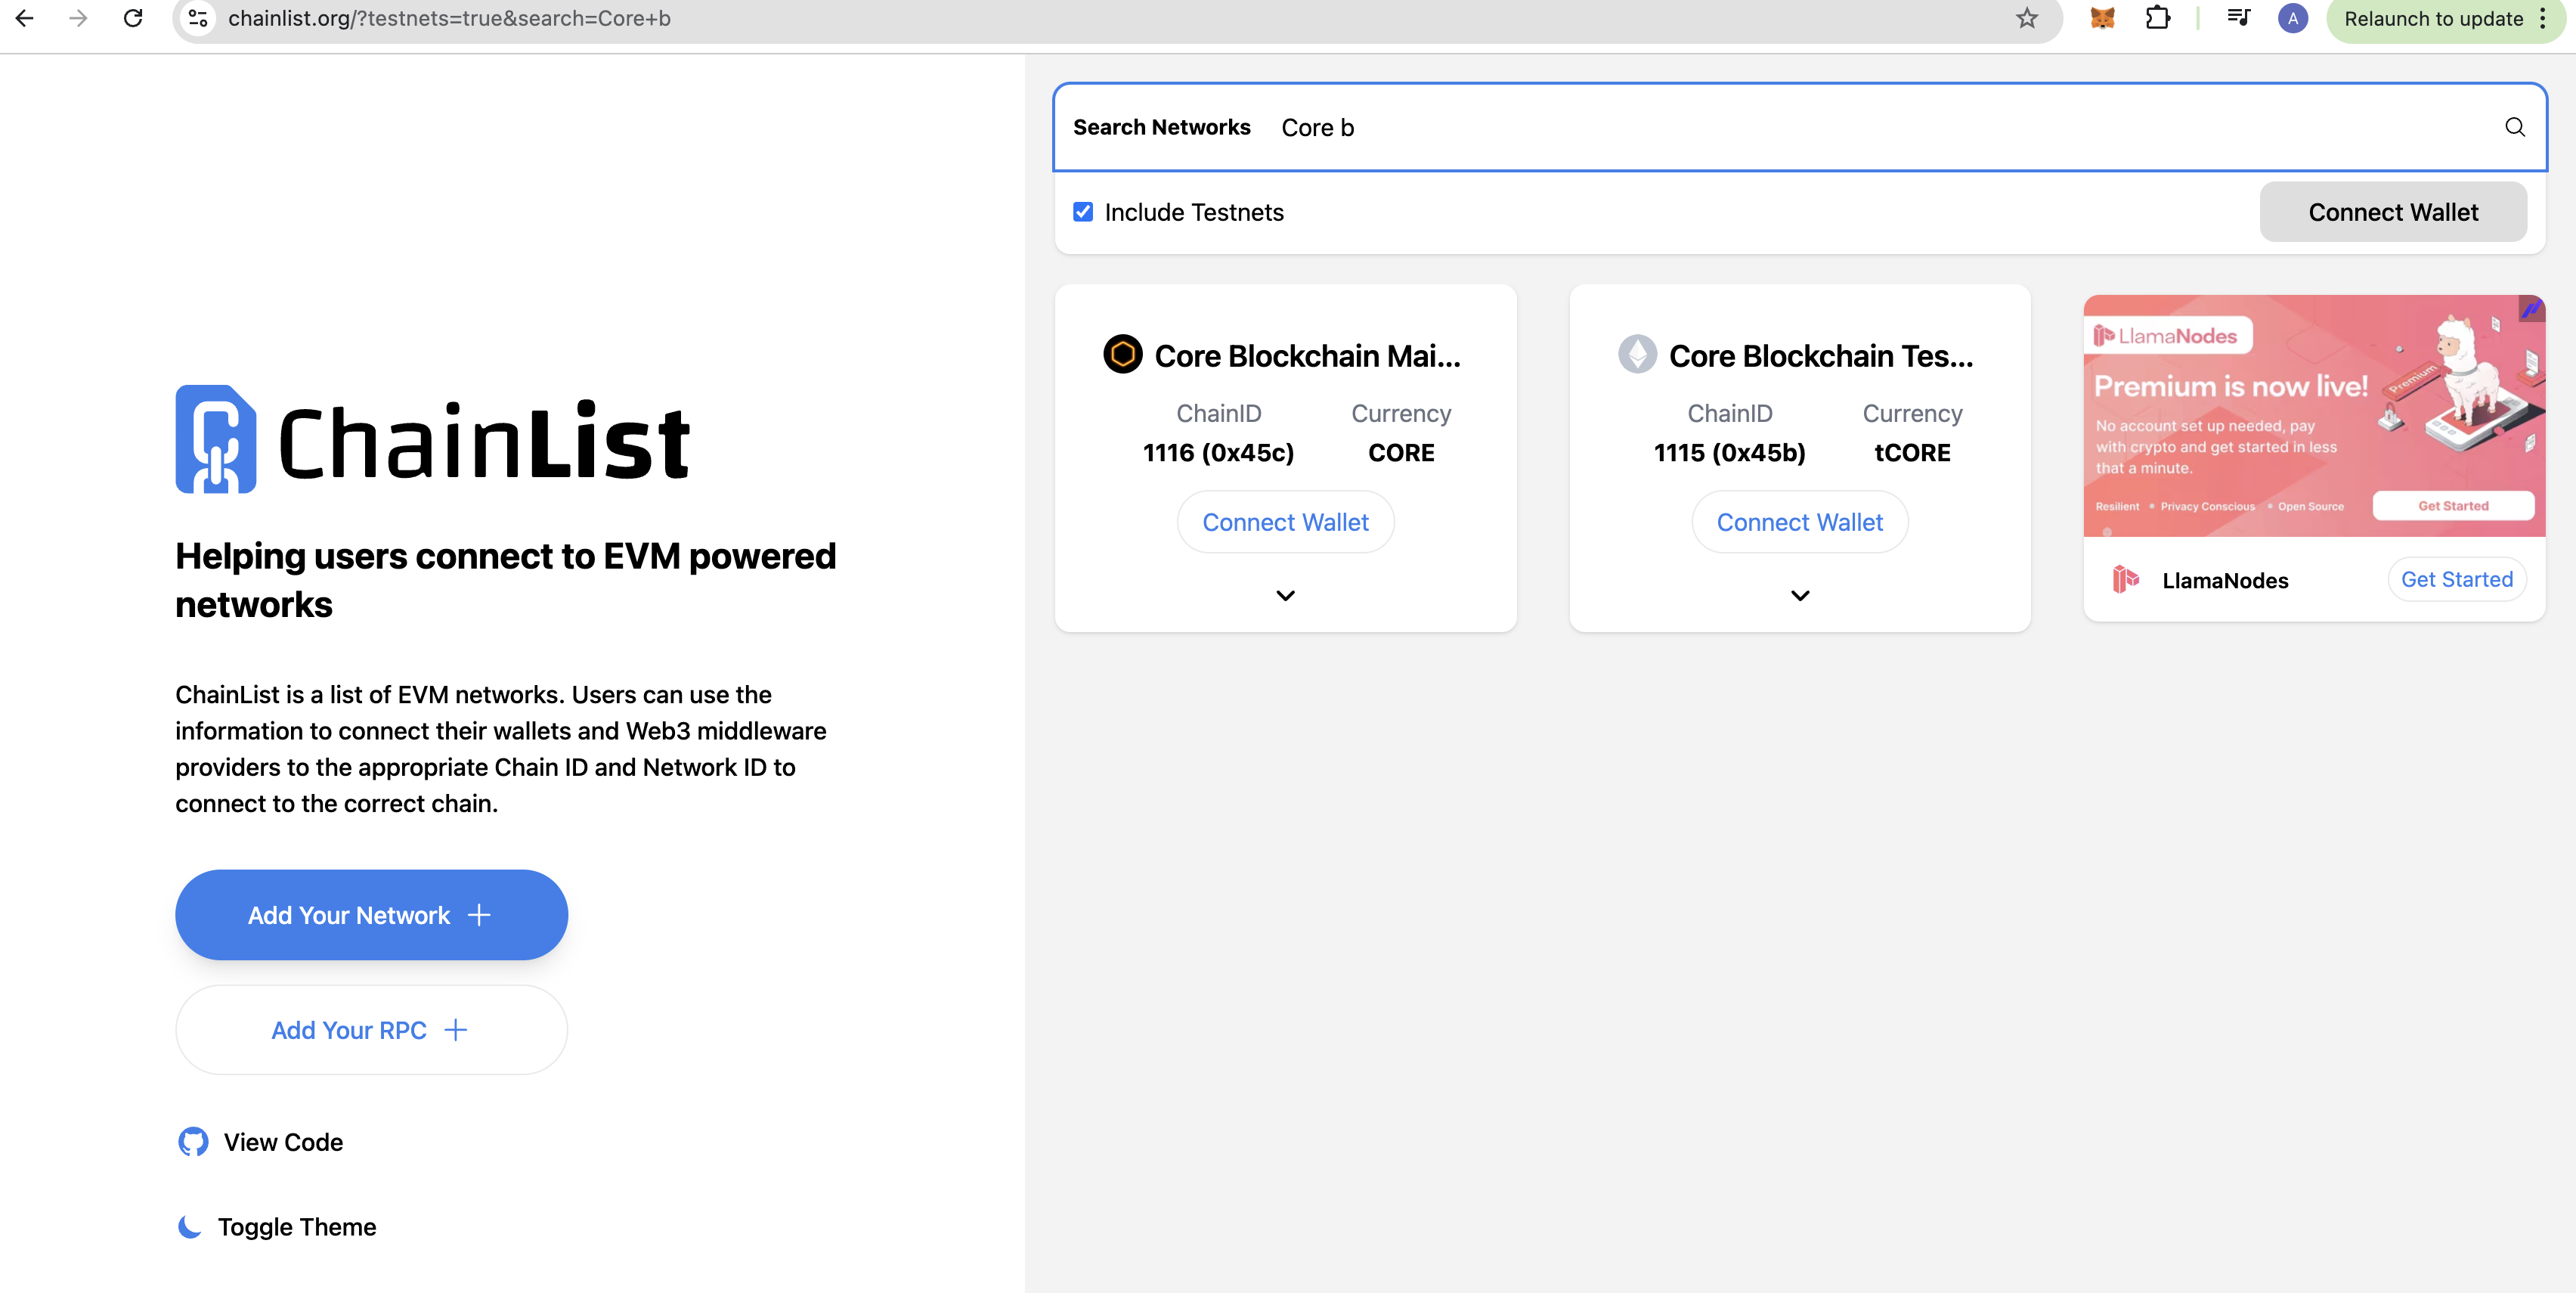
Visit Chainlist: Go to chainlist.org.
Search for Core: Use the search bar to find the Core Blockchain (either testnet or mainnet).

- Add to MetaMask: Connect Wallet and Click the "Add to MetaMask" button, and follow the prompts to connect it to your wallet.
Getting Testnet Tokens
To proceed with deployment on the Core testnet, you'll need some testnet tokens. You can get these tokens from a faucet:
- Testnet Faucet: Visit the Core faucet https://scan.test.btcs.network/faucet and paste your wallet address to receive your testnet CORE tokens.
Alright, before we dive in, you’ll need to grab your private key. You can get this from your MetaMask wallet or any other wallet you’re using. Once you’ve got it, copy and paste it into a file named secret.json. For our tutorial, we’ll be using this file to store the private key like this:
{
  "PrivateKey": "your-private-key-here"
}
Don’t forget to add your secret.json file to .gitignore so you don’t accidentally expose your private key when you push your project to GitHub! Trust me, you don’t want that! 😅 Just add this to your .gitignore:
And boom! You’re all set to deploy securely. 🔒"
Modifying Your Hardhat Configuration
To deploy your contracts to the Core blockchain, you’ll need to tweak your Hardhat configuration file (hardhat.config.js). Here’s the updated configuration that you’ll need to add:
/**
 * @type import('hardhat/config').HardhatUserConfig
 */

require('@nomiclabs/hardhat-ethers');
require("@nomiclabs/hardhat-waffle");

const { PrivateKey } = require('./secret.json');

module.exports = {
   defaultNetwork: 'testnet',

   networks: {
      hardhat: {},
      testnet: {
         url: 'https://rpc.test.btcs.network',
         accounts: [PrivateKey],
         chainId: 1115,
      }
   },
   solidity: {
      compilers: [
        {
           version: '0.8.19',
           settings: {
            evmVersion: 'paris',
            optimizer: {
                 enabled: true,
                 runs: 200,
              },
           },
        },
      ],
   },
   paths: {
      sources: './contracts',
      cache: './cache',
      artifacts: './artifacts',
   },
   mocha: {
      timeout: 20000,
   },
};
Breakdown of the Configuration
Network Settings:
We’ve specified
testnetas the default network.The URL for the Core blockchain's testnet is set to
https://rpc.test.btcs.network.Make sure to include your private key in a
secret.jsonfile for account access.
Solidity Compiler:
We’re using Solidity version
0.8.19with an optimizer enabled for efficient contract deployment.The
evmVersionis set to Paris, ensuring your contract is optimized for the newest EVM specs. If you're using Remix IDE, don’t forget to select the Paris compiler version too!
Paths:
- You can adjust the paths for sources, cache, and artifacts as needed for better organization of your project files.
Deploying Your Contract
Now that you’ve updated your Hardhat configuration, it’s time to deploy!
Don’t forget to have your deployment script all set up in the scripts/deploy.js file, fam! Here’s a sample deployment script to help you get started.
const { ethers } = require("hardhat");

async function main() {
  const [deployer] = await ethers.getSigners();

  console.log("Deploying contracts with the account:", deployer.address);

  const ERC20 = await ethers.getContractFactory("Token");
  const usdt = await ERC20.deploy("usdt", "USDT");
  const usdc = await ERC20.deploy("usdc", "USDC");

  const fee = 10;

  const Swap = await ethers.getContractFactory("Swap");
  const swap = await Swap.deploy(fee);

  console.log("Contracts deployed:");
  console.log("Swap Contract:", await swap.getAddress());
  console.log("usdt Token:", await usdt.getAddress());
  console.log("usdc Token:", await usdc.getAddress());

  const swapContractAddr = await swap.getAddress();

  await usdt.approve(swapContractAddr, ethers.parseEther("100"));
  await usdt.transfer(swapContractAddr, ethers.parseEther("100"));
  await usdc.approve(swapContractAddr, ethers.parseEther("100"));
  await usdc.transfer(swapContractAddr, ethers.parseEther("100"));
}

main()
  .then(() => process.exit(0))
  .catch((error) => {
    console.error(error);
    process.exit(1);
  });
Open your terminal and run the following command:
npx hardhat run scripts/deploy.js --network testnet
This command will execute your deployment script against the Core blockchain testnet, sending your smart contract live! 🚀
Wrapping Up
And that’s a wrap! 🎉 You’ve just leveled up your Hardhat setup to deploy on the Core blockchain. Now go ahead and unleash your creativity—build some dope DApps that take advantage of Core’s Hyper scalability. 🚀
Don’t be shy to mess with your contracts, tweak those parameters, and dream up some wild features. The crypto world is your playground, so keep hustlin’ and innovating. Happy coding, and may your blockchain adventures be epic! 💻✨
Subscribe to my newsletter
Read articles from Akshaya Gangatharan directly inside your inbox. Subscribe to the newsletter, and don't miss out.
Written by
