🚀🌟 Successful Deployment: Portainer on AWS EC2! 🌟🌐
 RAKESH DUTTA

Project Overview
Deploying Portainer allows for an intuitive web-based management interface for your Docker containers, making it a fantastic tool for developers and system administrators alike. Here’s a quick summary of the steps I took:
AWS Setup: Launched an EC2 instance and selected an appropriate instance type for my needs.
Docker Installation: Installed Docker for seamless container orchestration.
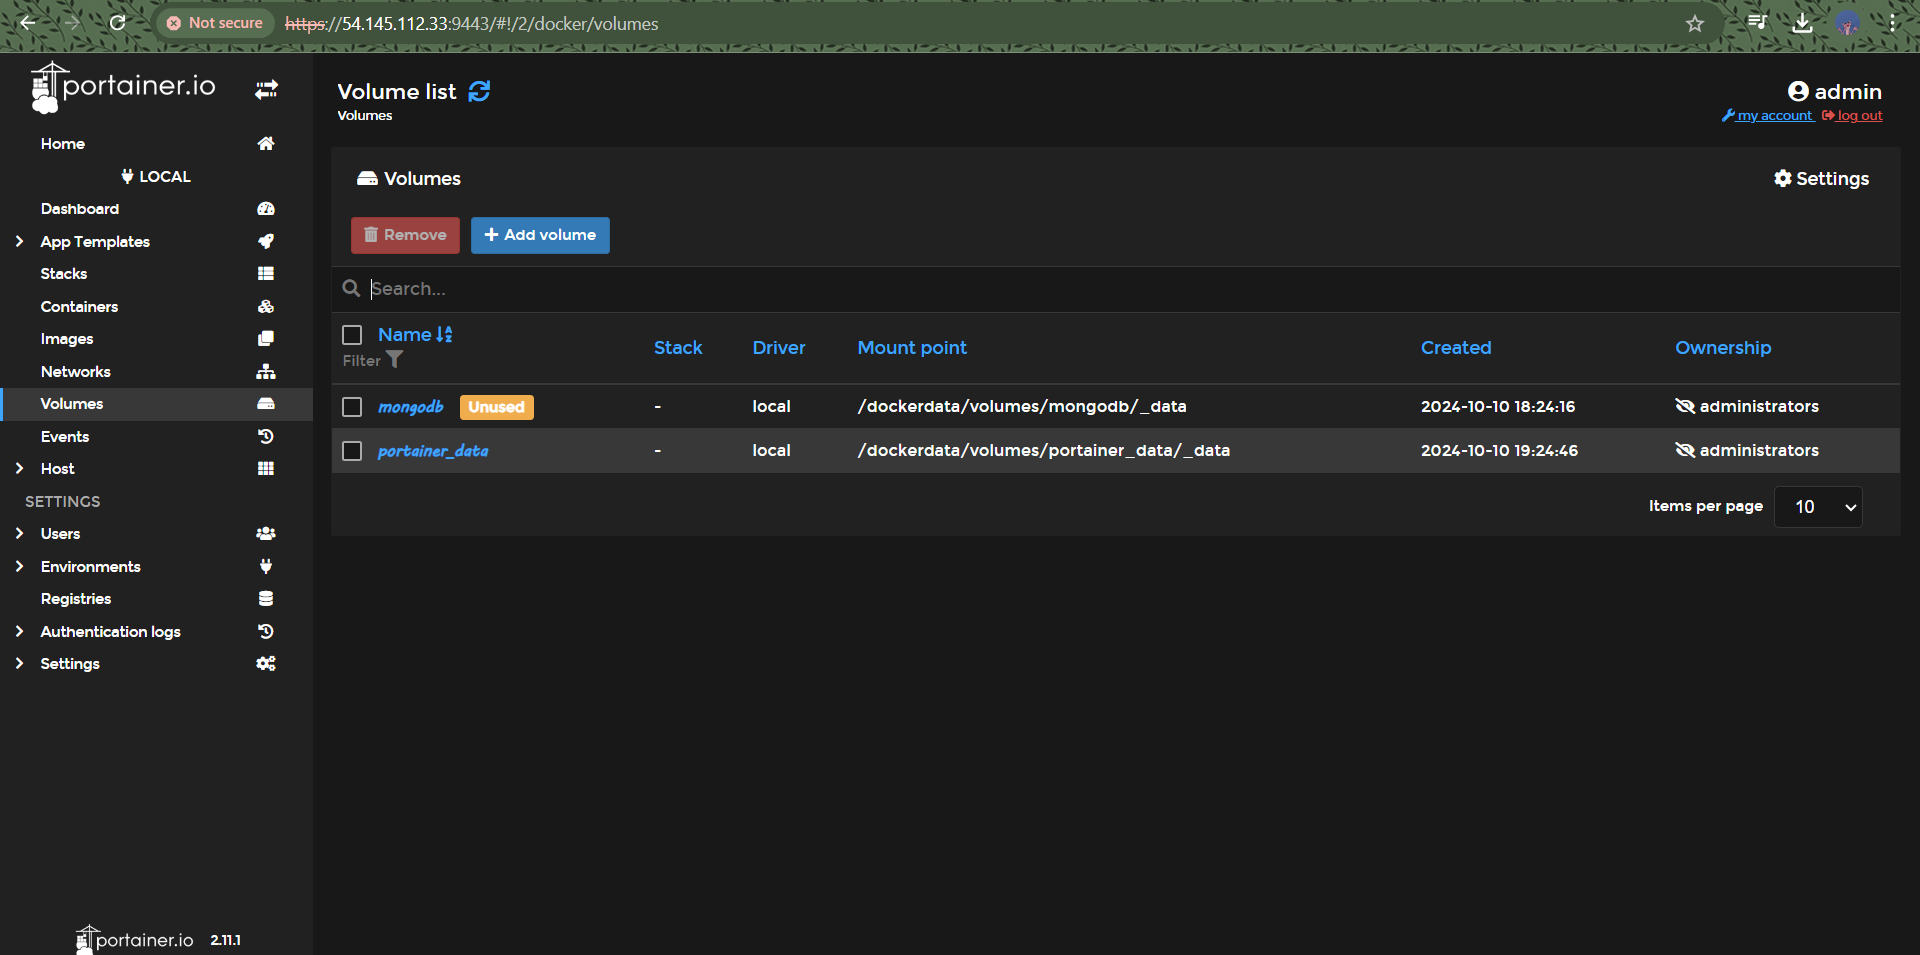
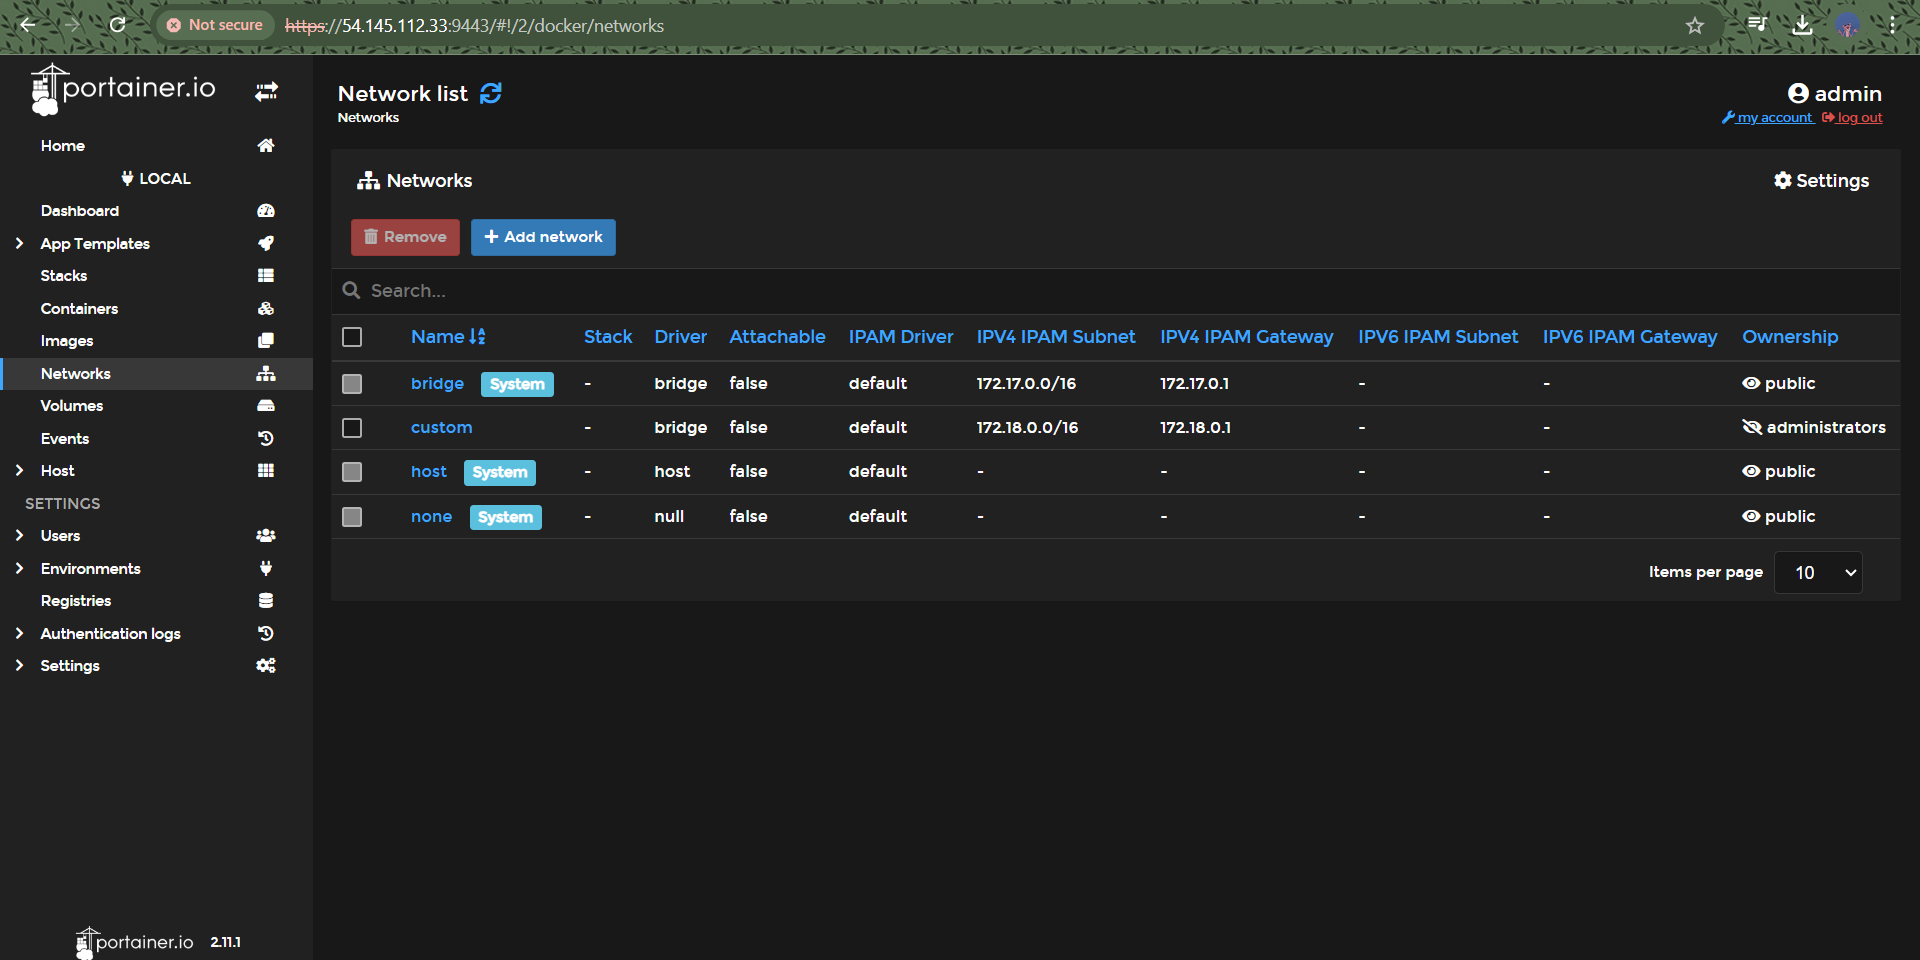
Network and Volume Creation: Created a custom Docker network and a volume for better data management.
Container Management: Stopped any previously deployed containers to prepare for the new deployment.
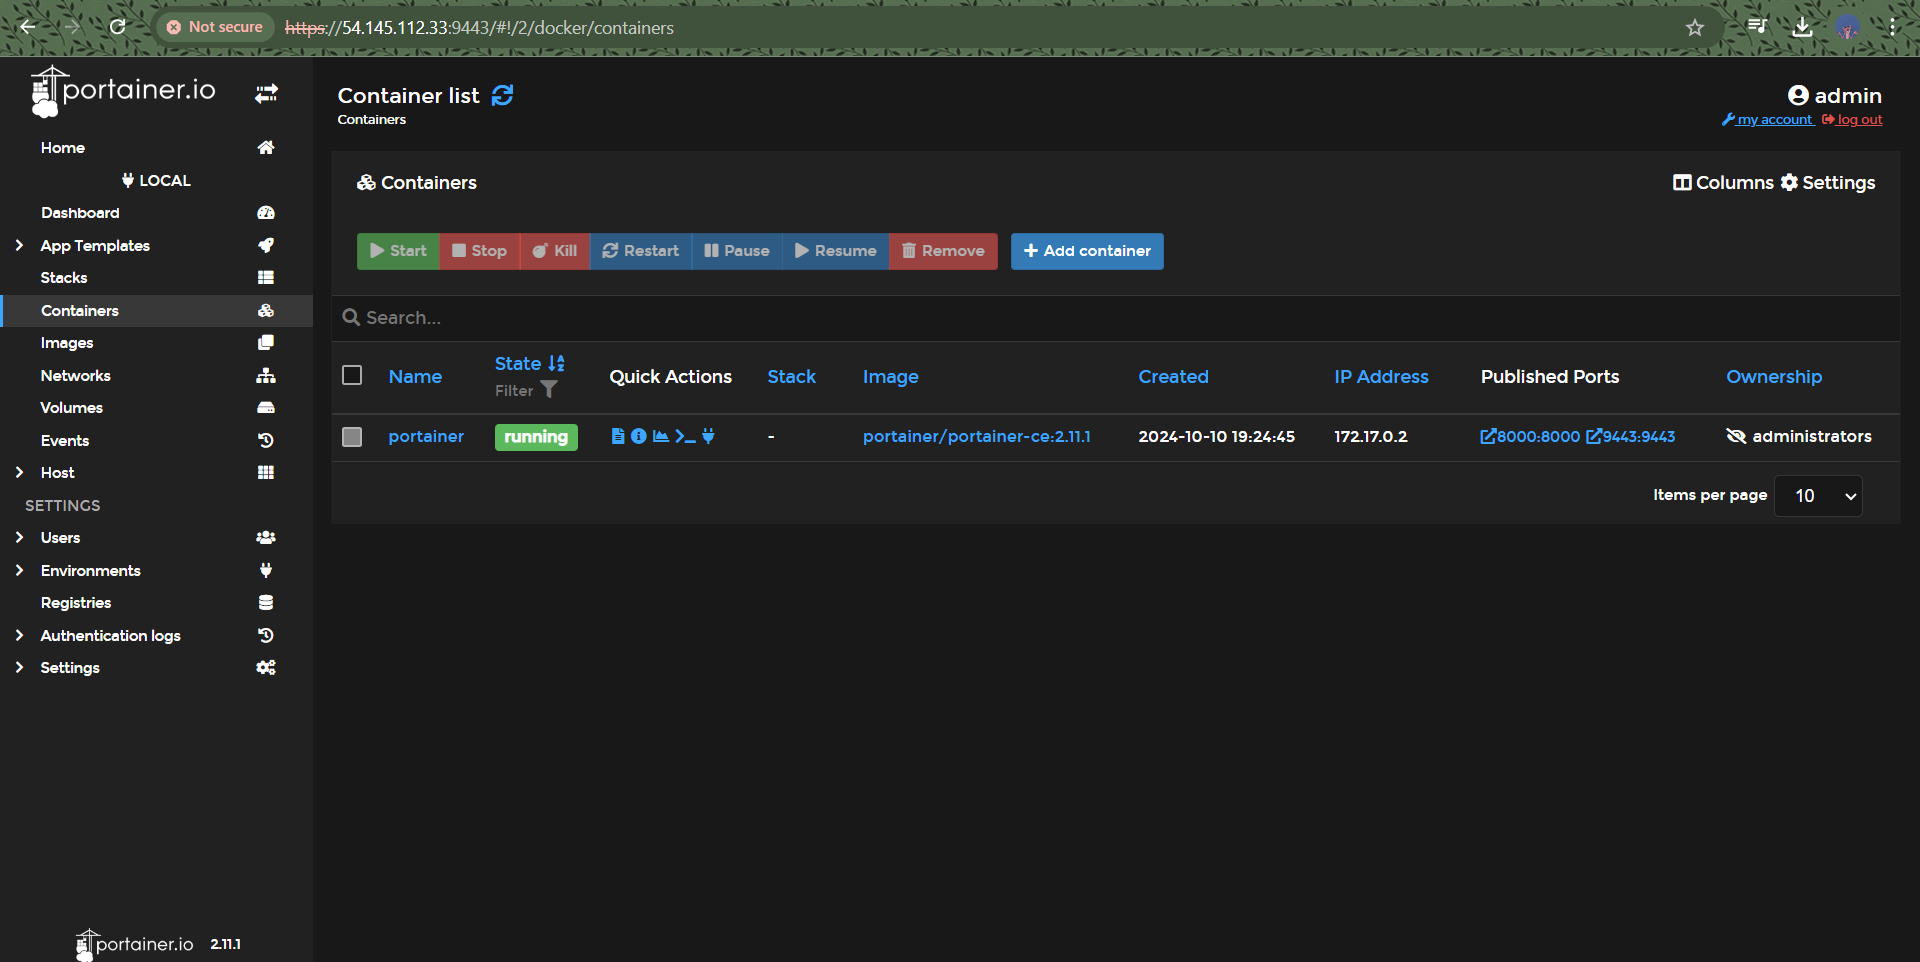
Portainer Deployment: Deployed Portainer using the Docker socket with the custom network and mounted volume.
Accessing Portainer: Configured security groups and permissions for Portainer UI access.
Search Engine Integration: Tested the setup successfully, and it is now live!
Step 1: AWS Setup
Launching an EC2 Instance
Log into your AWS Management Console: Navigate to the EC2 Dashboard.
Launch an Instance:
Click on "Launch Instance."
Choose an Amazon Machine Image (AMI). I opted for the Amazon Linux 2 AMI for its compatibility and ease of use.
Select an instance type (e.g., t2.micro for cost-effectiveness in development).
Configure Instance Details: Customize settings as needed. Ensure to allow SSH access for remote management.
Configure Security Groups: Set rules to allow HTTP (port 80) and HTTPS (port 443) access. Also, allow access to port 9000 for Portainer.
Launch the Instance: Review your settings and launch the instance. Don’t forget to download your key pair for SSH access.
Step 2: Docker Installation
Once connected to your EC2 instance via SSH, install Docker:
bashCopy code# Update the package repository
sudo yum update -y

# Install Docker
sudo amazon-linux-extras install docker

# Start the Docker service
sudo service docker start

# Add the ec2-user to the docker group for non-sudo access
sudo usermod -aG docker ec2-user

# Log out and log back in to apply group changes
Step 3: Network and Volume Creation
To enhance data management and networking for your containers, create a custom Docker network and volume:
bashCopy code# Create a custom Docker network
docker network create portainer-network

# Create a Docker volume for persistent data storage
docker volume create portainer-data
Step 4: Container Management
Before deploying the new Portainer container, ensure any previously deployed containers are stopped and removed:
bashCopy code# Stop and remove any existing Portainer container (if applicable)
docker stop portainer
docker rm portainer
Step 5: Portainer Deployment
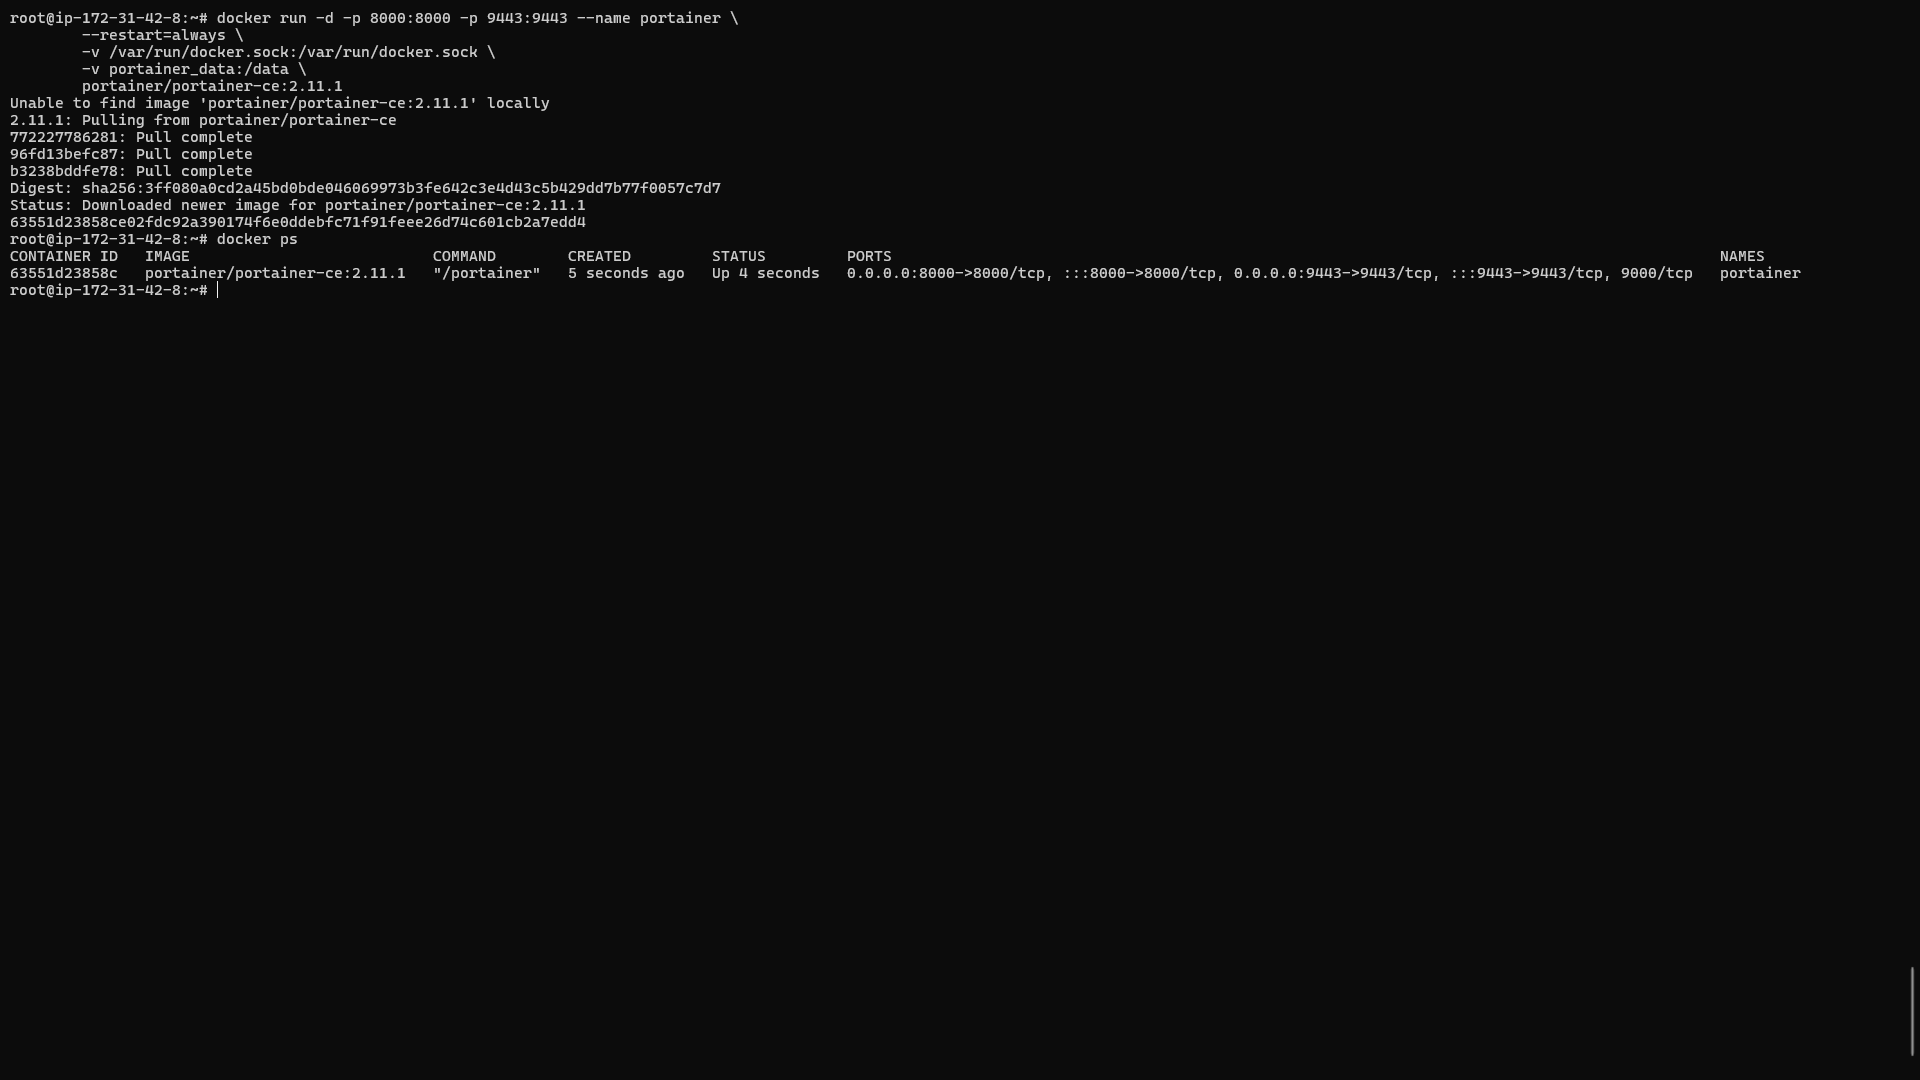
Now, it’s time to deploy Portainer. Use the following command to run it:
bashCopy codedocker run -d \
  --name portainer \
  --restart always \
  -p 9000:9000 \
  --network portainer-network \
  -v /var/run/docker.sock:/var/run/docker.sock \
  -v portainer-data:/data \
  portainer/portainer-ce
Explanation of the Command:
-d: Run the container in detached mode.--name portainer: Assign a name to the container for easier management.--restart always: Automatically restart the container if it stops.-p 9000:9000: Map port 9000 of the container to port 9000 on the host, allowing access to the Portainer UI.--network portainer-network: Connect the container to the custom network for better communication.-v /var/run/docker.sock:/var/run/docker.sock: This allows Portainer to manage Docker directly.-v portainer-data:/data: Mount the volume for persistent data storage.
Step 6: Accessing Portainer
After deployment, it’s important to configure security settings for accessing the Portainer UI:
Modify Security Group:
In the EC2 Management Console, go to "Instances" and select your instance.
Click on the "Security" tab and then "Security Groups."
Edit the inbound rules to allow TCP traffic on port 9000 from your IP address.
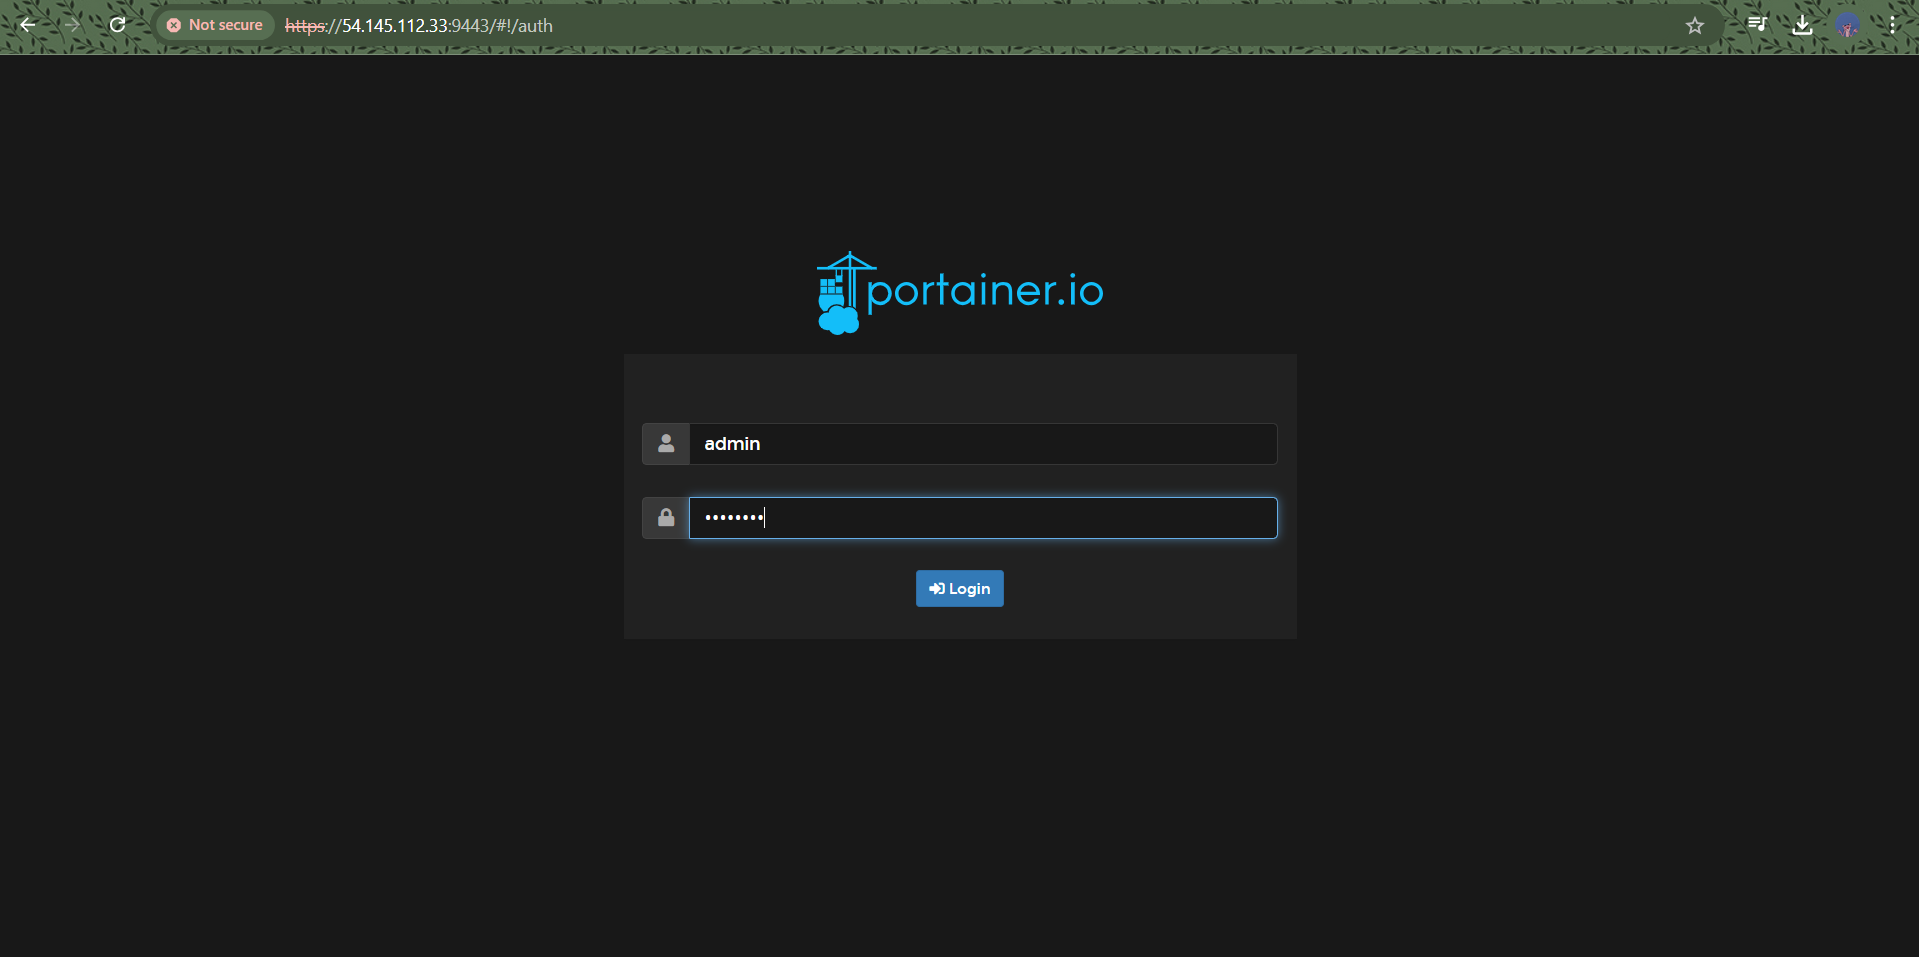
Access the UI: Open your web browser and navigate to
http://<your-ec2-instance-public-ip>:9000. You’ll be greeted by the Portainer setup screen.
Step 7: Search Engine Integration
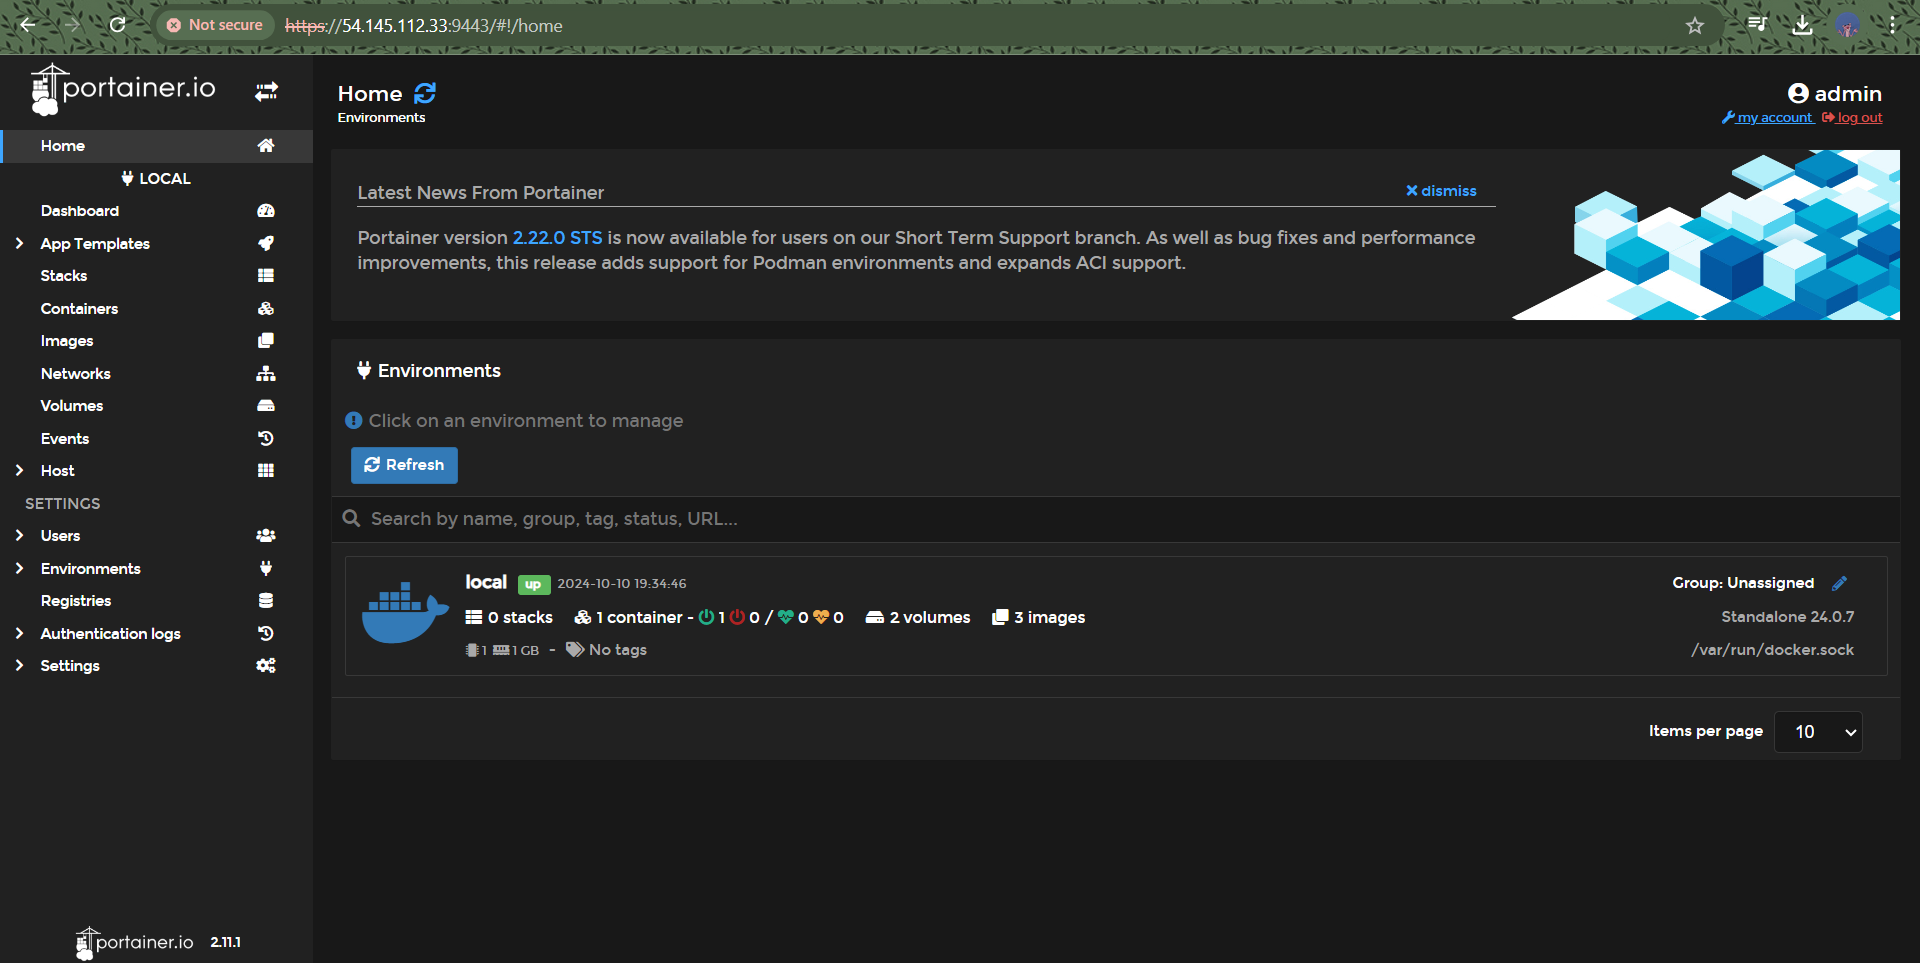
Once inside Portainer, you can easily manage your containers, images, networks, and volumes through a user-friendly interface. Test out your configuration by creating a sample container and ensuring everything is functioning as expected. The setup is now live, and you can integrate it with your search engine or any application you’re developing!
Benefits of Using Portainer on AWS EC2
User-Friendly Interface: Portainer’s intuitive UI simplifies the management of Docker containers, making it accessible even for those new to Docker.
Efficient Resource Management: By deploying on AWS EC2, you can easily scale your resources based on application needs without the hassle of local hardware limitations.
Robust Security: AWS provides various security features, including IAM roles, security groups, and VPCs, ensuring that your deployment remains secure.
Cost-Effectiveness: Using an EC2 instance, especially on a pay-as-you-go model, allows you to manage costs effectively while scaling your applications.
Community Support and Documentation: Both AWS and Portainer have extensive documentation and community support, making it easier to find solutions to any issues that arise.
Conclusion
Deploying Portainer on an AWS EC2 instance has significantly improved my ability to manage Docker containers efficiently. The integration with the Docker socket, coupled with the ease of use provided by Portainer, has streamlined my workflow.
If you’re looking to enhance your container management capabilities, I highly recommend giving Portainer a try. It’s a powerful tool that integrates seamlessly with Docker, and when deployed on AWS, it can be a robust solution for managing your applications.
Final Thoughts
As containerization continues to gain traction in the development world, tools like Portainer and cloud platforms like AWS will play an essential role in managing applications. If you have any questions or need assistance with your own deployments, feel free to reach out! Happy containerizing! 🖥️🚀
Subscribe to my newsletter
Read articles from RAKESH DUTTA directly inside your inbox. Subscribe to the newsletter, and don't miss out.
Written by
